How to Make a DIY Picture Frame

Last updated September 7, 2023
If you’re struggling to find the perfect frame to display your cherished family photos, why not make one yourself? You might not know how to make a picture frame, but it’s easier than you think. All you need is a couple framing studs—you might even be able to use leftovers from a past project—and a few basic power tools.
This guide will walk you through how to make a picture frame you can customize to suit your decor and style. The end result will be a one-of-a-kind DIY picture frame that can hold a 8- x 10-inch photo and is sure to look stunning in any room of the house.
Difficulty:
Beginner
Duration:
Under 2 hours
Table of Contents
Cut the Lumber
Construct the Inner Frame
Attach the Outer Trim
Dry Fit the Picture Frame
Attach the Hardboard
Attach Hardware
Cut the Lumber
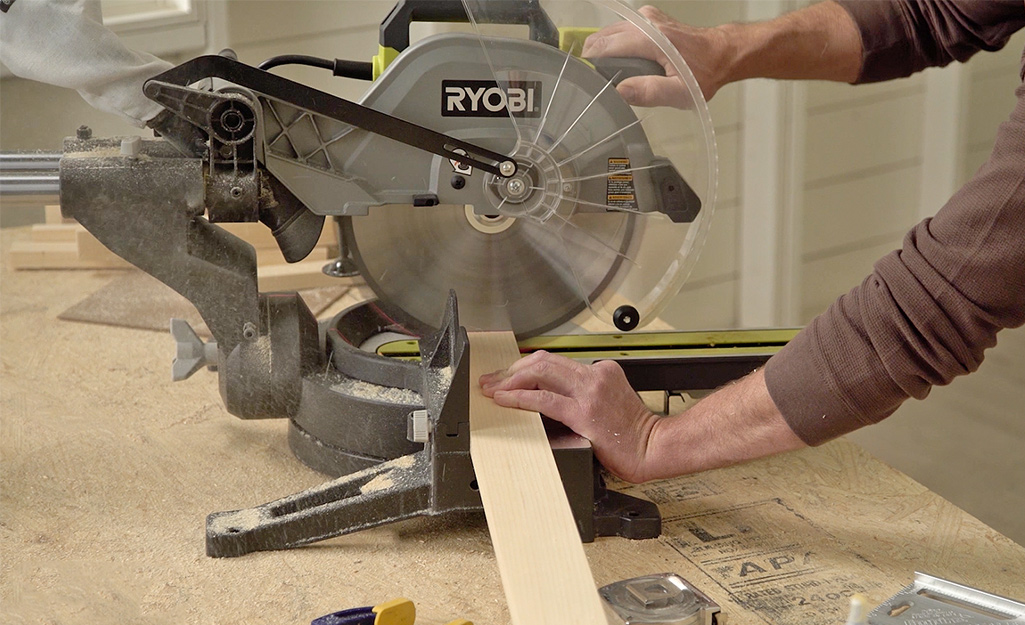
To make an 8- x 10-inch DIY picture frame, use a circular or miter saw to cut the lumber according to the below cut list:
On the 1-x 2-inch x 8-foot whitewood board:
- 2 pieces for top and bottom outer trim: 14
1/4-inch - 2 side edges for outer trim: 13 3/4-inch
On the 1- x 3- x 8-foot whitewood board:
- 2 pieces for the top and bottom of the frame: 9 1/4-inch
- 2 pieces for the sides of the frame: 12 1/4-inch
On the 1/8-inch x 2- x 4-foot hardboard:
- Top and bottom pieces of the first layer of hardboard: 2 1/8- x 14 1/4-inch
- 2 sides of the first layer of hardboard: 2 1/8- x 8-inch
- 2 sides of the second layer of hardboard: 2 1/8- x 12 1/4-inch
- Top and bottom pieces of the second layer of hardboard: 2 1/8- x 10-inch
- Glass and picture retainer: 8- x 10-inch
Sand the wood after you’ve made all your cuts.
Once you’ve learned the basics of how to make a picture frame, these cuts can easily be adjusted to make a larger or smaller design. For instance, when making a picture frame that’s 16 x 20 inches, simply double all of the measurements. If you want to change the proportions of the frame, you may need to do a little additional math.
Construct the Inner Frame
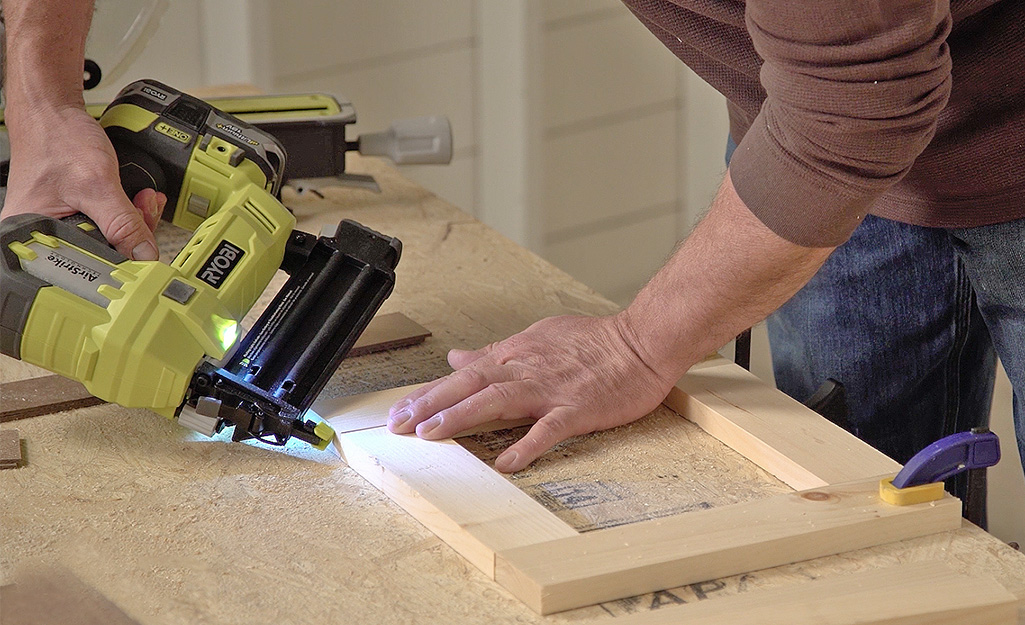
- Arrange the whiteboard pieces you cut for the DIY picture frame into a rectangle with the two shortest pieces on the inside.
- Check that the edges are flush. A carpenter square can be useful to ensure your edges are perfectly square.
- Clamp to secure.
- Connect the four pieces using wood glue followed by a finishing nailer.
Attach the Outer Trim
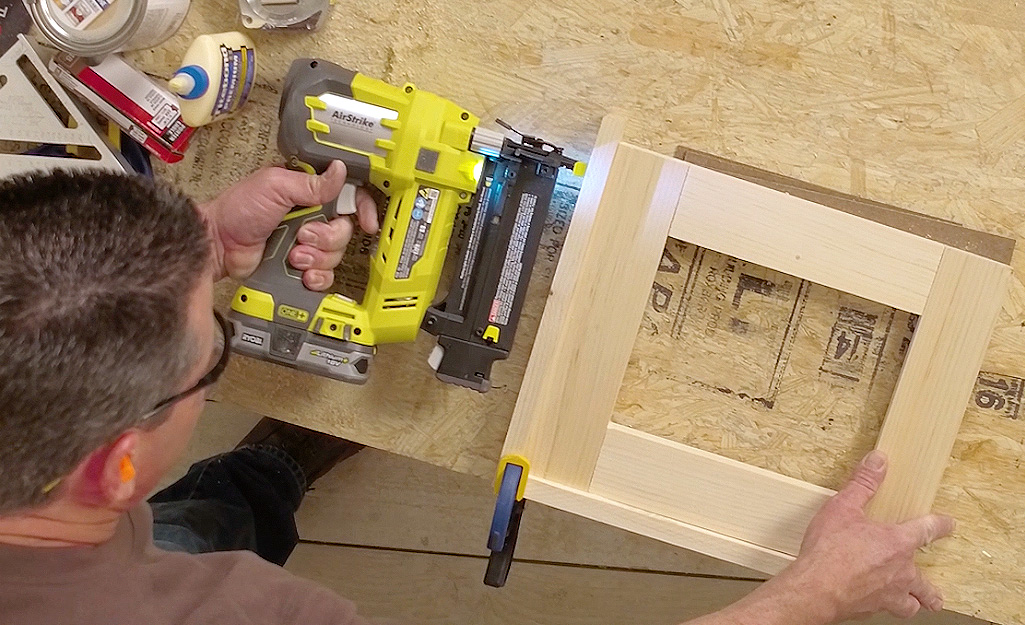
- Lay out three layers of the hardboard.
- Lay the inner frame on top to raise the inner frame up and create the offset that will be needed when the outer frame is attached.
- When complete, the glass sheet, picture and backing will be flush with the outer frame.
- Align the four outer trim pieces you previously cut.
- Clamp each joint to secure.
- Attach the outer frame to the inner frame using glue and the nail gun.
- Remember to remove all hardboard pieces so they don’t accidentally get glued to the front of the frame.
- Allow glue to dry.
Dry Fit the Picture Frame
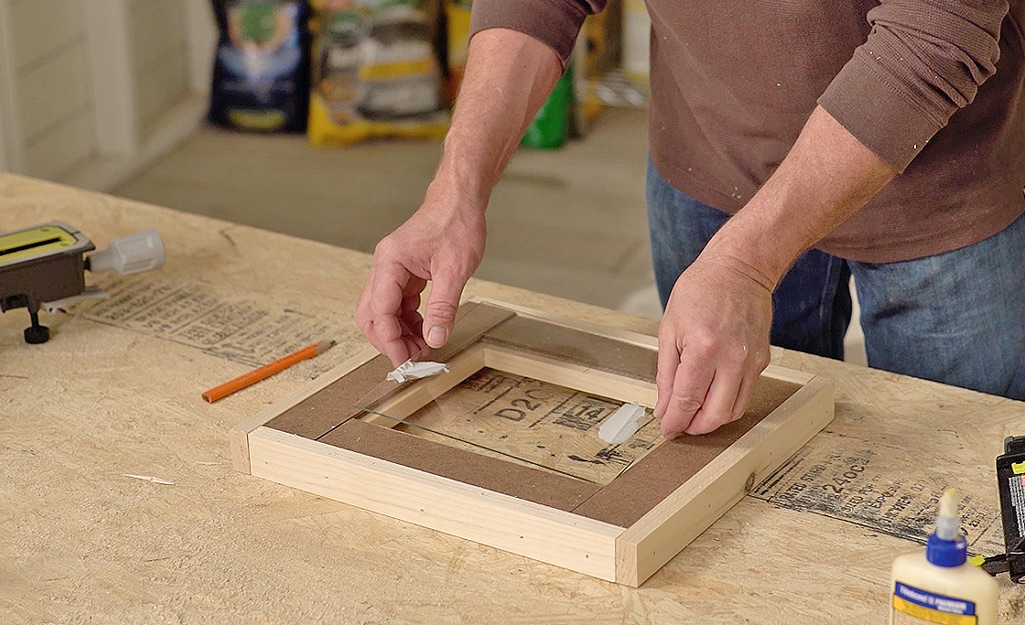
Set both layers of hardboard into place followed by the glass to confirm everything fits correctly, then dismantle.
Attach the Hardboard
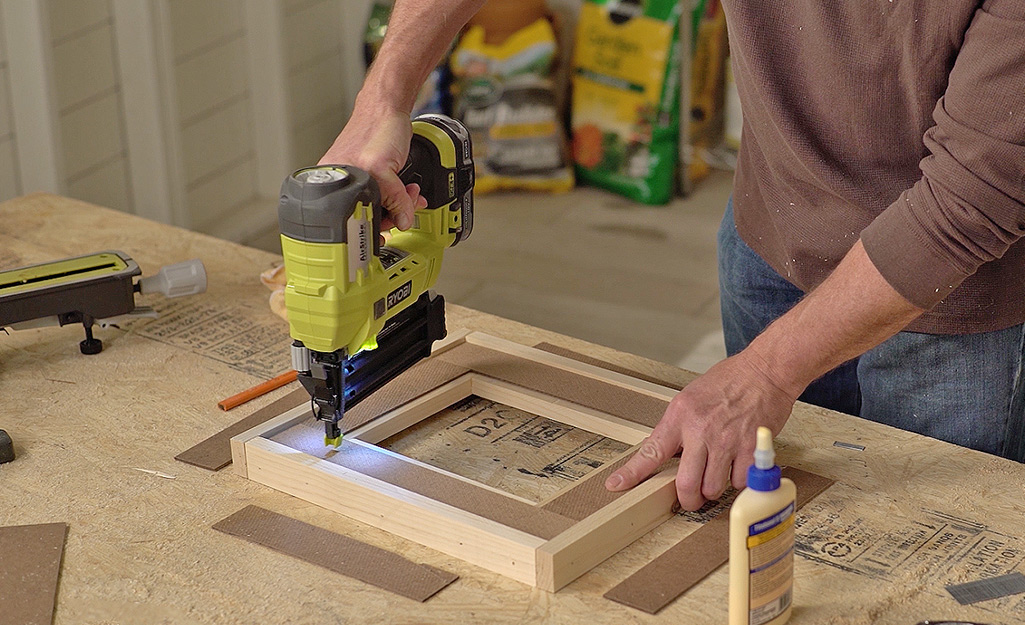
- Spread wood glue along each edge of the inner frame.
- Attach the first layer of hardboard using 5/8-inch brads.
- Repeat with the second layer and allow to dry.
Tip: Use a tape measure to make sure the first layer is the 14 1/4-inch and 8-inch long pieces.
Attach Hardware
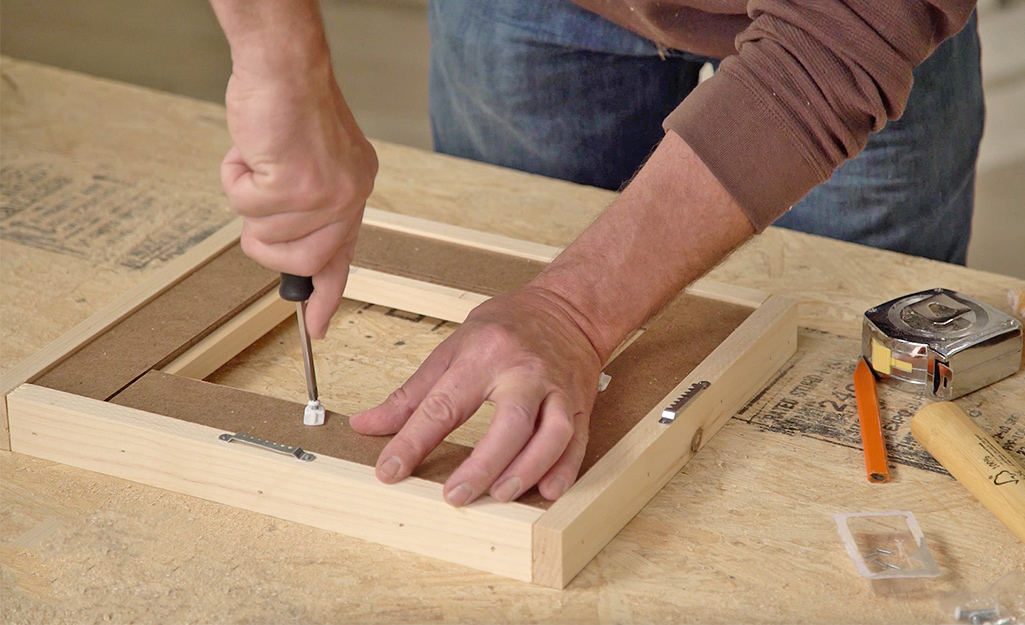
- Center and attach two sawtooth picture hangers along the outer trim pieces on adjoining edges of the frame so you can hang the frame vertically and horizontally.
- Measure and mark the center of all four sides around the opening.
- Take one of the screen clips and set it sideways so that it will not block the opening at all but is close enough that it will still hold the glass and hardboard into place when you turn it.
- Mark where the screw should be and pre-drill the hole for the screw. Use a power drill to screw the clip into place.
- Tighten it just enough so that it will stay in place once you turn it into the position to hold the glass.
Sand Rough Edges
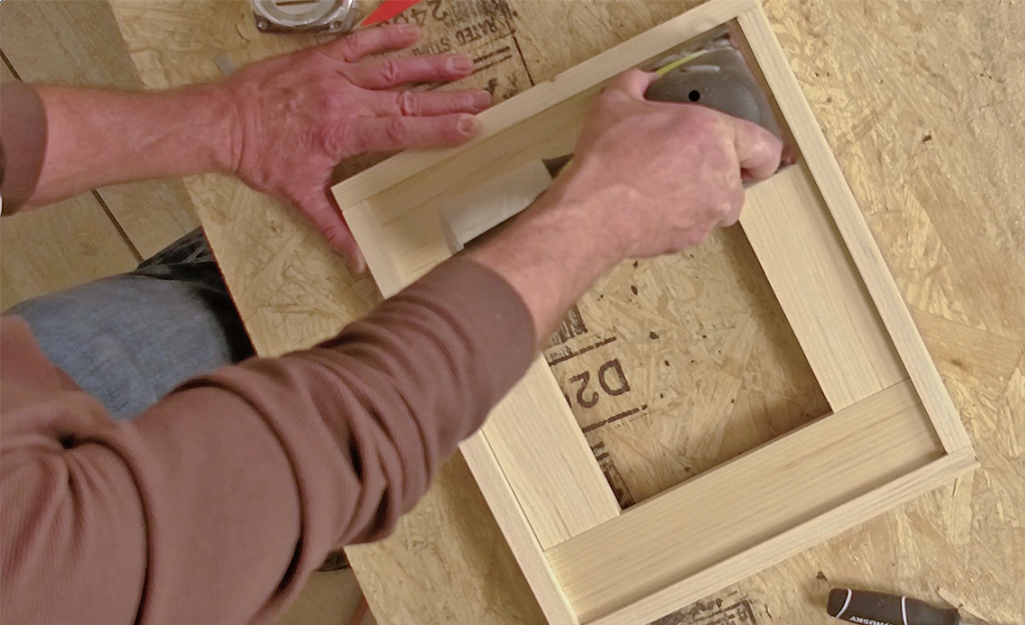
- Use fine-grit sandpaper to sand the edges of your DIY picture frame, as well as the seams where the boards meet.
- For a more rustic or distressed look, you may want to skip this step.
Finish or Paint Your Creation
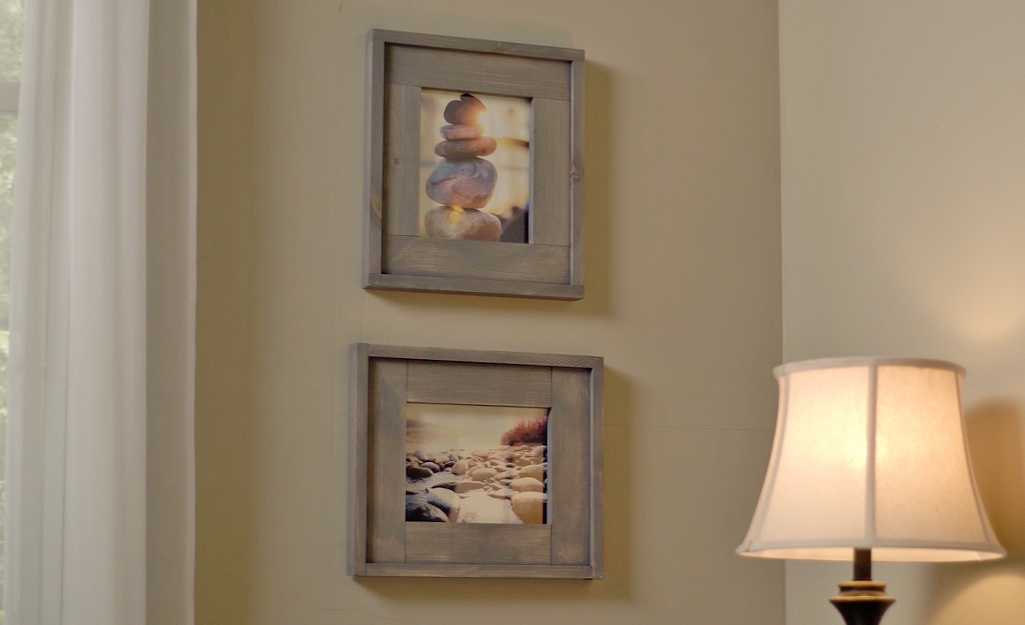
- You can customize the appearance of your DIY picture frame using paint or wood stain.
- Once the paint has dried, lightly sand the edges of the frame for a trendy distressed appearance.
Soon, you’ll be making a picture frame for every room of the house. Need supplies? The Home Depot delivers online orders when and where you need them.
