How to Make a DIY Battleship

Last updated September 7, 2023
Presented Serena Appiah of Thrift Diving.
Kids love creating! It sure beats playing with electronics all day! What’s even better though is when kids can create something they can play with in water! While it’s not completely waterproof, this water-resistant project is sure to keep the kids entertained for hours. Using common household items, you can make this “at-home” version of The Home Depot Kids Workshop Battleship Project!
For this project, you’ll simply need one to two cardboard cereal boxes (although you should be able to make the entire project with just one). It’s always good to have a backup, just in case you run into an “oops!” All of these items are common household items most people have lying around the house. For the turrets, look for caps on shaving creams or lotion bottles with long arms that resemble turrets.
Difficulty:
Beginner
Duration:
Under 2 hours
Table of Contents
Trace the Battleship Templates onto a Cardboard Cereal Box
Cut and Fold the Side Piece
Attach the Top and Bottom with Hot Glue
Fold the Cardboard Cabin
Cut Out the Smokestack Holes
Cut Pencils to Size
Trace the Battleship Templates onto a Cardboard Cereal Box
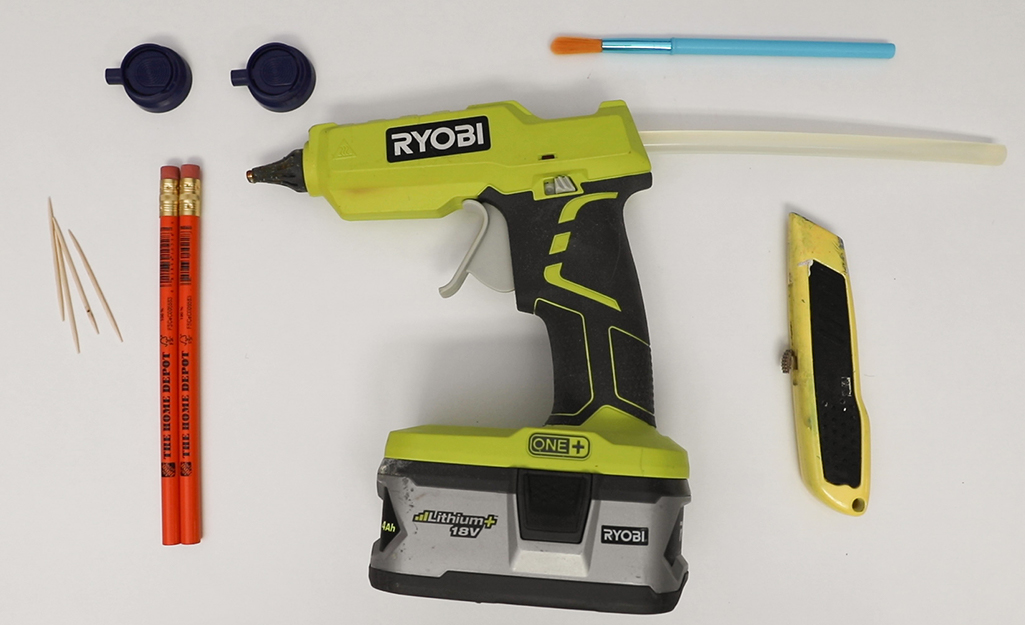
- This DIY battleship comes with printable templates that you can print right from your printer.
- Print out the templates and lay them on the cardboard, trace them and cut them out.
- You should be left with a 1 top, 1 bottom, 1 side, 4 pieces of stackable cardboard for the deck and a piece for the cabin.
Cut and Fold the Side Piece
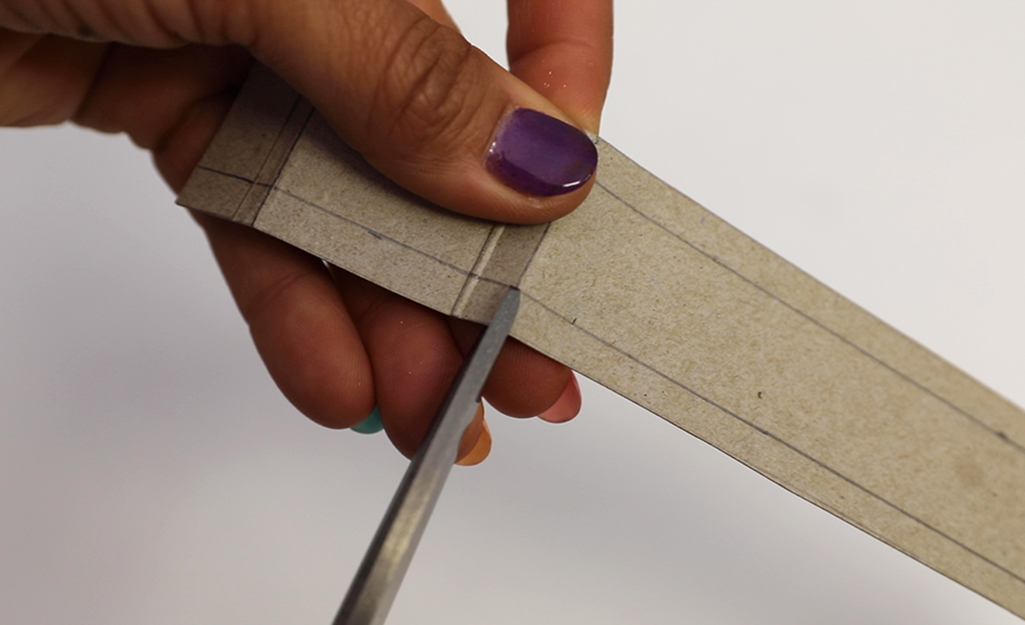
- The long strip of cardboard for the side of the battleship is what will connect the top and bottom pieces. But in order to easily wrap it around, it has to be snipped at the fold lines.
- First, transfer all the markings from the template onto the side strip of cardboard. There will be seams 1/4-inch from both long edges, and perpendicular lines drawn at the fold lines.
- Press your fingernail over the black lines to score the fold lines so that they’ll fold neat and clean. Next, use your scissors or utility knife to carefully snip the 1/4-inch seams at the fold lines.
- Fold the 1/4-inch side seams in, creasing them with your finger. When all the folding is done, you should have a long side piece that easily bends at the folds.
Attach the Top and Bottom with Hot Glue
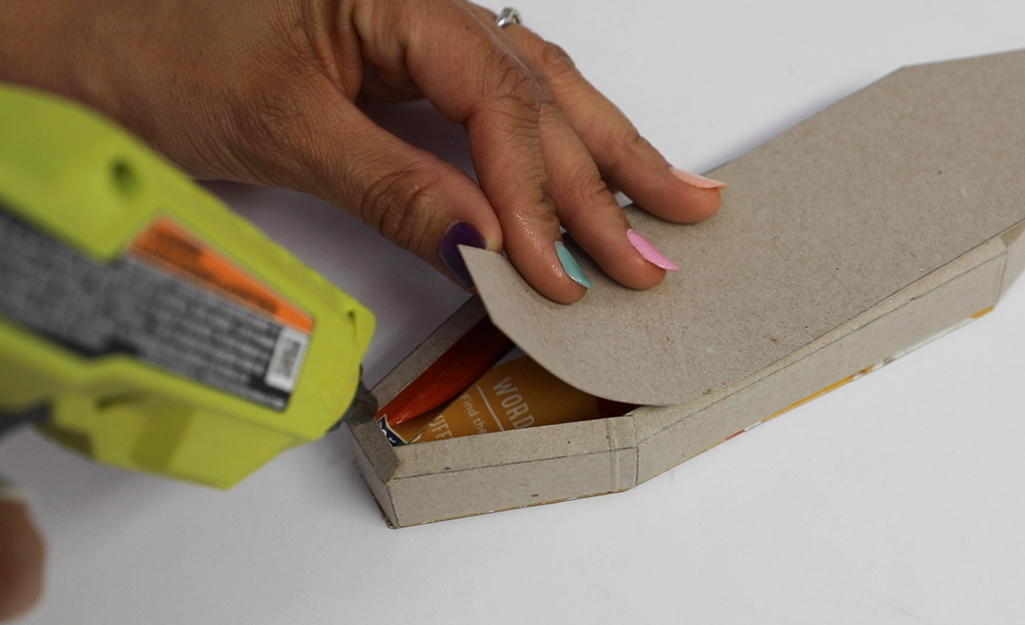
- With the side seam now flexible, use hot glue along the edge of the seam to attach the bottom piece to the side.
- Line up the edges so there is no overhang or uneven edges.
- With the bottom attached, flip over the battleship. It should resemble a canoe.
- Use the hot glue to attach the top piece in the same manner that the bottom was attached.
Fold the Cardboard Cabin
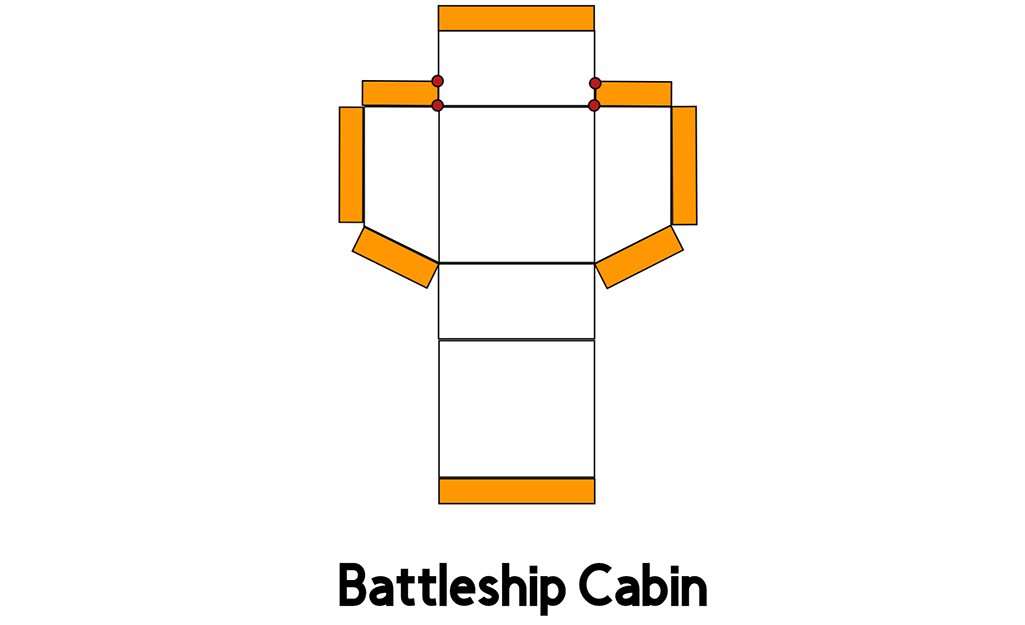
- Next, fold the cabin based on its fold lines in the pattern.
- Snip seams where necessary in order for the cabin to come together.
- Glue together all seams. One edge will be slightly slanted.
Cut Out the Smokestack Holes
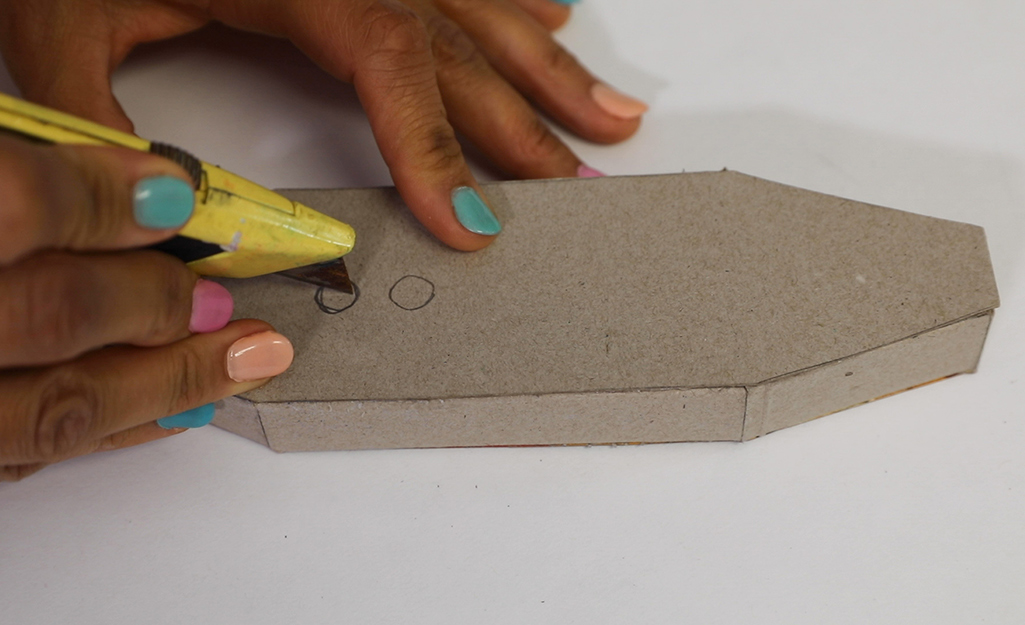
- Use pencils to create the smokestacks.
- The size of the holes for the smokestacks will depend on the size of your pencils. You can use the fat contractor’s pencils from The Home Depot.
- Trace the circumference of the pencils onto your battleship and then cut them out with a utility knife or scissors.
- Start with poking a small hole or slit in the center of the circle.
Tip: Be sure to cut the holes a bit smaller than your pencils to ensure a snug fit.
Cut Pencils to Size
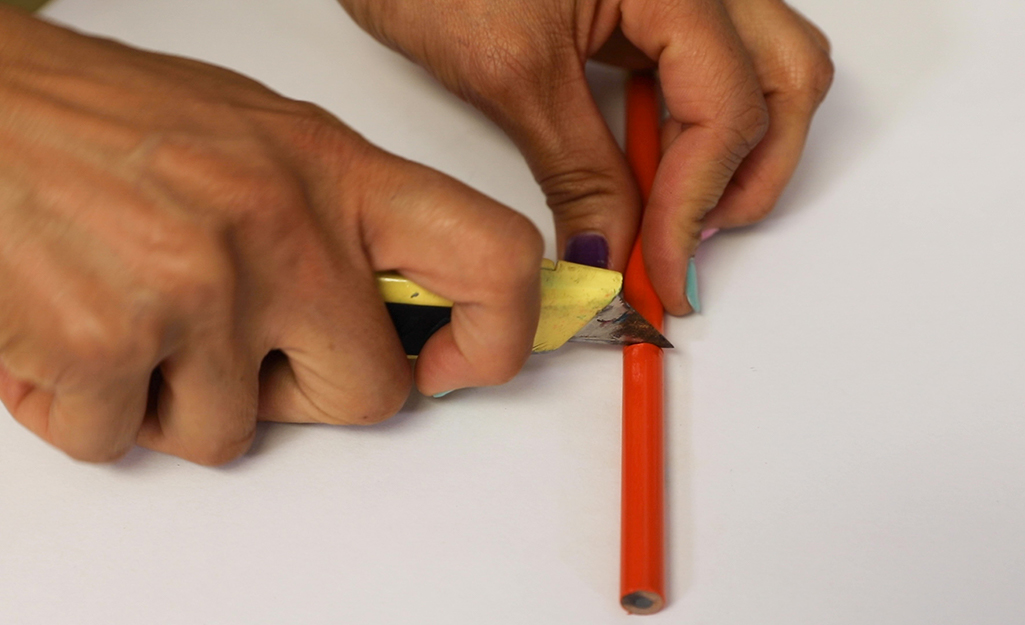
- Use a utility knife to carefully cut the pencils to size.
- Depending on the size of your battleship, cut the pencils approximately 2 1/2-inches to 3-inches in length.
Create the Deck with Four Layers of Cardboard
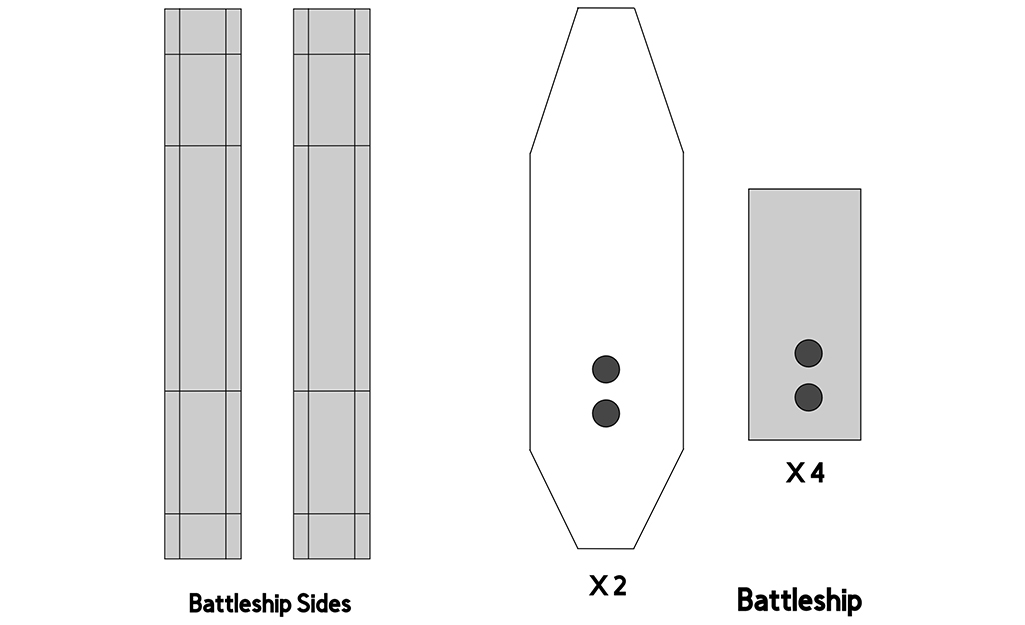
- Using the four pieces of cardboard for the deck, cut out similar sized holes in the four pieces of deck, then hot glue them all together to create a thick, layered deck.
- Hot glue the stacked deck of cardboard to the battleship, being careful to line up the holes and ensure that the pencils fit snugly.
Paint Your Battleship
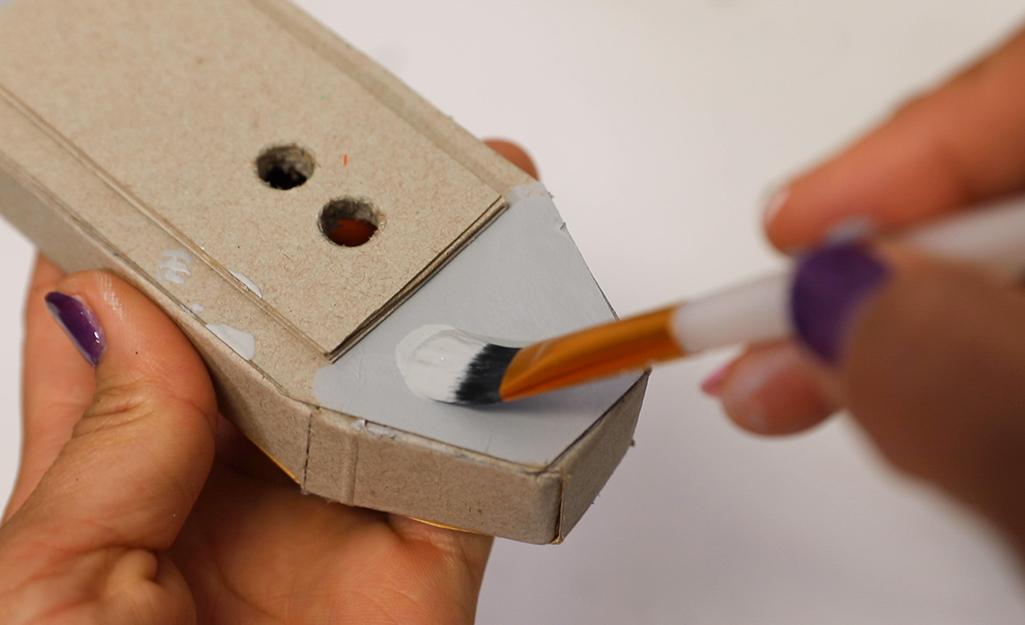
- The most fun part of building your cardboard battleship is painting it!
- Use gray paint for the body, black paint for the deck, sides and bottom, and for the smokestacks, paint them gray with black on top.
Attach the Cabin to the Deck and Add a Hole
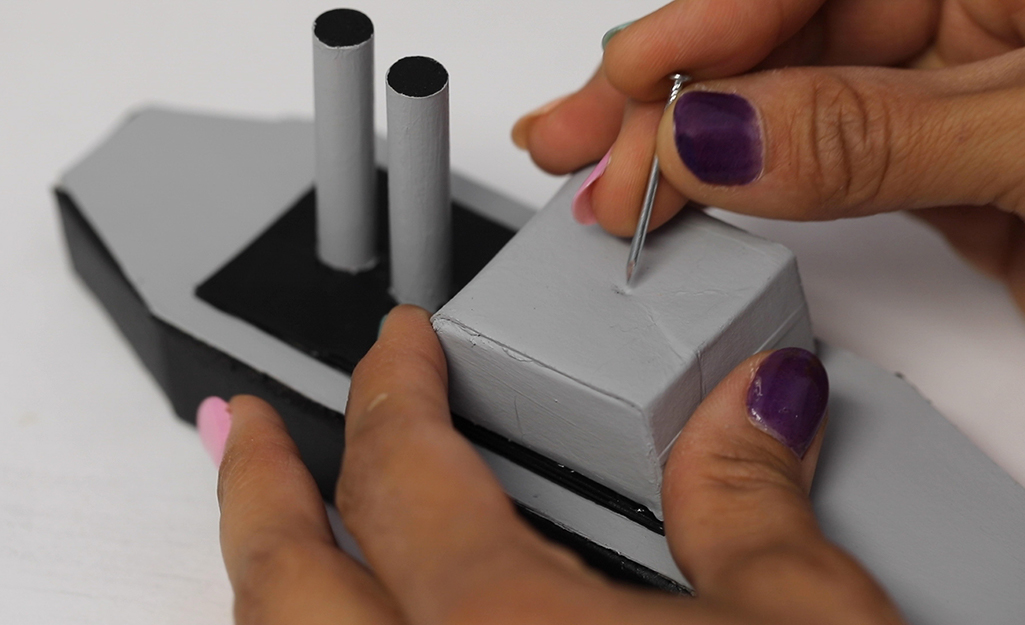
- Once the paint dries, use hot glue to attach the cabin to the deck.
- Use something sharp, like a skinny nail or sharp pencil point to poke a hole in the top of the cabin for the turret.
- Poke a hole in the body for the second turret.
- Now is a great time to decorate the cabin with windows or other decorations.
Attach the Plastic Turret
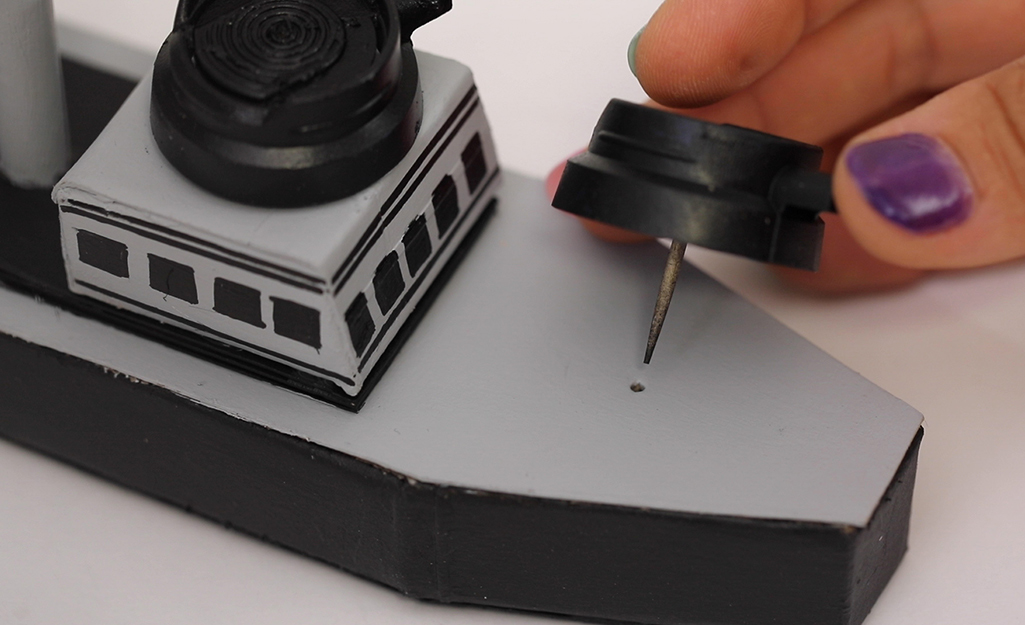
- For the turret, use any personal care product that has a top similar to a turret. Caps on shaving cream are perfect when paired with toothpicks!
- To create the turret cap, use a utility knife or a sharp nail or screw to create a hole in the cap.
- Carefully feed a wooden toothpick down through the hole about 1 1/2-inch.
- When you’ve reached the desired length that will secure the turret cap to the battleship, break off the top of the toothpick.
- Secure it with hot glue on the underside to hold it in place.
- Spray paint (or use craft paint, although spray paint works best) the entire turret cap.
- Once dried, insert the turret caps into the hole on top of the cabin and on the body.
- To complete the look of the turret, add hot glue to the end of a toothpick and insert it into the turret cap to secure it.
- Remove excess glue. Use scissors to snip off the end of the toothpick to shorten the turret.
Make It Water Resistant
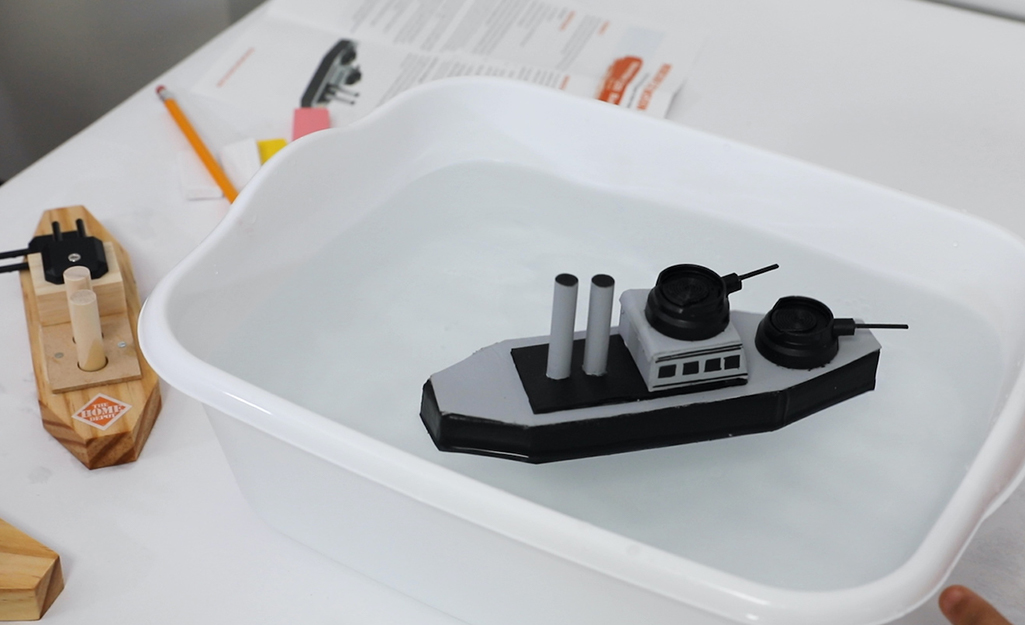
- This is an optional step, but if you’ve got a sealer on hand (such as a decoupage sealer or another water-based sealer), add a coat to your battleship so that the kids can give it a try in the water!
- While it won’t be 100 percent waterproof, it will be water-resistant, and it will float! Tested it out. It may get a little soggy, but it should dry and retain its shape with no warping!
Kids will absolutely love this battleship project! You can find all the tools and materials at your local Home Depot or order everything online through The Home Depot Mobile App. If you can’t get your hands on them, you can surely make your own with this tutorial and common items found around the home. Happy crafting!


