How to Make a Kids Desk Organizer with Cardboard

Last updated August 21, 2024

Serena Appiah is a blogger, entrepreneur, artist, thrifter, wife, and mother of three young sons. She had been named the 2016 Home + Garden Trendsetter of the Year, which won her the opportunity to speak at home shows nationally. Since 2012, she's been inspiring readers at ThriftDiving.com to decorate, improve, and maintain their home on a DIY budget. Thrift stores, power tools, and paint brushes have helped Serena and her readers transform their homes, one project at a time.
A Note From The Home Depot
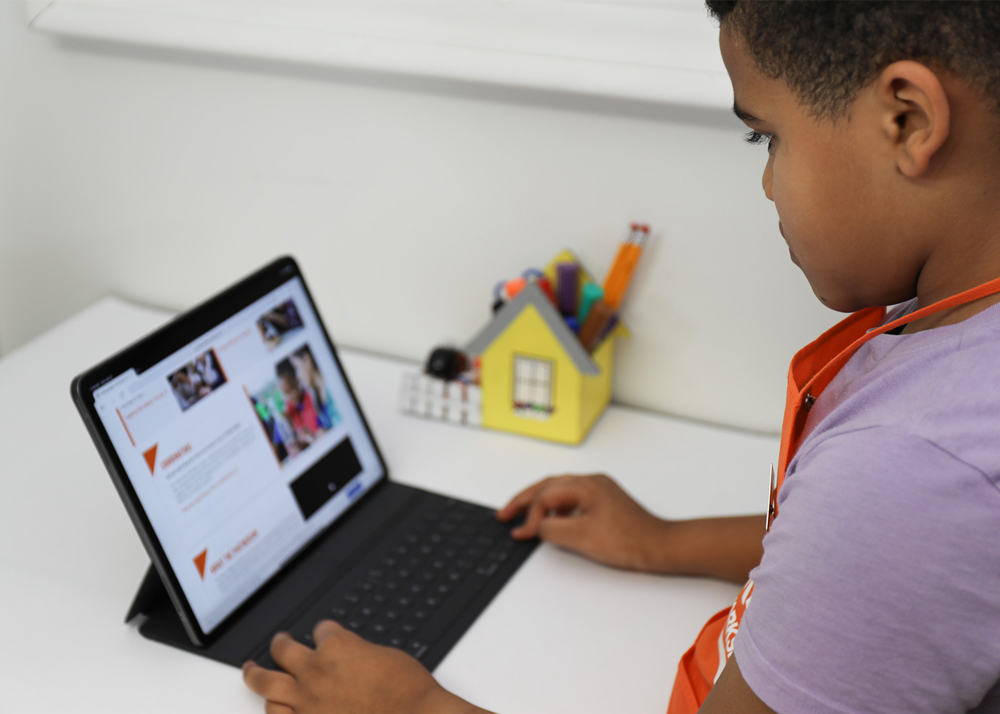
Any adult will tell you, having a clean, organized desk to work from is key! But it’s important for kids too - especially with more of them learning at home. With some help from The Home Depot, Serena Appiah has the tools to help you and your child make a desk organizer that will keep their desk in tip-top shape!
Table of Contents
Step 1: Draw and Cut Out Desk Organizer Pieces
Step 2: Glue the Sides to the Bottom Edges
Step 3: Attach the End
Step 4: Glue the Back Piece to the Back
Step 5: Glue the Front to the Sides
Step 6: Glue the Fencing to the Bottom
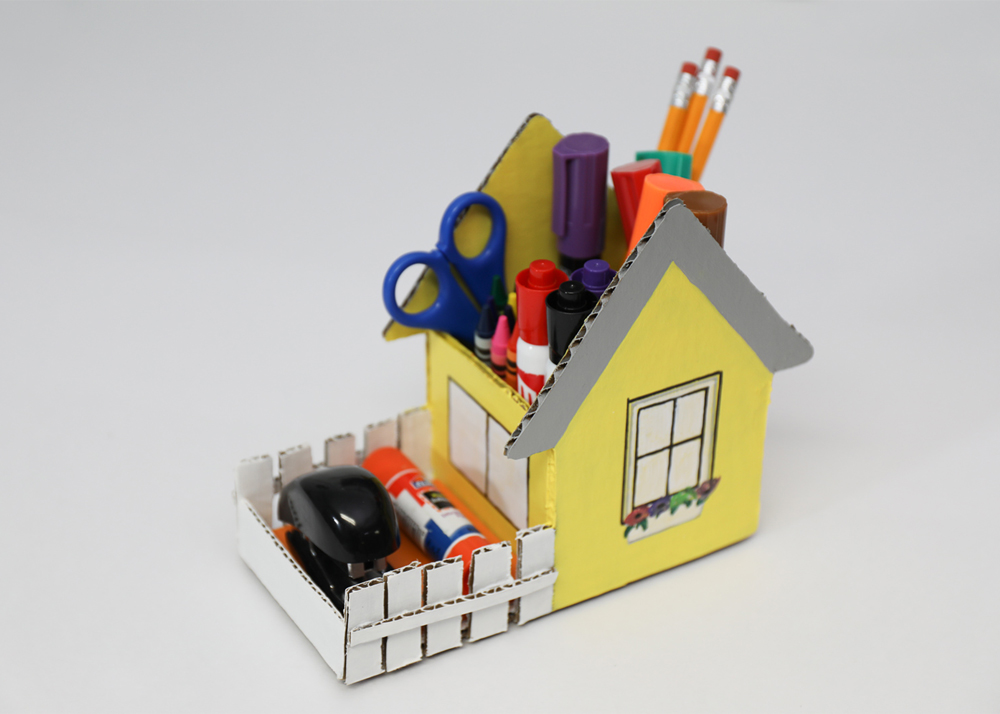
With more kids doing at-home schooling, getting (and keeping!) their desks organized is even more important than ever! Using materials from around the home, your kids can make this cute desk organizer to hold their pencils, crayons, markers, scissors, and more. Add a bit of craft paint and allow them to express their creativity!
Step 1: Draw and Cut Out Desk Organizer Pieces
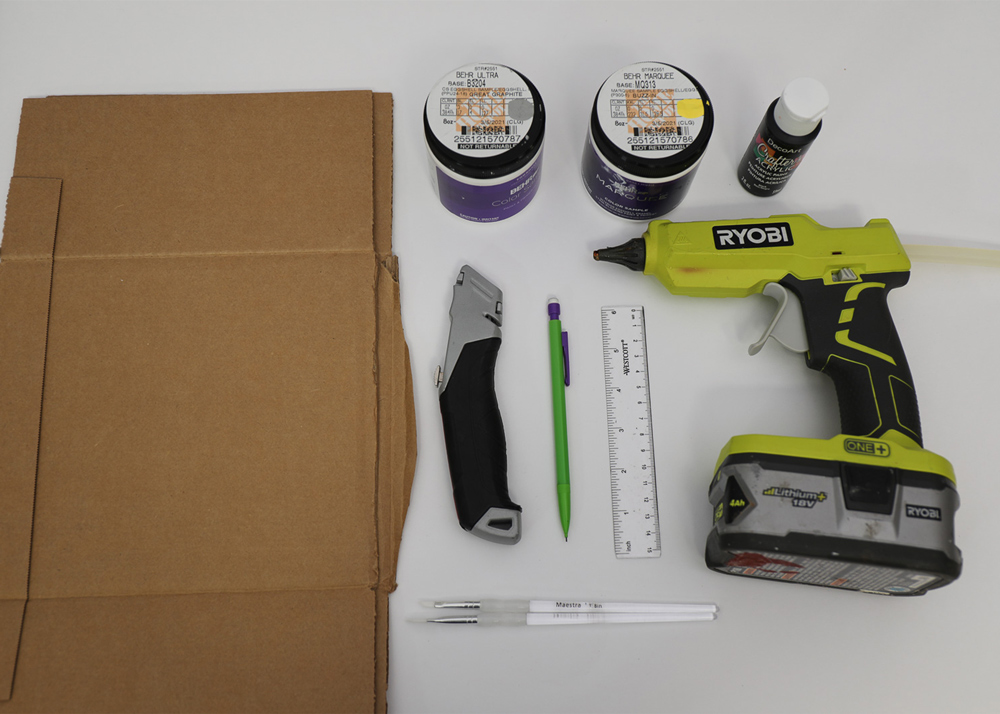
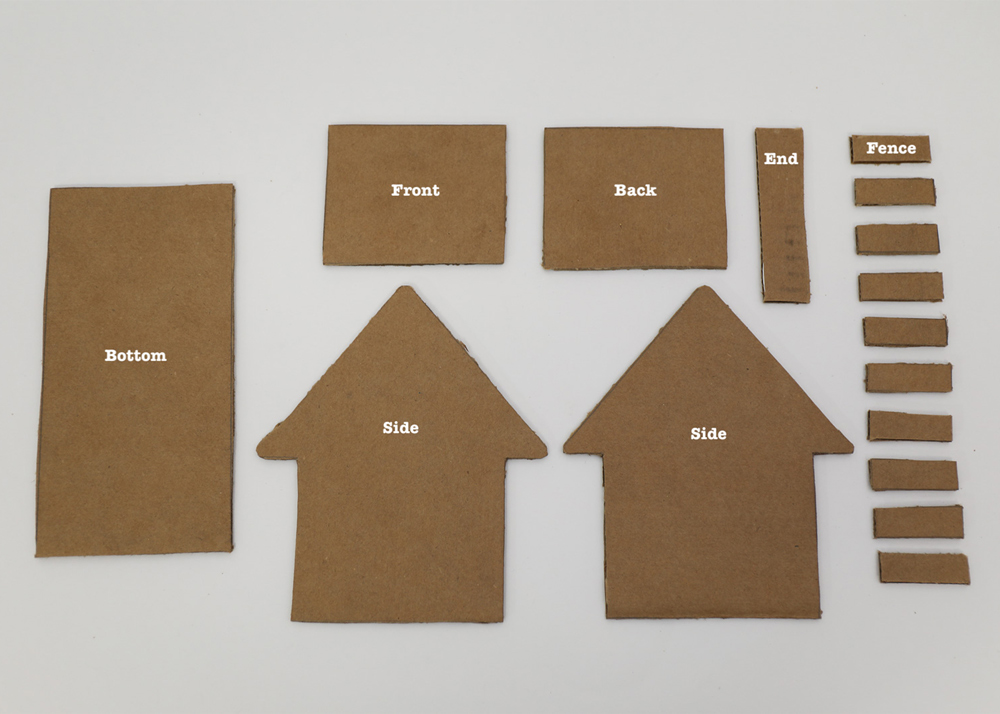
Using a ruler to keep the lines straight, lay out the pieces you’ll need to make this desk organizer. These dimensions will create a desk organizer the same size as The Home Depot’s wooden desk organizer kit, which is available at The Home Depot in limited quantities. However, if you want to make your cardboard organizer a bit larger, adjust your sizes accordingly.
- 2 sides - 3 ⅝” wide at the base x 6” tall
- 1 bottom - 3 ¼”
x
7 ⅞“ - 1 back - 2 ¾”
x
3 ¼” - 1 front - 2 ¾”
x
3 ¼” - 1 end - ¾”
x
3 ¼” - 10 pieces of fencing - ½”
x
1 ½”
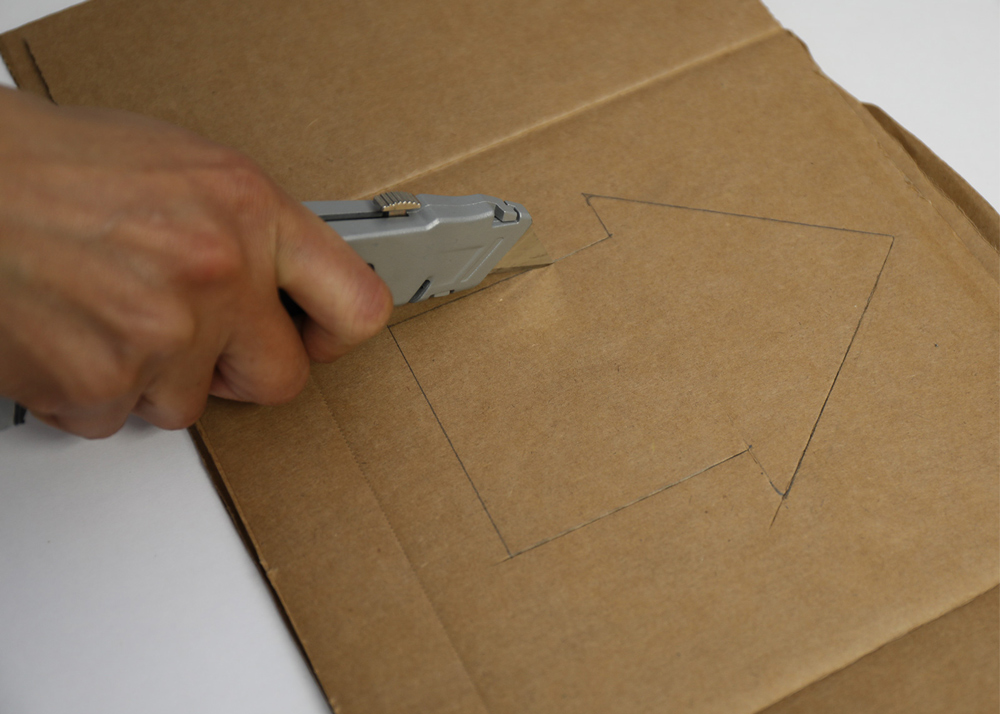
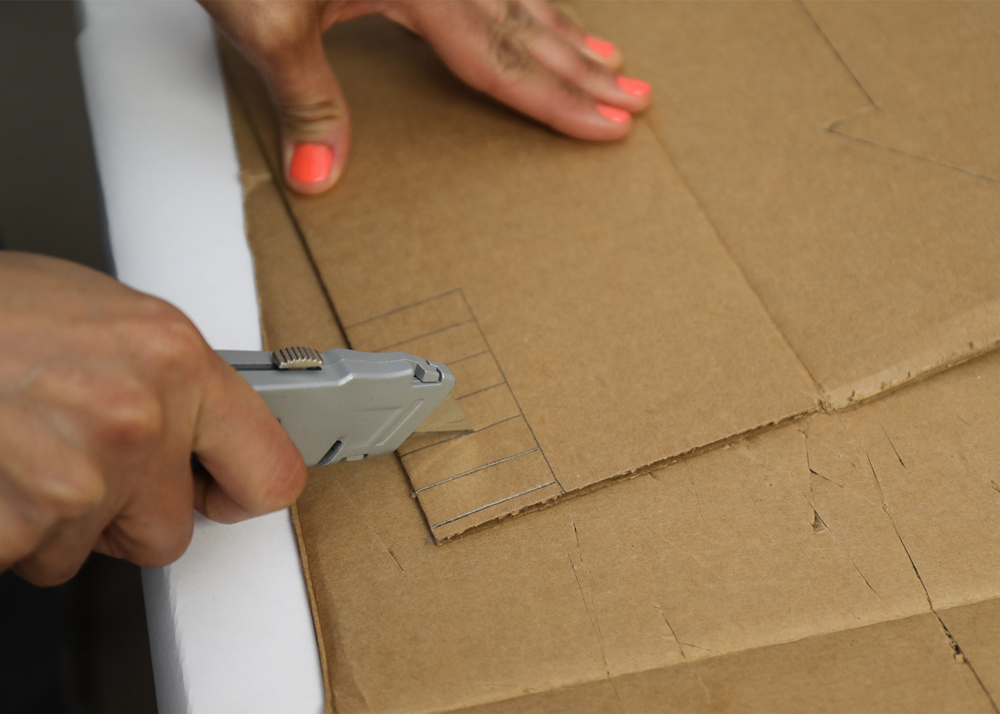
You may use scissors to cut out the cardboard pieces, but a utility knife works best for clean cuts. Be sure to use an extra piece of cardboard underneath your pattern pieces while cutting to prevent cutting your work surface.
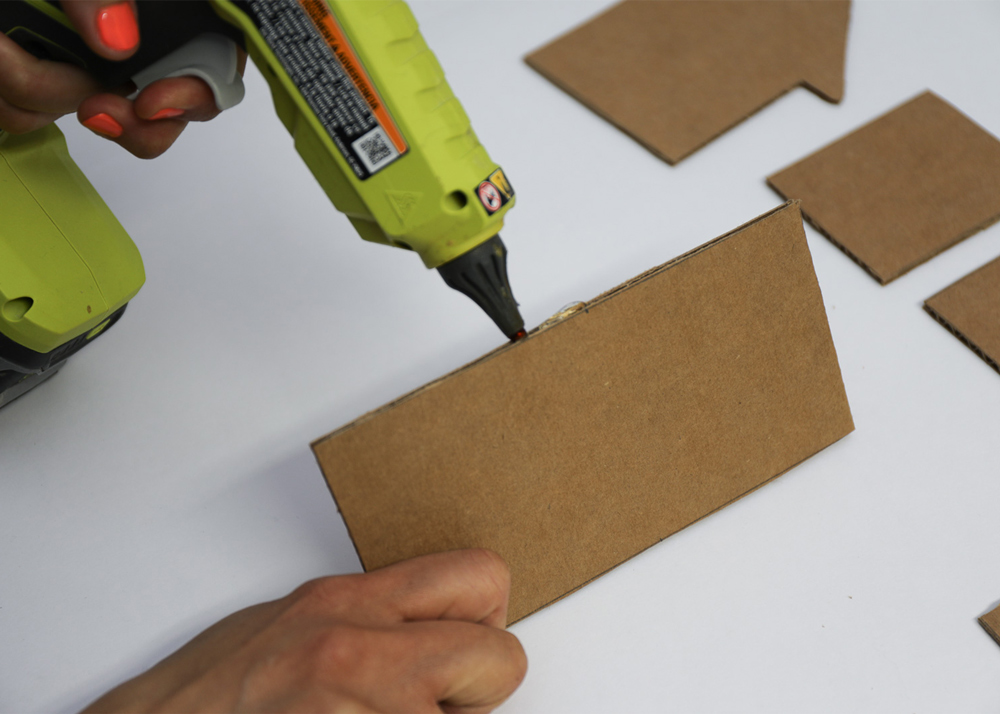
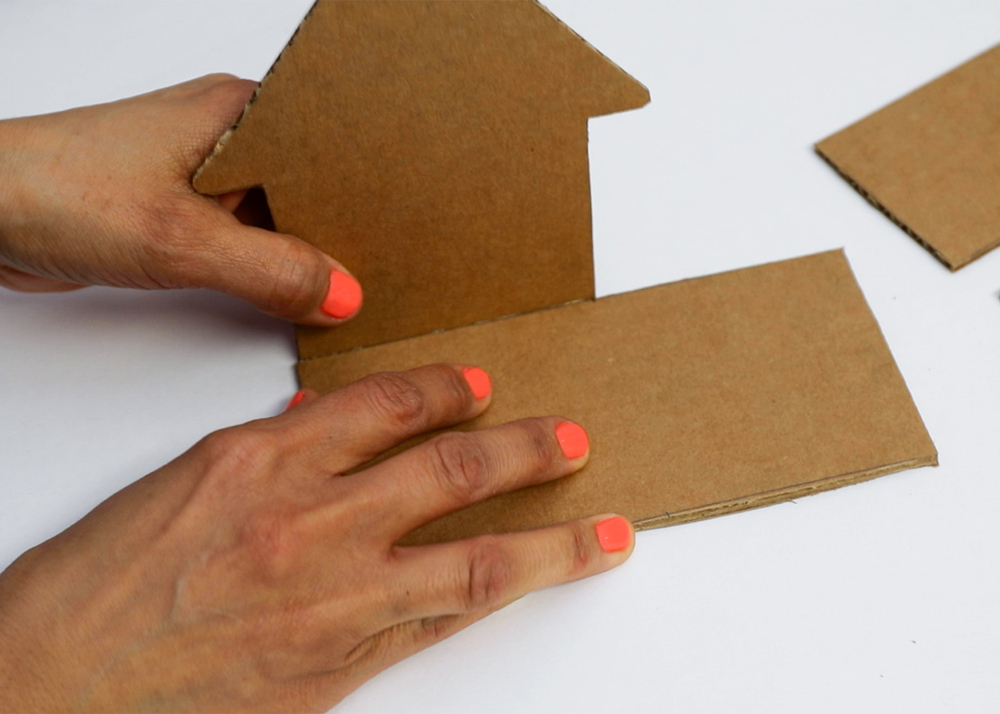
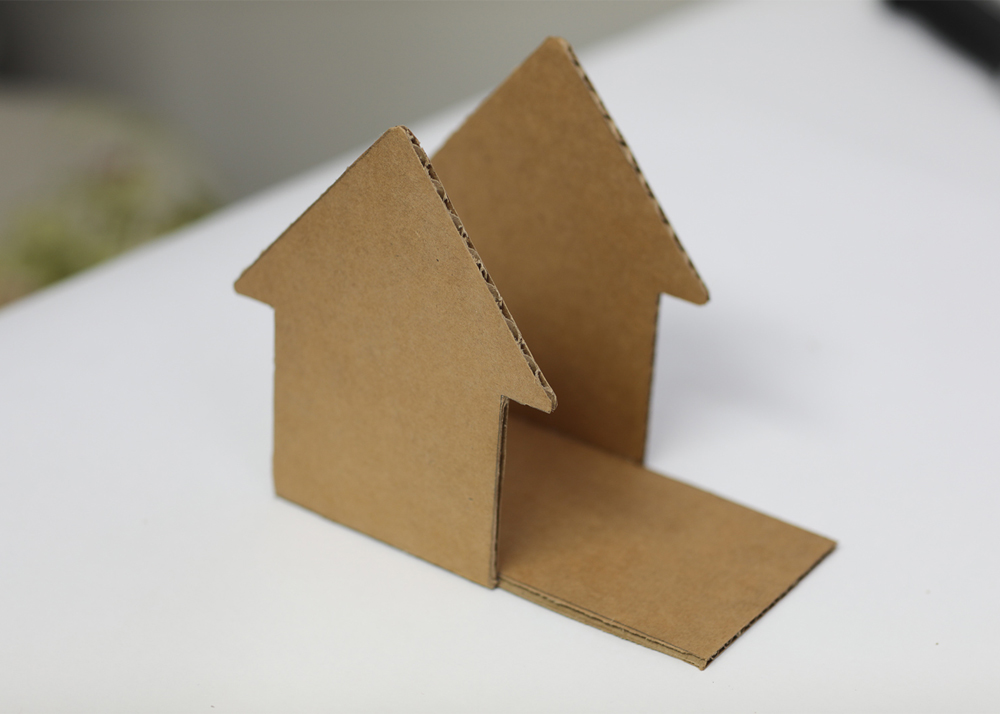
Step 2: Glue the Sides to the Bottom Edges
Add a line of hot glue to half the edge of the bottom piece of cardboard, and attach one side to it. Repeat this process to the other side.
Step 3: Attach the End
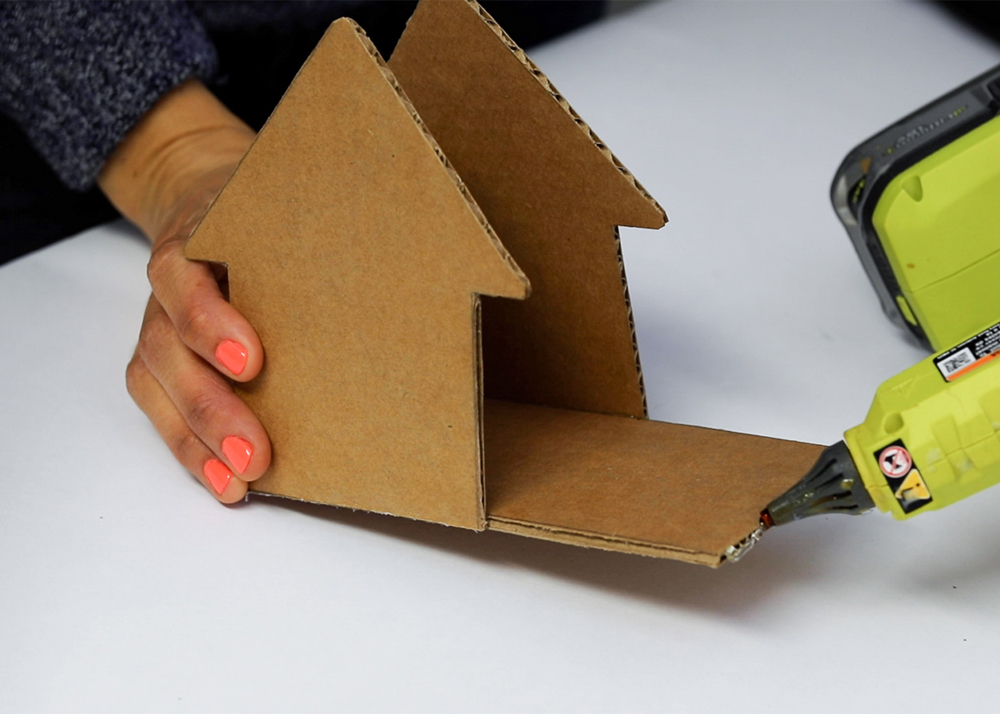
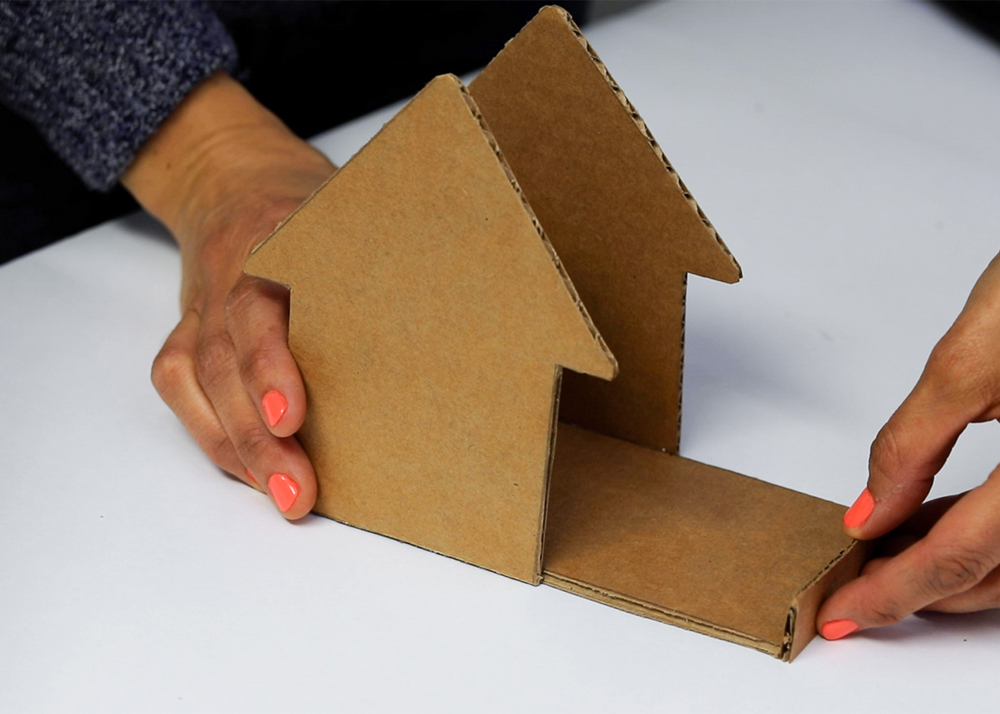
Next, add hot glue to the end of the bottom, and then attach the end piece.
Step 4: Glue the Back Piece to the Back
The back piece will require hot glue to each side of the cardboard. Set the back piece in place gently, and press to secure the hot glue.
Step 5: Glue the Front to the Sides
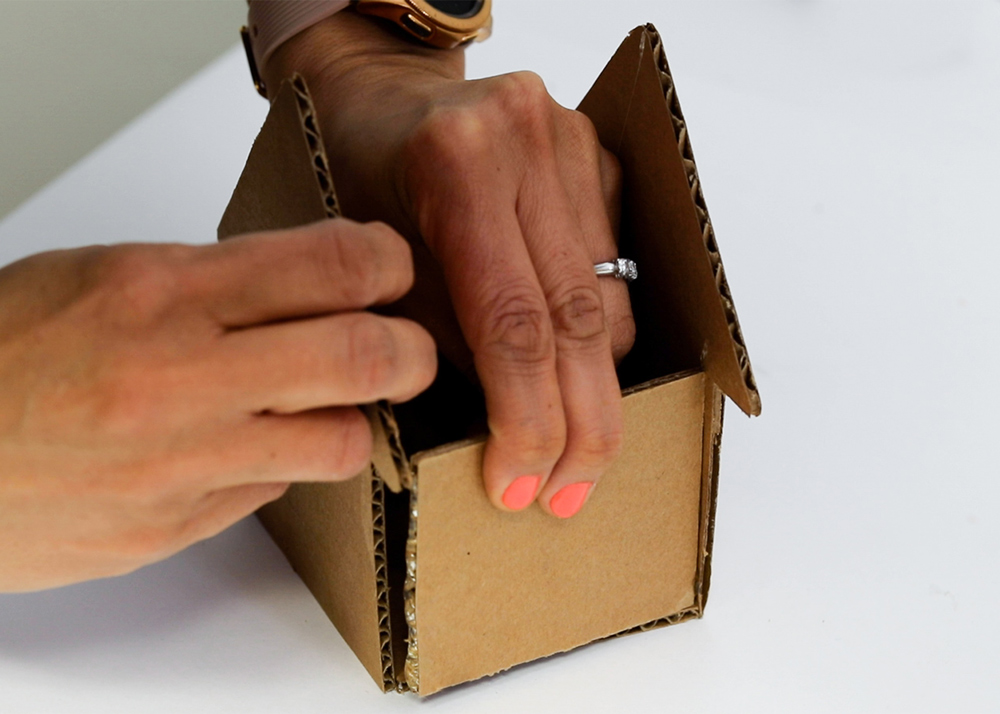
For step five, repeat this same process for the front piece. Add hot glue to the sides and gently wedge the piece between the sides towards the front.
Step 6: Glue the Fencing to the Bottom
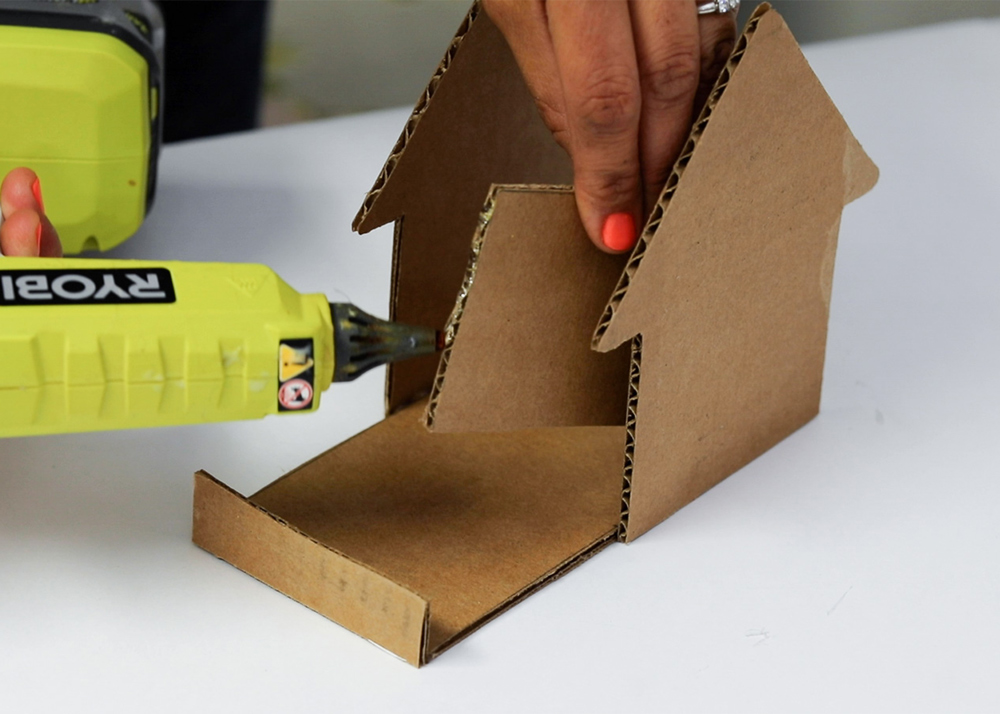
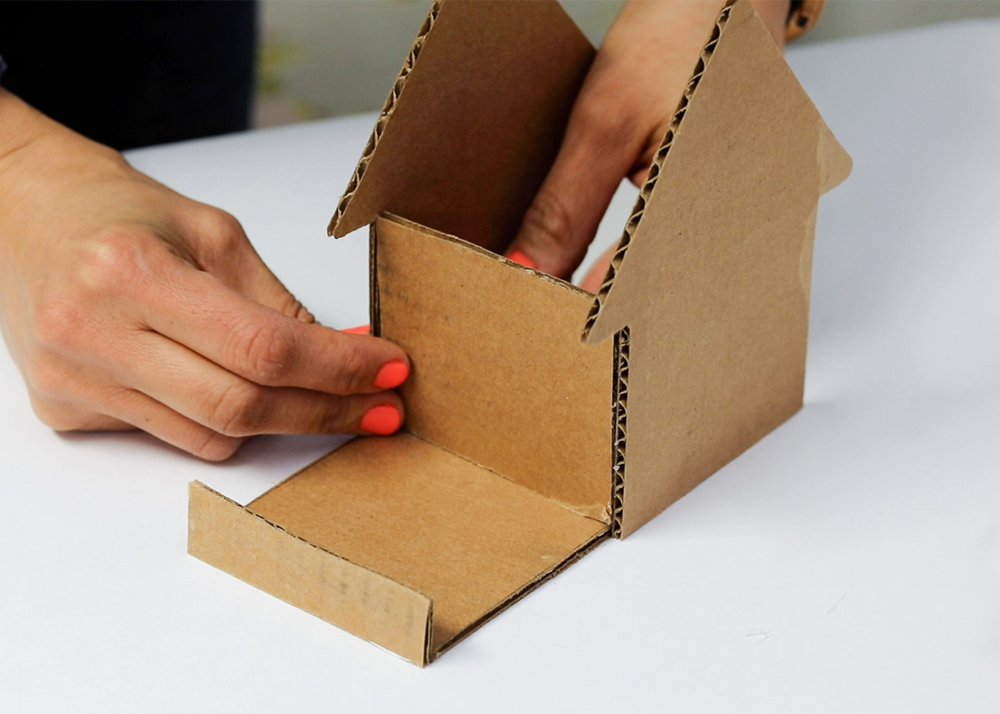
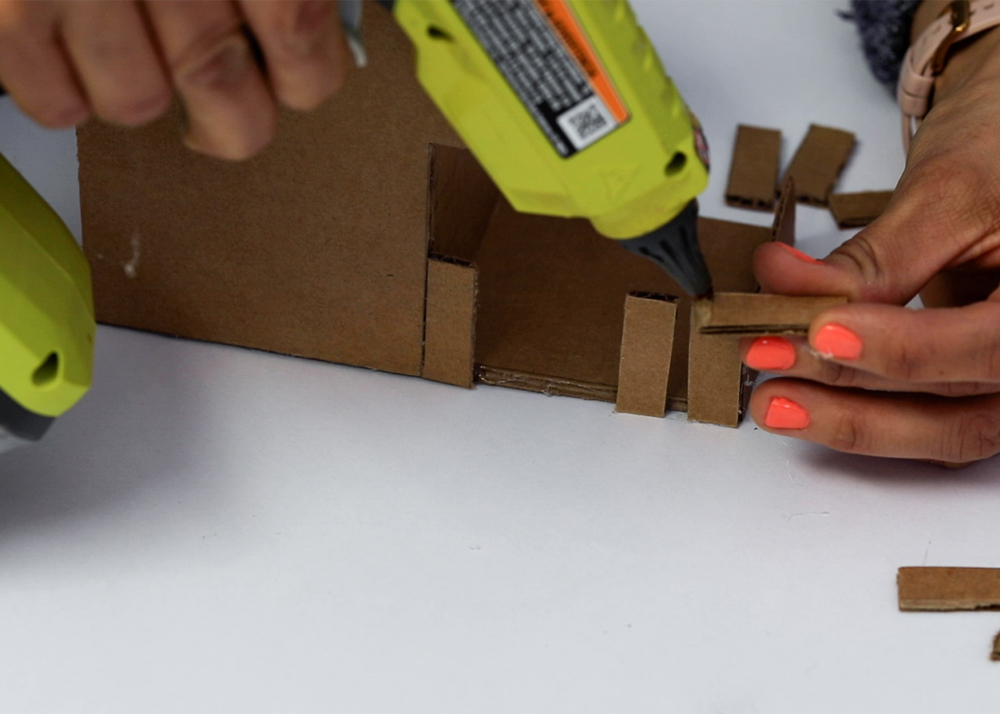
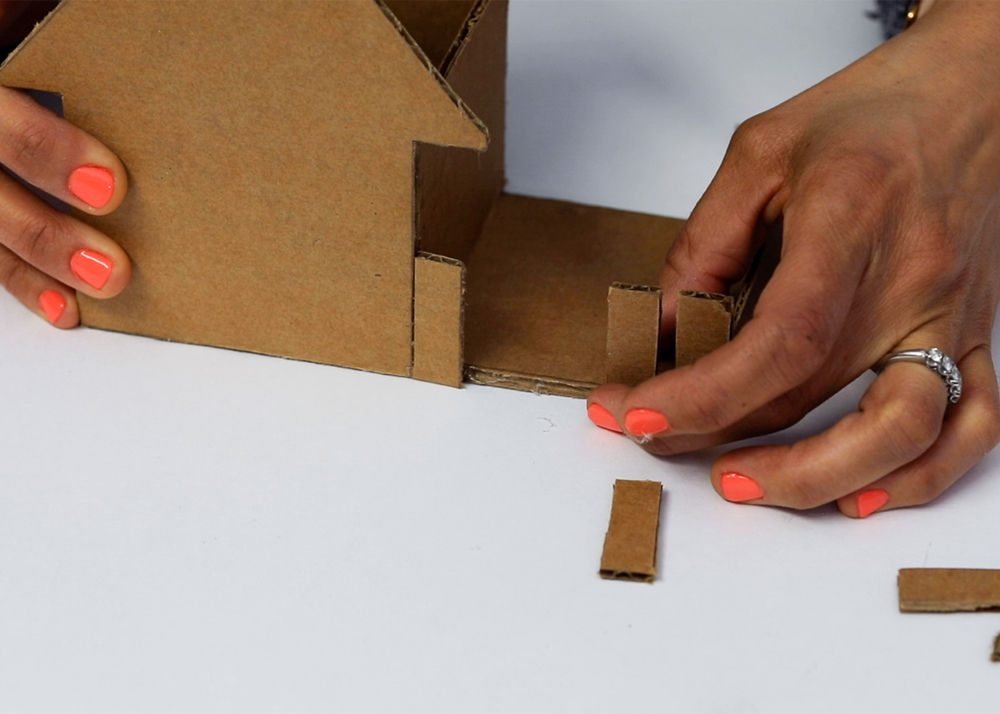
There will be five pieces of fencing on each side of the desk organizer, for a total of 10 pieces. Add a bit of hot glue to the bottom edge of the fence piece and attach it to the edge of the bottom. Evenly space the fencing so that the space between them is approximately equal.
Step 7: Secure the Fencing with a Strip of Cardboard
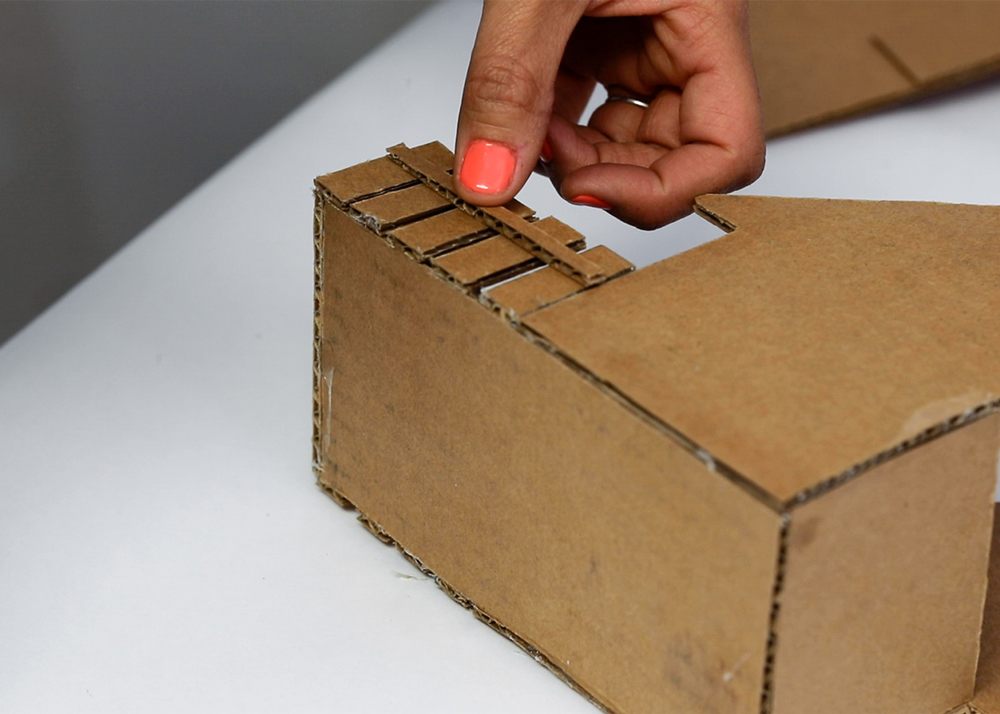
To keep the fencing stable, cut a small piece of cardboard the length of the fencing and glue it to the fence pieces. Repeat this step for the other side.
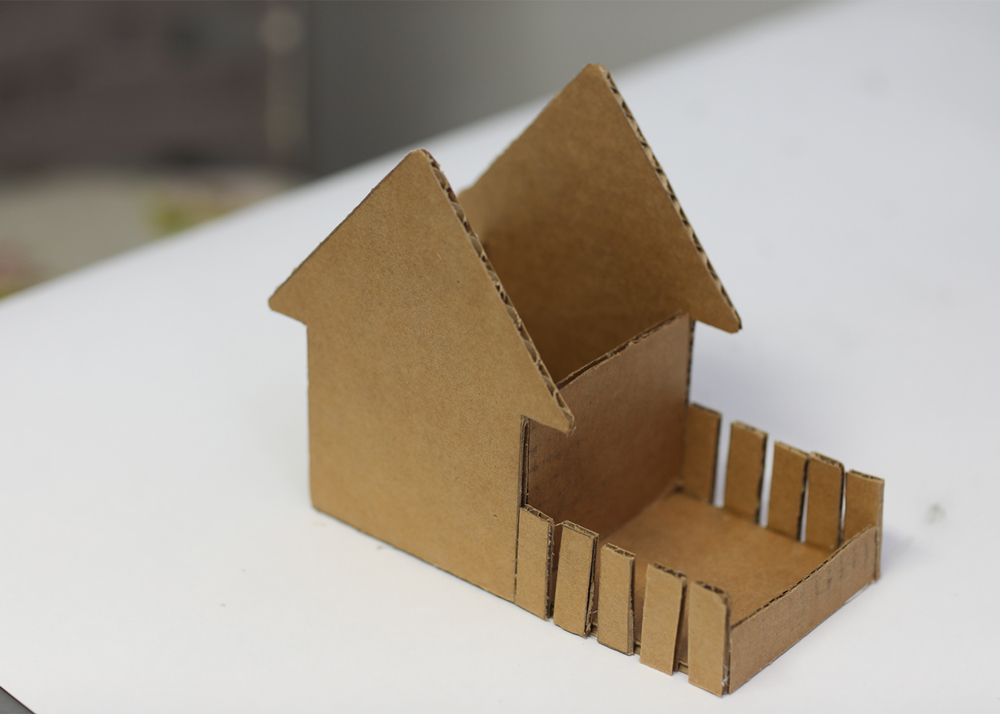
When you’re done constructing your desk organizer, it should look like this.
Step 8: Decorate Your Cardboard Desk Organizer!
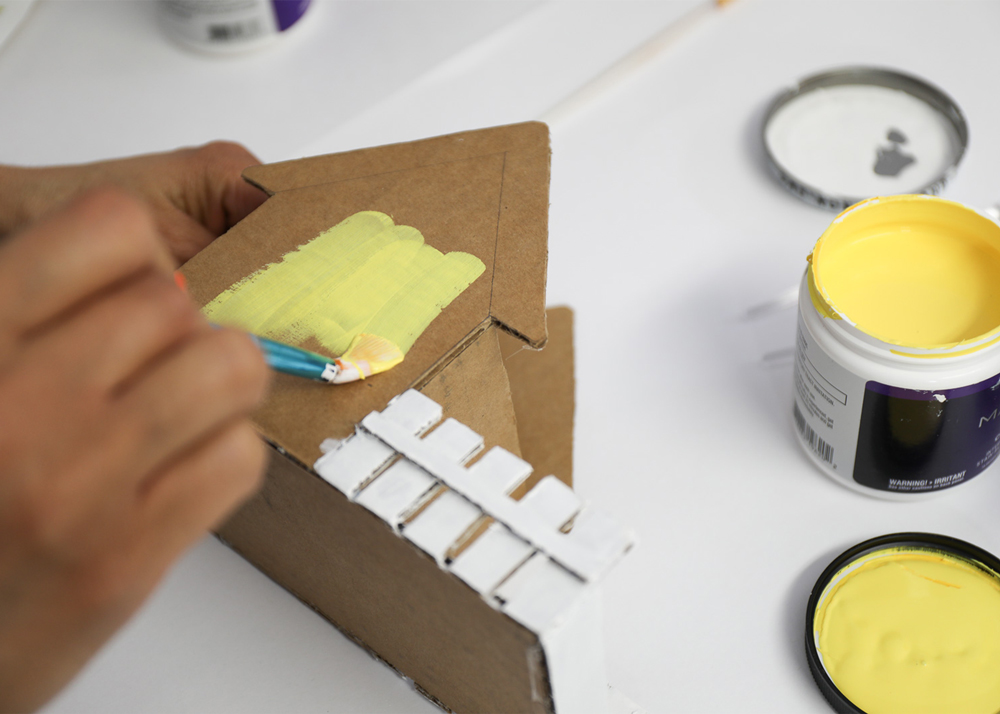
Time to decorate with paint! Cardboard tends to suck up paint, so you’ll need 2-3 coats in order to get an even coverage. Use a ruler to draw a roof line, which can be painted a complimentary or contrast color. This desk organizer looks great with a gray roof! Don’t forget to draw on windows and window boxes with pretty flowers!
Step 9: Add All the Essentials!
Fill up your DIY cardboard desk organizer with your child’s most essential items:
- Dry erase markers
- Pencils
- Scissors
- Stapler
- Glue stick
- Sticky notes
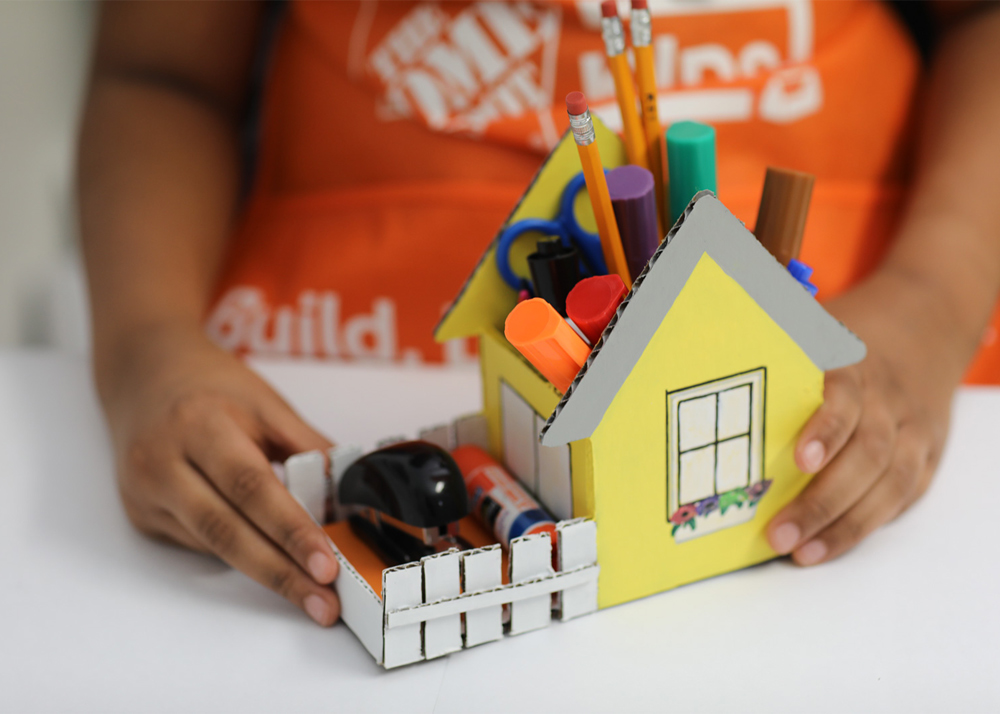
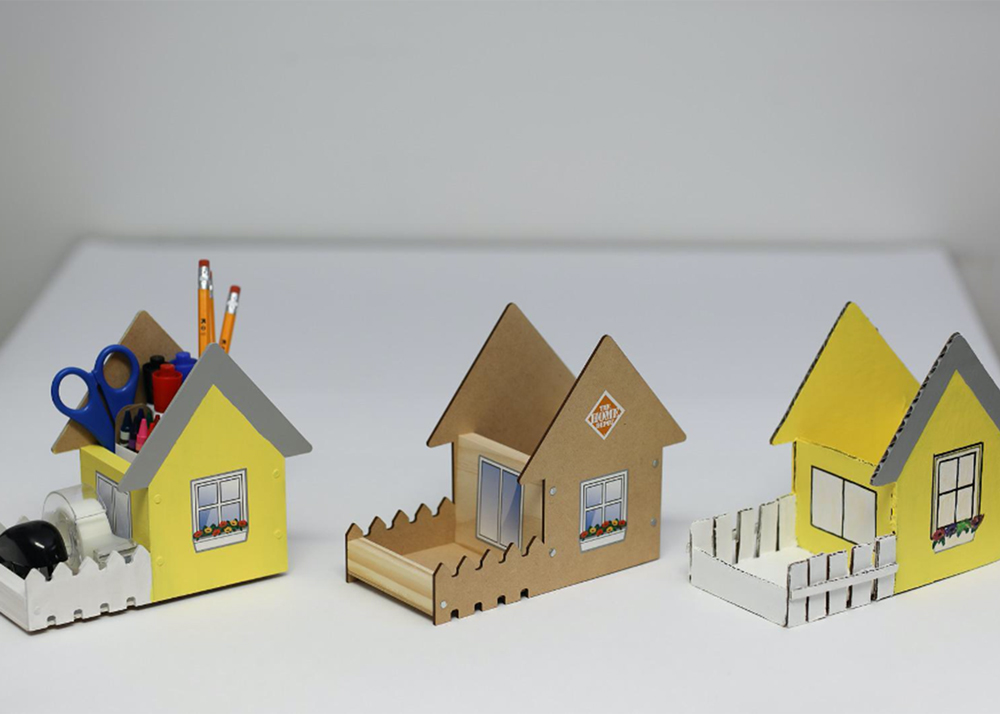
So whether you’re using the wooden Desk Organizer kit, making your own out of cardboard, leaving it natural, or painting it, this is a cute project that your kids will love!
If you enjoyed this fun desk organizer, be sure to also check out other fun DIY Kids Workshop activities, tutorials, including a Kids Ladder Truck, a fun Soccer Game, and a creative Toy Crane!
This post was created in partnership with The Home Depot. The author may have received compensation for this article and associated images or video, potentially in the form of products and/or services. All expressed opinions and experiences are the author’s own words.


