How to Make a DIY Trick or Treat Sign

Last updated September 7, 2023
Presented by Christina Brooks of Bee Tree Design Co.
Learn how to make a DIY trick or treat sign and dress up your outdoor space for the season. Whether you go all out for Halloween with a spooky cemetery or haunted house theme or just want a thrilling way to greet neighbors, this guide will show you how to recreate this coffin-shaped sign with just a few supplies, including paint and picket fencing.
Difficulty:
Beginner
Duration:
Over 1 day
Table of Contents
Create Design and Secure Sign
Apply Paint to Pickets and Lay Stencil
Apply Black Paint
Prepare for a Ghostly Greeting
Other Ways to Show Off Your Sign
Create Design and Secure Sign

- Begin by practicing drawing your design on a piece of paper. Once you're happy with the look, begin drawing the design on the fence pickets.
This project used three 1-inch x 6-inch x 8-foot fence pickets. - Then, using your jigsaw, cut out the fence pickets in the coffin shape.
- Using scrap wood as braces, secure the pickets to the braces with wood glue and a nail gun.
Tip: You can use a hammer and nails in place of wood glue and a nail gun.
Apply Paint to Pickets and Lay Stencil

Now that you've created the shape, it's time to apply the first coat of paint. For this project, primer/sealer and paint are used.
- Start by applying one coat of the primer. Then apply one coat of white paint.
- Allow the paint to dry overnight.
- Once the paint has dried overnight, apply your vinyl stencil and paint over it with your white paint. Allow it to dry completely.
Tip: Painting over the stencil with base paint color helps prevent the final paint layer from bleeding between the stencil and wood. If you prefer to hand-paint your design, skip this step and paint the sign with your desired background color.
Apply Black Paint

- Keeping the stencil down, apply two coats of black paint.
- Allow the paint to dry and lightly sand the sign to give it a distressed look.
Prepare for a Ghostly Greeting

Once all the paint has dried, you are ready to decorate the porch or yard with your DIY trick-or-treat sign.
Other Ways to Show Off Your Sign

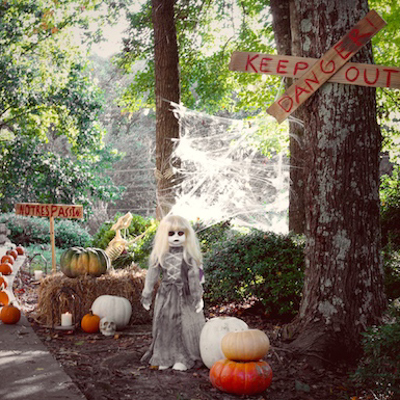
Want to go all out to greet trick-or-treaters, or up the scare factor on your curb appeal?
Choose a theme – like this eerie cemetery scene – and dress up the front yard with inflatables. Enlist the help of oversized skeletons and finish things off with spooky wreaths.
Creating a DIY project for Halloween is a fun way to get into the spirit of the season. Want to make a trick or treat sign, but don’t have the tools you need? Consider power tool rental from The Home Depot. You can also download The Home Depot Mobile App to have the tools and materials delivered to your doorstep.