How to MIG Weld

Last updated September 7, 2023
MIG welding, or metal inert gas welding, is a type of welding that uses wire and gas to form a metal bond. During MIG welding, an electric arc is formed between a wire electrode – a MIG electrode – and the metal you’re working on. As the metal heats, the materials melt and join together. If you already know the basics of welding, you’ll likely pick up MIG quickly.
Use this guide to learn how to MIG weld. Discover the answer to “What is MIG welding?” as well as the basics of welding safety, techniques and troubleshooting. This guide also offers tips and tricks on MIG welding for beginners.
Difficulty:
Advanced
Duration:
Over 1 day
Table of Contents
Understand MIG Weld Basics
MIG Welding Gas Ratios and Metal Types
MIG Welding Safety Gear
MIG Welding Supplies and Equipment
Prepare the Metal and Wire
Prepare the Shielding Gas
Understand MIG Weld Basics
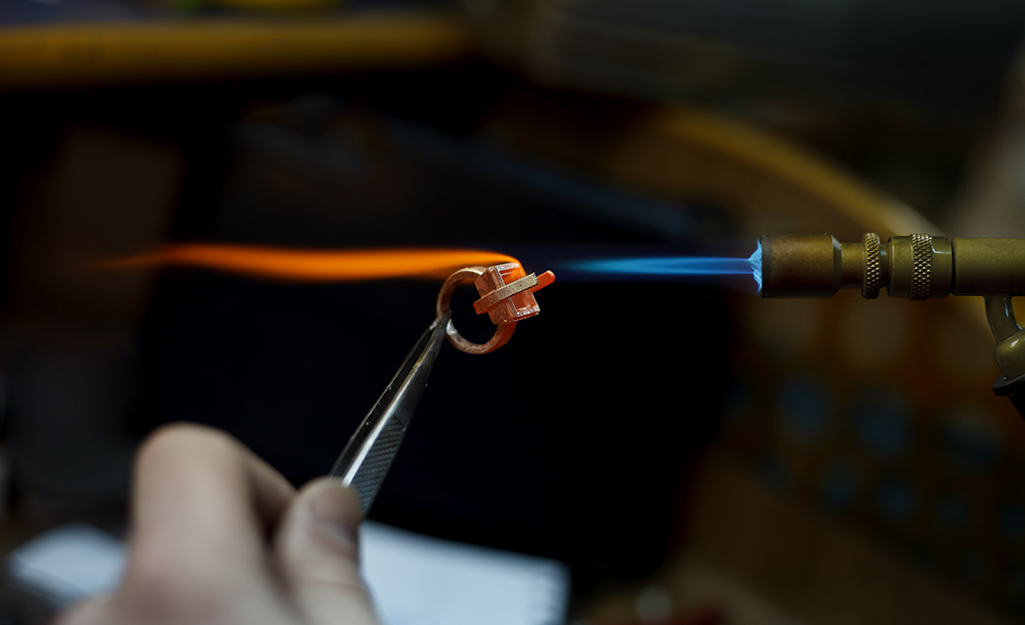
Learning how to MIG weld is a fairly simple process if you’re familiar with the basics of welding. MIG welding can be used for melding many types of metal. Here are a few common uses:
- Household Item Repair - MIG welding is excellent for DIY users who want a more powerful solution than standard stick welding. It’s perfect for fixing metal sinks.
- Car Repair and Restoration - MIG welding is commonly used in garages and hobby shops for repairing car parts, like a cracked engine.
- Arts and Crafts - Many people use MIG welding at home for sculpture, yard art and other decorative tasks. You can even use it for jewelry making.
What is MIG welding? It’s a type of welding intended for metals ranging from 24-gauge up to 1/2-inch thick. MIG welding works best with aluminum, carbon steel, copper, stainless steel, magnesium, nickel and bronze. It can work with other alloys, or combination metals, as well. It’s known within the welding industry as GMAW, or Gas Metal Arc Welding. Due to the welding method, it’s sometimes called wire welding.
If your metals are over 1/8-inches thick, you’ll want to bevel the edges before joining them. That means using a grinder to make one of the edges thinner. The pieces should fit neatly together then.
MIG Welding Gas Ratios and Metal Types
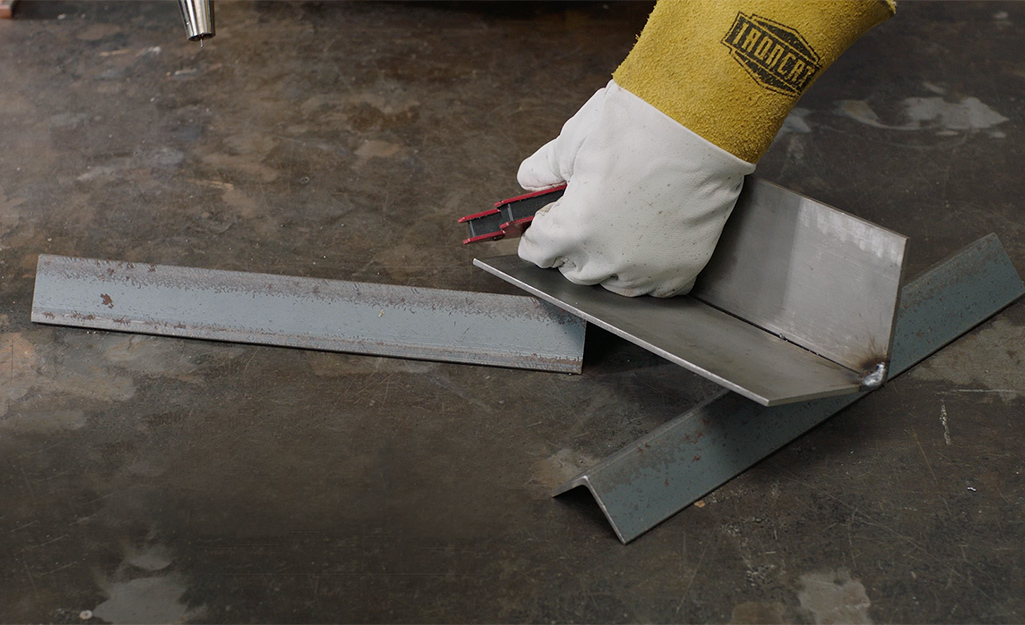
Shielding gas is used during all MIG welding techniques. You need it because it protects your weld from the hydrogen, nitrogen and oxygen in the air. Those gases, which are the wrong quantity and mixture for your weld, would interfere with your weld bead quality.
Which type of gas you use depends on your material. For example, aluminum welds use 100 percent argon gas. If you’re welding steel, 75 percent argon and 25 percent carbon dioxide is the way to go. Nitrogen and hydrogen are sometimes used when MIG welding stainless steel.
Helium is for non-ferrous metals, those without iron. You can use it for stainless steel as well. You’d use a ratio of 25-75 percent helium and the remaining amount as argon. Never weld galvanized steel, as the zinc that off-gasses is toxic and can hurt your lungs.
The ratios will also vary according to the type and thickness of the metals you’re welding. Some gases burn hotter than others, which will alter your shielding gas ratio too.
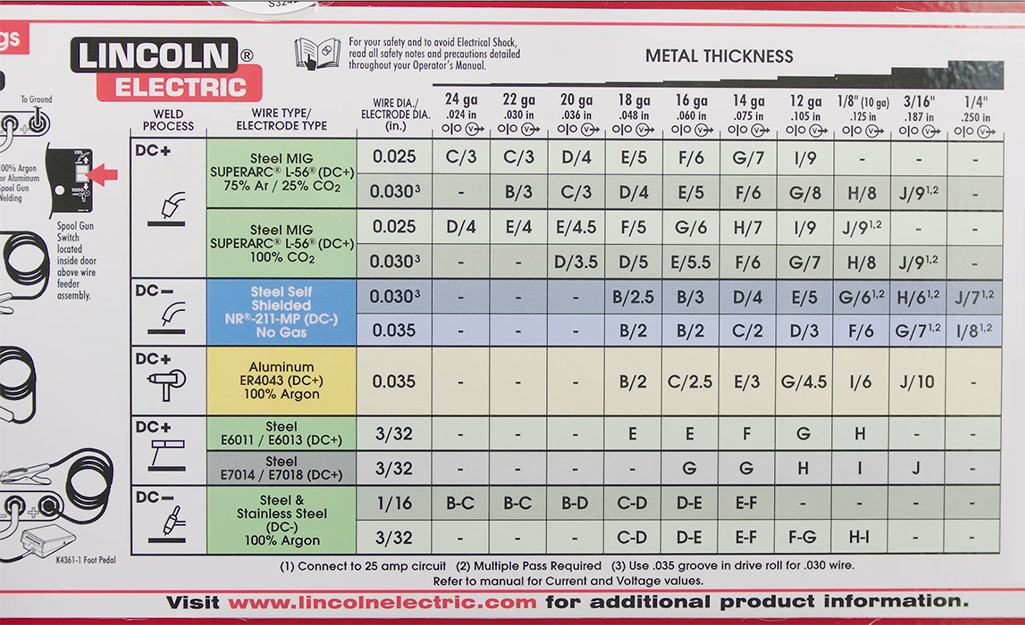
Use the guide on your machine and troubleshoot practice welds to find the perfect ratio for your project. In most cases, a combination of argon and carbon dioxide will be used at about a 75 percent to 25 percent ratio.
MIG Welding Safety Gear
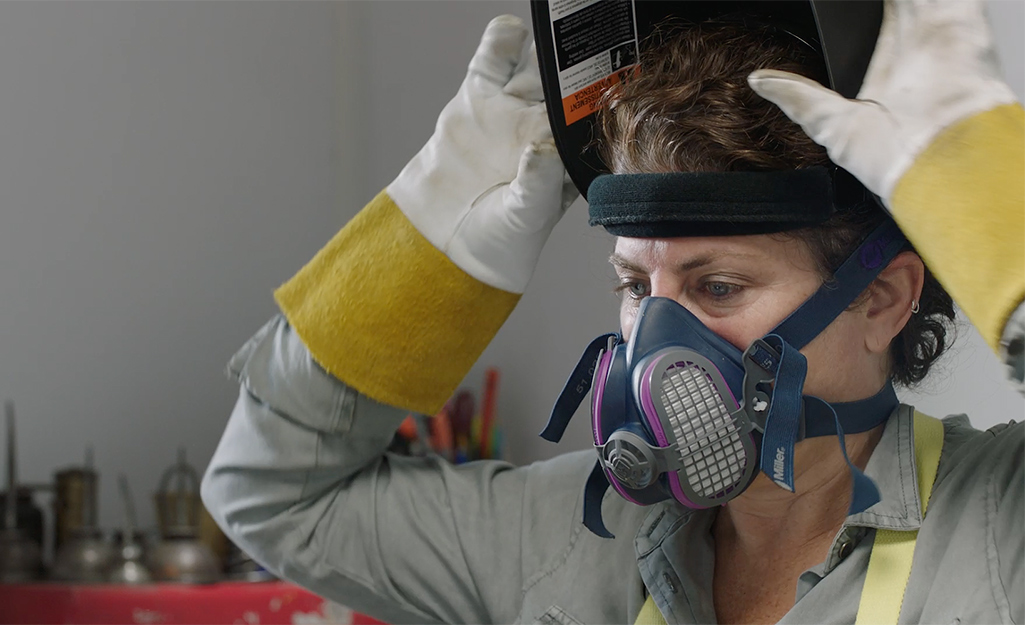
Taking on MIG welding may seem daunting, but with a little knowledge, you can learn how to MIG weld correctly. You’ll need the right protective gear, welding supplies and equipment to weld safety. Don't skimp on the quality, and do your research to find the best protection for you.
Here’s a list of welding safety gear to help you get started:
- Welding Bandana: Made from flame retardant materials, a welding bandana will protect your head and hair from flames and sparks.
- Auto-Darkening Welding Helmet: Choose a purpose-specific welding helmet to protect your eyes. You’ll need this whether you’re making a quick weld or working all day on a big project.
- Protective Safety Glasses: Pick glasses designed for welding. They’re made for heat and sparks, so they’ll protect your eyes better than generic protective eyewear.
- Welding Gloves: Gloves for MIG welding should be made of leather or cowhide. If possible, look for welding gloves that are specifically for this type of welding. TIG gloves are more flexible and not the same as MIG welding gloves.
- Welding Jacket: Leather is the best material for this. Look for a jacket made for welding. The fit should be comfortable, not too loose or tight. You can also wear a welding apron.
- Denim Pants or Work Pants: Denim is an excellent material for welding since it’s flexible, comfortable and rugged. Avoid cuffed pants since they can trap sparks and heat.
- Work Boots or Shoes: Leather work boots with solid treads are ideal for welding.
MIG Welding Supplies and Equipment
Before you can start MIG welding, it’s good to get familiar with the tools of the trade. Here are some welding accessories and equipment you’ll be using:
- MIG Welders: Some machines come with a tubing and a welding gun or torch. They often feed welding wire. These are the best starting point if you’re new to MIG welding or if you’re a hobby MIG welder.
- Torch or MIG Gun: These usually come with your MIG welder. Upgrading can give you more flexibility.
- MIG Gun Liner: This will wear down over time since it’s used to house the MIG wire that runs through it. Keep a few on hand if you weld regularly.
- Welding Tips: Tips for MIG welding wear out of over time, so keep some handy in your workshop. You’ll need different tip sizes to match your welding wire.
- Solid MIG Welding Wire: Available in a variety of thicknesses, MIG wire must be shielded. MIG welding rods can be used as filler material for some jobs as well.
- MIG Wire Feeder: Some welders have wire feeders included, but a dedicated unit typically performs best and has a higher capacity.
- Shielding Gas for MIG Welding: A mixture of carbon dioxide and argon is standard. You might also use a combo of helium, nitrogen and hydrogen, depending on the job.
- Wire Brush: MIG welding requires a very clean surface. A wire brush can help you remove slag when you’re done welding.
- Grinder: To clean up a bead weld, a metal grinder or angle grinder is an ideal tool.
- Ventilation System: If you’re working inside without access to an open garage door or fan, get a dedicated welding ventilation system. This will keep you from breathing noxious chemicals during the process.
Prepare the Metal and Wire
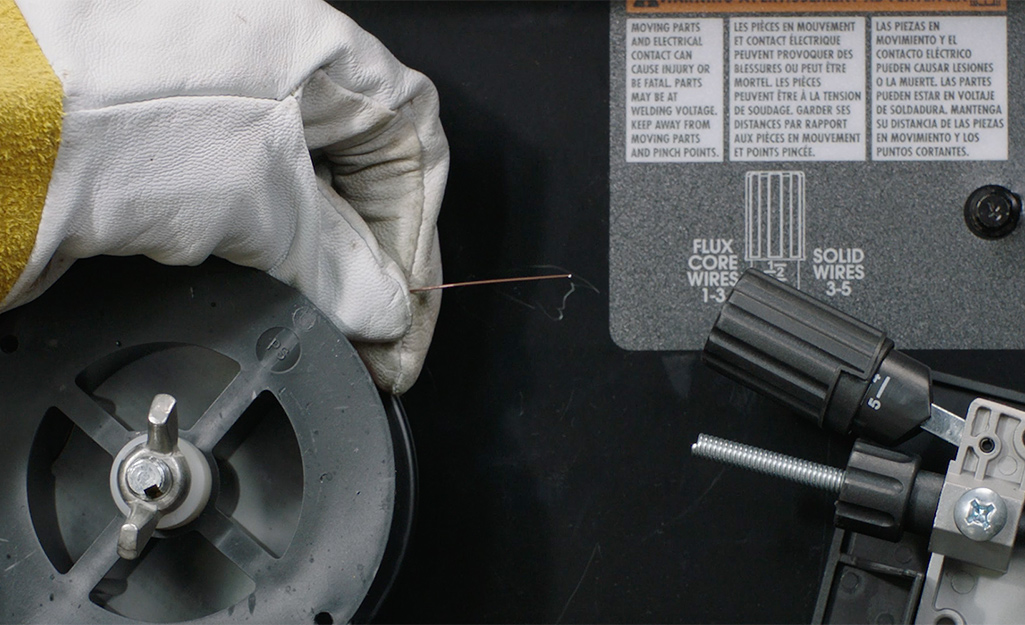
Unlike flux core welding, MIG welding requires a very clean surface to form a proper bond. Most steel has a darkened finish called mill scale when it comes from the steel mill. This finish, as well as dirt and oil, must be removed before MIG welding. Your weld won’t stick if the surface isn’t spotless.
- Remove dirt and oil with a cleaning solution, like a degreaser.
- Use your metal cleaning brush, welding brush, sander or grinder to remove stubborn mill scale.
- Choose the right wire for the job. ER70S-3 is a great all-purpose choice for welding.
- A wire diameter of .030 inches is good for welding many different thicknesses of metal.
- A .023-inch wire works well for thinner materials. You may need .035 to .045-inch wires for thicker materials and higher heat output.
Prepare the Shielding Gas
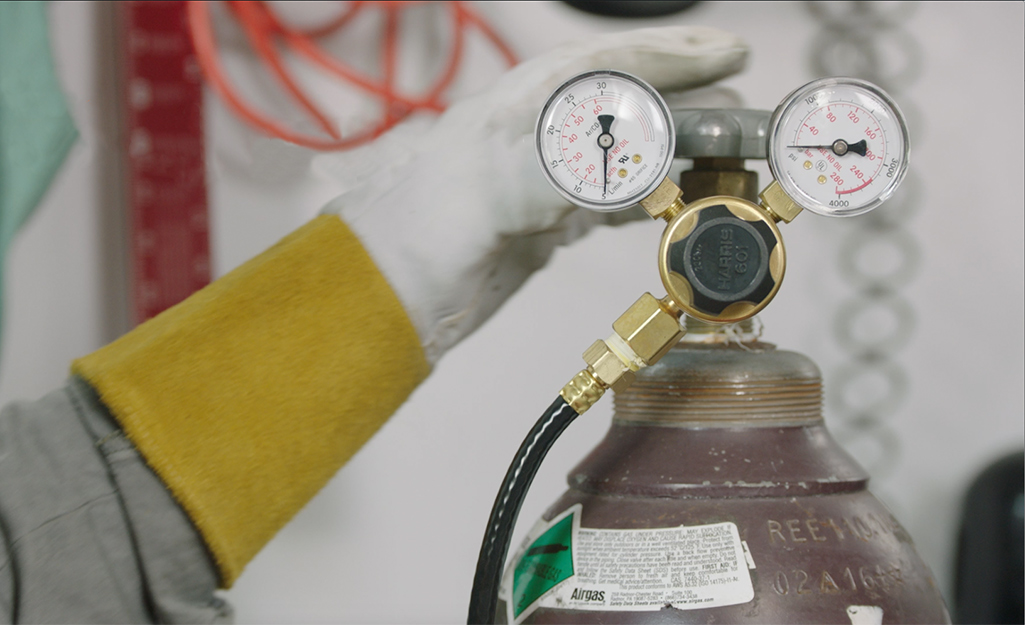
Assure the gas mixture matches your metals. For details on that, please see Section 2.
- It’s important to use the right gas combination.
- A mixture that is 75 percent argon to 25 percent carbon dioxide is ideal for most projects.
- You may want to use 100 percent carbon dioxide for thicker materials. However, doing so usually increases spatter and bead size, making a rougher bond.
- Your gas flow rate is measured in CFH, or cubic foot pounds per hour. It changes with the metals you’re welding. Beginners should start slow at 12 CFH, but you may use 20-25 CFH or more.
Make sure all flammable materials are far away from your work area. Keep a carbon dioxide fire extinguisher nearby in case a spark ignites.
How to MIG Weld
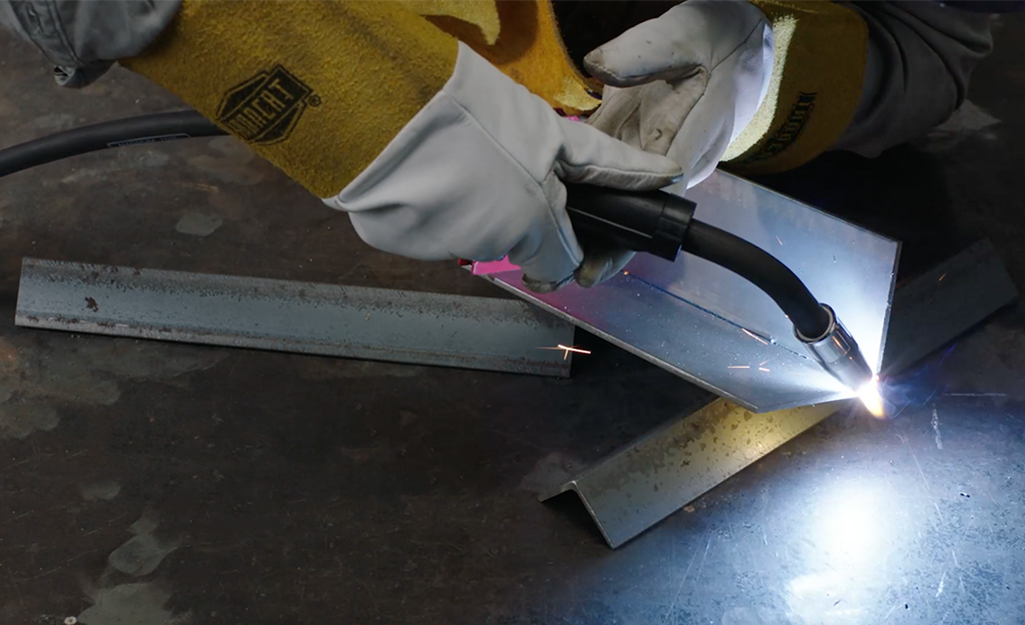
Once you’ve prepped your materials, you’re ready to start welding. Here’s a step-by-step overview:
- Suit up with your safety gear. Arrange your workspace.
- Set your grounding clamp. Clamp it to anything metal, like the table or your project.
- Open the gas valve. Stand back as you do this in case the handwheel flies off.
- The pressure gauge should go up. Wait until it’s about 1000 PSI, or pounds per square inch.
- Adjust the gas flow so it’s 12 CFH. If you’re more experienced, try between 15 and 25.
- Turn on the MIG welding machine.
- Adjust your voltage and wire speed for your project.
- Snip your wire stick-out to 3/8 inches.
- Start MIG welding.
Use the Push Method
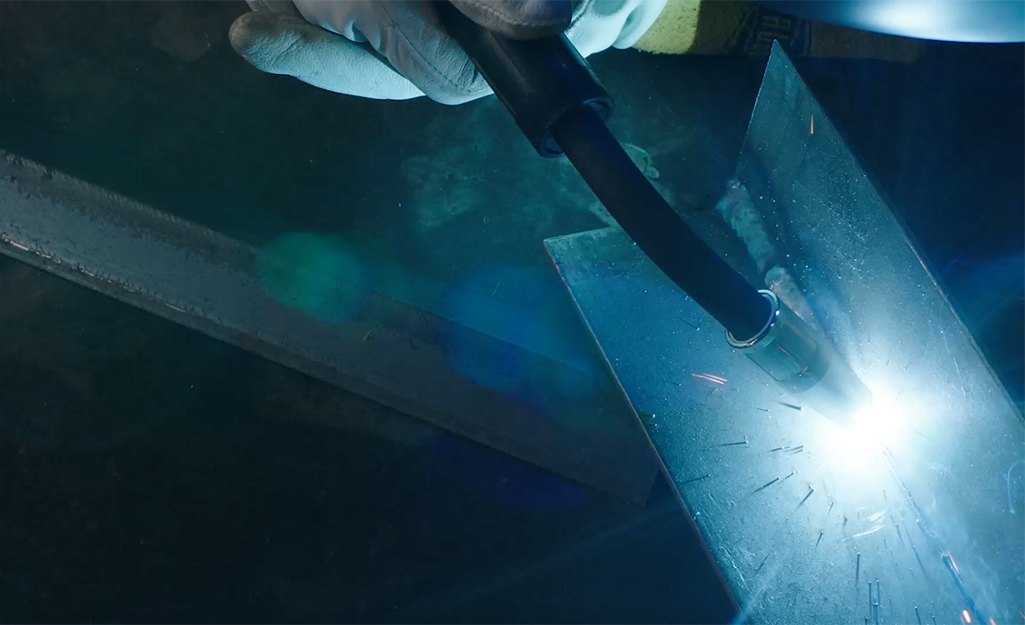
There are a few methods for MIG welding, but beginners will do best with the push technique. Once you’re comfortable welding, try the push-pull method for some applications.
The push technique is used for MIG welding materials of standard thickness. Follow these tips for a strong bead:
- Push the gun away from you as you weld the metals together. This keeps the heat ahead of the weld puddle and gives you a better view of your progress. The extra visibility will also help you penetrate the joint more efficiently.
- Check your travel angle. That’s the angle you’re holding the torch in the direction of motion. A travel angle of 15 degrees is best for beginners. For most MIG welding jobs, an angle of 5 degrees to 15 degrees is preferred. Some welders prefer a 20-degree angle for MIG jobs, but as you increase the angle, you tend to increase spatter too.
- Keep your travel speed steady. Your travel speed is how quickly you’re moving your torch. Too slow can cause burnout, where you melt a hole through the metal. Traveling too quickly means your weld may not be sealed or hot enough.
MIG Weld Bead Technique
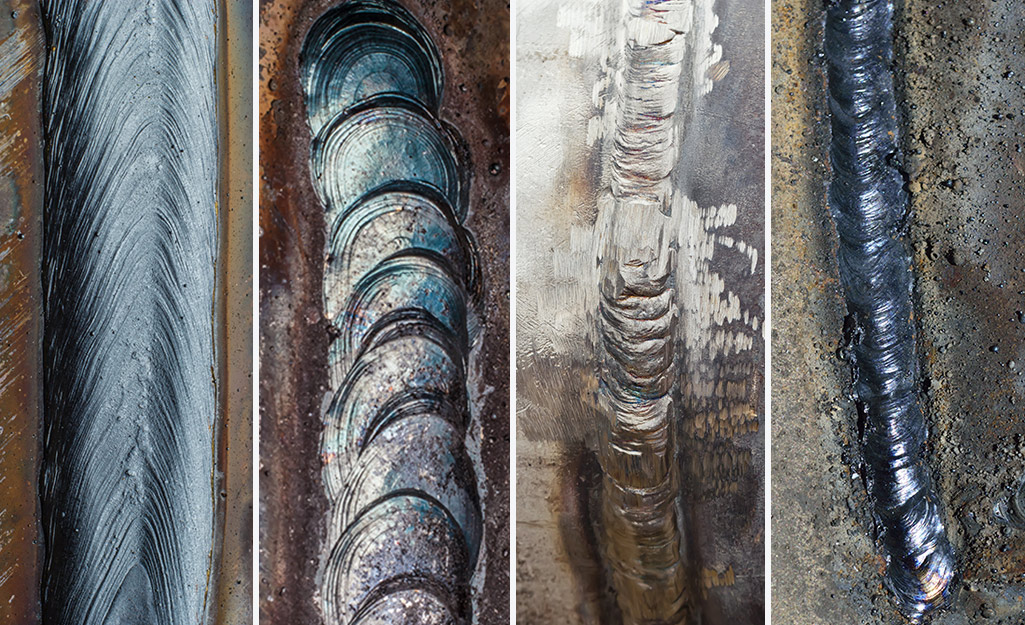
There are three basic types of beads you may see on your MIG weld. See the troubleshooting section to help all your welds look clean. Your beads likely fit one of these descriptions:
- Even, clean beads
- Irregular beads with blobs and dots
- Flat and wide beads
The ideal weld has a uniform bead with smooth toes. The toes are the ends of the weld. The perfect bead is slightly convex, or curves inward like a gutter. It’s the ideal weld, and it’s also the strongest weld you can create.
Use a small circular motion or make tiny cursive E’s to make your weld. You can also make tiny V’s instead, but the E-weld may be easier. Be sure to use the right amount of arc and wire feed speed as you weld. This should help your beadwork look neat and clean. It also means your weld is strong, which is the most important part.
If you’re new to MIG welding, practice often. Learning to MIG weld is an involved process that takes trial and error, as well as repetition. You’ll need to build your muscle memory and confidence. Work with scrap metal or test projects to get a proper bead. That way, your skills will be sound when it’s time to repair a more costly item.
Use your ears to help you refine your technique. The arc should sound steady, like a spark of electricity. If it sounds like sputtering bacon in a pan, you have too much wire feed speed. If it sounds like someone using a typewriter, you’ve got too little wire feed speed.
Finish with a Grind
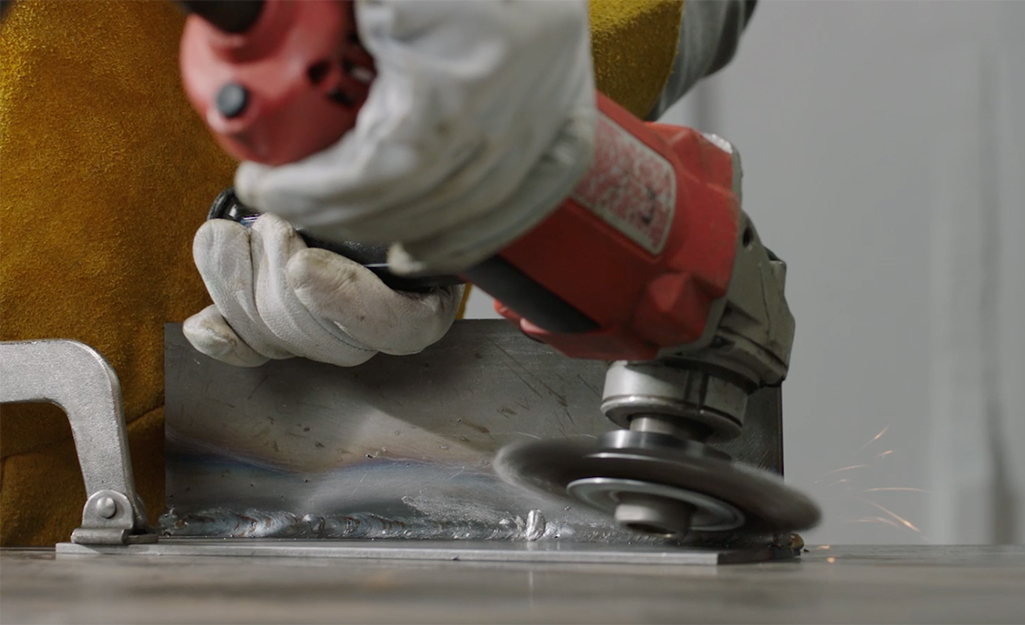
If you’re working with a metal other than stainless steel, you may want to grind your MIG weld to blend it better. Use an angle grinder to smooth down the bead. A die grinder works if you can’t fit an angle grinder.
An angle grinder can be fit with grinding wheels, sandpaper flap discs, and several types of wire wheels. All three are used to clean metal and welds. Wire wheels only clean off more easily removed debris, so they’re not the best choice here. The blade grain on your grinding wheel or flap disc plus the amount of pressure you apply determines your results.
Many welders prefer using a flap disc on an angle grinder to get a smooth finish. With a 4.5-inch angle grinder, try a 36- or 40-grit flap disc. Start slow because you can always grind away more. It’ll take longer to reweld a piece if you grind your bead off completely.
Alternatively, if you want to redo your weld, you can grind it off and start over. Just make sure you grind away as much of the old bead as possible. Then clean and prep your metal to try again.
Redoing your welds is a technique that works best during practice runs. You want your actual project welds to be as clean as possible, so keep working on your MIG weld until you’re confident.
Troubleshooting Common MIG Weld Problems
MIG welding takes time to learn. Find out how to solve common MIG welding problems:
- The MIG weld machine isn’t working.
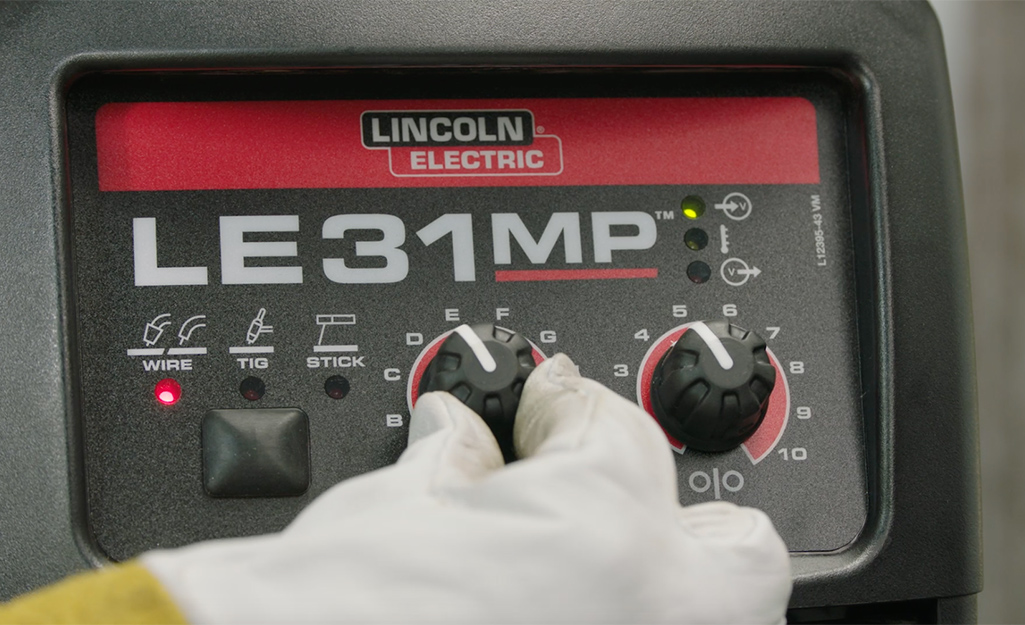
Check your weld settings against the chart printed on the machine. The speeds and settings might just be a bit off. Once your settings match, you may have better luck.
- I’ve melted through the metal.
Turn down your voltage and wire speed or work faster. New welders may have a slow travel speed, but that will improve with practice. Change one thing at a time to pinpoint your problem.
- My bead looks like a bird pecked holes in it or like a sponge.
You’re describing a porous weld. Your travel speed might be too high. Slow down your travel speed, but not so much that you get burnout. If that’s not it, check the gas supply. Your bottle may be too low or the gas may be blowing away from your project.
- I’ve got irregular and uneven weld beads with spatter and unblended toes.
You’ve got too much wire feed speed. Slow down the wire speed or turn up your voltage. Try one at a time to isolate the issue.
- My weld beads are wide and flat.
This is the opposite problem of the spattered beads. Your wire speed is set too low. Decrease voltage or increase the wire feed speed. Again, try one fix before trying the other.
MIG Welding Tips and Tricks
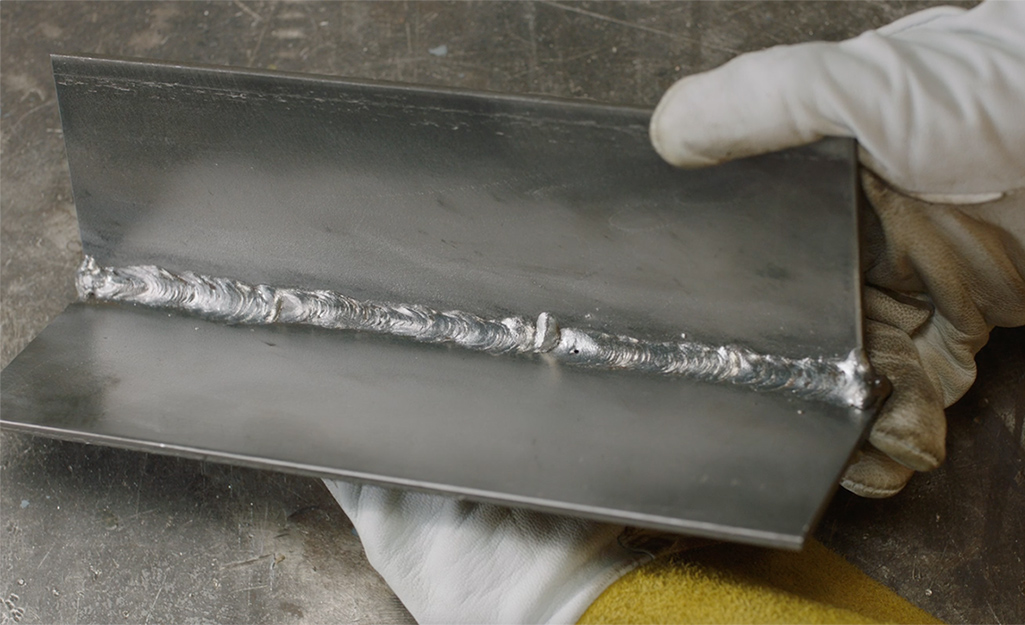
The process of MIG welding takes time to learn. If you’re familiar with welding basics, you’re halfway there. If you can work with a knowledgeable welder on the basics, even better. You may see progress in just a few hours.
Here are a few MIG welding tips to guide you toward better completed projects:
- Take time to prepare your metal. Clean your metal well before you start welding.
- Inspect your equipment before each use. Check hoses, gas pressure, welding tips and your welding gun before you begin.
- Use the right technique for the job. Learn push and pull techniques and apply them based on the work you’re doing. In most cases, the push technique will offer a better view of the work you’re doing.
- Use the right tip for your wire. For beginners, they should match. For example, use a 30 contact tip for 0.030-inch wire. Drilled tips last longer than drawn tips.
- Pay special attention to wire stick-out. A wire stick-out of 3/8 inches is recommended for MIG welding.
- Avoid working in a windy, un-shielded area. MIG welding can’t be performed outdoors except on very still days. This is because the wind can blow the shielding gas away from your weld pool while you work.
- Find a close outlet so you don’t need an extension cord. The cord might not deliver all the electrical power you need.
Learning how to MIG weld doesn’t require several months of practice, but true mastery will take time. Get the basics down, and pay special attention to safety if you’re new to welding. As with many skills, practice makes perfect.
When you’re ready to get started, we’ve got the supplies you need. Get wire, welding safety gear or a MIG welding machine sent right to your door. We deliver online orders when and where you need them.


