How to Paint a House Exterior

Last updated September 7, 2023
When properly applied, new paint on a home’s exterior should last for close to 15 years, as long as you use top-quality materials, apply them with care, and, most important, prepare all surfaces. Prepping surfaces means ensuring they are sound, sanded and clean before applying one drop of paint. When painting outside of a house you’ll also need to address how to safely access the highest points of your home. Using brushes, rollers and paint sprayers can help. But you will need to be comfortable working off ladders and be well-versed in setting them up safely.
Although wood siding types vary — and each may call for slightly different exterior paint application techniques — for the most part, the steps in this guide will have you covered. However, if your home exterior is masonry, painting and prep require different processes.
Difficulty:
Intermediate
Duration:
Over 1 day
Table of Contents
Trim or Tie Back Bushes or Limbs
Clean the Trim and Siding With TSP Solution
Scrape Loose Paint
Sand the Surface
Repair Rotted Wood And Reglaze Windows
Apply the Primer
Trim or Tie Back Bushes or Limbs
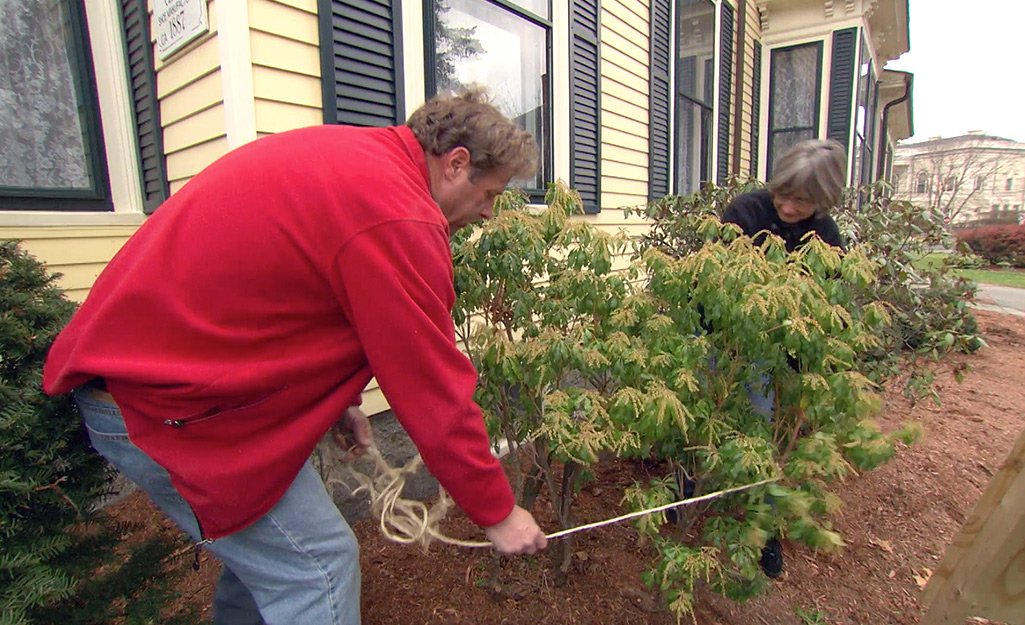
Exterior house painting starts with an assessment of the home’s surroundings. Before you begin, you’ll want to make sure that you can easily access all of the home’s exterior surfaces. Start by walking around the house and noting where limbs and bushes may get in the way.
- Wherever necessary, cut back tree limbs or bushes to provide adequate access for an extension ladder. You can also tie them back using gardener’s twine.
- Turn off any A/C units and cover with plastic and tape as needed.
Clean the Trim and Siding With TSP Solution
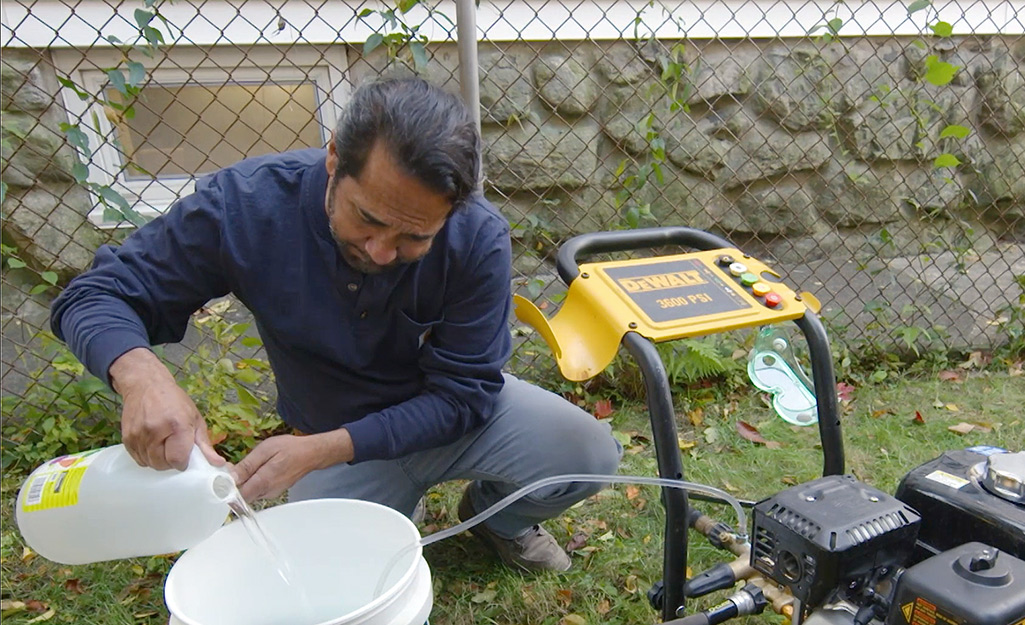
Over time, dirt, mold, mildew and other contaminants can build up on the home’s siding or trim. So, the first step to painting outside of the house is to remove these things from the existing paint. A pressure washer is a good tool to use for cleaning the exterior of the house. If you don’t own one, you can rent one at the Home Depot.
Note: Practice lead paint safety. If the house or surface you're painting was built before 1978, see the EPA's renovation, repair and painting program for guidelines. Knowing how to paint a house exterior safely means practicing these guidelines for your safety and the safety of your neighbors.
- Use a pressure washer to apply TSP solution or a TSP substitute cleaner to the exterior surface. Run the washer with light pressure to keep from damaging any of the surfaces. Follow the manufacturer’s recommendation for mixing guidelines.
- When using a pressure washer be careful not to force water into any cracks between the siding planks. Be sure to wear gloves and safety glasses when using paint cleaner and chemicals.
- Let the detergent do most of the work. Allow it to sit for about 10 minutes before rinsing it off. For areas that are excessively dirty, and for areas around windows and doors, use a scrub brush and a little bit of elbow grease.
- Once the house is clean, allow it to dry completely before moving forward. The timing will depend entirely on your climate and the weather forecast. Check various parts of the house by rubbing your hand over the surface to ensure it is dry.
Scrape Loose Paint

Once the surface is dry, it’s time to begin removing loose paint. How much of this must be done will depend entirely on the current condition of the existing paint job. It is not typically necessary to strip away all the existing paint. Your goal here is just to remove any paint that is loose and peeling.
- Cover nearby plants with drop cloths or tarps. Keep tarps tight to the foundation and have them extend far enough from the foundation to catch paint chips and dust.
There are several methods and tools for removing peeling paint including hand scrapers, power scrapers, chemical strippers and heat guns. Use a hand scraper for the bulk of the work. It’s tedious work, but it is extremely effective and gives you the most control.
- For large areas, consider renting a power scraper hooked up to a vacuum. If you’re dealing with lead paint, be sure to use a HEPA vac and appropriate protective gear as outlined in the EPA’s guidelines.
- Chemical strippers are a good option for tight spaces or areas that have intricate details like molding or other architectural features. Be sure to follow the manufacturers guidelines of the paint stripper you use and use extra caution around plants and other vegetation.
- While heat guns are effective, they can be very dangerous to work with so don’t attempt to use one unless you are very familiar with its functionality.
- To test that the paint around scraped areas is sound, run your fingernail along the edge to make sure no more lifts away. Repeat the scraping process until all of the edges are sound.
Sand the Surface
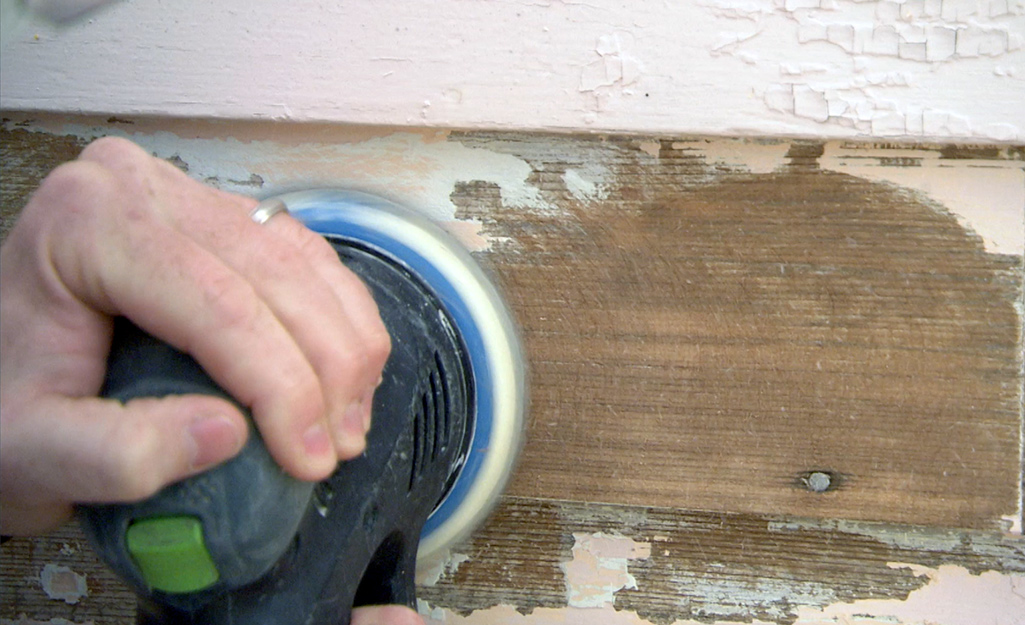
Now that all the loose paint has been removed, it’s time to sand the edges smooth. Your objective in this step is to feather out the transition between the existing paint and the area you just scraped.
- Use a random orbital sander equipped with 80-grit sandpaper to feather the edge around all areas where you scraped. Taper this edge back so that when you run your hand over it the transition feels smooth.
- Use your own judgement for how far to take this process. Areas that will never be seen don’t need the same level of detail as areas that will be readily visible.
- Sand over all bare wood.
Repair Rotted Wood And Reglaze Windows
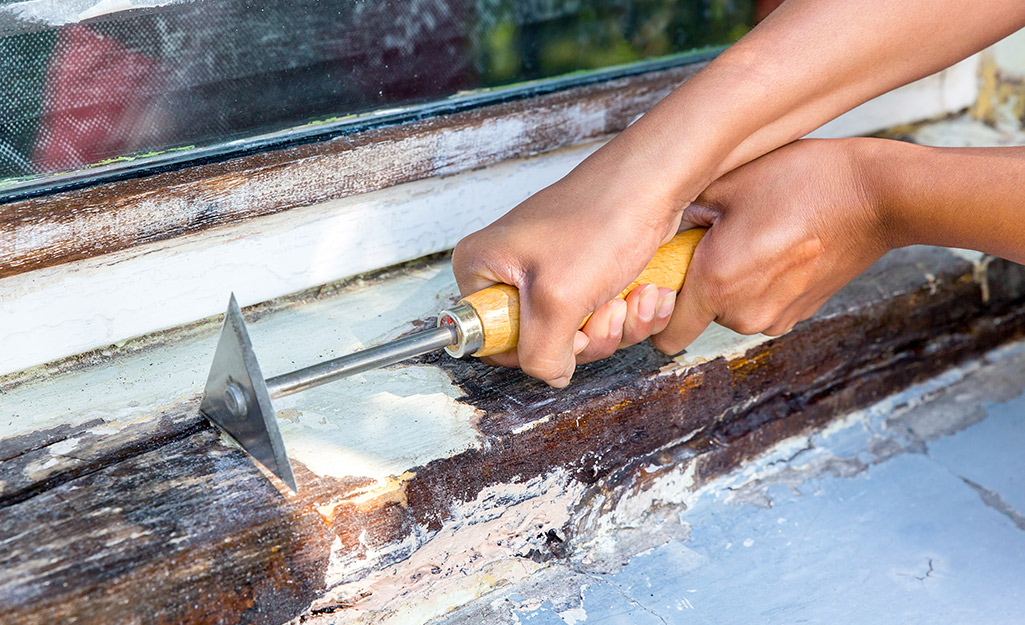
Throughout this prep process, you may discover wood that is spongy to the touch and has excessive cracks. There might be window panes that are missing glazing.
Repair Rotted Wood
- Use a wire brush or similar tool to scrape away rotted wood. Be sure to dig away any and all rot until you reach wood that is sound and undisturbed by moisture.
- Repair the area with an exterior-grade wood filler or two-part epoxy kit.
- Allow the area to dry per the manufacturer’s instructions, then sand smooth.
- Replace any large areas of wood like window sills or trim with new material.
Reglazing Windows
- Remove old, cracked glazing putty with a putty knife. Be careful not to break the glass.
- Reinstall any glazing points.
- Apply new glazing compound per the manufacturer’s instructions.
Apply the Primer
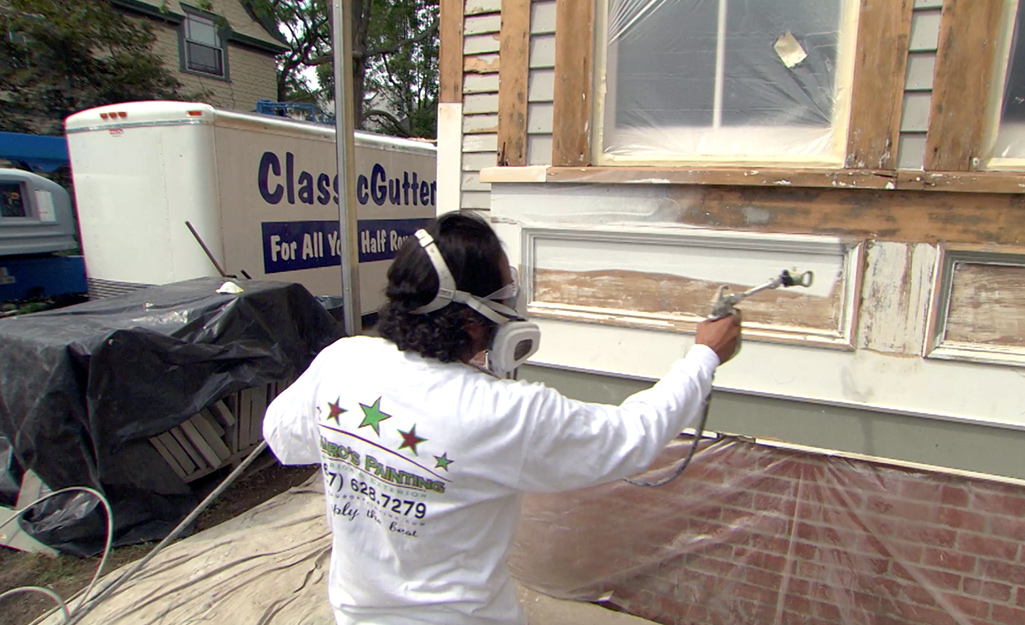
The primer coat is an important layer because it seals any exposed wood and provides a good adhesive layer for the finish coats. If the existing paint is in relatively good condition and there won’t be a big change in color, then spot-priming is all that is needed. If the house hasn’t been painted for many years, or there will be a big change in the color, then priming the entire house is necessary.
- Use a paint calculator to help you figure out the correct amount of primer and paint to purchase.
- Spot prime bare wood and repaired areas using an alkyd-based primer. This will penetrate the bare wood and provide a very good bonding surface for the remaining paint layers.
- When priming the entire house, you can use a paint sprayer, brushes or rollers —or a combination of these.
- Paint sprayers can be rented and provide an efficient way to apply primer to the surface quickly and evenly. If using a sprayer, be sure to back-brush everything. Back brushing will help work the primer into the wood.
- If you use a roller to apply the paint, back-brush as you go as well.
Apply the Caulk
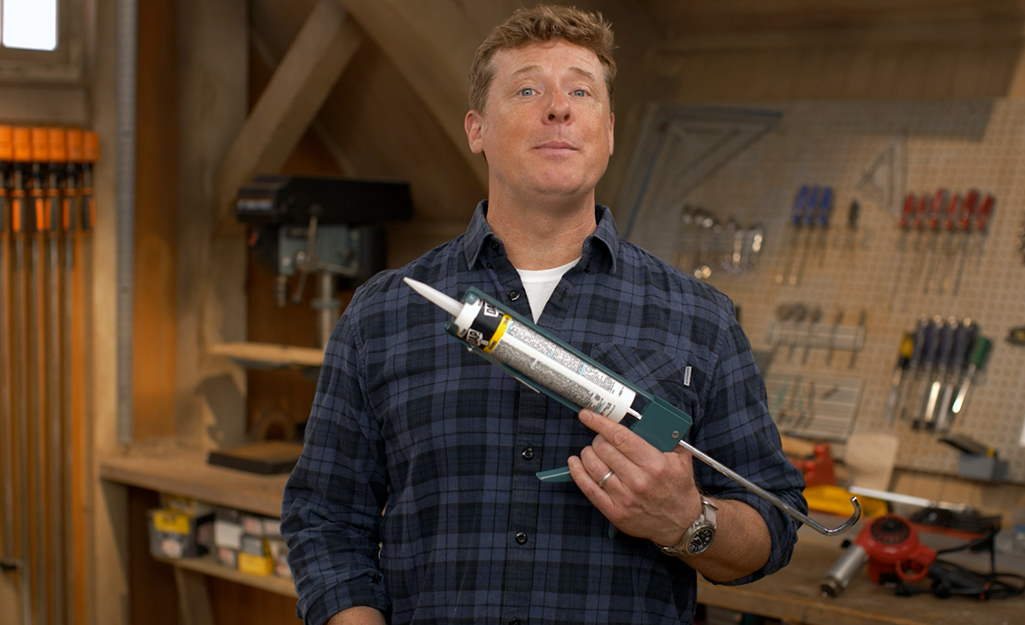
Once the primer is dry, it’s time to apply caulk around window trim and any other gaps. Applying caulk after the primer makes the caulk adhere better. Caulk seals gaps, preventing water from getting behind trim and siding. It also smooths transitions between the siding, trim and other similar transitions.
- Caulk where the siding meets the trim around windows and doors.
- Caulk along all siding joints except where window casing meets the window sill. Caulking this area will trap moisture and introduce rot.
- Do not caulk the horizontal edges between clapboards as this will trap moisture.
Paint the Trim
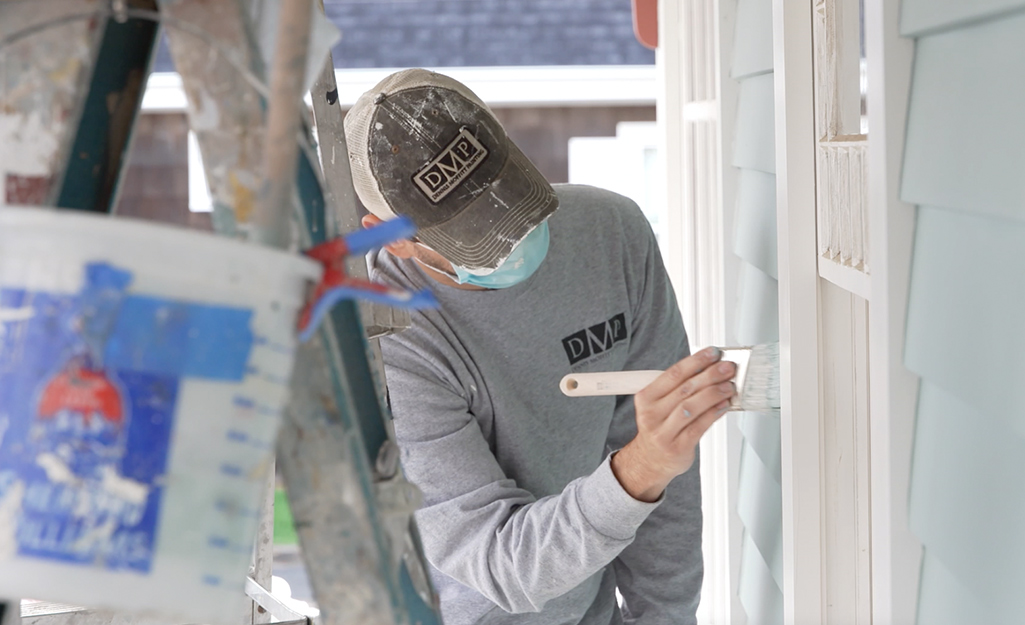
Once the caulk is completely dry, it’s time to paint the trim and windows. Start from the top and work your way down using a trim brush.
- Paint the window sashes first. Start from the inner part of the window and work your way out.
- Take care to not paint the window closed. If you are painting double-hung windows, you may have to paint the upper sash first with it partially open. Then once it is dry, go back and paint the bottom sash.
- Cut in around the window panes as best you can. You can mask all of the glass first or cut the paint in by hand. Dried paint can be scraped from the glass using a scraper.
- Use an angled brush to paint the trim. It is not necessary to cut in the trim at the edge where it meets up with the siding. This is a very time-consuming task, though it is entirely up to you.
- Repeat this process for a second coat, following the paint manufacturer’s guidelines for dry time.
Paint the Siding
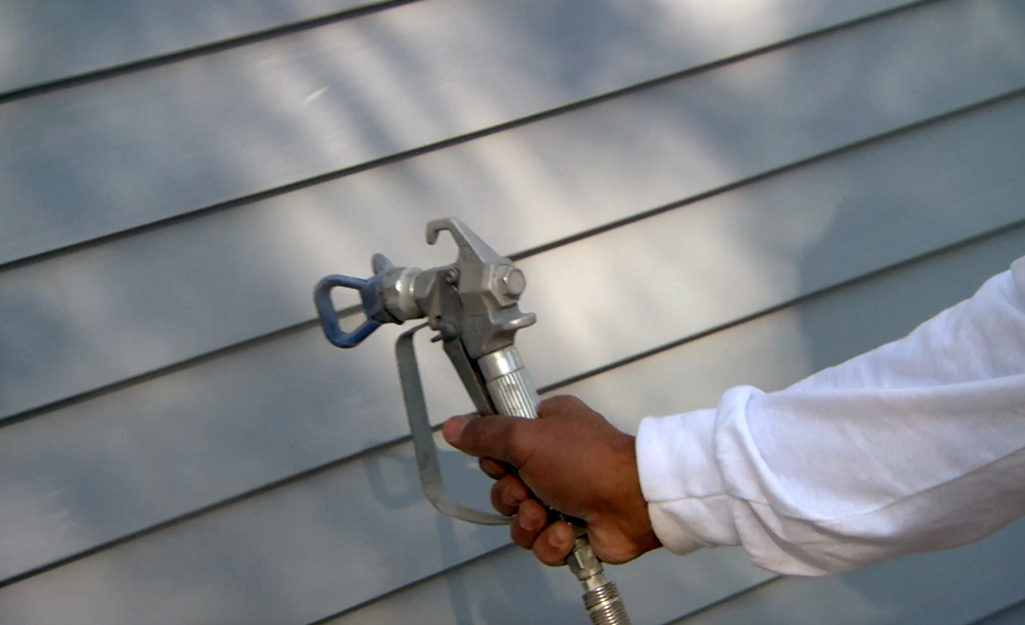
Once the windows are complete, it’s time to paint the siding. Here you can use a sprayer, brushes, or rollers — or a combination of these.
- If you choose to use a sprayer, mask off any and all surfaces you don’t want to become the color of your siding.
- Work from the top, down. Spray in small sections, then back-brush to smooth out the layer and ensure it adheres to the prime coat.
- If you choose to use a roller, work in small sections and back-brush here as well.
- If you choose to brush the entire surface take care not to create any overlap marks.
- To eliminate overlap marks, rewet the feathered edges of the previously painted block with your brush or roller just before you start each new stroke.
- Repeat the process until the top area is completed and then finish the lower sections.
- Repeat this process for a second coat, following the paint manufacturer’s guidelines for dry time.
Now that you understand the basics of how to paint a house exterior, you can decide if it's a project for you.
When you're ready to find the paint and tools you need, see The Home Depot Mobile App to locate products and check inventory in your local store.
If you only plan to paint once, consider a boom lift rental to get your project done. Use once, then bring it back. There’s no maintenance required, and you won’t need to store it either.


