How to Paint Paneling

Last updated September 7, 2023
Painting wood paneling is a simple way to change the look of a room. A fresh coat of paint quickly updates old wood paneling or wainscoting for less than the cost of replacing the walls. Use this guide to learn step-by-step instructions on how to paint paneling. It lists paint tools you'll need, tells you the best paint for paneling and gives tips on choosing a primer for wood paneling.
Tip: Work in a properly ventilated space. If the paint fumes are strong, wear a respirator.
Difficulty:
Beginner
Duration:
Over 1 day
Table of Contents
Choose Paint
Prep & Clean
Fill in Holes and Grooves
Sand
Prime & Prep the Surface
Paint
Choose Paint
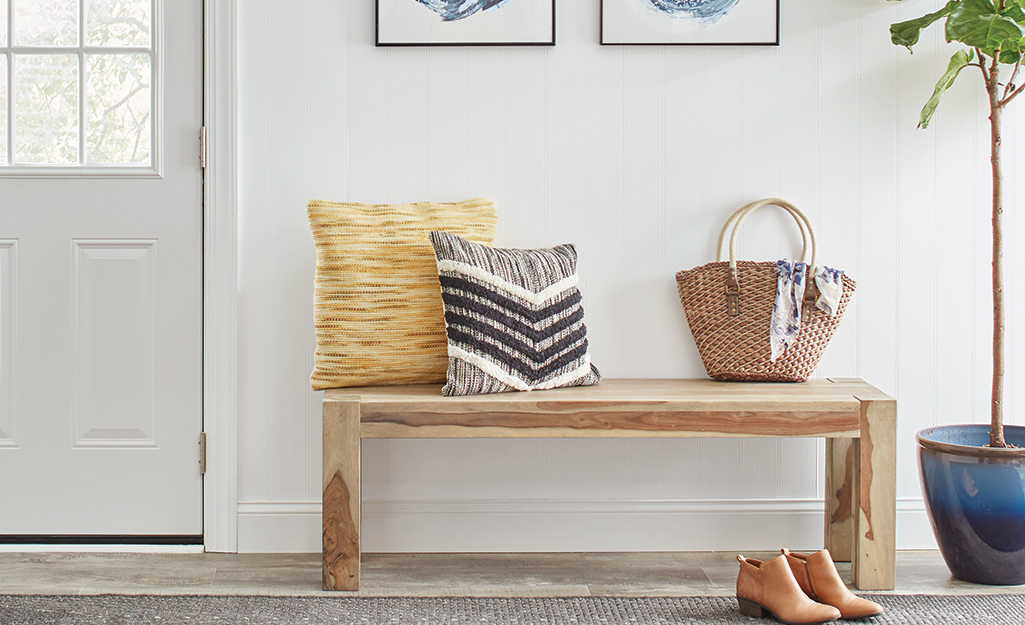
Before you begin, find the right paint for your project. Because wall paneling may get scratched and bumped, interior paint for trim, cabinets and doors is a good pick. Trim paint is durable and holds up to wear and tear over time.
Moisture is a concern if the paneling is in the bathroom, near a sink or dishwasher or in a humid spot. Glossy paints usually cause water to roll off, so they’re a good choice in these areas.
Most paneling has many lines and seams that can be hard to paint. Paint with high brush-ability will make the job easier. Oil-based paints typically flatten on their own to make painting easier. If you choose a latex paint, pick one that self-levels. Oil-based paint contains oils like linseed or a manufactured substance. Latex paint contains water and has acrylic resin in it. Self-leveling means that paint gets smoother as it dries.
Tip: Use The Home Depot ProjectColor App to try different colors in your room.
Prep & Clean
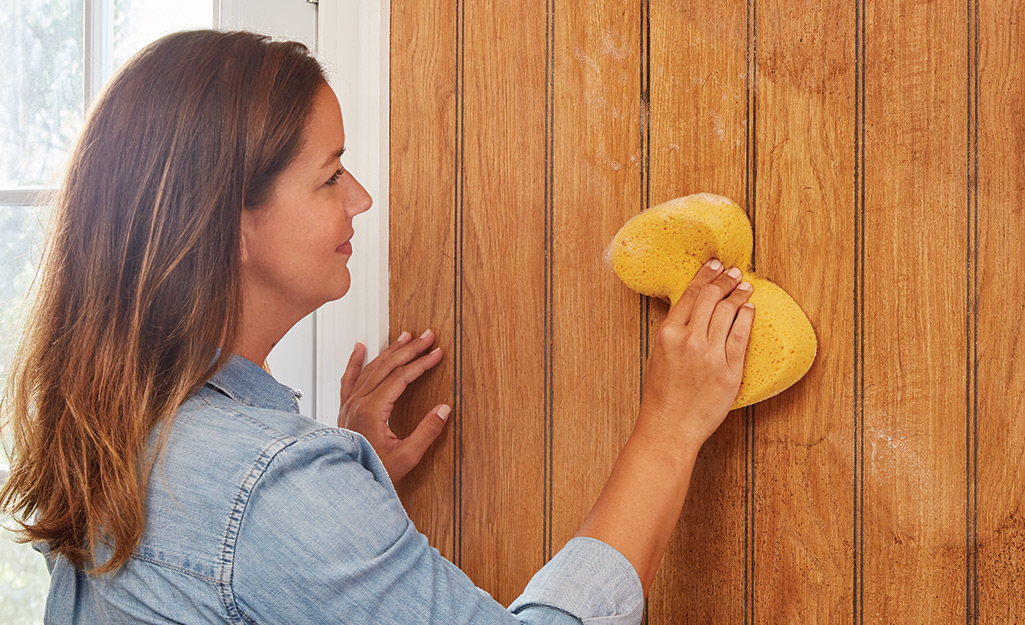
Paint can give off strong fumes, so safety is important. Open windows in the room and turn on a fan to draw fumes outside. Wear a respirator while removing paint and painting to avoid breathing in the fumes.
- Spread drop cloths over the floor and any furniture you can’t move.
- Use a dry microfiber cloth to dust off the paneling.
- Fill a bucket with warm water and dish soap and wipe the paneling with a damp sponge.
- Rinse the soap off with a clean, wet sponge.
- If any dirt doesn't come off, try a heavy-duty degreaser.
- After cleaning, dry the paneling with a soft microfiber towel or let it air dry completely.
Fill in Holes and Grooves
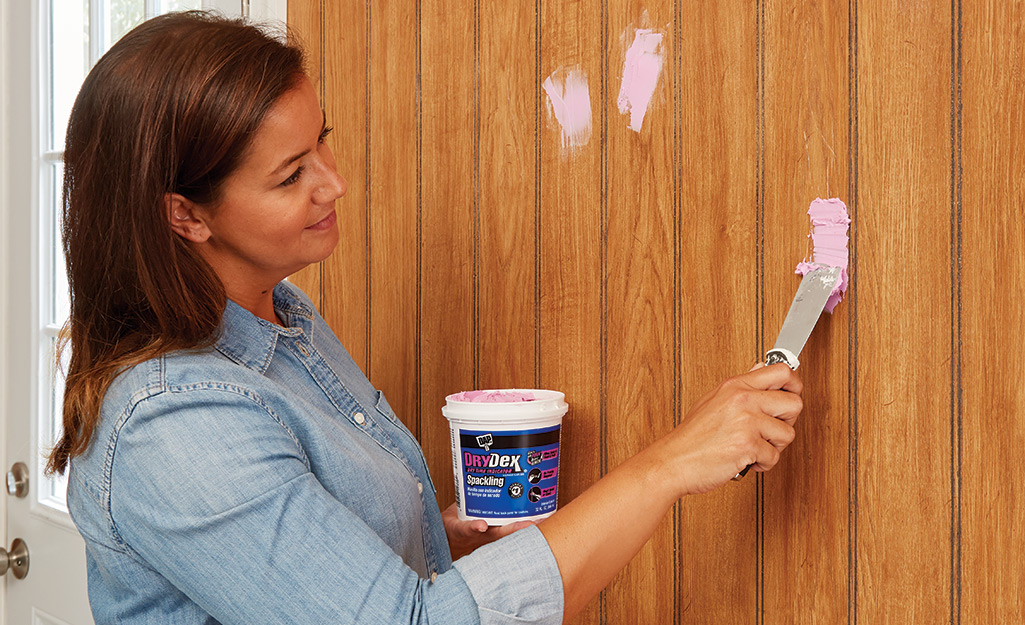
Check the wall for small cracks or nail holes. If you spot flaws, apply caulk or spackling paste to fill them in.
- Use the sharp corner of a putty knife to remove a small amount of spackle from its container and then push it into the hole.
- Turn the putty knife and smooth the spackle with the blade. Don't worry about any extra that gets on the paneling. It will come off when you sand.
- Let the spackle dry for as long as the manufacturer suggests. Usually, it will dry in about two hours.
Tip: If your paneling has groove lines, you can fill these in using a caulk gun for a smoother painted surface.
Sand
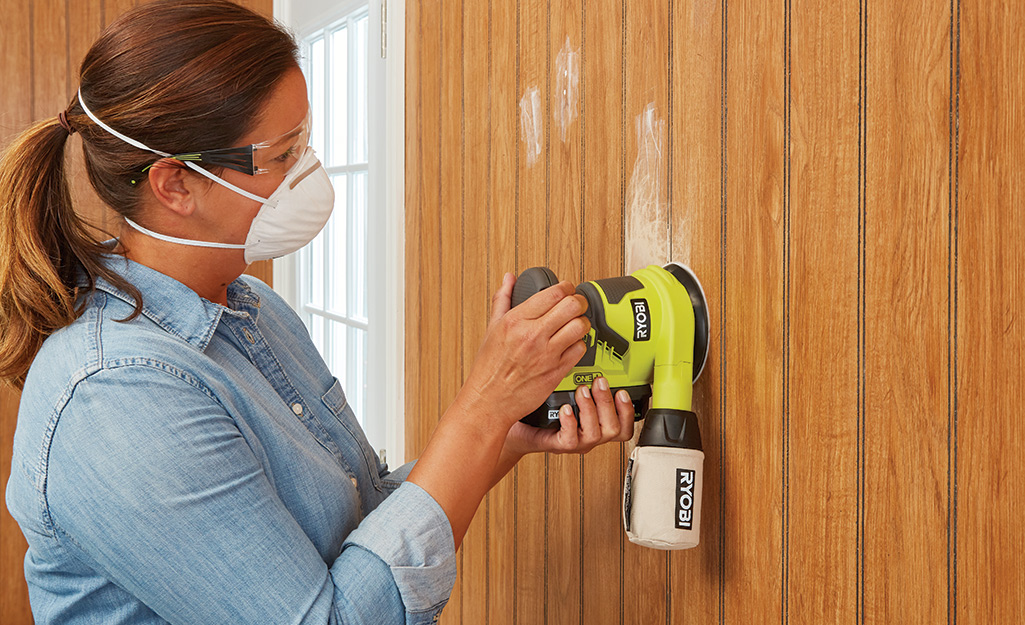
An important step in learning to paint paneling is making sure the surface will hold paint. Most paneling has a sheen finish that the paint won’t stick to. Sanding can take this finish off.
- Slip on your respirator and safety goggles.
- Use 150-grit sandpaper and a block or a power sander to sand the paneling.
- Keep going until you have a flat, smooth surface.
- Wipe dust away with a tack cloth, a soft painter's rag that draws in debris.
Prime & Prep the Surface
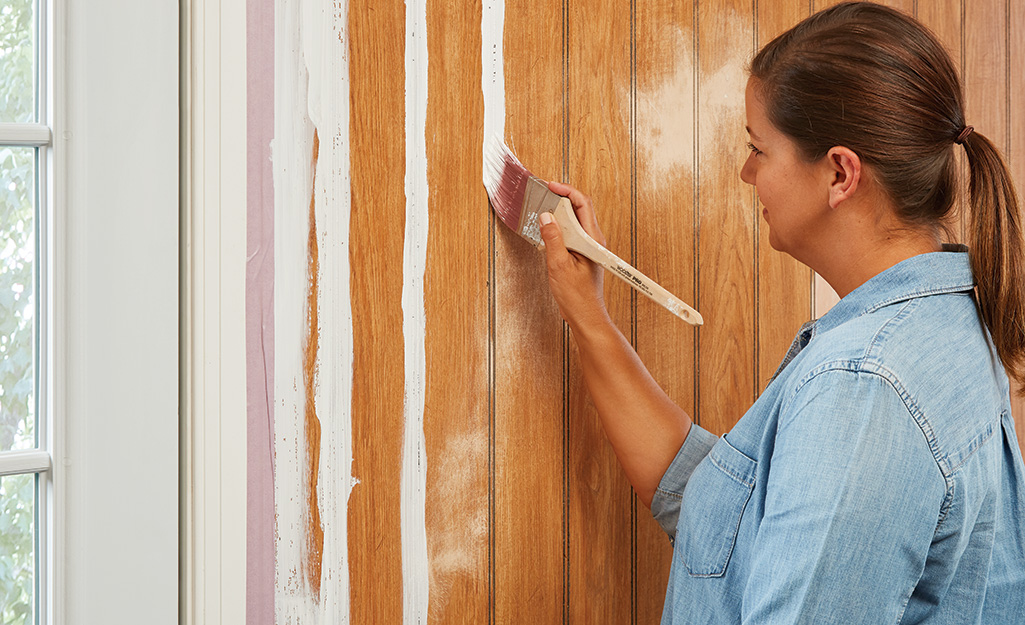
Primer prepares wood for paint. It helps color go on evenly and stick to the wood. Many kinds of primer are available, but a stain-blocking latex primer or an oil-based primer is usually best for paneling.
- Apply a thin coat of primer with a roller.
- Use a brush to fill in any grooves.
- Allow the primer to dry for a full 24 hours before painting over it.
Tip: Keep your paint where you want it with painter's tape. Put it along mouldings, windows, doors and the ceiling.
Paint
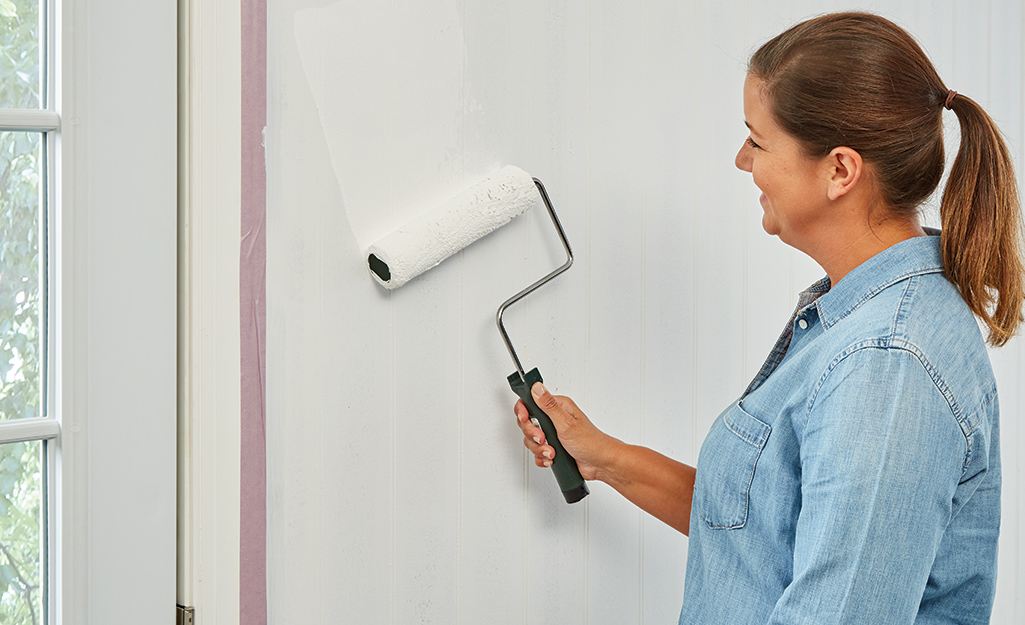
- Begin painting the paneling at the top of the wall and work your way down. You can use a brush or a roller as long as you smooth out any drips as you go.
- Let the first coat of paint dry before you apply a second coat.
- Remove painter’s tape before the paint dries. Grip the end and peel at a 45-degree angle. Lift away any stuck-on tape with a putty knife.
- Once the paint dries, look for any stray spots or drips. Use a painter's rag and mineral spirits to remove them. Remove the drop cloths and vacuum the area around the paneling with a shop vacuum.
With just a few steps, you can give wall paneling a makeover. The key to success is using the right primer, paint, tools and materials for the job.
If the house or surface you're painting was built before 1978, see EPA's renovation, repair and painting program about lead paint guidelines. Ready to start your paint project? Get the paint, tools and other essentials you need. The Home Depot delivers online orders when and where you need them.


