How to Repair Laminate Flooring
Last updated September 7, 2023
Laminate flooring is an attractive, durable kind of flooring made to withstand stains, fading and dents. It’s a great choice for households with children and pets and comes in a variety of styles, textures and colors. When small problems come up, such as water damage or scratches, or if laminate boards lift or buckle, you can learn how to repair a laminate floor. For bigger problems and issues with your subfloor, consider calling a professional for help.
This guide will show you how to repair laminate flooring.
Difficulty:
Intermediate
Duration:
2-4 hours
Table of Contents
How to Fix Laminate Floor Scratches
How to Repair Laminate Flooring Water Damage
Using a Saw to Remove Laminate Flooring
How to Fix Laminate Flooring That is Lifting or Buckling
How to Fix Laminate Floor Scratches

Wondering how to fix laminate floor scratches? It’s easy to touch up scratches with a floor repair kit.
- First, find a sample of your laminate flooring, if you have one. Take it with you to the store to find a touch-up or repair kit in a matching color. Some universal floor repair kits come with putty in several colors to mix together to match your floor. Putty works well on bigger areas. A floor repair marker, crayon or pencil may be enough to cover in a small scratch.
- Before you repair laminate floor scratches, check to see if what’s provided in the repair kit will be a good match for your floor. Make a test mark on a less noticeable area of your laminate wood flooring.
- Prep the scratched area by wiping it with a cleaning cloth to get rid of any dust or dirt.
- Use the marker, crayon, putty or pencil from the kit. You can fill in the scratch until it is no longer visible. You may need to add several layers.
- If your kit comes with ingredients that should be mixed together to form a putty or other wood fillers, follow the manufacturer’s instructions. Use a putty knife to apply the putty or filler and level it with the surrounding floor.
- If needed, use fine-grit sandpaper to lightly sand the area you’ve just filled. Make sure it’s level with the rest of the floor. Be careful not to make more scratches.
- When you finish sanding, wipe the area with a clean, damp cloth to remove any dust and excess filler. Some kits may tell you to use a cloth with acetone on it. If so, work with the window open and follow the manufacturer’s directions.
- Most kits come with varnish. Again, work with a window open. Use a small brush to apply the varnish over the filled-in area. Feather the edges so it blends into the rest of the floor. Let it dry and sand lightly again to make the area is level.
- If the scratch is too deep to fill, you can usually replace one board without affecting the rest of your laminate floor.
How to Repair Laminate Flooring Water Damage

Waterproof laminate flooring is available. Many newer laminate floors are made to be water resistant.
Depending on the type of floor you have, there may still be laminate flooring water damage. Occasional spills should be nothing to worry about. But if your floor is submerged or stays in contact with water long enough, it can swell and break down.
Water damaged boards can’t be fixed, but they can be replaced. If you have leftover laminate flooring boards from your original installation, use those. If not, match the damaged boards with new ones. Make sure the floor is completely dry before you begin the repairs.
- Wear safety glasses and use a putty knife to remove any molding or baseboards around the perimeter of the damaged area. A molding puller and a flat pry bar will also be useful.
- Laminate floors are usually put together via a locking tongue and groove system and “float” above the subfloor. Each piece has a tongue on one edge and one end, with a corresponding groove on the opposite edge and end.
- Find the groove edge at one end of a room, then lift up that piece to release it from the locking action. Flooring pieces are usually installed from left to right, with the edge tongue pointing towards the installer and the tongue end to the right. The floor will be the easiest to remove by working from right to left.
- Pry up the boards, starting at the wall, until you get to the damaged ones. Replace them, one by one, as needed.
- Snap the new board into place by putting the tongue into the groove of the existing, undamaged board.
- Finish the repair by using finishing nails to put the molding or baseboards back into place.
Tip: Using painter’s tape and a pencil to mark any flooring boards that you remove so they can go back in the same order.
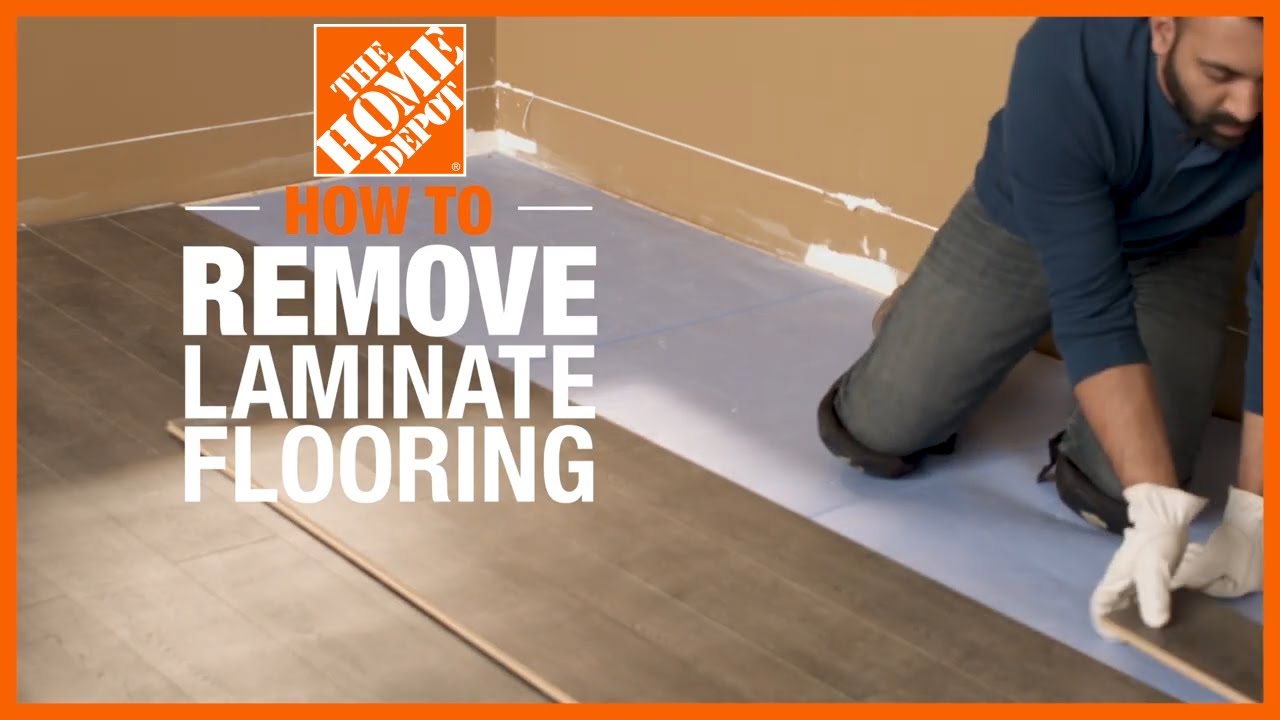
Using a Saw to Remove Laminate Flooring

If the damage to a laminate floor is some distance from the wall, it may be faster to cut out the affected board using a circular saw with a fine-finish blade.
To remove a board in the middle of the floor without removing the pieces around it:
- Set the depth of a circular saw to match the thickness of the flooring pieces. This will prevent sawing through the pad and subfloor, causing an even bigger problem.
- Find the beginning and end of the piece that needs to be replaced. Mark a line about 1 inch from each end. Start and end the cut between these lines to avoid cutting into other planks.
- The cut will start as a plunge cut. This is an advanced circular saw technique and is safe if care is taken to do it correctly. If a plunge saw is available, it is a better option.
- When making a plunge cut, it is safest to position yourself on the side of the saw, not in line with the blade. If something goes wrong and the saw kicks back, you will be out of the danger zone.
- To make a plunge cut, align the saw in the preferred starting position with the front edge of the saw’s foot square on the floor and the blade guard touching the floor. The rear edge of the blade guard will be off the floor. Rock the saw upwards just a bit, so that the front edge is the only part touching the floor.
- Start the saw and allow it to come up to full speed. Use the lever that retracts the blade guard. Now, slowly lower the saw into the workpiece until the foot sits flat on the floor. Move the saw forward as with a normal operation.
- Cut a line down the center of the damaged plank. The goal is to weaken it in the middle so it can be “folded” to the center, unlocking the tongue and groove that locks it into the rest of the floor.
- Use a putty knife or flat pry bar to start lifting in the middle cut and work the board free.
- If necessary, cut from the ends of the board towards the saw cut with a utility knife. Make several passes to weaken the board so it will slowly give way and break.
- To replace the board, measure and cut to length as normal.
- Use a utility knife to remove a portion of the tongue on the edge and end. It may take several tries to get it right.
- Once a good fit has been reached, put a bead of glue where the trimmed edges will meet the existing flooring. Wipe off excess glue with a damp paper towel.
- Put the board into place. Bring it home by placing a board over it and tapping lightly with a hammer. You can use a claw hammer, but to avoid damaging the laminate, don't hit the floor directly. You can use a piece of the board you removed or another buffer as you tap the new board into place.
- Place a board on top of the repair and place heavy weights on top of it until the glue has cured.
How to Fix Laminate Flooring That is Lifting or Buckling

As you figure out how to fix laminate flooring that is lifting, try to find the cause of the problem. Finding and repairing the issue can help prevent future damage.
Improper installation often means the laminate flooring wasn’t placed with enough space around the perimeter. As the boards acclimated to the room, they may have expanded and pressed against the walls. If this is the case, use a chisel or a putty knife and hammer to pry off the baseboards or molding, which will take the pressure off the laminate. After you do this, the laminate may settle back into place.
In some cases, however, the last row of boards may need to be removed, trimmed and put back into place. They should be weighed down with something heavy for about 24 hours to help them settle.
If the lifting was caused by flooding, a leak, an inadequate moisture barrier or a problem with the subfloor, call a professional for help.
- Laminate floor lifting or buckling can be caused by changes in temperature and humidity levels.
- Use a hammer and chisel or putty knife to remove baseboards or molding near the damaged boards.
- If spacers were used between the wall and the board closest to it, replace them with smaller spacers. If the board is flush with the wall, it may need to be trimmed to give it room to expand when you put it back in place.
- Finish by nailing the baseboards or molding back on with finishing nails.
- Weigh down the repaired laminate boards with a heavy object for about 24 hours.
Figuring out how to repair laminate flooring can be a DIY project. However, if the damage is severe, you may need help from a professional to fix or replace your floors. If you need professional laminate flooring installation, call your local Home Depot and ask if laminate flooring installation services are available in your area.