How to Remove Laminate Flooring

Last updated September 7, 2023
Removing laminate flooring may seem like a big task but the project is easy enough for you to take on yourself. Using a few common tools and a little bit of patience, taking out the old laminate floor in a room can be done in an afternoon.
This guide teaches you how to remove laminate flooring and provides tips to keep in mind as you remove old laminate to prepare for new flooring.
Difficulty:
Intermediate
Duration:
2-4 hours
Table of Contents
Before You Get Started
Consider Which Flooring Type You're Working With
Put on Work Gear
Remove Quarter-Round and Baseboards
Remove Transition Strips
Remove the Laminate Flooring
Before You Get Started
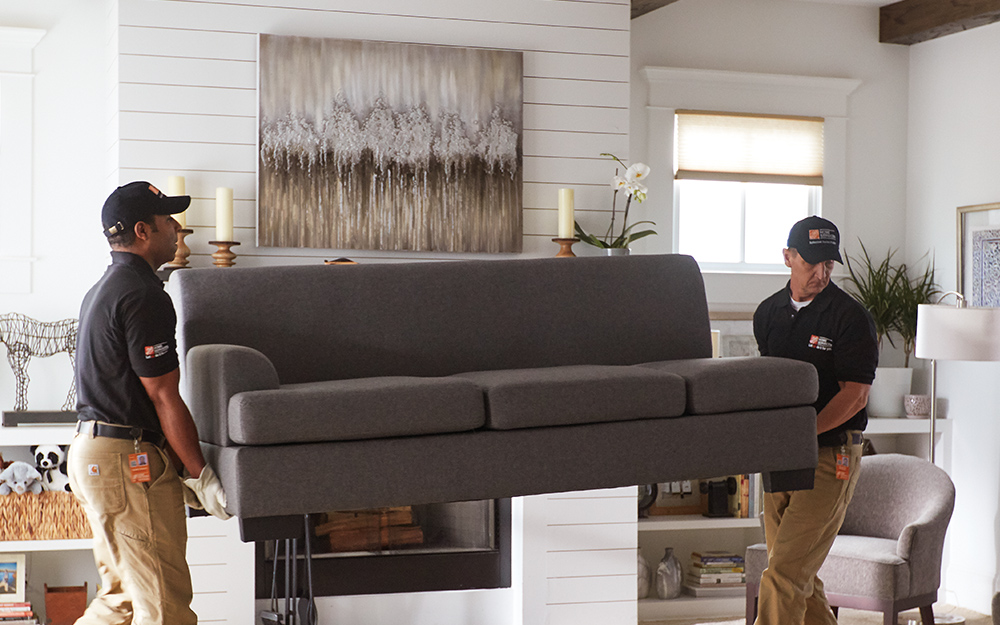
There are a few things to consider or take care of before you actually remove the laminate floor tiles or planks.
- Move all furniture and accessories from the room so the floor is bare.
- If you plan to reuse the flooring in another room, be sure that the other room is smaller so there is enough material to cover the floor.
- Work carefully to prevent breakage if you intend to give the pieces new life in another room. If you are replacing laminate wood flooring and plan to discard it, you won’t need to be as careful while tearing it up from the room.
Consider Which Flooring Type You're Working With
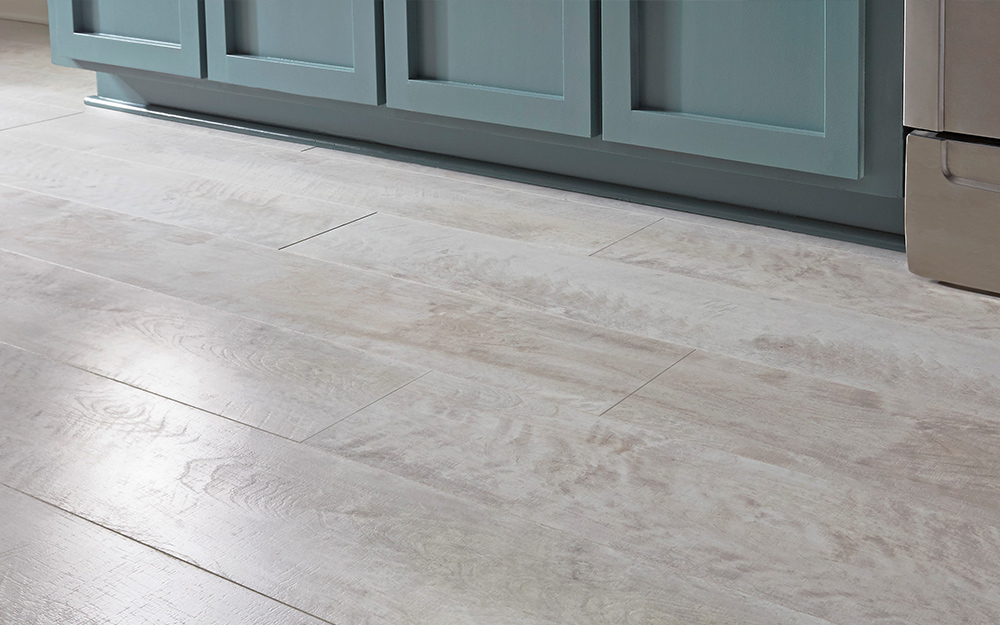
Removing laminate flooring is a straightforward process. Newer generation laminate flooring is not attached to the subfloor and can be reused if removed carefully. Sometimes called a “floating floor,” the surface floats on a foam cushion on top of the subfloor. Individual pieces snap and lock together to prevent shifting.
It’s possible that some damage could occur when unlocking pieces from the tongue-and-groove assembly, so be careful if you are reusing laminate flooring and work slowly to reduce the number of spoiled planks.
If your floor was installed more than a few years ago, individual pieces of laminate flooring might have been held together or secured to the floor with adhesive. If this is the case, the flooring cannot be reused and you can use a pry bar and floor scraper to remove the flooring.
Put on Work Gear

Removing laminate flooring is a safe project overall. Still, some protective gear is recommended. The edges of laminate planks can be sharp, so wear sturdy work gloves to protect your fingers and knuckles when prying the material. Safety goggles or glasses will help keep flying chips from causing damage to your eyes. Be sure to wear shoes while working and cleaning up to prevent splinters or stray nails from hurting your feet.
Remove Quarter-Round and Baseboards
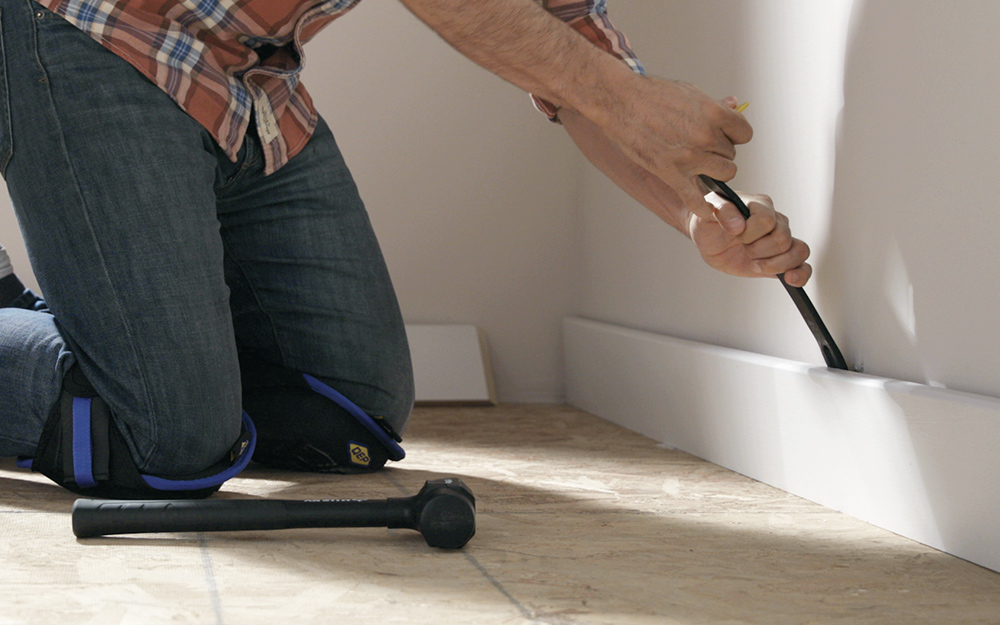
Remove the quarter-round moulding from the room’s perimeter:
- Beginning at a door entry or outside corner, slip the flat edge of a putty knife between the quarter-round and baseboard.
- Use a utility knife, if necessary, to carefully slice through any paint preventing the putty knife from getting between the two.
- Once inserted, gently pry the quarter-round away from the baseboard.
- Insert a flat bar or hammer into the gap to keep it from snapping back into place.
- Work along the length of the wall to loosen and remove the quarter-round, being careful to not break the piece.
Remove the baseboard:
- With the quarter-round removed, use the utility knife along the top edge of the baseboard moulding to cut through any paint between it and the wall.
- Use a pry bar to pull the baseboards from the wall, working carefully to prevent damage to the wall surface and the baseboard.
- Take care when handling the moulding you have removed. Clip the sharp nail tips with snips or tap the protruding nails back into the wood with a hammer.
Set the pieces aside after labeling them for easier installation after your new flooring is in place.
Remove Transition Strips
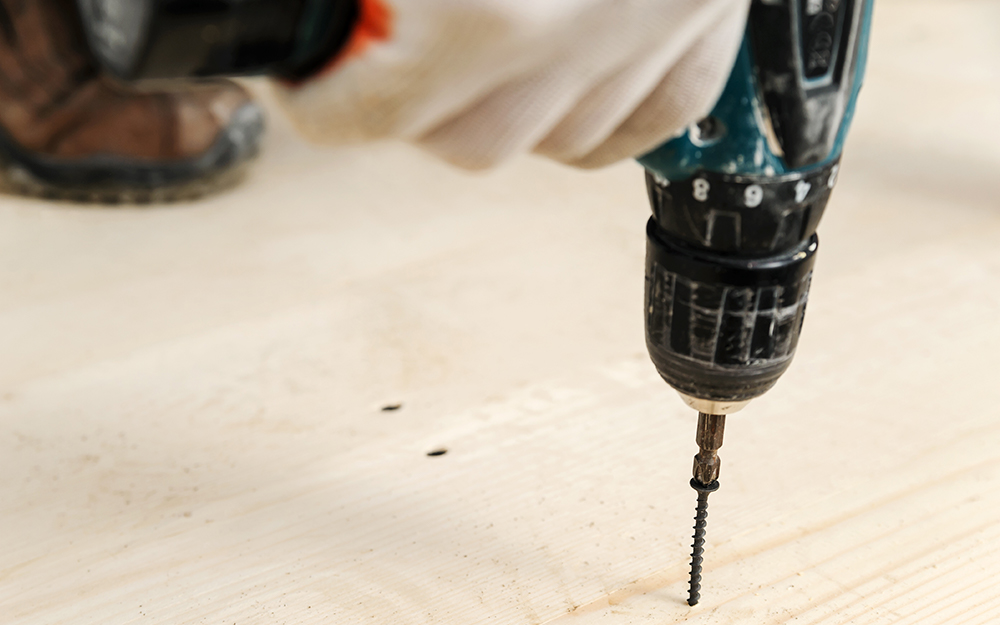
After you’ve removed the quarter-round and baseboard moulding, it might be necessary to remove transition strips that separate different types of flooring. These are typically located in a door threshold, where laminate flooring meets carpeting, for example. If any strips are present, pull them up with a pry bar or unscrew them from the floor, depending on the style of transition moulding you have.
Remove the Laminate Flooring
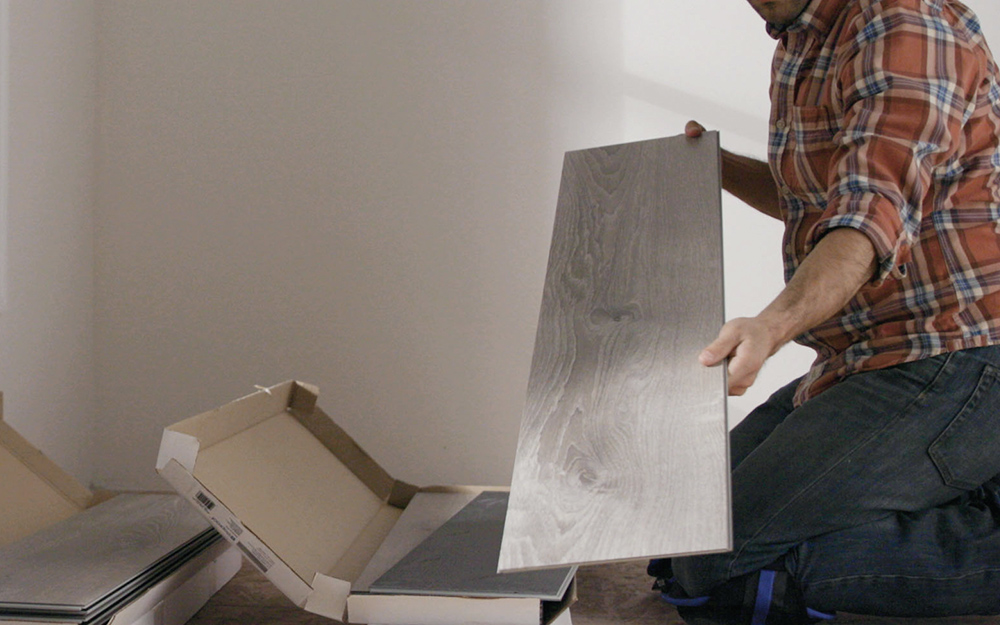
Now that the floor is clear and no moulding is present, locate the wall that has the tongue side of the laminate flooring. The planks are easier to remove if you begin from the tongue side, rather than the side with the groove.
- Place the tip of the curved end of the pry bar in the space between the first row of planks and the wall.
- Use the pry bar to tilt the edge of the first plank up enough to grasp it with your fingers.
- Wiggle and pull the plank at an angle to disconnect it from the adjacent piece.
- Place the removed piece aside and move to the next plank in the row.
- Removing the pieces should seem easier as you move along and get the feel of the angle at which the planks disengage. Typically, tilting the boards back-and-forth from 30 to 45 degrees will help them come apart.
- When you reach the end of the first row of flooring, move to the next row and continue until all of the material is removed.
Finish the Job
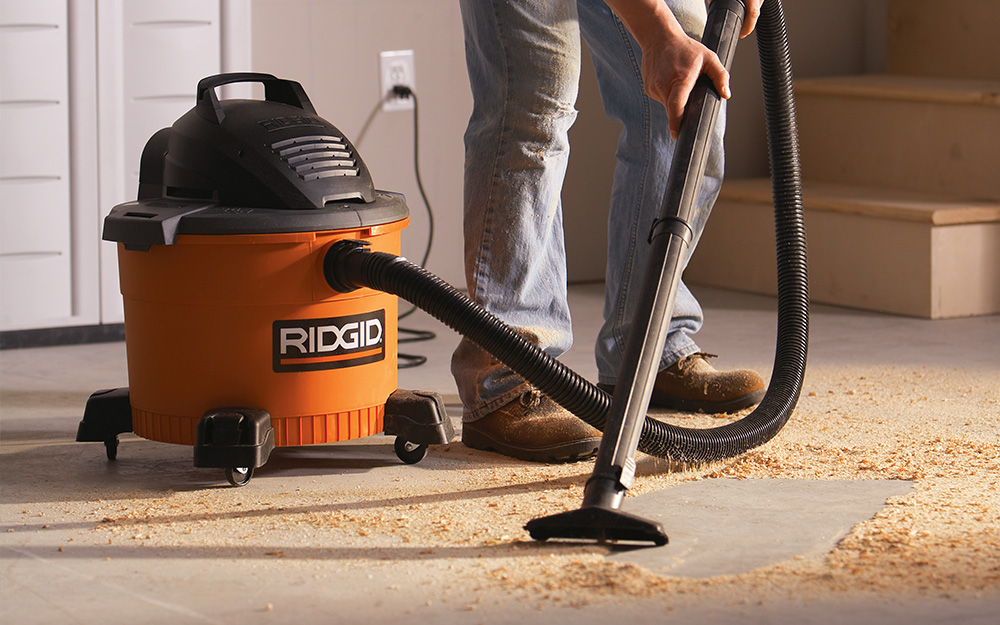
After the flooring has been removed, take up the foam padding underlayment on the subfloor. Simply roll it up and discard.
You might need to remove any residue left from an older installation that used an adhesive. Depending on the amount, use a heat gun and floor scraper or an orbital sander on the remnants.
Use a wet/dry vacuum over the entire floor to remove dust and debris to prepare the surface for new flooring.
Replacing your laminate flooring starts with removing the old planks. With the tips and tools in this guide, you can learn how to remove laminate flooring so you can tackle the task on your own. Get started by picking up the tools and supplies you need today. Download the Home Depot Mobile App and find products fast with image search. Snap a picture of an item you like and we’ll show you similar products.


