How to Repair Siding

Last updated May 6, 2025
When your home’s siding gets damaged, that ding or dent can take away from its curb appeal or reduce its protection. Making a repair in your siding is a project you can probably do yourself. All you need is time and a few tools. Read on to learn more about types of siding, how to make minor siding repairs or how to replace a small damaged section. Plus, learn how to repair a torn screen.
Difficulty:
Beginner
Duration:
Under 2 hours
Table of Contents
What Is Siding?
How to Repair Wood Siding
How to Repair Fiber Cement Siding
How to Repair Stone Veneer Siding
How to Repair Composite Siding
How to Repair Vinyl Siding
What Is Siding?

Houses and other buildings often have an exterior covering called siding. Siding is important for protecting the structure from the effects of weather, insects and other outdoor elements. The type of siding material affects how well the building’s structure is protected from outside damage. Choosing different materials, different textures and different colors can make siding beautiful and stylish, adding to the curb appeal of your home.
Siding can be made from a wide variety of materials. Some of the more common types include vinyl, wood, stone veneer, fiber cement and composite. While each siding material provides protection, they can all sustain damage. If the damage is relatively minor, repairing it is a straightforward process that can be a DIY project. For extensive damage that involves more than a few boards, a complete replacement will need to be done.
How to Repair Wood Siding

Wood siding can get small cracks and holes that may decrease its protective ability. Repairing this kind of minor damage can be done in a few steps.
- You will need an epoxy waterproof exterior wood filler. Make sure the filler is one that is made to expand with wood rather than shrink when cured.
- Clear away loose paint around the damaged area.
- Remove any rot from inside the hole or crack.
- Sand the area so there are no splinters or rough spots.
- Following the manufacturer’s instructions, prepare the wood filler by stirring if required.
- Use a putty knife to apply the wood filler. Then, while wearing gloves, use your finger to press it into the damaged area deeper.
- After the filler is completely dry, it will be hardened. Sand it in the same direction as the wood grain until it’s smooth.
If the damage is in several boards, you will need to replace them instead.
- To remove the affected boards, first use a utility knife to cut away the caulk. Then cut the board vertically with a saw or other motorized cutting device. Pry the board off using a pry bar or similar tool.
- After measuring and cutting new boards, nail them onto the structure. Stainless steel nails are typically the best kind.
- Seal the seams with caulk, then primer and paint.
How to Repair Fiber Cement Siding

Fiber cement siding, while quite durable, can sometimes get small holes or cracks. This kind of damage can be repaired on your own.
- Repair kits specially made for fiber cement, as well as cementitious fillers, can be used to repair or patch siding.
- Follow the filler manufacturer’s instructions on mixing and application.
- Once the patching is dry, sand until smooth and paint it to match the rest of the siding.
Follow these instructions if you need to repair a larger area or need to replace a few fiber cement boards.
- Carefully remove the damaged boards by starting at the top plank of the area to be removed. If possible, remove the nails first by cutting them off using a hack saw or reciprocal saw. Once the first board is removed, you should be able to continue down by easily prying the layers below. Be careful not to damage the weather barrier behind the panels.
- Check the weather barrier for damage and repair with a weather barrier-grade adhesive seam tape.
- Measure and cut the replacement boards to fit.
- If more than one board is to be replaced, start the installation from the bottom.
- Fasten into each structural member, usually a stud. Nails or screws should be corrosion-resistant and should be the same size as those removed. Place the fastener 1 inch down from top of board and no closer than 3/8 inch to board ends.
- Note: If not using a pneumatic nail gun and installing by hand, it may be best to pre-drill a small hole where each nail will be placed. This will make fastening much easier. Make sure you set the fastener flush to the board surface and do not break the skin of the board.
- The final piece of board, typically the top piece, will need to be fastened on the face of the board. Follow same instructions as above, but up 3/4 inch up from bottom of board.
- Important: Use a flashing and/or caulk at the seams or butt joints to help keep moisture from entering.
- After the boards are secured, use primer and paint to complete the job, making it look like the older siding as much as possible.
- If further guidance is needed, reach out to the fiber cement manufacturer.
How to Repair Stone Veneer Siding

Stone veneer siding can suffer from small cracks and scratches. Follow a few steps to repair these minor blemishes.
- Prepare stone putty according to the manufacturer’s instructions. The putty should match the color of the existing stone.
- Use a putty knife to smooth the putty onto the damaged area. Make it very smooth so the next step is easier.
- After the putty is completely dry, sand it so that it’s flush with the rest of the stone.
If you need to replace an entire stone, the process involves replacing the entire section, rather than just one stone. It’s more than just a repair, and it’s best to consult a professional for advice about your specific wall’s unique situation.
How to Repair Composite Siding

Composite siding is made from wood and wood particles that are bonded together into panels. Because of the way it’s made, holes and scratches usually damage the structure of the panels. Repairs should usually be full panel replacements, not patch jobs.
- Use a pry bar and a hammer to remove the affected panel. Place the pry bar into the seam at the bottom and tap it with the hammer. You will probably need to loosen all four sides of the panel.
- Measure the removed panel so you can accurately replace it.
- If you need to paint the replacement panel, clean it, prime it and sand it first. Paint all four sides of the panel.
- Nail the panel into the structure’s studs using galvanized steel nails.
- Make sure the boards are touching each other. Use caulk to secure all the seams.
How to Repair Vinyl Siding

If your vinyl siding has a small hole, dent or crack, you can fix it with filler and paint over it. You’ll need sandpaper, shop rags, a putty knife, exterior filler or putty and exterior paint in a matching color. Here’s how to repair a dent:
- Sandpaper the area using 100 grit paper and clean up the rough edges around the hole.
- Using a putty knife, apply the filler to the hole. Scrape away any excess filler.
- Smooth the repair with the putty knife and let it dry.
- Sand the dried filler with 220 grit paper and wipe it clean with a damp rag. Let dry.
- Paint with exterior paint.
Sometimes vinyl siding can have damage that’s larger than a small ding or hole. It’s best to simply replace the section of siding that has the damage. You’ll need a siding removal tool, a power drill, exterior screws and replacement siding. Here’s how to replace a section of damaged siding.
- Pry up the siding above the damaged section of the siding piece with a special siding removal tool.
- Remove any nails in the siding.
- Remove the screws holding the damaged siding section. Remove the damaged siding.
- Attach a new piece of siding using a drill and screws. Line up your new piece of siding and screw it back into place.
- Siding is made to lock together on top of itself with grooves. Use the siding removal tool to pop the new siding into the row above.
- Touch up with exterior paint that matches your house.
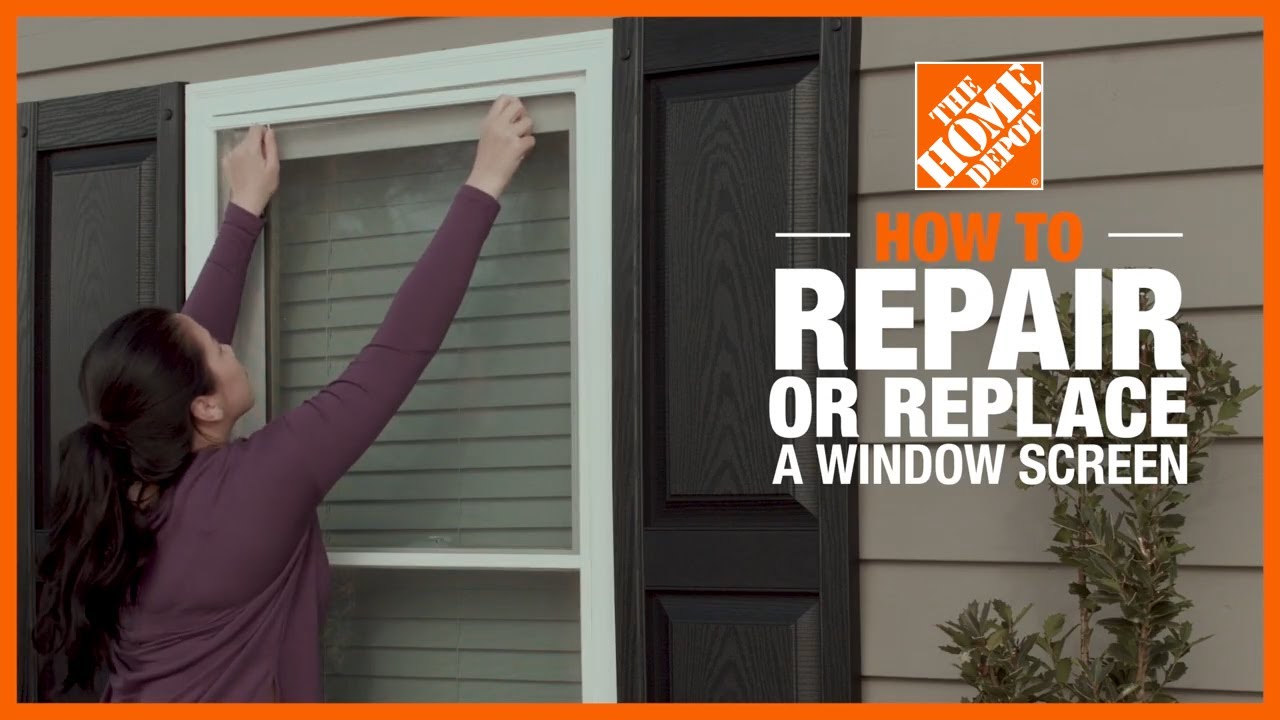
Screen Repair & Replacement

When your siding is damaged, your screen can be damaged also. You can repair it fairly quickly. Start by taking out your window screen.Here’s how to repair small rips or tears with a patch:
- Measure the rip or hole.
- Cut a patch to fit well over the damage.
- Using a hairdryer, heat the patch and secure it over the hole.
Here’s how to replace the entire screen using a screen kit. A screen kit includes a new screen, spline and spline tool. You’ll also need a flathead screwdriver and a utility knife.
- Remove the spline from the old screen with a flathead screwdriver.
- Use your screwdriver to pry out the old spline.
- Roll your new screen out over the frame.
- Use your spline tool to roll the spline in the groove to secure it in place.
- Trim the excess screen with a box cutter.
Repairing a small nick or large hole in your siding can be a quick DIY repair. Or if the damage is a little more extensive, you may be able to replace the entire section on your own. All you need is time, the right materials and everyday tools. Ready to fix your siding? The Home Depot delivers online orders when and where you need them.