How to Sand Drywall

Last updated September 7, 2023
Sanding drywall is an essential task in any home renovation project. This task comes after hanging
drywall sheets and covering gaps and nail gouges in the drywall with tape and joint compound. Sanding the drywall after the joint compound, or mud, dries
creates a smooth and even surface for applying primer and paint. This guide will show you the steps of how to sand drywall, the tools to use and the differences of wet vs. dry sanding.
Difficulty:
Beginner
Duration:
Under 2 hours
Table of Contents
Sanding Drywall with a Sponge
Sanding Drywall with Sandpaper
Sanding Drywall with an Electric Sander
Wet Sanding vs. Dry Sanding
Drywall Sanding Tips
Sanding Drywall with a Sponge

Drywall sanding sponges are specially made to smooth out the joint compound. Most can accommodate wet or dry sanding and are great for getting into tight corners and ceilings.
When using a sponge, a wet sanding method is often most effective. This method softens the compound, or mud, and dampens the dust formed from sanding to keep it under control.
- Fully submerge the sponge in water and squeeze out the excess.
- Rub the coarse side against the drywall in a circular motion, making sure to work into the edges so all areas are smooth.
- Continue rubbing until the area softens to an even surface. If the sponge begins to dry out, rinse the sponge and repeat as needed. This may take a while depending on the size of the patch.
- Once the area is completely smooth, let it dry overnight before painting and adding finishing touches.
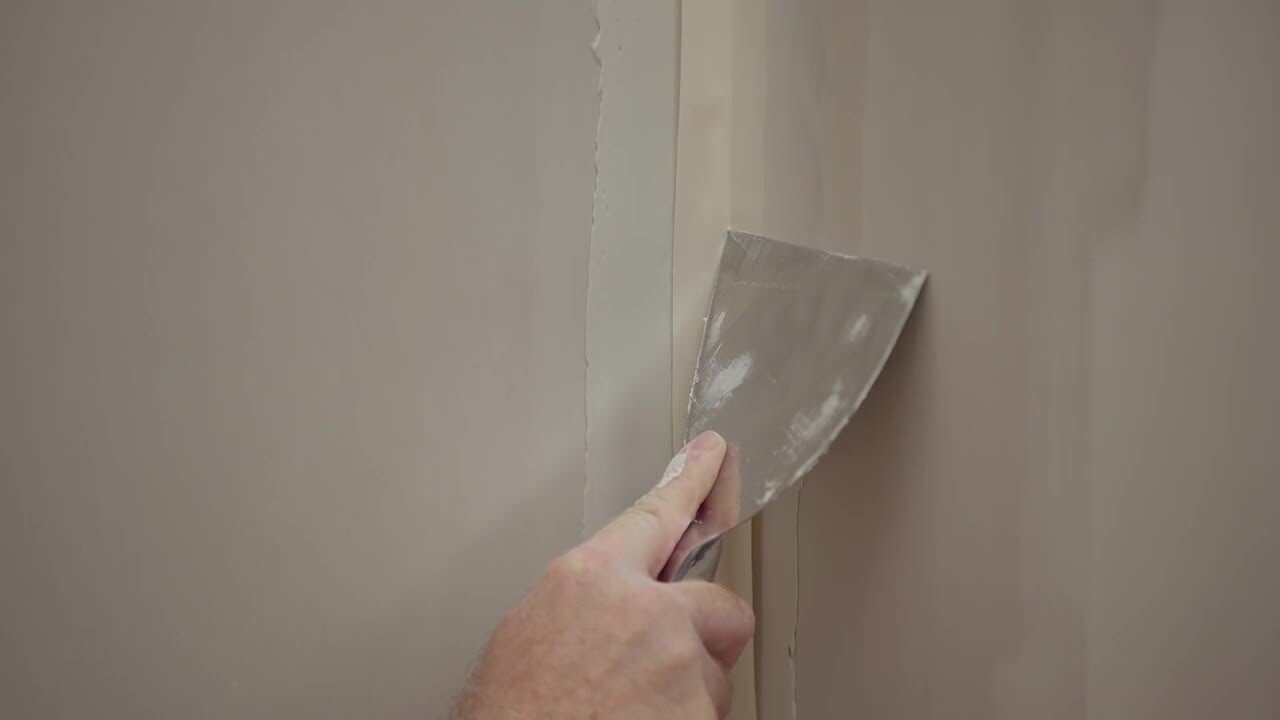
Sanding Drywall with Sandpaper

Sandpaper is essential
in creating a smooth and even surface in the sections of drywall where mud has dried.
Sanding tools are useful for the bulk of drywall work. A hand
sander or sanding block
is needed for lower and middle drywall areas. Use a pole sander with an attached extension handle for higher wall areas and ceilings.
Hand sanders and pole sanders use sanding screens fitted with sandpaper. Apply a push-pull motion when using a hand sander or pole sander, applying even pressure inside the seams and along nail and screw patterns.
Use semi-coarse sandpaper of 100 of 120 grit to sand down the rough areas or dried compound, then continue with 150 grit to smooth the areas further.
Use sheets of sandpaper
for finishing
drywall sanding in areas
that require a light touch, such as inside corners and around electrical outlets and for feathering
out compound into the drywall. Use 220-grit sandpaper
and sand the areas with a light and easy touch. Avoid using coarse sandpaper below 100 grit as that may damage the drywall.
Sanding Drywall with an Electric Sander

An orbital sander is an option for a large drywall project. This tool is lightweight and can perform the task in less time, but as a power tool it must be used carefully to avoid damaging the drywall surface.
Use fine grit sandpaper, between 150 and 180 grit, to achieve the desired results. Some drywall sanders include a vacuum attachment to collect excess dust and debris. Follow the manufacturer instructions supplied with your unit for directions on assembly.
- Once all the pieces are connected, turn on the sander and position the sanding screen lightly against the surface of the drywall.
- Apply a bit of pressure to help the screen work into the uneven areas but only enough to keep the pad flat against the surface.
- Move it back and forth in an overlapping pattern to smooth the drywall compound as desired.
- Keep the sander in constant motion while the sanding screen is in contact with the drywall. Use a steady, sweeping motion and avoid applying excessive pressure.
- While using the sander, do not let the sanding screens come in contact sharp protrusions like nails or screws. These can severely damage the pad.
- Abruptly stopping the sander on the surface or moving the unit erratically can cause swirl marks and uneven areas on the surface.
Wet Sanding vs. Dry Sanding

Wet sanding with a sponge is ideal for small patches and tight corners since it’s easier to work a sanding sponge into those areas.
Wet sanding also creates less dust, making it easier to clean up after the job is done. However, this method tends to result in finish that is less smooth than dry sanding.
Dry sanding offers a more even and smooth finish. This is a great option for covering larger surface areas and whole walls in bigger rooms.
Unfortunately, this can leave excess dust on the surface of your newly patched drywall and on nearby flooring and furniture. Always wipe down the area before moving on to the next step of your renovation project.
Drywall Sanding Tips

Sanding drywall releases very fine particles of dust into the air. Inhaling the dust can irritate the lungs and eyes. The dust can also settle on unprotected clothing and furniture. Before taking on a small- or large-scale drywall sanding task, follow these tips:
- Wear a dust mask or respirator protect the face and prevent inhaling airborne drywall dust. Wear safety glasses to protect the eyes. Wear a head covering to prevent the dust from getting into your hair.
- Place a drop cloth on the floor and cover furniture with plastic or a tarp to catch falling drywall dust.
- Apply plastic sheeting in the doorway to seal the room and prevent drywall dust from escaping into the rest of the house.
Follow the steps of how to sand drywall to prepare your interior walls for painting. When you need the supplies for your room renovation project, download The Home Depot Mobile App and search for the tools and materials you want.