How to Start Seeds Indoors

Last updated July 18, 2025
Get a jump start on your seasonal vegetable and flower gardens when you grow seedlings indoors. Proper planning will help you grow strong seedlings that will produce earlier in the season.
Starting seeds early gives you bragging rights for the first ripe tomato and can help you grow successive crops up until your date of first frost.
You can plant seeds in ground, a process called direct sowing, or start indoors, in pots. You can start seeds in pots any time of year, but it’s often done in late winter to get plants in the ground as quickly as the weather allows. You don’t always need a greenhouse for seed starting, although they’re handy if you have access. You can set up shelves near a sunny window or build a grow light station to provide enough light to get your plants started.
In this guide, learn the steps to starting seeds indoors.
Difficulty:
Beginner
Duration:
2-4 hours
Table of Contents
Introduction to Seed Starting and Choosing Seeds
Selecting a Site and Setting Up
Sowing Seeds in Trays
Caring for Seeds in Trays
Harden Off Seedlings
Plant Seedlings in Garden
Introduction to Seed Starting and Choosing Seeds

Growing flowers and vegetables from seeds gives you more options when you’re looking for varieties to plant. For example, it’s often easier to find seeds for your favorite heirloom tomatoes, rather than seedlings. Plus, depending on the size of your garden, growing from seeds can save you money, especially if you’re planting a large vegetable garden or starting a perennial garden.
Steps for choosing seeds:
- Start by growing what you love. List your favorite flowers and vegetables that can be grown from seed. Edit your list based on your allotted garden space and the seasons that you're growing in.
- You need to know your site’s light. Annual vegetables and flowers grow best in full sun, defined as at least 6 to 8 hours of sunlight each day. If your site gets less than six hours of light, you’ll need to look for shade tolerant seed varieties.
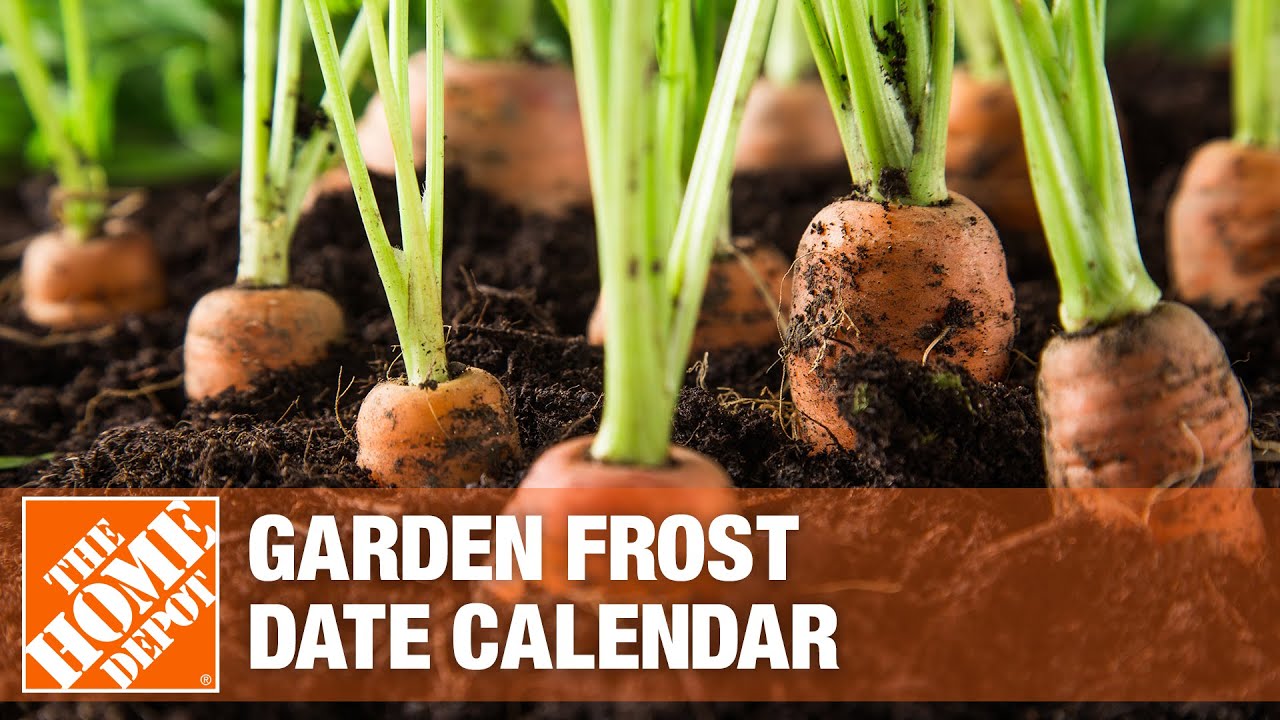
- You need to know your area’s average dates of first and last frost. The last frost date in spring tells you when you can safely transfer plants from indoors to outdoors.
- Seed packets will tell you when to start seeds. For example, “start seeds indoors 4 to 6 weeks before the last spring frost in your area.”
Keep in mind that if you start too early, seedlings will become leggy and weak. If you start seeds late, you’ll miss out on ideal conditions for flowering and fruiting. Changing weather patterns make timing challenging each year, but with practice year after year, you’ll get better at timing your seed starting.
Tip: In the Garden Center and online, seeds are always fresh and packed for the current season. Additionally, all seeds sold at The Home Depot are non-GMO.
Selecting a Site and Setting Up

Choose a place indoors to set up your seed starting project. The ideal space will have lots of light and room to set out the trays.
Tools for Seed Starting:
- Bucket
- Trays or peat pots
- Small trowel
- Soil scoop
- Plant labels
- Permanent marker
- Humidity dome
- Heat mat
- Spray bottle
- Pencil (use eraser to press small seeds into soil)
- Grow lights, optional
- Shelves, optional
- Soil blocker, optional
Gardeners use a variety of cups, pots and trays for seed-starting. You can buy seed-starting kits that have all the pieces you'll need. You can also use materials from around your home. If you're using disposable cups, make sure they have plenty of drainage holes in the bottom. Place cups in a tray to help make watering easier.
Materials for Seed Starting:
- Soilless seed starting mix
- Seeds
Seeds need a light, well-draining potting mix for the best start. In the Garden Center and online, look for products labeled for seed starting. You can create your own seed starting potting mix using heat-treated soil or compost, either peat moss or coconut coir for moisture retention, and sand, vermiculite or perlite for drainage.
Ventilated shelving is useful for setting out lots of trays. Learn how to set up a DIY grow light station.
Sowing Seeds in Trays

Sowing seeds in pots and trays is easy. Here are the steps:
- Begin by preparing the soil mix. Pour the soil mix into a bucket, add warm water and stir until moist, but not soggy.
- Next, fill pots or trays with the dampened soil mix to within ¼-inch of the rim.
- Tamp down the soil to reduce air pockets.
- Sow seeds according to package directions. Depth is usually two or three times the diameter of the seed.
- Use the tip of an eraser to gently push small seeds into soil.
- Use the permanent marker to label containers and trays with the seed variety and planting date.
Caring for Seeds in Trays

After seeds are in pots or trays, it’s important to keep them in a moist, warm environment to aid germination. Use a spray bottle set to "mist" to gently spray newly planted seeds. Gardeners use humidity domes to help the seeds stay moist. You can also use clear plastic bags. Just be sure to open them from time to time to check on your seedlings.
Seeds need warmth for germination, and that can be difficult in a cool, dry home in winter. You can try putting the seed trays on top of a refrigerator or radiator. If you have more than a few trays, it’s best to use special heat mats to keep your seedlings consistently warm.
- When seedlings emerge from the soil, let air in by slightly venting the bag or dome.
- When the second set of leaves, called true leaves, emerge, you can remove the cover.
- Fertilize the seedlings each week using a water-soluble fertilizer added to the watering tray.
To help the seedlings grow, position grow lights 6 to 12 inches above the seedlings and keep them on 12 to 16 hours each day.
Harden Off Seedlings

In early spring, when you’re ready to put your seedlings in the ground, you want to follow a process called hardening off. This means slowly acclimating your seedlings to an outdoor environment. Allow up to a week for seedlings to adapt to outdoors.
Follow these steps to harden off seedlings:
- Place trays outside, but not in direct sun or high winds, for a few hours at a time, before bringing them back inside.
- Gradually build up the outside time to include overnights.
- You can use a cold frame or portable greenhouse to help harden off seedlings.
- After acclimating, seedlings are ready for their outside planting place.
Plant Seedlings in Garden

You can safely plant your seedlings in spring when you’re past the average date of last frost.
Steps for planting seedlings in ground:
- Overcast days are best for new seedlings. Try planting in early morning or late afternoon.
- Prepare garden bed by breaking up soil with a hand cultivator and amending with compost.
- If soil is dry, pour water over to hydrate it.
- Add vermicompost or slow-release fertilizer to planting hole.
- Gently pull seedlings from containers and place in soil.
- Finish with more garden soil and mulch, if using. Mulch helps plants retain moisture and protects new roots from extreme temperatures.
- If rain is not in the forecast, gently water in your newly planted seedlings.
Tip: You can re-use plastic trays and pots for future seed starting projects. Wash with a mild bleach solution to kill bacteria and store in a cool, dry place until you’re ready to plant again.
Growing flowers and vegetables from seed is easy and fun, especially when you have the right equipment in place. Shop the Home Depot Mobile App for accessories and equipment for your seed starting project.