DIY Dog Bed

Last updated August 21, 2024

Candice Trevino of Smiles and Pearls is a Texas-based Latina lifestyle blogger that enjoys sharing fashion finds, her latest home decor favorites, and taking her audience on her newbie DIY journey. She began her Smiles and Pearls Instagram page in 2017 when she was a newlywed and looking for community. She’d share her latest hauls, or daily #ootd, and all of a sudden, she was part of one of the best friend groups she ever had! She hopes that by sharing her daily life, she’ll inspire others to live joyfully, love the body they’re in, wear what they want, and trust that they can do anything they put their mind to with the right confidence!
A Note From The Home Depot
This time of year is all about spreading joy and cheer to our friends and family. Pets are a part of the family too, and Candice Trevino of Smiles and Pearls decked her dog’s bed out with a few items from The Home Depot so he’s feeling the holiday spirit too! Read below to see how she did it.
Table of Contents
DIY Dog Bed
The Supplies
Step 1
Step 2
Step 3
Step 4
DIY Dog Bed
This guide is created to fit the 20” x 30” Dog Bed in size medium. This is perfect for a small or medium-sized dog. However, you can adjust the measurements to accommodate a larger dog.
The Supplies
For this project you will need:
- Two (2) 1” x 4” x 8’ Common Board (actual is 0.75” x 3.5”) I used primed wood because I painted the dog bed white. If you are staining, get unprimed wood.
- Three (3) 1” x 2” x 8’ Common Board (actual is 0.75”x1.5”) I used primed wood because I painted the dog bed white. If you are staining, get unprimed wood.
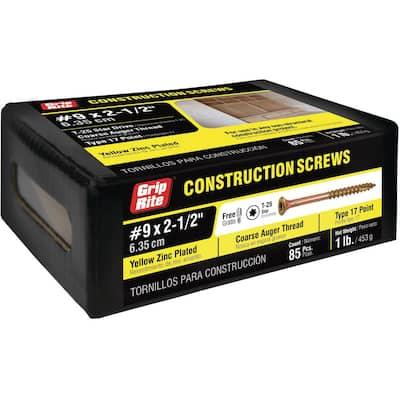
- 2-1/2” Screws
- Stain or Paint (whichever you prefer)
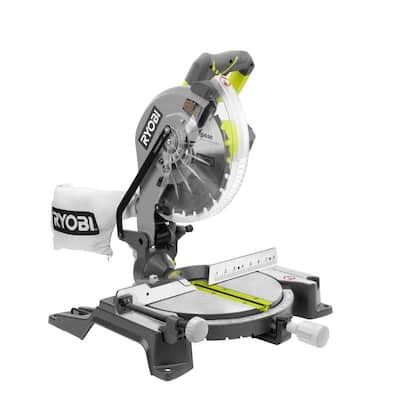
- Miter Saw
- Drill and drill bit
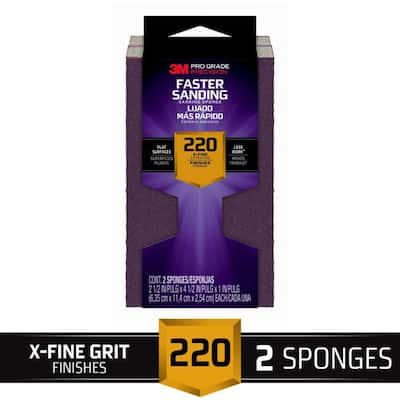
- Fine Sanding Block or Orbital Sander
- Any 20” x 30” Pet Bed
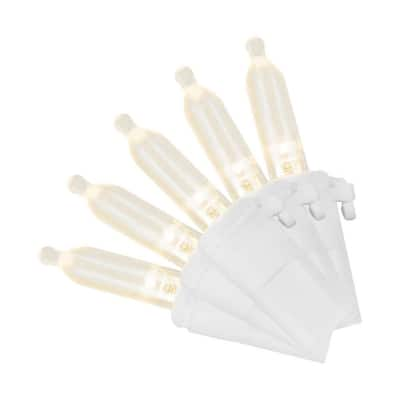
- White 100ct. Lights
- 8-10” Decorative Wreath
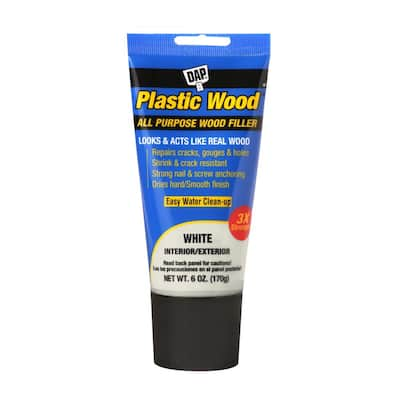
- DAP Plastic Wood Filler in White
- Tape Measure
Step 1
Gather all your supplies.

Step 2
Begin making your cuts for your dog bed (use your miter saw to do this). All angles will be cut at 45 degrees. Here’s a photo of the cuts I made down below.

NOTE: The measurements shown for the mitered cuts are from end to end. So measure the entire length of your boards, and then miter at 45 degrees.
You can modify these cuts to make a larger bed for a larger dog. You would just work around the sizing for a larger dog and make the cuts longer for the base and taller on the side pieces to accommodate the height of your dog.
Step 3
Begin assembling your dog bed. Assemble the base and the side walls together. The front and side pieces of the base are measured to fit inside of each wall. See the zoomed-in photo of the joints.

I used 2 ½ inch screws. So that the wood doesn't split, drill a pilot hole first with a drill bit and then fasten the pieces together. Screws gave my frame a really strong and stable structure but you can also fasten the pieces together with pocket holes. I countersank the screws and was able to wood-fill the holes afterward.

Add the side supports to the side walls. Next, assemble the front and back of the roof, and then add the roof supports.

Step 4
Wood-fill all screw holes and joints and then sand down all the wood filler and the rest of the dog bed. If you are staining your dog's bed, make sure to get stainable wood filler. I opted to paint the dog bed, so I just used DAP Plastic Wood Filler in White.
Step 5
Prime and Paint or stain your dog bed. I opted to paint my dog bed. I purchased pre-primed boards, so I didn’t need to prime beforehand.
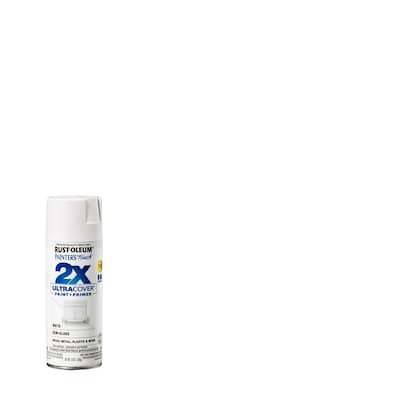
I used Rustoleum’s white prime and paint spray paint in a semi-gloss finish. I ended up using two cans in total.
After it's dry, you can then bring the dog bed inside and insert your dog cushion inside of the dog bed.

Step 6
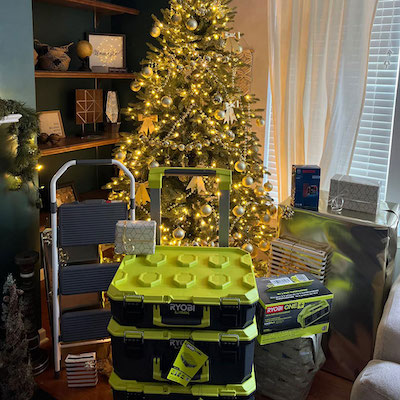
Decorate your dog's bed for the holidays. I wrapped white lights around the roof of the dog bed and then hung a wreath in the front. You could also add a nameplate there as well to personalize the dog bed.

This post was created in partnership with The Home Depot. The author may have received compensation for this article and associated images or video, potentially in the form of products and/or services. All expressed opinions and experiences are the author’s own words.