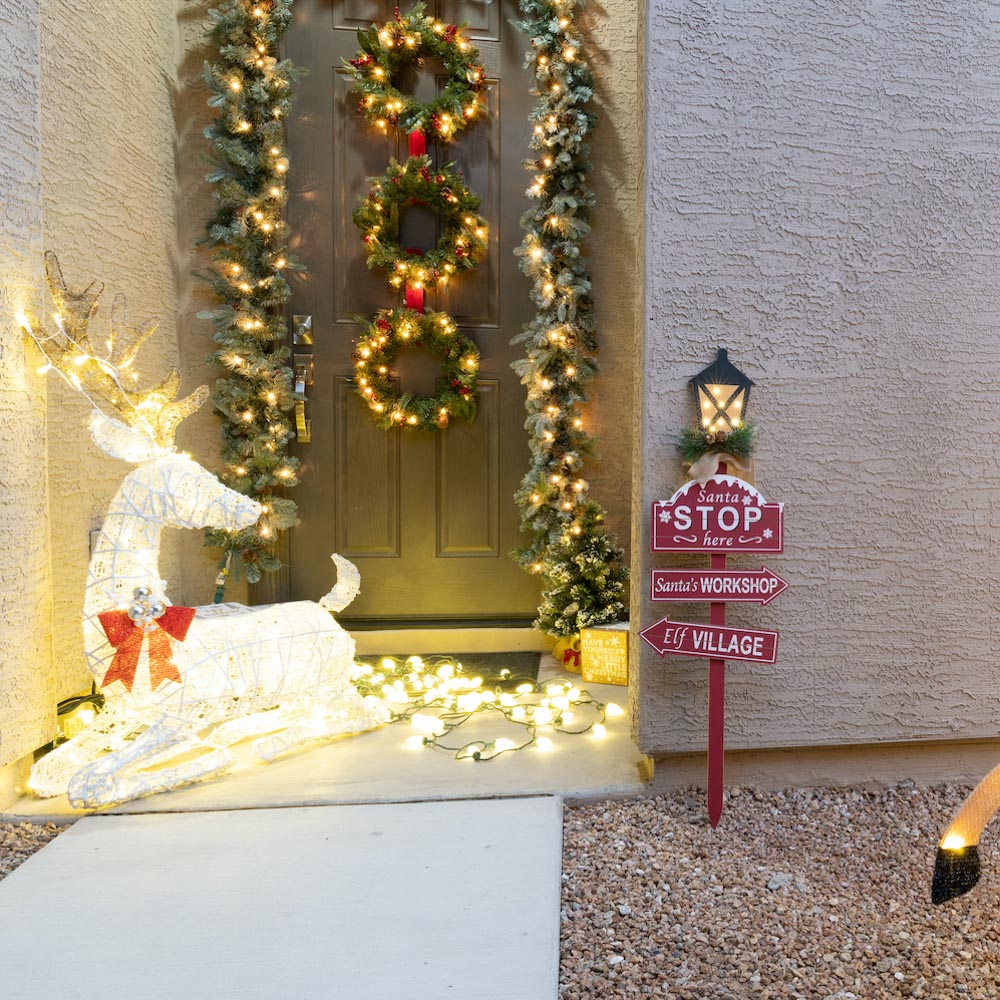
DIY Kids Present Ladder

Last updated August 21, 2024

Cara Newhart of Never Skip Brunch is a DIY enthusiast who lives in Houston, TX. She has a passion for empowering women to dive deep into the "masculine" world of DIY and home improvement. Her creativity has been featured in publications like PEOPLE StyleWatch, Denver Style Magazine, and she's the 2019 Home Depot Orange Tank Pitch Competition winner. Head over to her blog to see more of her chic DIY projects and tutorials.
A Note From The Home Depot
Have too many presents to fit under the tree, or just want to have a decorative twist to hold your gifts?
Cara Newhart from Never Skip Brunch creates a DIY Present Ladder to fit the bill.
Make a trip to your local Home Depot and let’s get started!
Table of Contents
Gather Your Tools and Materials
STEP 01: Measure and Cut the Side Supports
STEP 02: Attach A-frame Ladder Side Pieces with Hinges or Screws
STEP 03: Measure Shelf Placement + Cut Shelves
STEP 04: Cut and Attach Side Supports
STEP 05: Attach Opposite Frame to Side Supports
Gather Your Tools and Materials
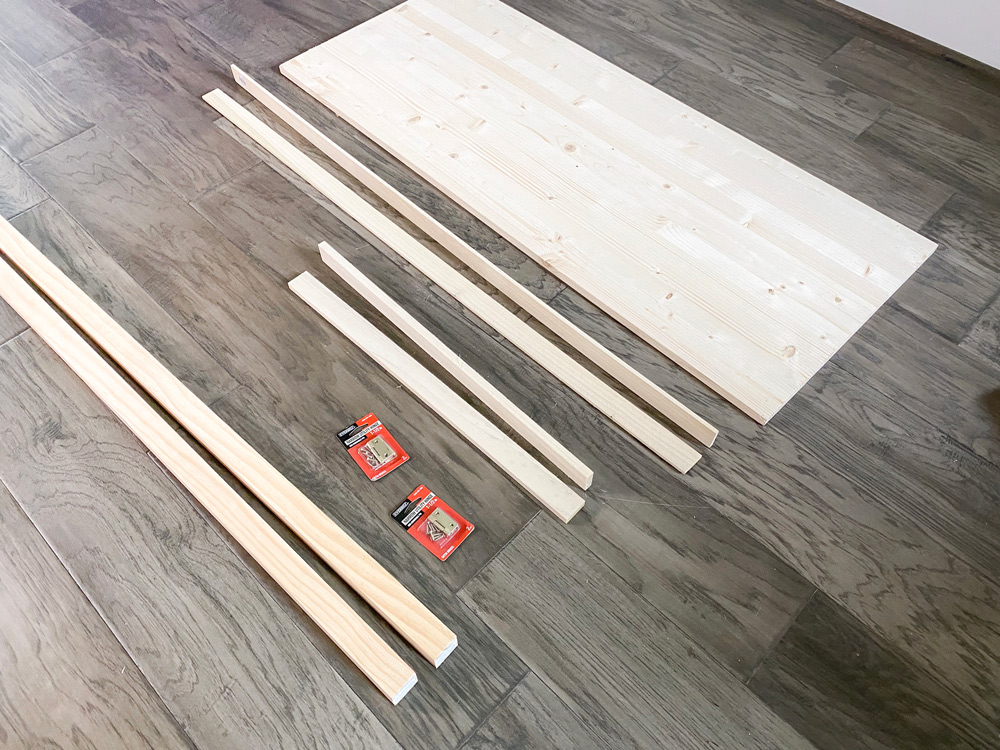
Holidays usually mean lots of beautiful presents. We decided to create an easy foldable tree-shaped present ladder to display them for the holiday season.
The size of this ladder can be adapted if you’d like to create a larger one — just proportionately adjust the height of the side frame pieces and add more shelves.
Note*: This ladder is for decorative purposes only, These plans are not intended to create a working ladder. Do not stand, sit, or climb on the ladder.*
STEP 01: Measure and Cut the Side Supports
We decided to make our ladder kid sized, but you can totally create one that’s taller as well by just adapting the frame dimensions to your desired height.
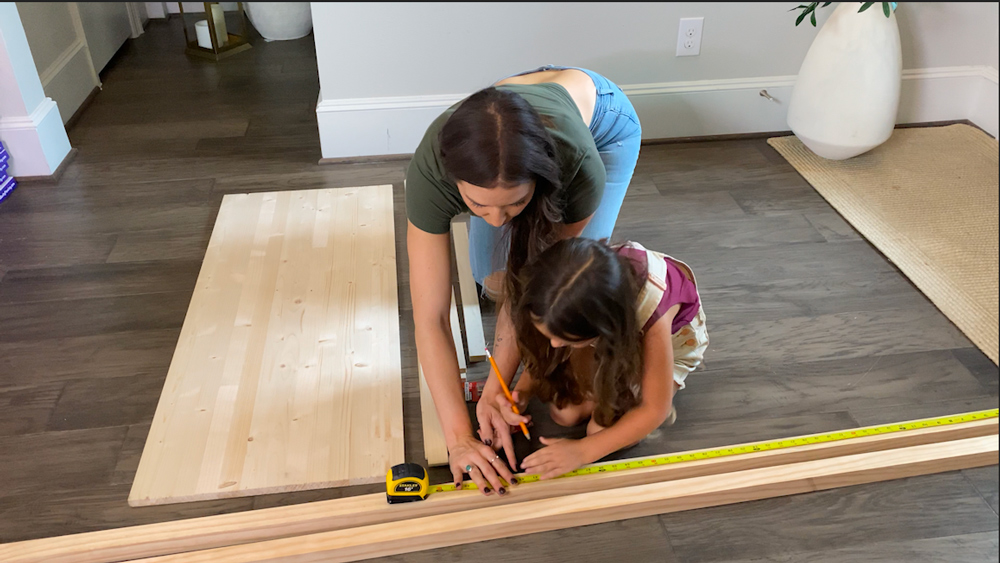
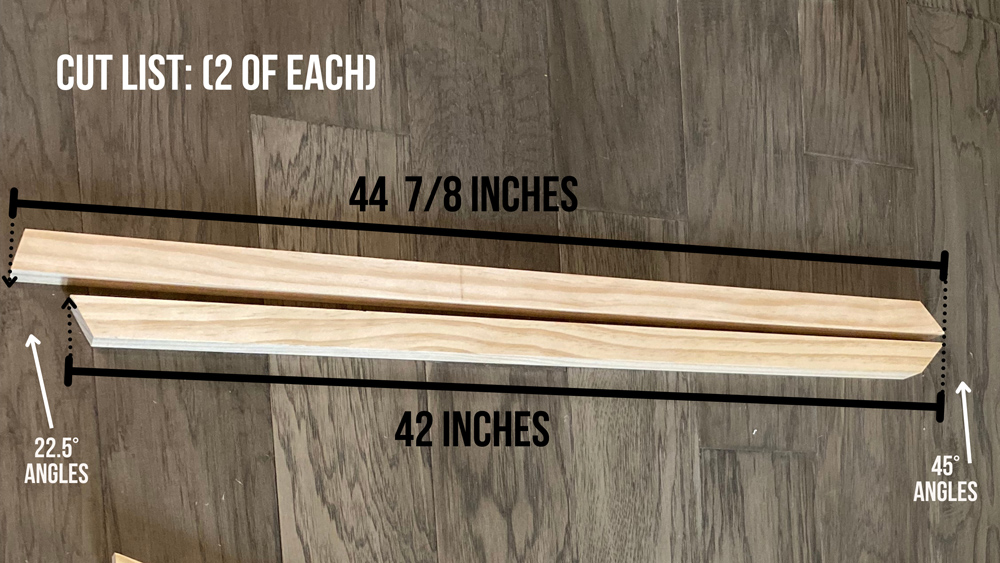
For our ladder, we measured 42 in. onto our 2x2 boards. We’ll cut 4 pieces total from 2 boards that are 8ft long.
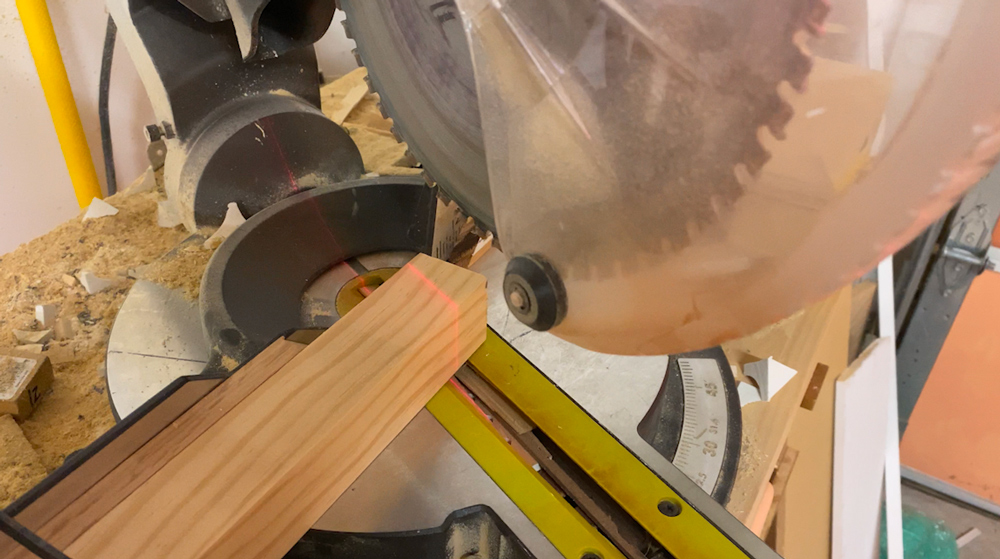
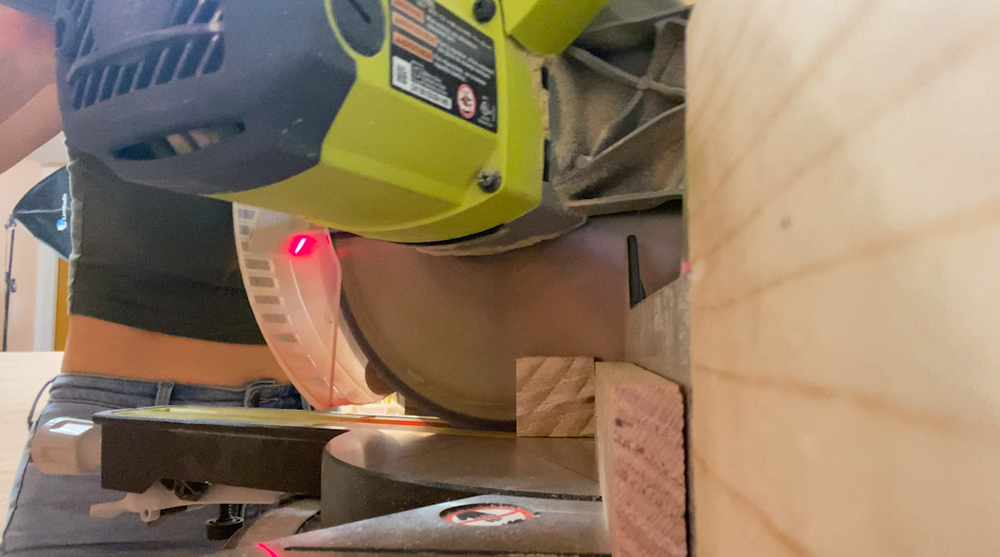
We cut off the ends of our boards at a 22.5° angle. This angle will create a 45° triangle where both legs are flat on the floor and give our ladder a christmas tree shape.
Pro tip: Most miter saws have a mark for a 22.5° angle cut.
We cut other end of the frame pieces to a 45° angle at different sizes — two boards at 42 in and two boards at 44 ⅞” long (from the long edge of one angle cut to the long edge of the other angle cut).
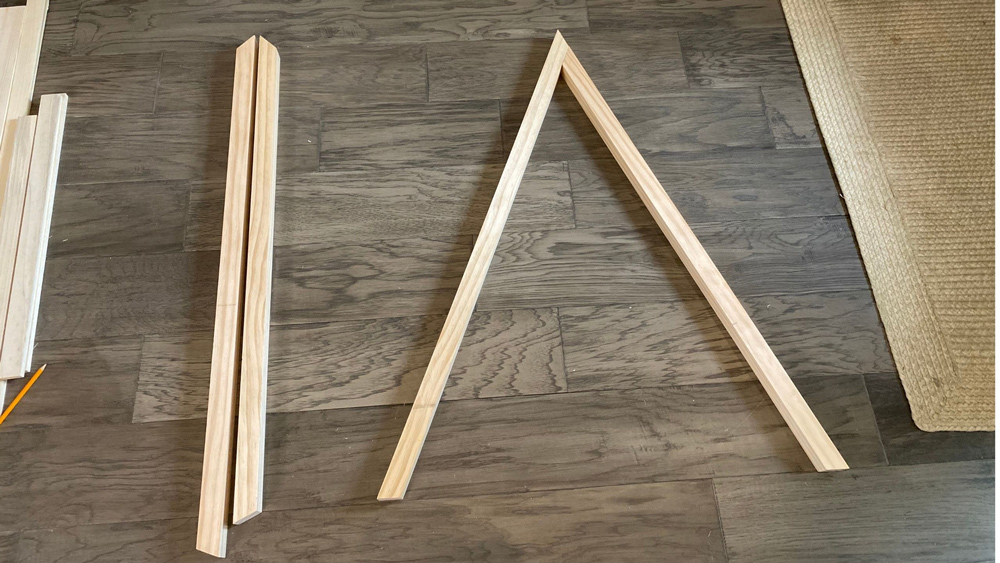
The longer piece will form the peak of our triangle with the shorter piece attaching to the side of it. See the below images for a visual on the cut list and they layout of how the pieces fit together.
STEP 02: Attach A-frame Ladder Side Pieces with Hinges or Screws
For a foldable present ladder: Use hinges
Clamp the 45° angle pieces into a triangle, securing the shorter piece (44 in) just below the shorter side of the angle on the longer piece (44 ⅞ in)
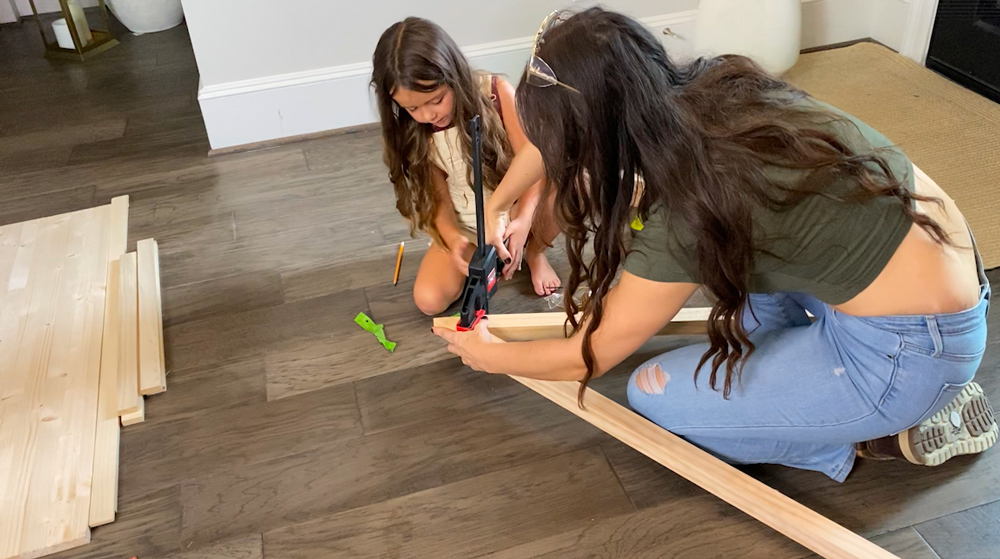
Add the hinge to the inside angle of the frame boards. Hold the hinge in place with painters tape on each side to ensure it doesn’t move while you drive the screws.
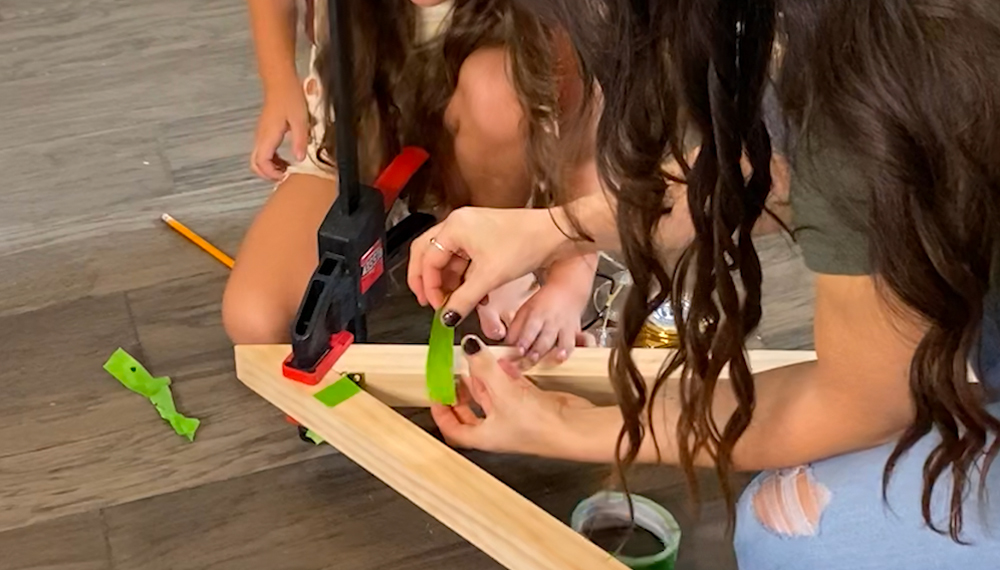
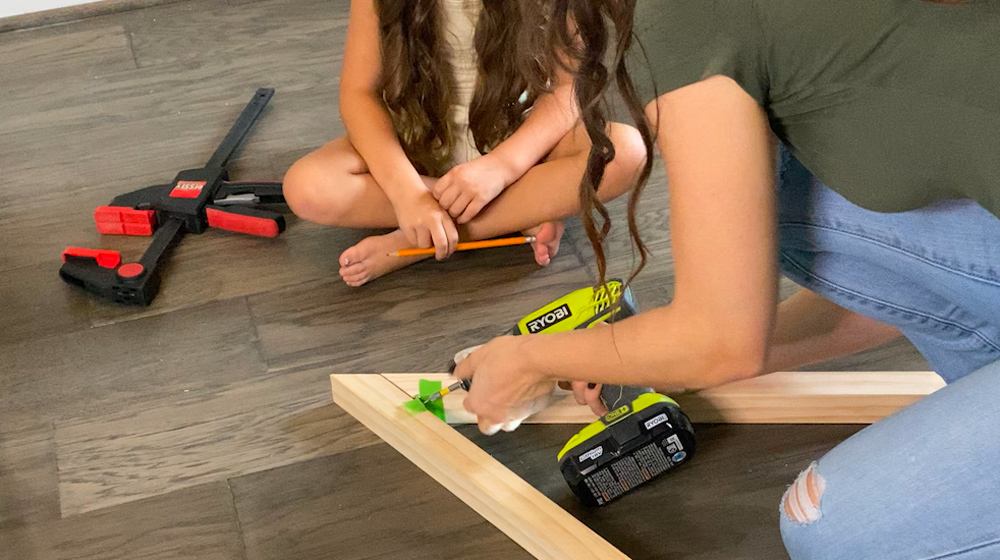
Drive the hinge screws into the hinge to secure it with the board. If your little one wants to help by using the drill, it's best to insert one screw on each side of the hinge to secure it, then let them help with the second screw. Once the hinge is secure, remove the tape.
Use wood screws for a fixed present ladder
For a simplified version of this ladder or if you want a ladder that is fixed instead of foldable, you can attach using wood screws, just drive them from the top of the long board down into the shorter angled board to secure.
STEP 03: Measure Shelf Placement + Cut Shelves
Decide on the placement of your shelves. We decided to create 2 shelves, one 12 in up from the floor, and the other 12 in down from the top of the shelf.
We marked these locations on the frame, then measured across the frame to determine the length of the shelves.
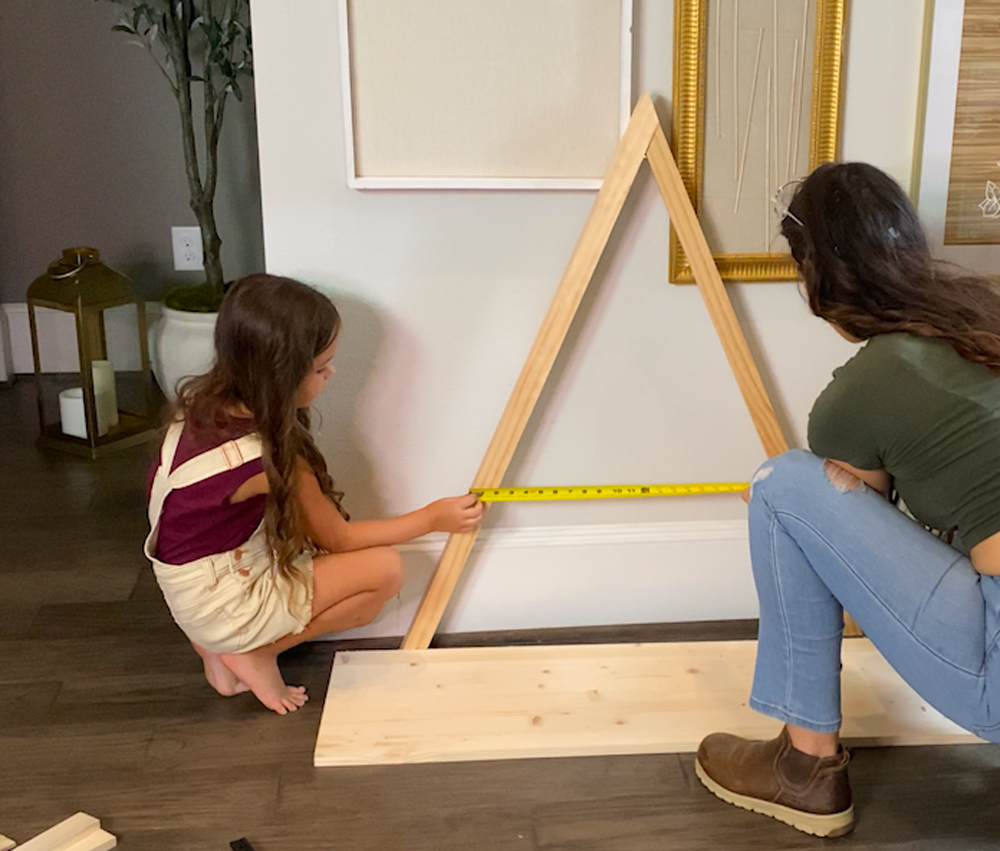
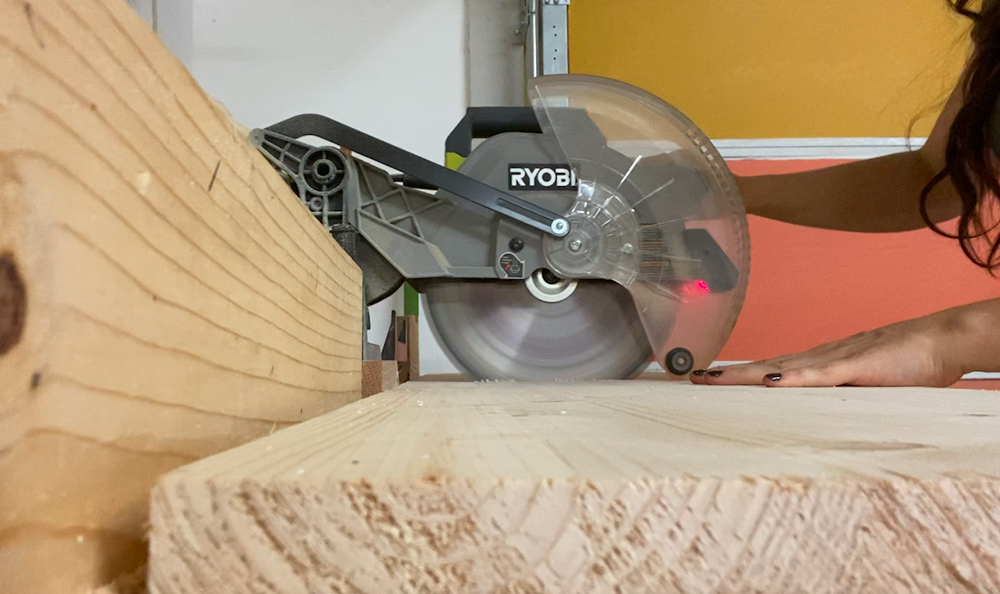
Once you have determined the length of your shelves, use a miter saw to cut your project board OR 1X12 pine board to size. Our shelves measured about 28” and 16”.
If you’re using a 2’x4’ project panel, you can customize the depth of the shelves by rip cutting the board down to your desired width. If you’re using a 1x12 board, the depth of your shelves will be 11½”.
STEP 04: Cut and Attach Side Supports
Create side support pieces for the shelves from the ½ in x 2 in board by cutting it down to the same length as the width of the shelf boards (ours was 15”).
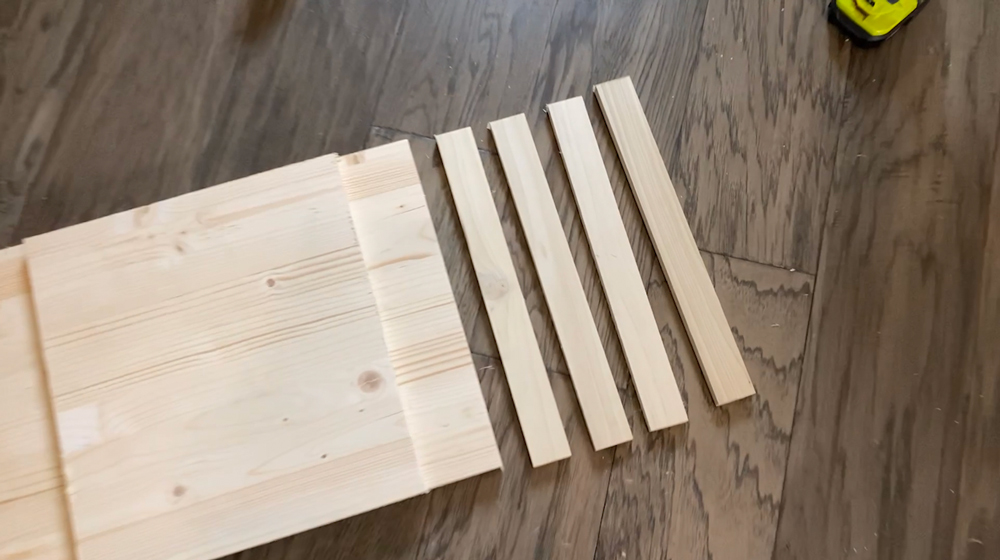
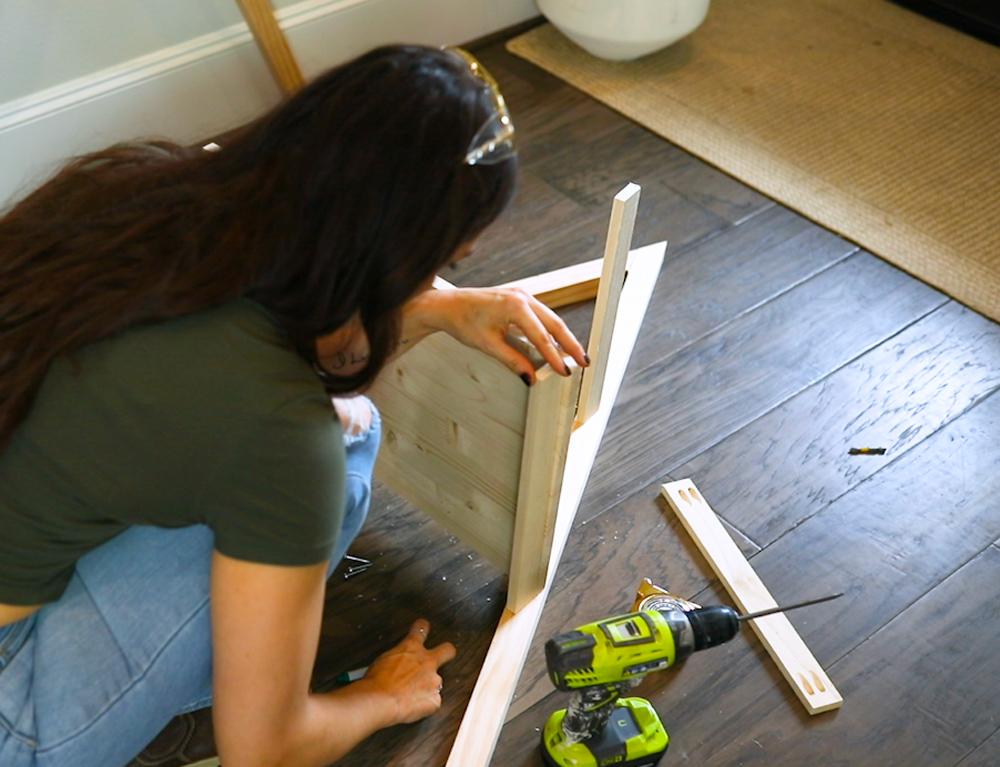
The side support pieces attach to the frame so that the shelf can sit on top of them. You can attach them to the frame with a variety of methods — with wood glue, a nail gun or pocket holes. We attached them using pocket holes and screws on the inside of the board.
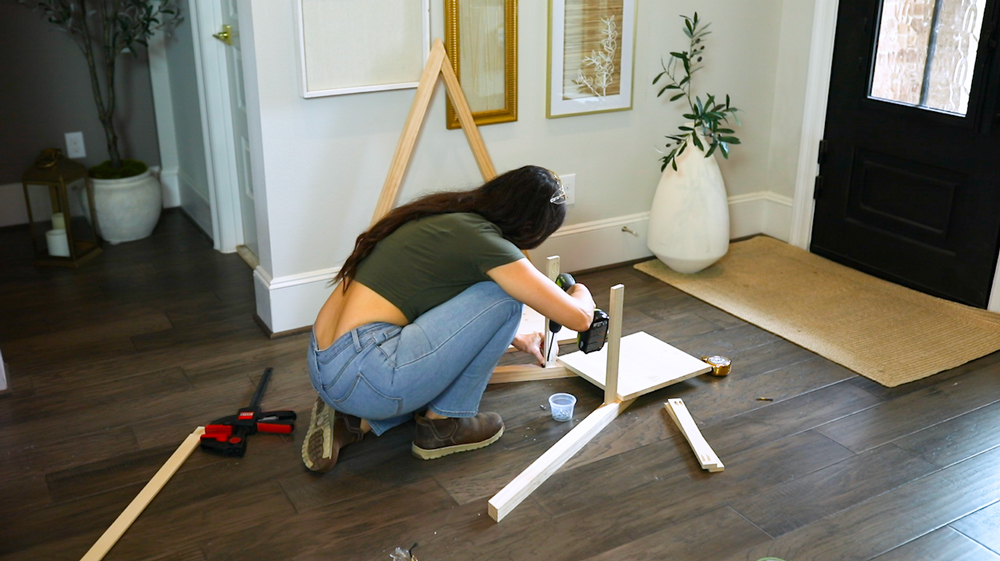
STEP 05: Attach Opposite Frame to Side Supports
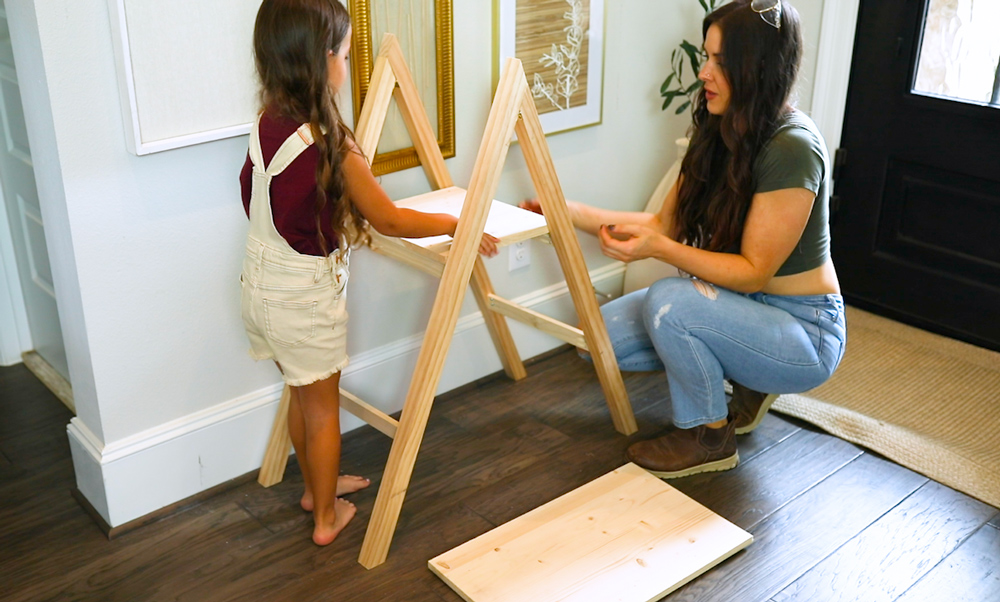
Once the side supports are attached to one side of the frame, stand both sides of the frame up with the side supports aligned with the second frame. Attach the side supports to the second frame using your desired attachment method.
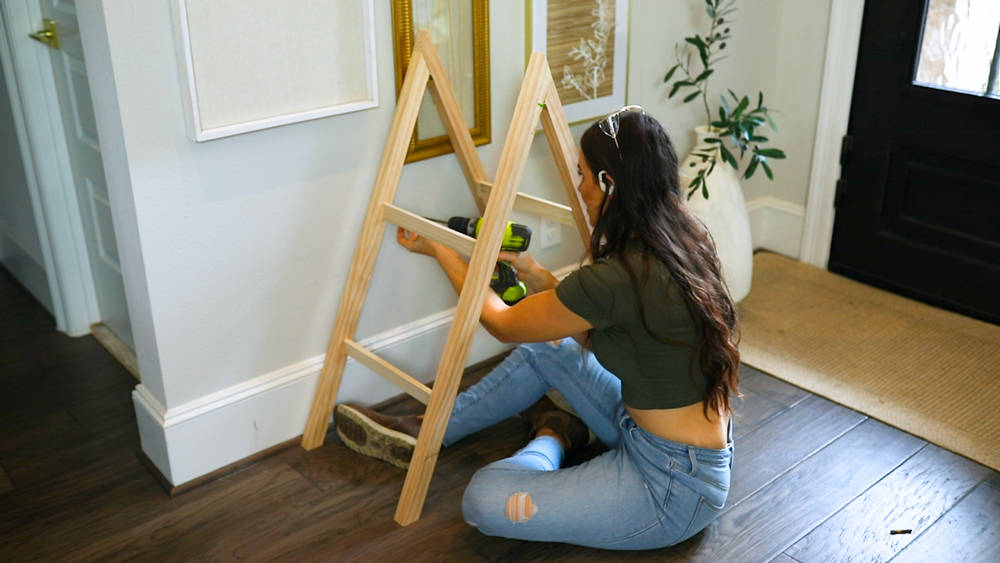
STEP 06: Add Shelves
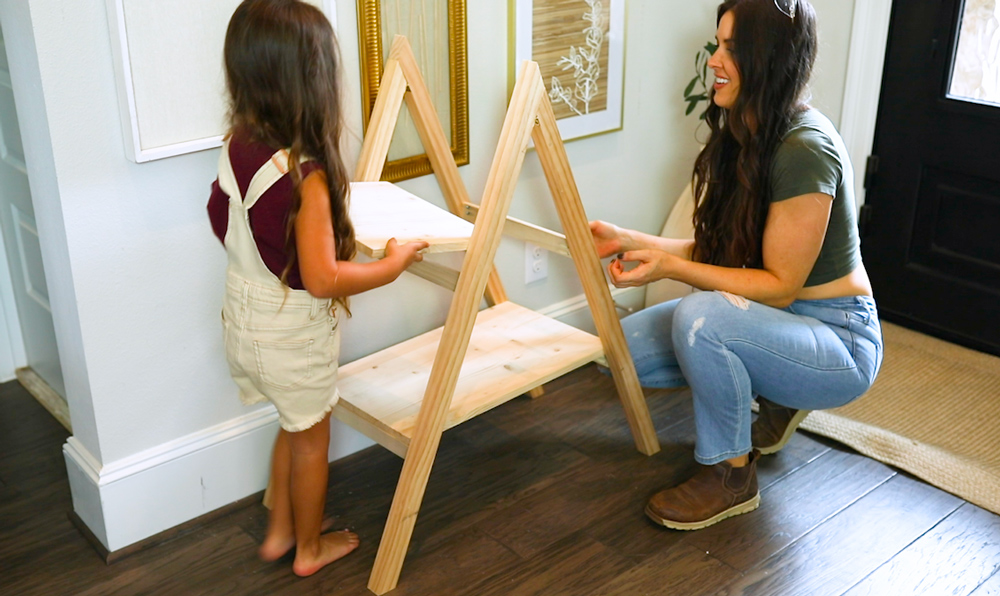
Once the side support shelves are installed, add the shelves on top — resting them on the shelf support brackets. There is no need to attach them to the side supports if you’re creating a folding shelf, the shelves need to be removable for the shelf to fold.
STEP 07: Style + Add presents
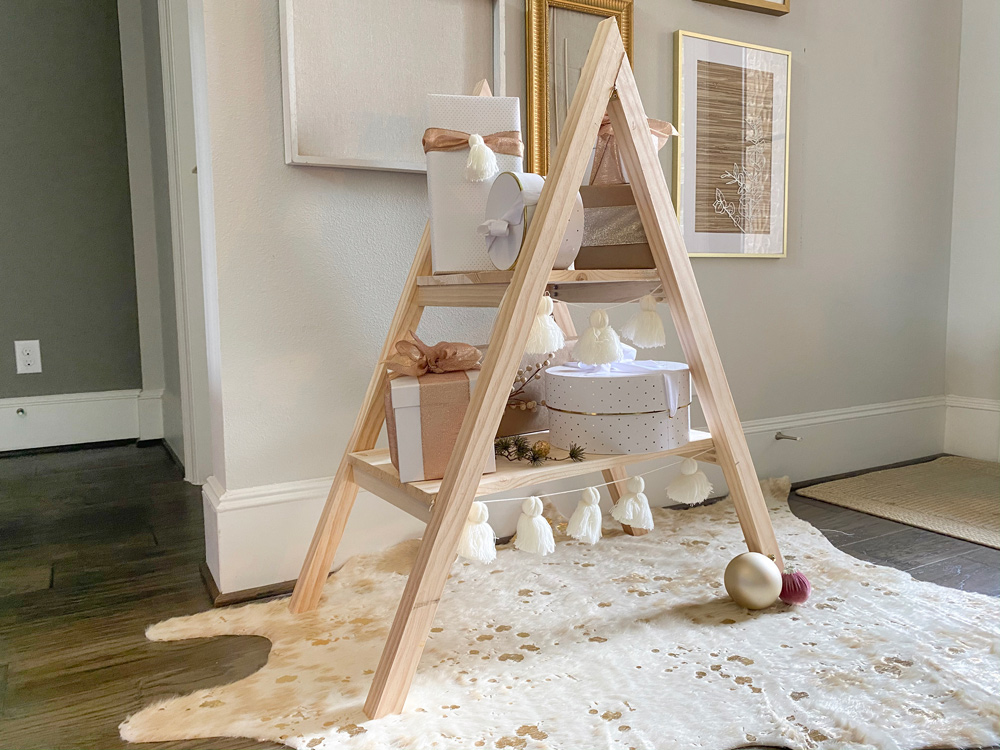
We styled the present ladder by adding a faux cowhide rug, a tassel garland, and some gorgeously wrapped presents.
This post was created in partnership with The Home Depot. The author may have received compensation for this article and associated images or video, potentially in the form of products and/or services. All expressed opinions and experiences are the author’s own words.


