DIY Wood Stump Planter

Last updated August 21, 2024

Andrew Boza & Dennis Setteducati or Crafty Lumberjacks, are New York-based DIY and crafting experts who are sure to add some fun to your projects with their unique and creative projects.
These former actors turned their crafting dreams to reality and now specialize in DIY projects, decorating inspiration, and the occasional vegan treat.
A Note From The Home Depot
Beautify your outdoor space and upcycle local lumber with this bright, natural planter DIY from the Crafty Lumberjacks. Grab all your needs from The Home Depot to follow along with their simple instructions for your own eco-friendly planter!
Table of Contents
DIY Wood Stump Planter
Materials
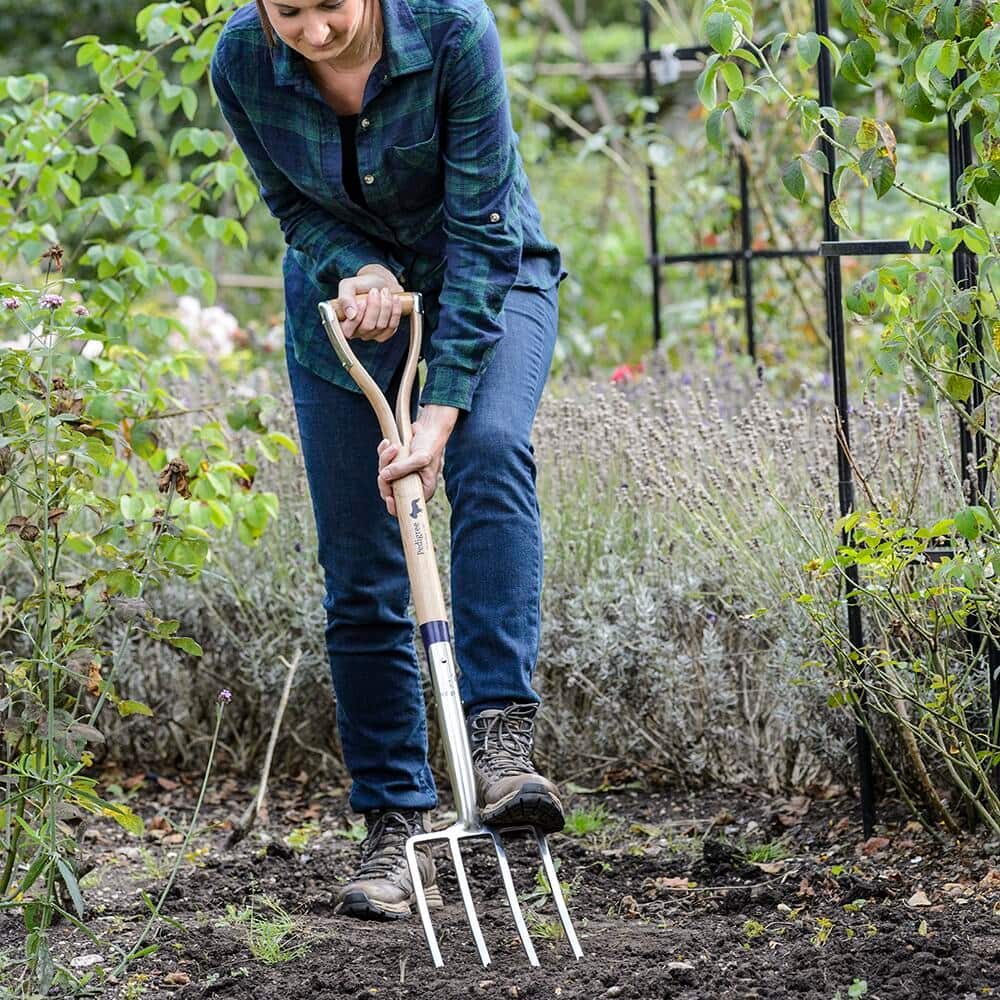
1. Pick Out Your Stump
2. Mark the Hole
3. Begin to Drill Out the Hole with the Forstner Bit
4. Use a ⅜” Bit to Help Loosen the Wood
DIY Wood Stump Planter

Create a one-of-a-kind planter with a cut tree stump and a quick trip to The Home Depot. Upcycling is a huge trend right now and rightfully so; turn a fallen tree into a natural statement piece in just a few steps. This project is perfect for any outdoor stoop or garden, and change the flowers and plants throughout the year to keep it seasonally fresh and appropriate!

Materials
• Corded Variable Speed Hammer Drill
• 2’’ High-Speed Steel Forstner Drill Bit
• ⅜” Drill Bit
• Wood Chisel
• Mallet or Hammer
• Gardening Gloves
• Potting Soil
• Plants
1. Pick Out Your Stump
Any stump should work for this project, but there are some things you should look for when starting. Check out the size and width of the stump. The bigger the stump, the heavier the planter will be, so if you want it easily movable, a smaller stump would work best. Make sure the stump has a flat bottom so it can sit up straight and not wobble as you work.

2. Mark the Hole
Use a pencil or a marker to draw a circle in the center of the stump, leaving at least two inches from the bark. If you carve out your hole too close to the bark, the walls of the planter won't be as sturdy and can crumble over time.

3. Begin to Drill Out the Hole with the Forstner Bit
Add the forstner bit to your handheld drill and begin drilling holes inside the drawn edge. Continue around the circle and repeat the process, moving closer and closer to the center. This can be a time-consuming step. Turn over the stump to dump the chips of wood from the hole as you work. Repeat this whole process again to deepen the hole. Tip: It’s best to use a corded drill because this can be a time consuming process, and it will drain your batteries quickly.


4. Use a ⅜” Bit to Help Loosen the Wood
If the stump is freshly cut, it may be very dense and you might have trouble drilling through. If so, swap out the forstner bit for a ⅜” bit and repeatedly drill holes to help loosen up the wood. Continue drilling with the forstner bit until you’ve carved out at least four to six inches deep.
5. Clean Up the Carved Edges
Place the chisel along the edge of the hole and hit it with the mallet. Continue to do this along the edge to clean it up. Don’t worry about trying to make it perfect, just focus on getting rid of any sharp indents or grooves. Turn the stump over and empty out any wood shavings.
Tip: Spread the shavings around your garden. Doing this can prevent weeds and retain moisture in the soil.


6. Add Soil and Plants
Add about two inches of soil inside the bottom of the hole. Remove the plastic pots from your plants and lightly break up the roots before placing them in the hole. Add soil around the plants on top of the roots until the hole is filled.
Tip: Like a terracotta pot, the wood will soak up a lot of the moisture so there is no need for drainage holes. However, if you want to add drainage holes, use a drill bit that is long enough to reach the bottom of the carved hole to the base of the stump before adding the plants.


7. Water and Enjoy
Place the planter by your doorstep, along a path way or in your garden and water immediately. Swap out your flowers throughout the seasons for a fresh feel. Enjoy your beautiful natural planter!


This post was created in partnership with The Home Depot. The author may have received compensation for this article and associated images or video, potentially in the form of products and/or services. All expressed opinions and experiences are the author’s own words.