How to Make a Christmas Car with Cardboard
Last updated August 21, 2024

Serena Appiah is a blogger, entrepreneur, artist, thrifter, wife, and mother of three young sons. She had been named the 2016 Home + Garden Trendsetter of the Year, which won her the opportunity to speak at home shows nationally. Since 2012, she's been inspiring readers at ThriftDiving.com to decorate, improve, and maintain their home on a DIY budget. Thrift stores, power tools, and paint brushes have helped Serena and her readers transform their homes, one project at a time.
A Note From The Home Depot
Looking for a fun holiday craft for your child to make over the holidays?
Serena Appiah from Thrift Diving has you covered with this adorable Christmas car! Download the template below, gather some supplies from your local Home Depot and let’s get started.
Table of Contents
How to Make a Christmas Car with Cardboard
STEP 1: Cut Out and Trace the Christmas Tree and Car Pattern Pieces.
STEP 2: Use pattern pieces to trace and cut out your cardboard duplicates
STEP 3: Paint your Christmas tree and Spray Paint the Milk Container Caps
STEP 4: Hot Glue the Body and Top
STEP 5: Paint the Car Top and Body
How to Make a Christmas Car with Cardboard
Christmas is an exciting time of the year for kids! Decorating the tree is family tradition in homes around the world. But don’t overlook another important tradition that the family looks forward to: selecting and bringing home the most perfect tree!
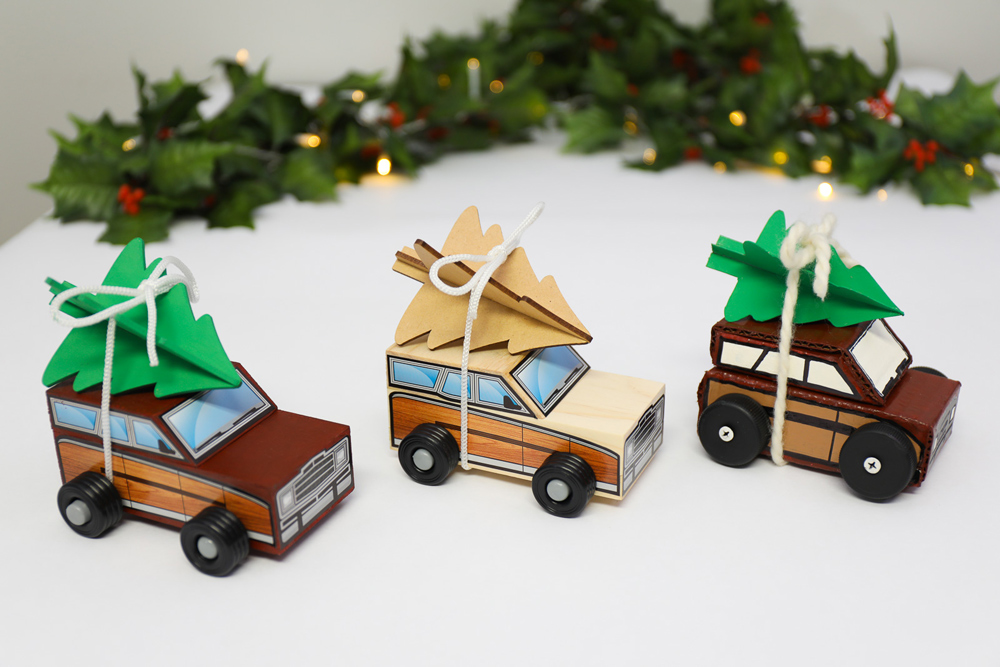
For this project, using simple materials found around the house, your family will enjoy this Home Depot Kids Workshop “at home” version using cardboard, craft paint and creativity!
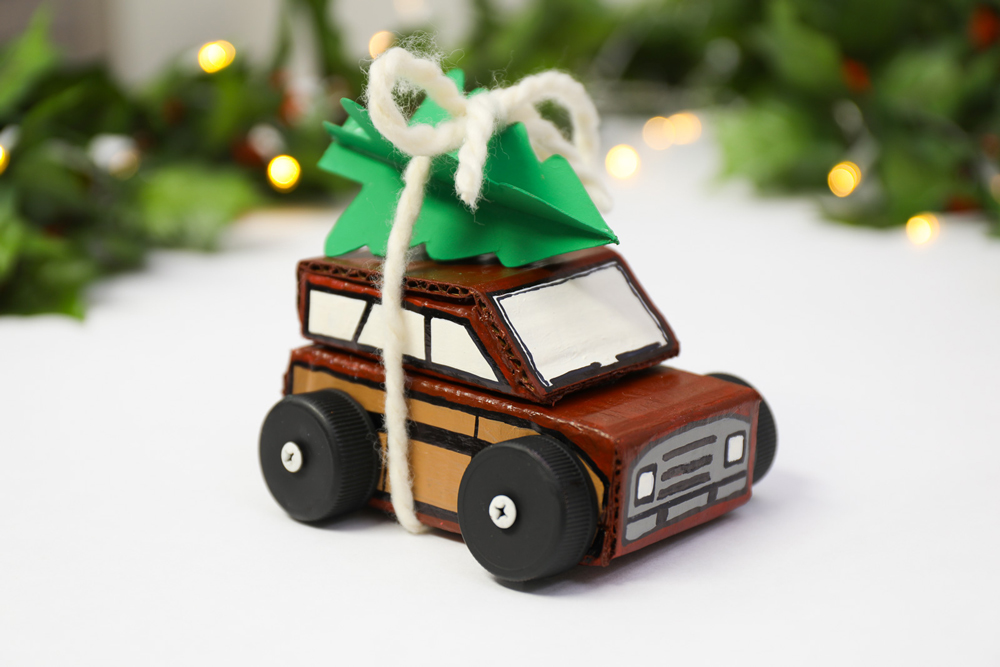
For this project, using simple materials found around the house, your family will enjoy this Home Depot Kids Workshop “at home” version using cardboard, craft paint and creativity!
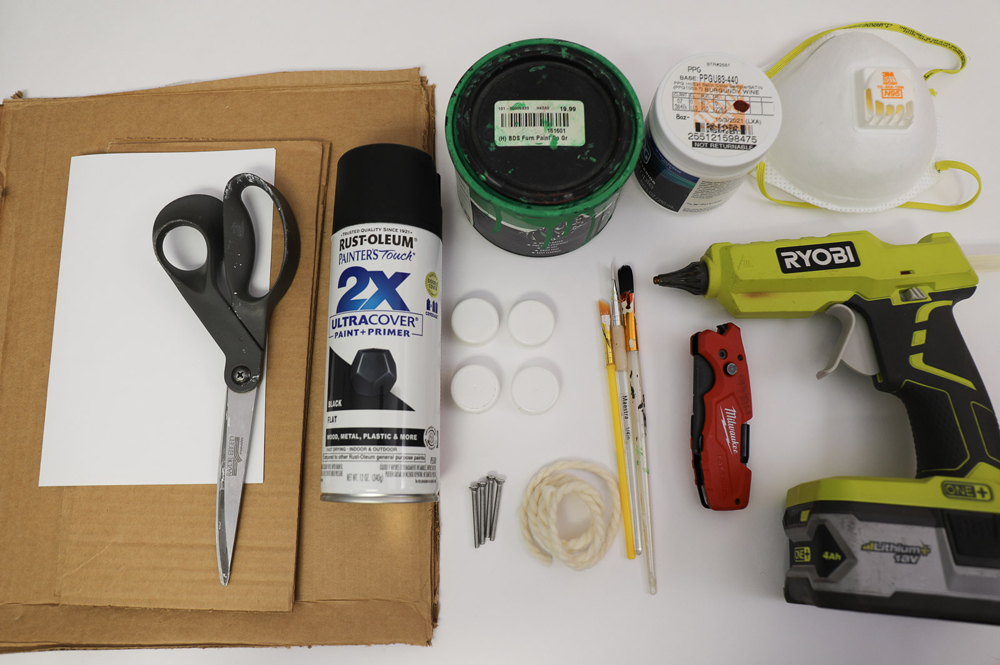
STEP 1: Cut Out and Trace the Christmas Tree and Car Pattern Pieces.
This Christmas car is very simple to make with just a few pattern pieces. The pattern pieces can be downloaded here and easily printed from your home computer. The pattern will print to size so that your family can make an exact replica of this cardboard Christmas car! You’ll need to print and cut out the following pieces:
- One car body piece
- One car top piece
- Two tree pieces
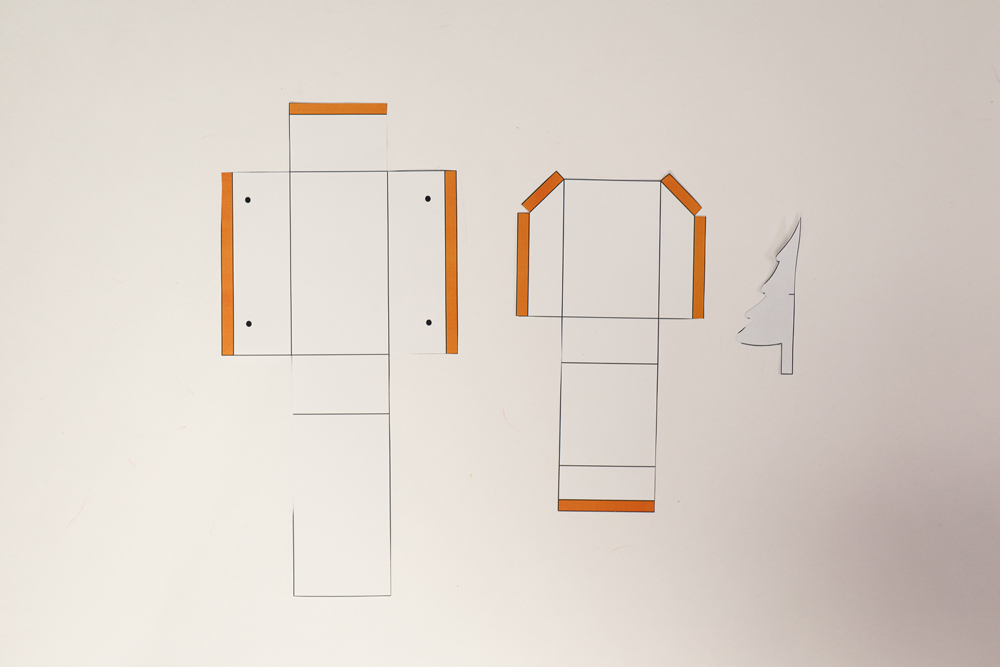
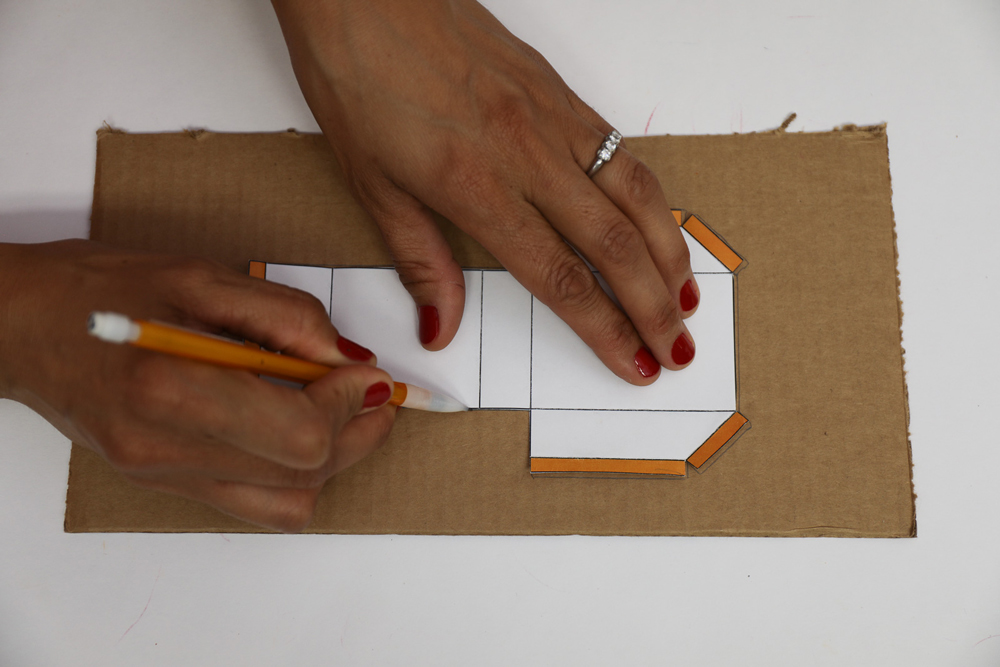
After cutting out each pattern, fold the patterns at each solid line with your finger. Folding the pattern makes it easy to trace the entire pattern onto cardboard. The orange tabs, once folded, represent the tabs that will be hot glued to hold together the Christmas car body and top.
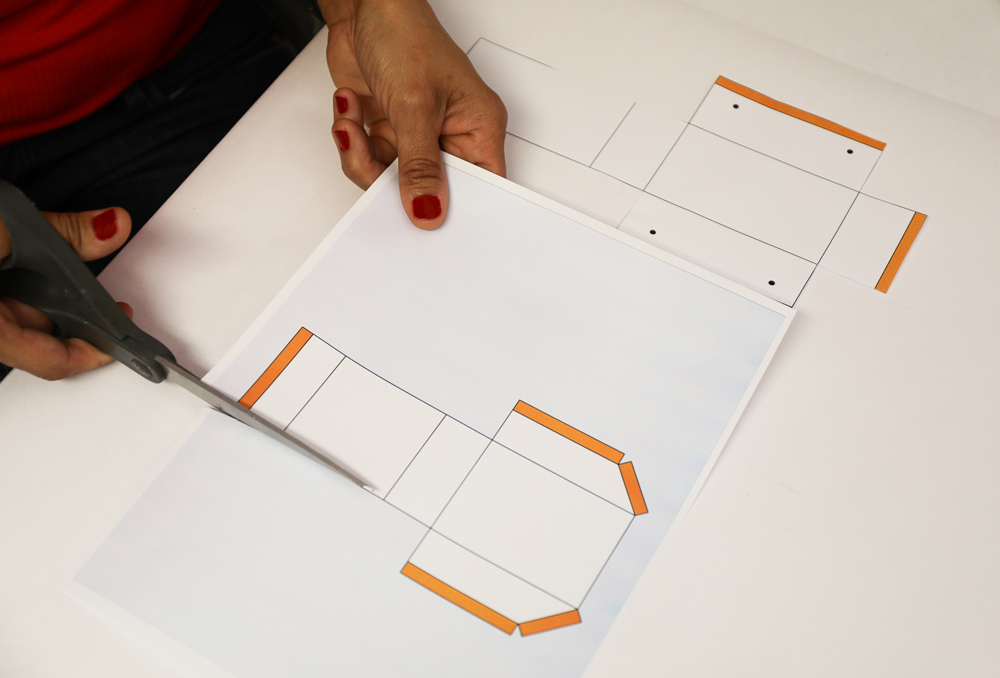

STEP 2: Use pattern pieces to trace and cut out your cardboard duplicates
The Christmas tree pattern should be placed onto a sheet of folded printer paper, with the edge lined up with the folded edge of the paper. Be sure to transfer the location of the mark in the middle, as well.
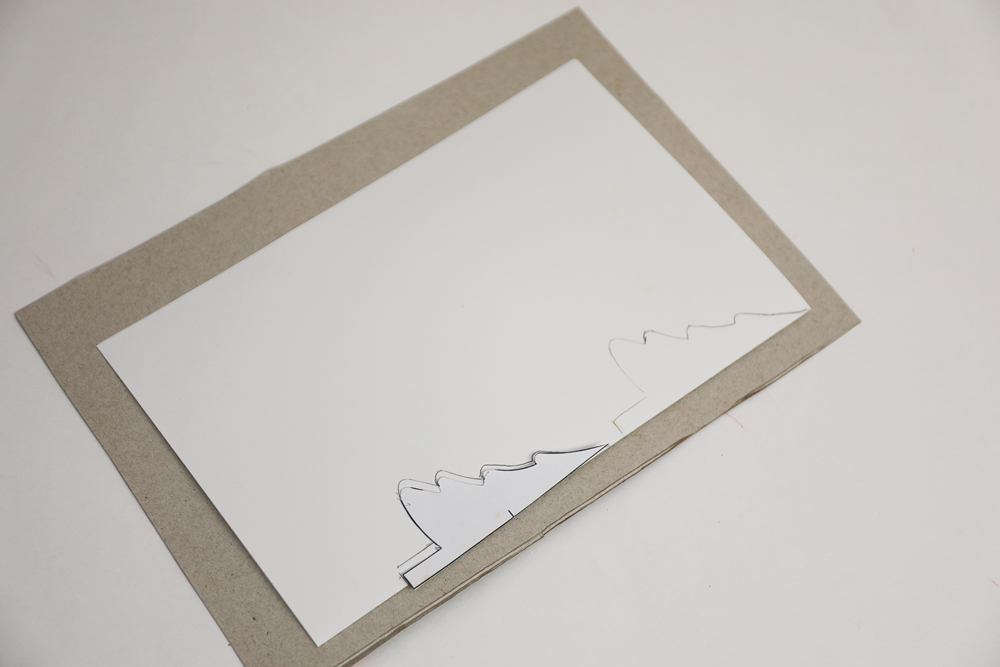
Line up the edge of the tree pattern onto the fold line of the sheet of paper. Trace the shape and then cut and then cut it out with scissors. Tracing and cutting the pattern out on the fold ensures that the tree shape is uniform.
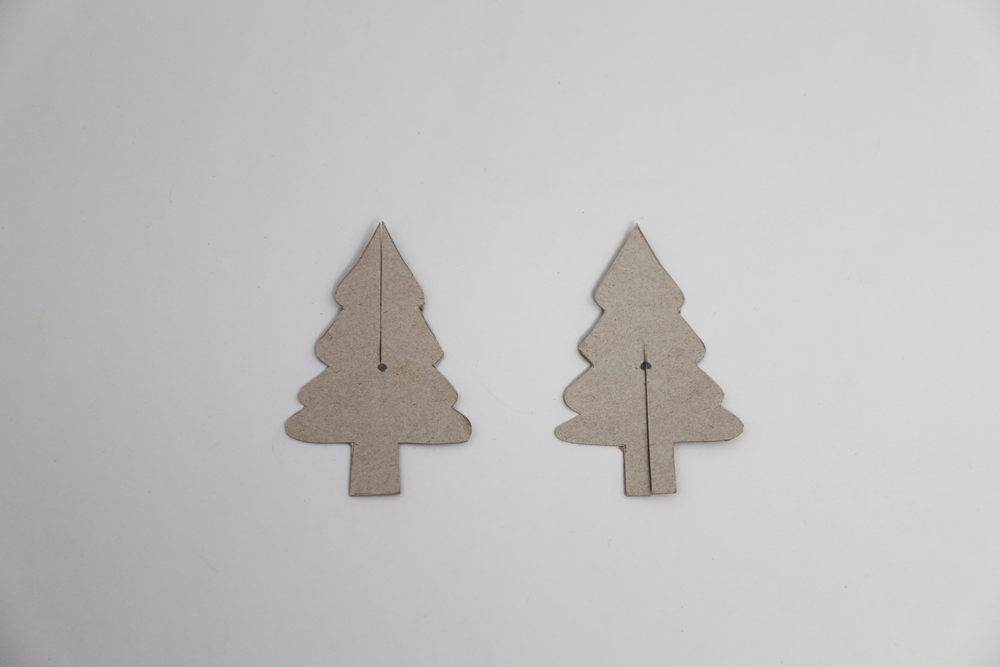
Next, open the new tree pattern and trace it onto thin cereal box cardboard and cut out two matching Christmas trees. Cereal box cardboard is easier to cut out with fine detail, while shipping container cardboard is more still and would be more difficult for the trees.
Use scissors to place a single slit from the top of one tree to the center mark. On the second tree, place a slit from the bottom of the tree to the mark.
Lay each of the pattern pieces onto the cardboard and trace with a pencil. Be sure to transfer each of the solid lines to the cardboard, and the black dots, as well, for the wheel placement. There will be one body, one top, and two Christmas trees.
Using a paint brush, paint two coats of green craft paint (you can get paint samples for this at The Home Depot!) onto each tree, front and back. Set it aside to dry
Next, using
scissors or a box cutter, carefully cut out the pieces. Place an extra piece of cardboard underneat to protect your table.
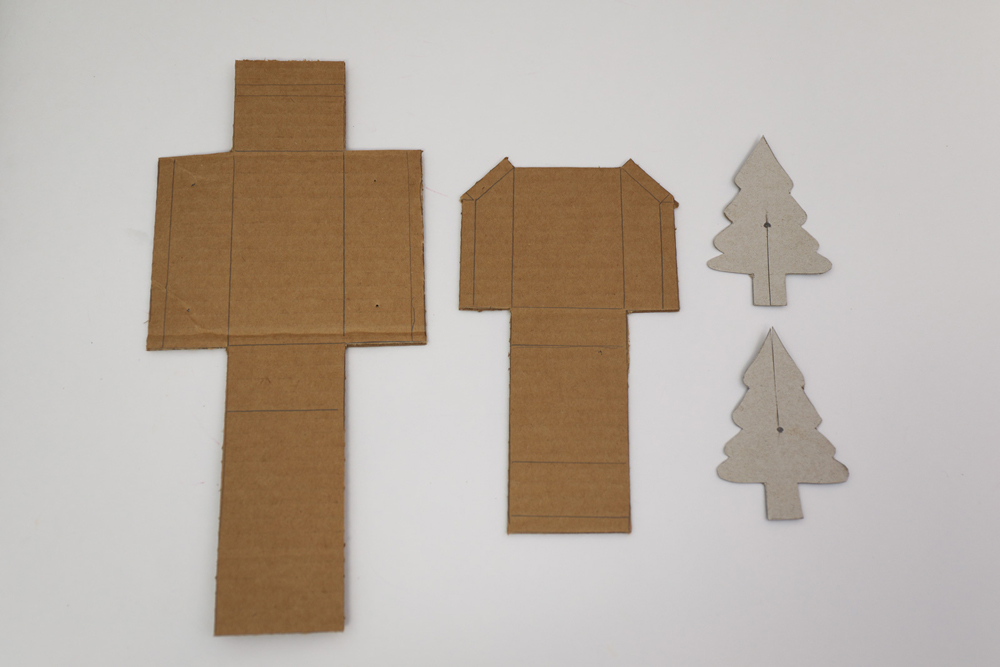
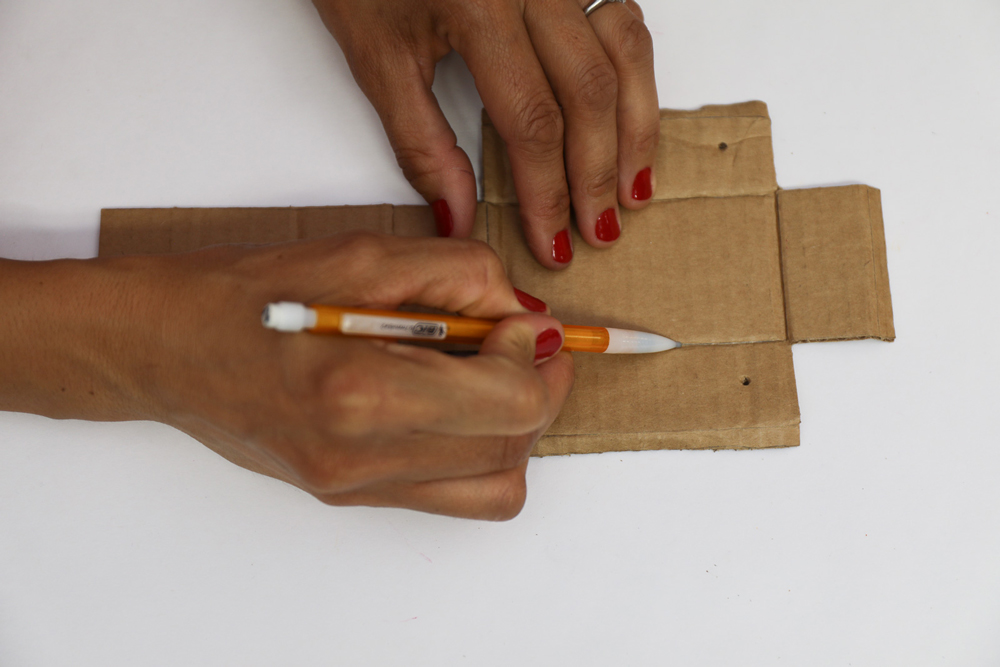
Using your fingernail or the blunt edge of a pencil tip to gently score the lines on the cardboard, making them easier to fold, being careful not to cut through the cardboard. Fold each piece along the scored lines and fold back and forth several times to loosen up the cardboard along the scored lines.
STEP 3: Paint your Christmas tree and Spray Paint the Milk Container Caps
Milk container caps are the perfect way to make wheels for “at home” crafts made from cardboard! It’s good for the environment because they’re upcycled, and it teaches children how to creatively use materials around the home.
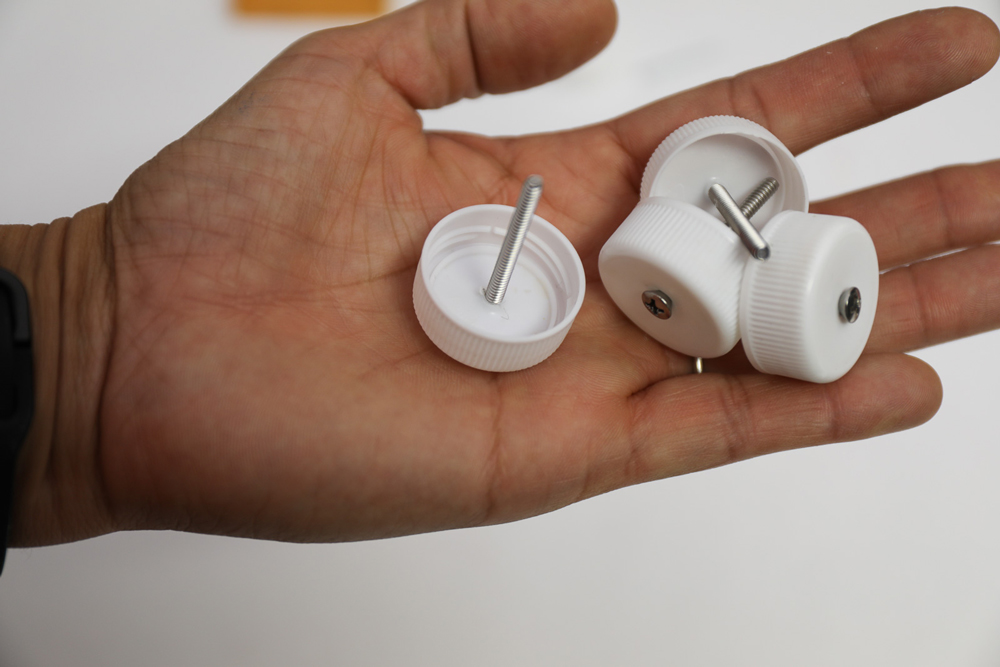
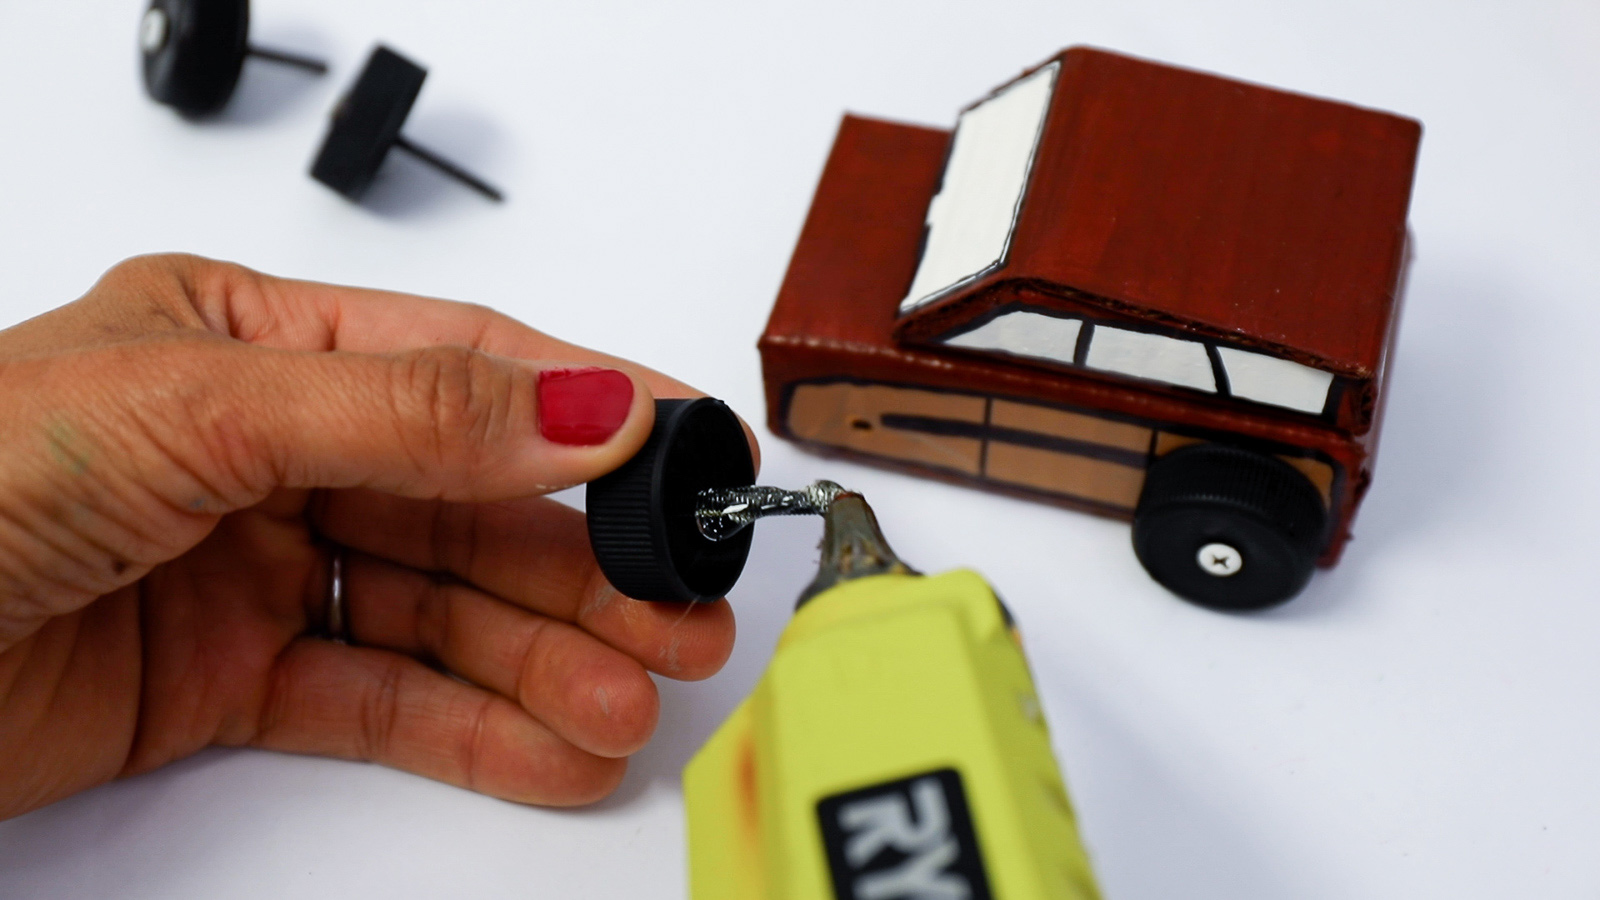
Use a sharp tip of a pencil or utility knife to poke a small hole in the center of each cap. Push through each cap a 1 inch screw. It should fit snugly into the cap.
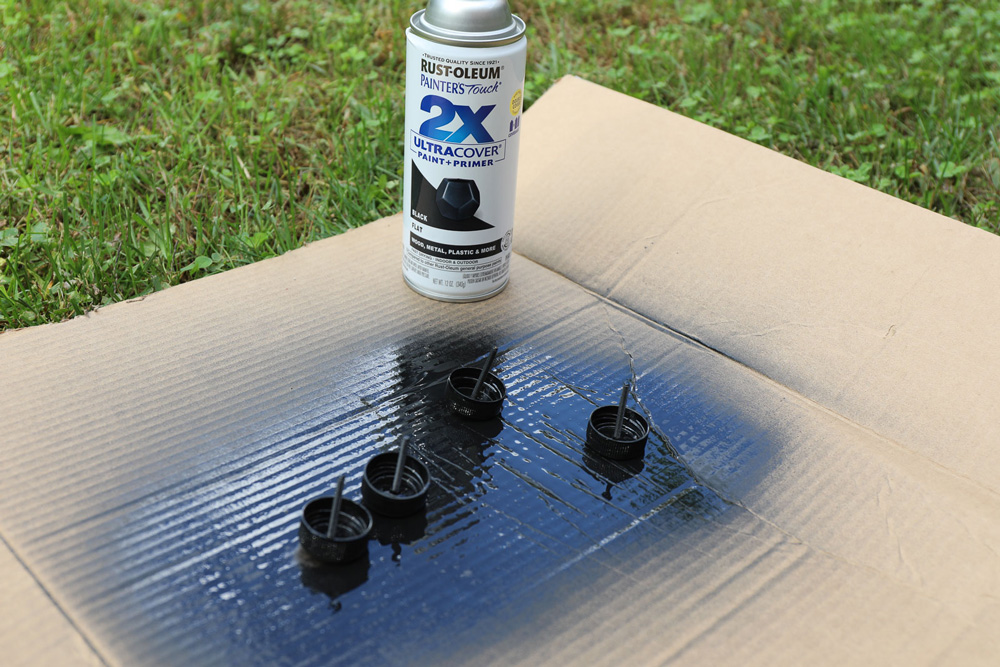
Wearing a mask and spraying outdoors, spray each of the milk caps and screws using black spray paint. Be sure to use a scrap piece of cardboard to protect the surfaces underneath. Start with spraying the underside of the caps first. Let the paint fully dry, then turn them over to spray the outer surface. Use two coats for even coverage, letting the paint dry in between coats.
STEP 4: Hot Glue the Body and Top
Next, fold together the Christmas car body and top. Dry-fit the pieces to ensure they fit together nicely.
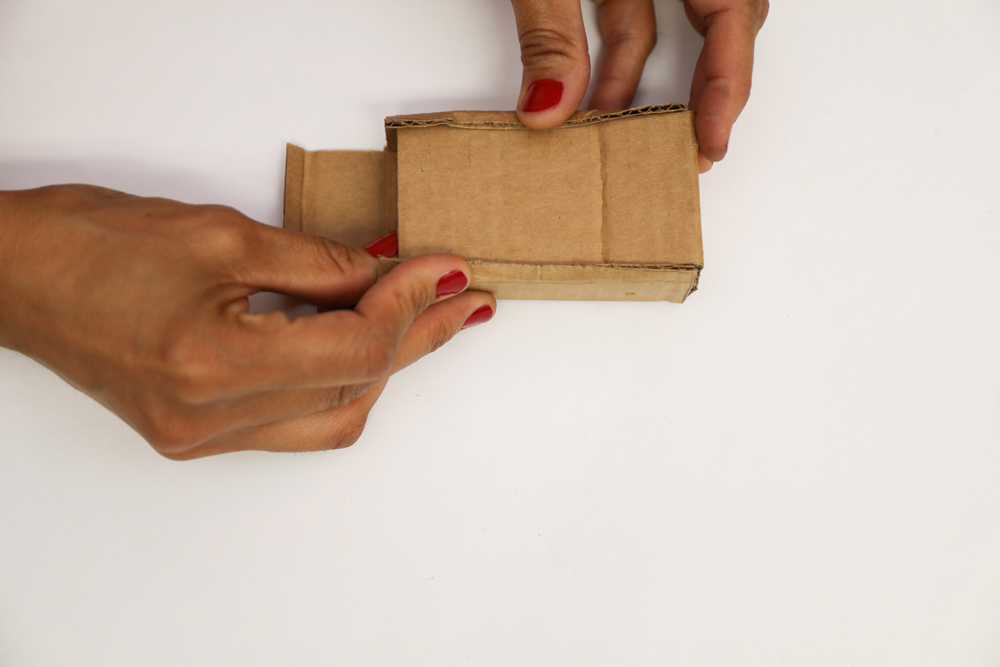
Using the sharp end of a pencil, carefully poke holes through the four black circles for the location of the wheels. It’s easier to create these holes before the car body has been assembled and painted.
Next, fold the car body and top into shape and add a bead of hot glue to the folded tabs to secure the pieces of cardboard. Hold in place until the hot glue dries.
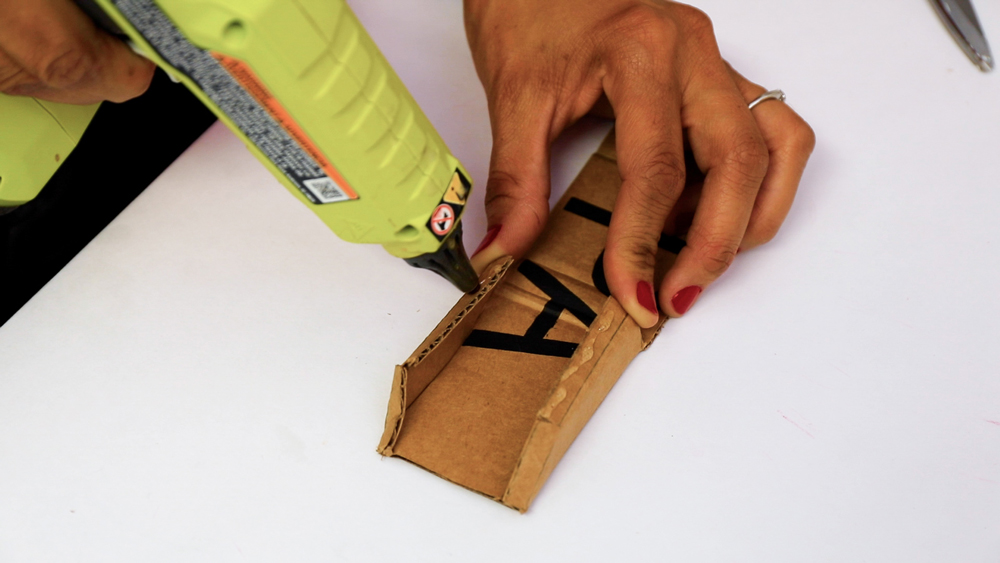
Place the car body flat. Turn the top over and add
hot glue. Then place the top of the Christmas car to the body, ensuring that the edges are lined up.
STEP 5: Paint the Car Top and Body
This is always the fun part of any project: painting! To give your project a holiday theme, use maroon, brown, green, white, and gray paint to decorate the Christmas car!
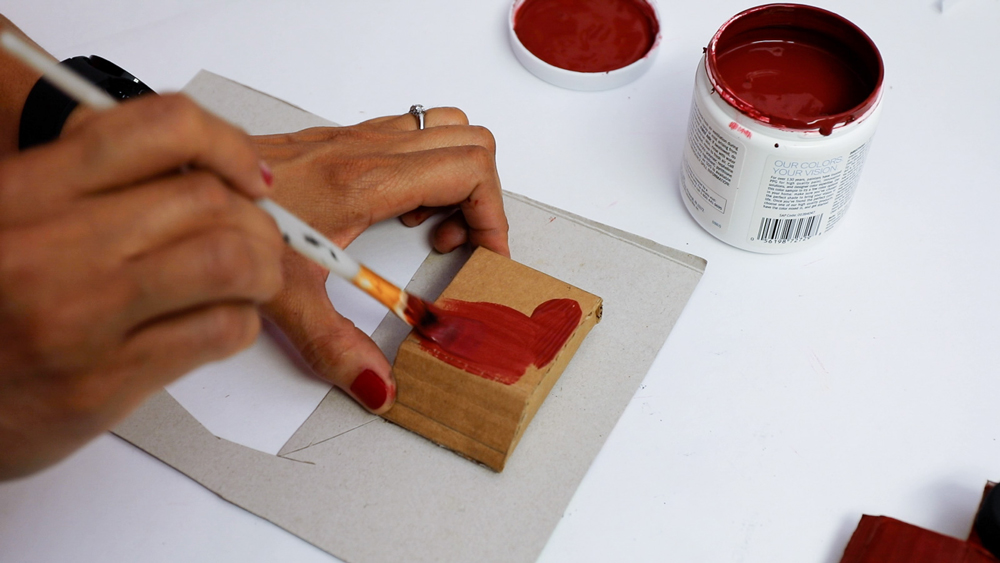
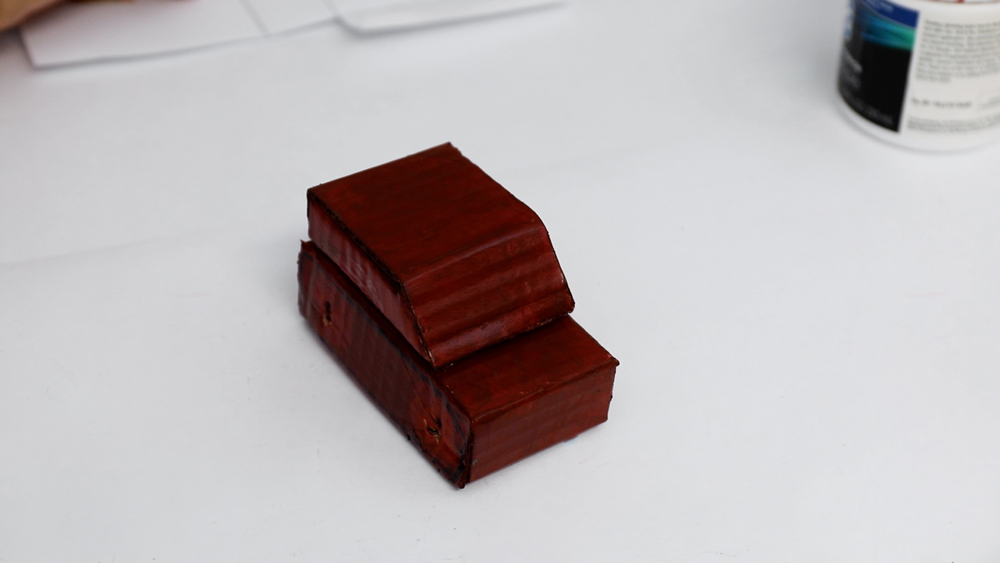
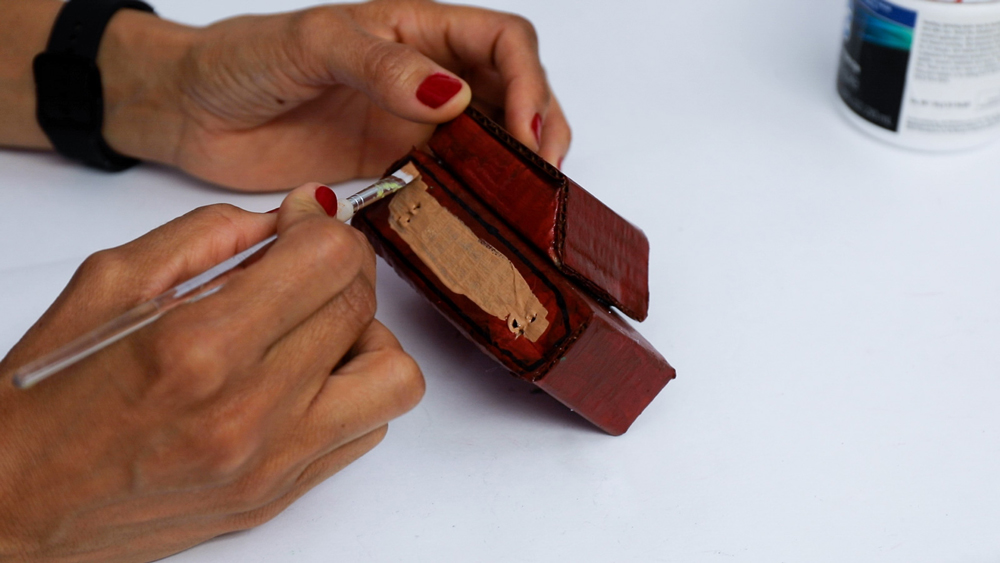
Add 2-3 coats of the maroon craft paint to the car top and body. Three coats will provide even better coverage over the cardboard. Use brown and gray paint to add more details to the sides, front fender, and rear bumper of the car. Outline the windshield and windows with a black marker, then fill in the windshields and windows with white paint.
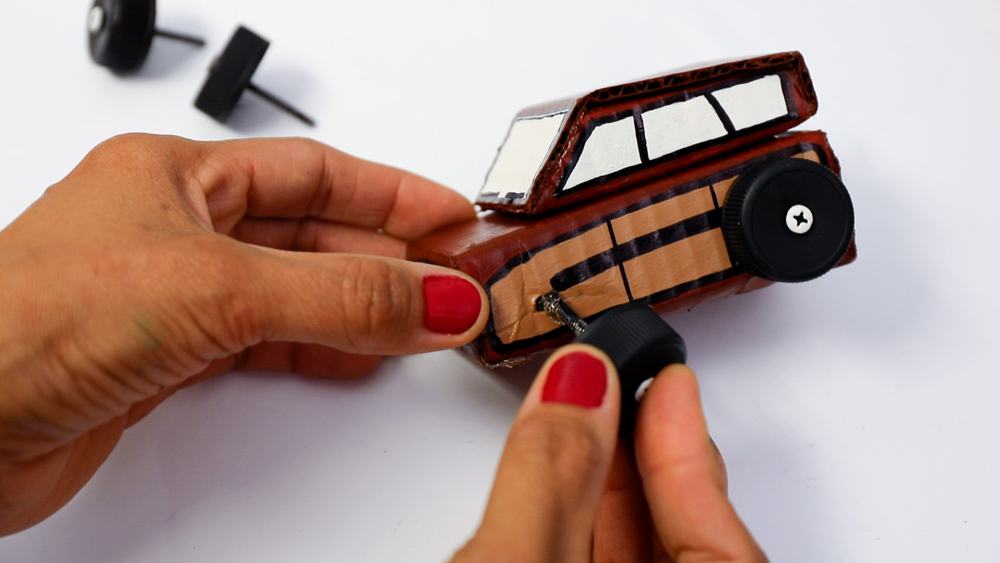
STEP 7: Cut, Glue, and Attach Christmas Trees
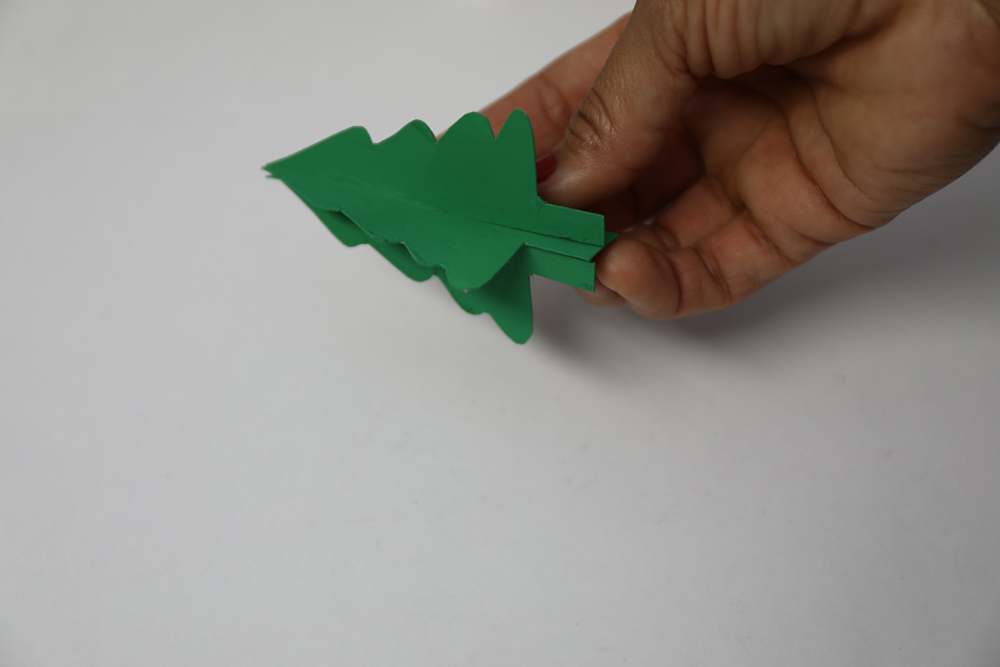
While the car is drying, it’s time to finish off the Christmas tree! These two cardboard Christmas trees fit nicely together by sliding the two slits together. Slide them together until the bottom edges are even. Adjust the length of the slit if necessary.
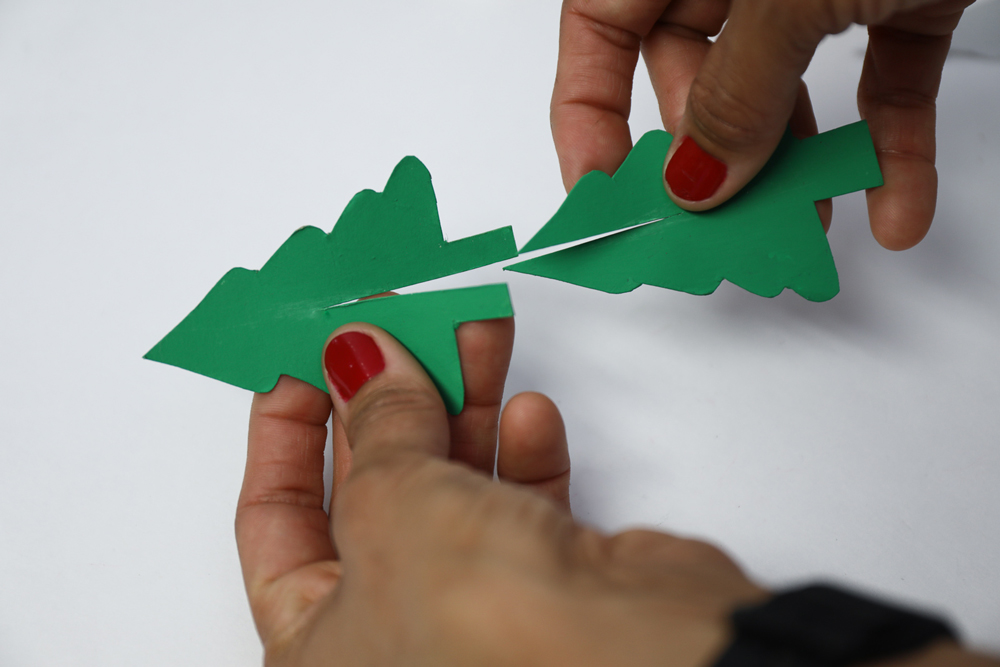
Use a tiny bit of hot glue to secure the trees together at the top and bottom. Only apply a tiny bit of glue.
STEP 8: Tie the Tree to the Christmas Car
Once the Christmas tree glue dries, set the tree on top of the car, and place your string or yarn under the car. Tie the tree to the car in a bow.
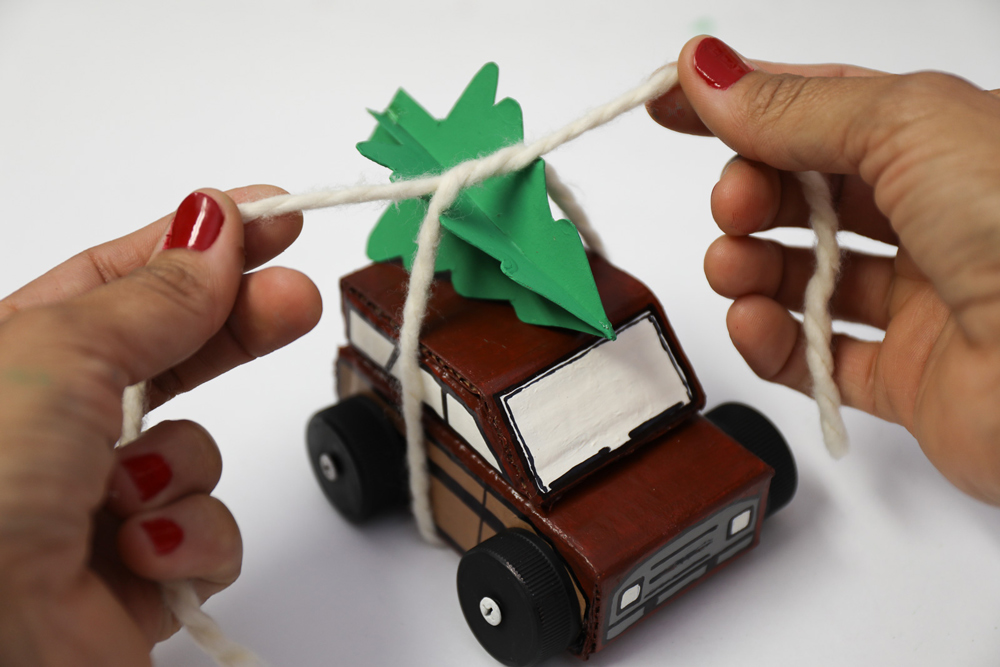
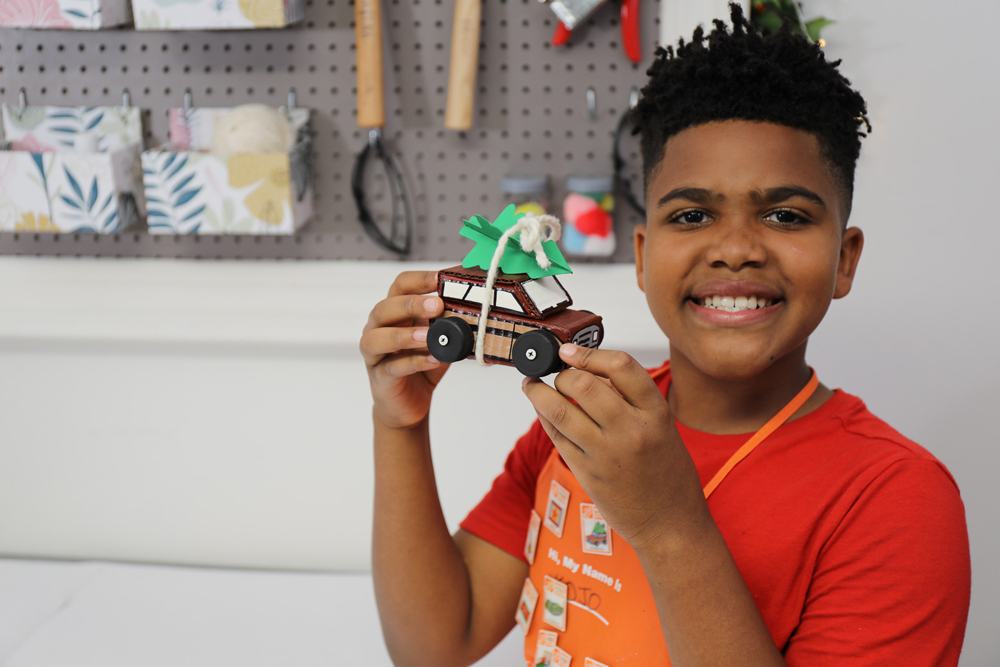
Your kids will absolutely love this Christmas card made with cardboard!

The Christmas Car Home Depot Kids Workshop kit is available in limited quantities. If you can’t get your hands on one of the kits, making this “at home” version with materials from around the house will provide a couple hours of creative fun for the family!
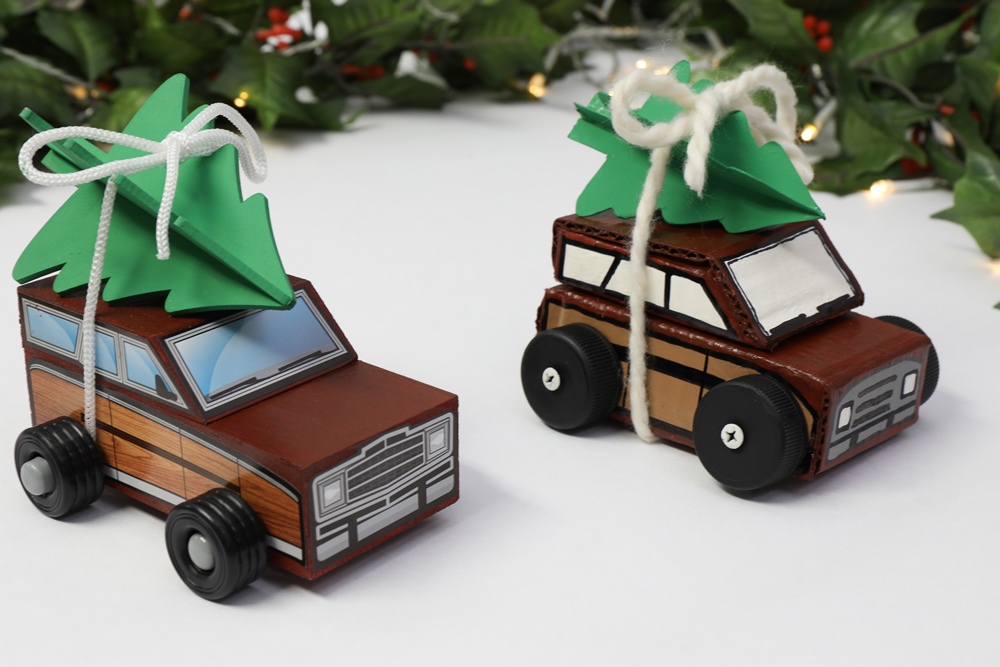

If you enjoyed this fun Christmas car, be sure to also check out other fun DIY Kids Workshop activities and tutorials on The Home Depot Kids Workshop page.
This post was created in partnership with The Home Depot. The author may have received compensation for this article and associated images or video, potentially in the form of products and/or services. All expressed opinions and experiences are the author’s own words.


