How To Make a DIY Snowman String Art

Last updated August 21, 2024

Yuni is a Korean- American raised in the South who loves all things designing, DIY-ing, and cooking. On her blog, Love Your Abode, you can find about interior design inspiration, home remodel makeovers, and recipes.
A Note From The Home Depot
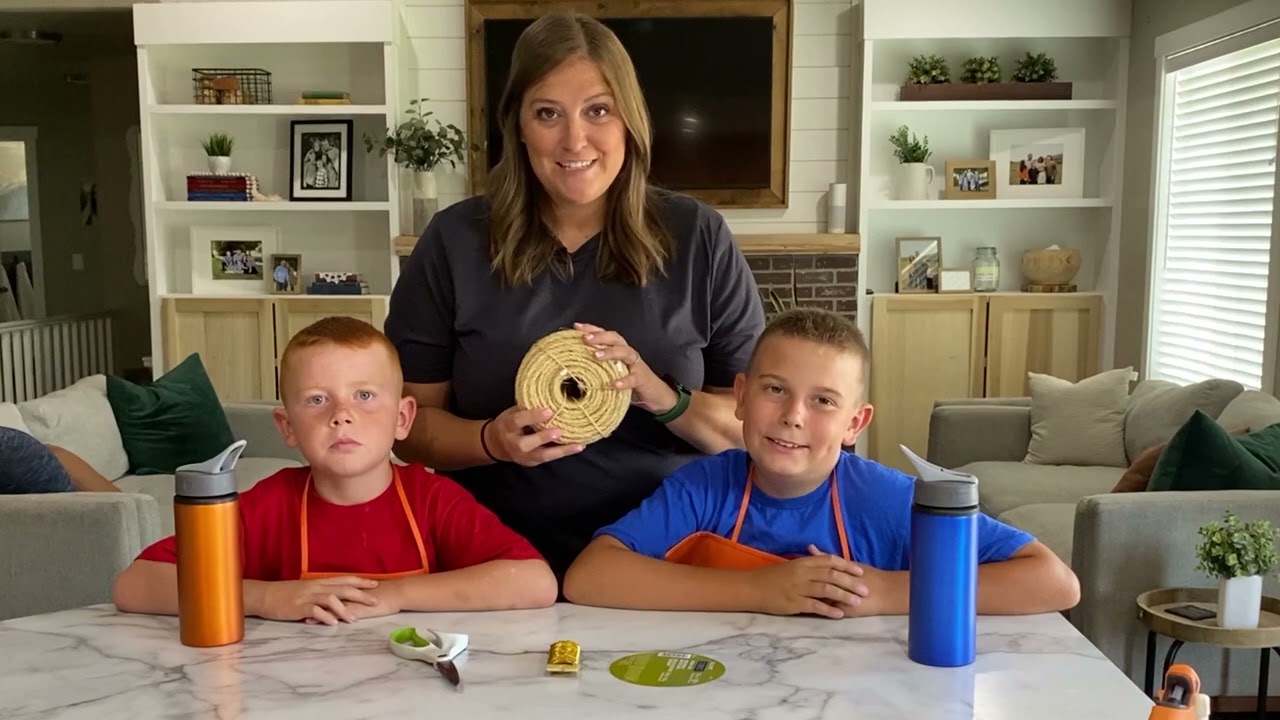
Create the perfect gift and practice beginner level building skills all in one as Yuni Min of Love Your Abodeteaches you how to create a DIY snowman string art that your kids can do!
Table of Contents
How To Make a DIY Snowman String Art
DIY Snowman String Art Supplies
Step 1: Paint the Plywood
Step 2: Sketch the Snowman on the Scratch Paper
Step 3: Trace the Design Onto the Plywood
Step 4: Hammer the Nails Onto the Design
How To Make a DIY Snowman String Art

If you're looking for a creative project with your little ones this holiday season, this DIY snowman string art is for you! This DIY project will give your child the confidence to learn beginner-building skills. Plus, it's a cute way to add festive decor to your home this holiday season.

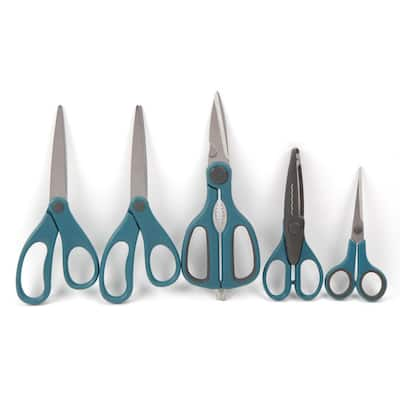
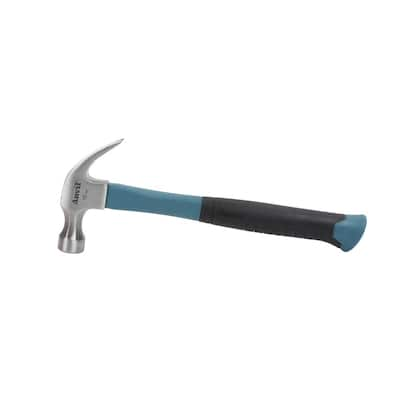
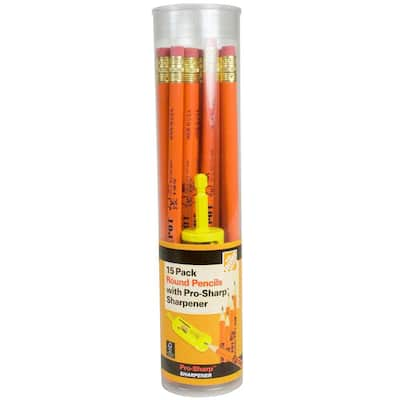
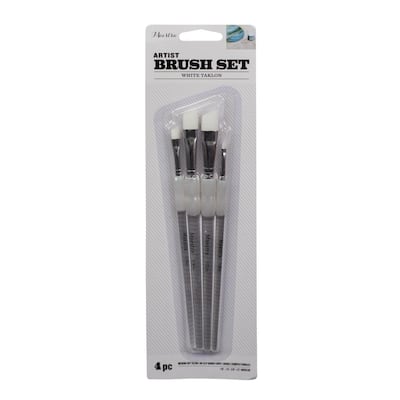
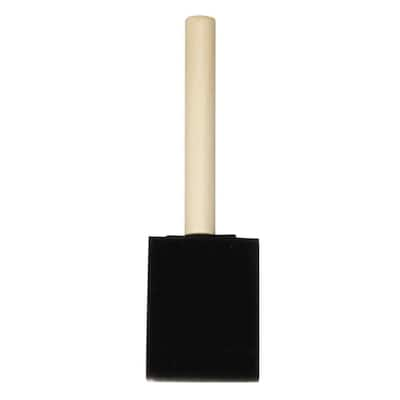
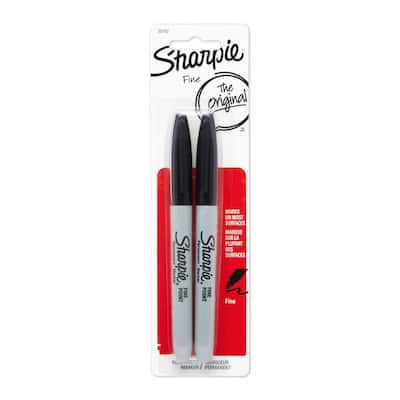
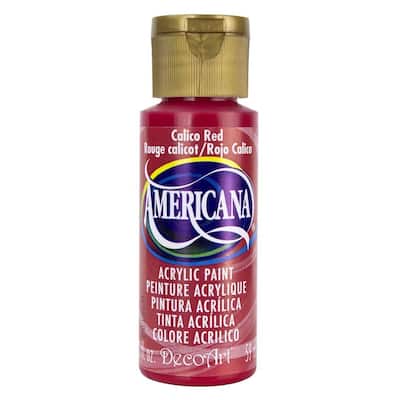
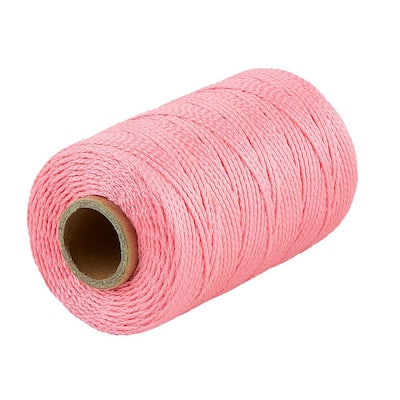
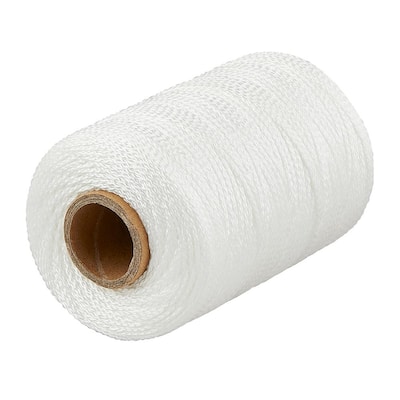
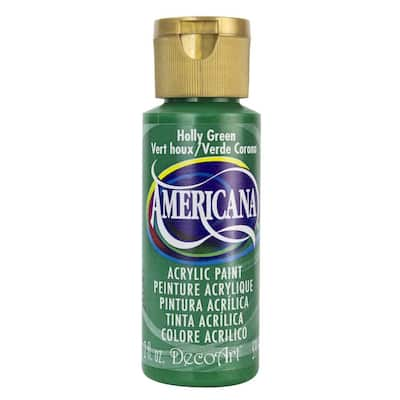
DIY Snowman String Art Supplies
- Sanded plywood
- 7/8-inch Roofing Nails
- Green Craft Paint
- Red Craft Paint
- Hammer
- Craft Paint Brushes
- Foam Brush
- Black Sharpie Marker
- Scissors
- Safety Glasses
- Scratch Paper
- Pink Twine
- White Twine
- Pencil
Once you have all your supplies, it's time to build.


Step 2: Sketch the Snowman on the Scratch Paper
We recommend sketching the snowman on paper, so you get a good idea of the size and design. This is also a great time for your child to practice their drawing skills. Look at a picture online to help them with the overall design. Allow them to design a few sketches and choose your favorite one together.

Step 3: Trace the Design Onto the Plywood
Place the sketch on top of the plywood and trace the design. You will have to press hard to leave a light imprint on the plywood.

Remove the paper and lightly draw onto the imprint so you can see the design. This will give you guidance on where to hammer the nails.


Don't worry because it probably won't resemble a snowman yet!

Step 5: Wrap the Twine Around the Nails
Now, it's time to wrap the twine to make it look more like a snowman. Using the white twine, Emmy started wrapping the nails to form the body. Make sure to keep the twine taut and wrap around each nail to make it secure.

Emmy went around the body first with the string and then diagonally to fill the body. For the loose ends, we just tucked them in.

Once we added the dark pink twine for the hat and nose, it really started to resemble a snowman! This project is a great way for your kids to improve their hand-eye coordination.


Step 6: Paint and Mark the Nails
This step is optional, but we thought it would be nice to color coordinate the hat and nose with the string as well as create some buttons and eyes. The great thing about roofing nails is that they have a good amount of surface area on top of the nails so that the string stays secure underneath. It also allows for enough surface area to paint the tops and coordinate with the color of the string. Emmy paintedthe nose and hat with the red craft paint.

We also hammered three extra nails for the buttons on the snowman. Emmy colored the buttons and eyes black with a sharpie marker.

I love that Emmy did so much of this project herself! This was the perfect DIY project to teach beginner building skills and create something really cute for the holiday season. It also makes a great handmade gift for grandparents.

Happy building and Happy Holidays!
This post was created in partnership with The Home Depot. The author may have received compensation for this article and associated images or video, potentially in the form of products and/or services. All expressed opinions and experiences are the author’s own words.