Installing Cabinets & Ordering Countertops from The Home Depot

Last updated August 21, 2024

Sam is a full time psychologist with a passion for making and building things in her spare time. As a full blown weekend warrior, Sam's goal has always been to share fun and attainable woodworking, DIY, how to, and home improvement projects that can be completed with a busy work schedule!
A Note From The Home Depot
In the midst of a major kitchen remodel and don’t know how to go about replacing your cabinets and countertops? Sam Raimondi of DIY Huntresshas you covered! Read below to learn some of her tips and tricks, in addition to some helpful tools The Home Depot has to offer to help create the kitchen of your dreams.
Table of Contents
Installing Cabinets & Ordering Countertops from The Home Depot
Step 1: Choosing Your Cabinets
Step 2: Installing Cabinets
Step 3: Installing Base Cabinets
Step 4: Adding Cabinet Trim
Step 5: Installing Cabinet Hardware
Installing Cabinets & Ordering Countertops from The Home Depot

Installing your own cabinets in your kitchen can save you a ton of money on your big renovation! And, with so many options to choose from on The Home Depot’s website, customizing and building your new kitchen is just a few steps away!
Step 1: Choosing Your Cabinets

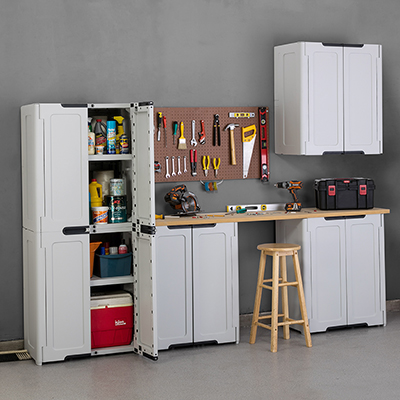
When choosing cabinets for your kitchen, there are tons of different options for every budget and timeline. From budget-friendlyquick assemble cabinets to fully manufactured custom cabinetry, there’s a perfect option for every skill set, timeline, and project.
Step 2: Installing Cabinets

Whether you order fully assembled or ready-to-assemble cabinets, there are steps you’ll need to take to make sure you’re installing them properly.
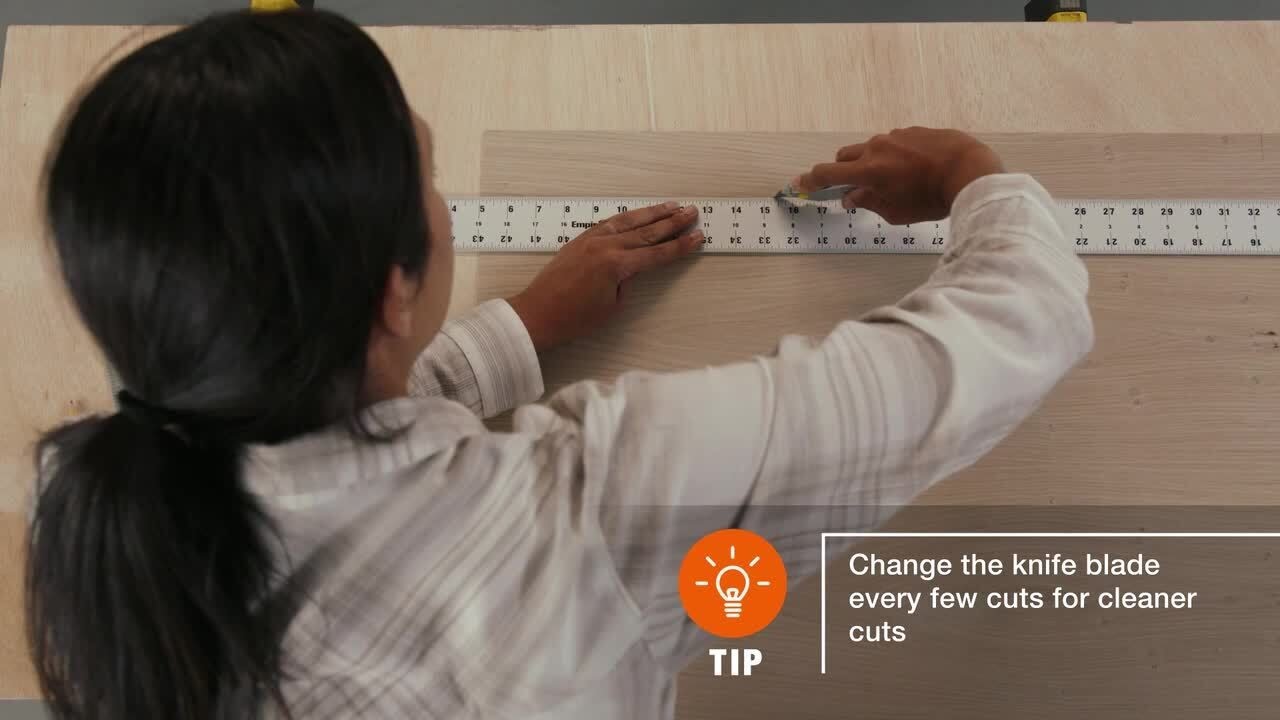
First, use a stud finder to locate the studs in the wall directly behind your cabinets. You will need to screw your cabinets into these studs.
Tip: If you can, you may want to install wall cabinets first. That way you don’t have to lift cabinets above the base cabinets. However, it’s okay if you need to install the base cabinets first. I installed mine first to prepare for countertop measurements, which needed to be taken the day we installed.

First, measure the height of your base cabinet from the floor and mark it. Standard height for wall cabinets is 19 ½” above your base cabinets. So, mark this above the base cabinets and attach a ledger board. Use a level to make sure the board is straight. This will be your guide for your wall cabinets.
Once that’s in place, attach the cabinets to the wall. Ideally, you should be able to install these wall cabinets into studs. But, if you cannot, you can use anchors.
Step 3: Installing Base Cabinets

First, use a stud finder to locate the studs in the wall directly behind your cabinets. You will need to screw your base cabinets into these studs.
Next, use a level to check if your cabinets are level. If they are not, you can slide shims under your cabinets to help level them out. Once those cabinets are level, you can screw them into the studs.

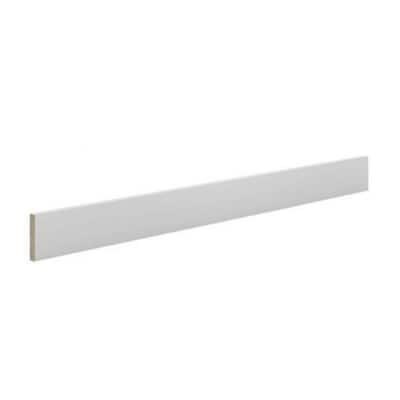
Step 4: Adding Cabinet Trim

Sometimes when installing your cabinetry, you may see gaps in between your cabinets or walls. To fill these gaps, you can install filler pieces by nailing them into the adjoining cabinets or by gluing them onto backer boards that are screwed into the wall.

You can also hide the underside of the base cabinets by nailingtoe kicksto the cabinets.
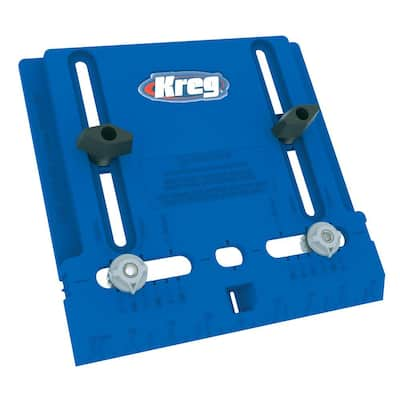
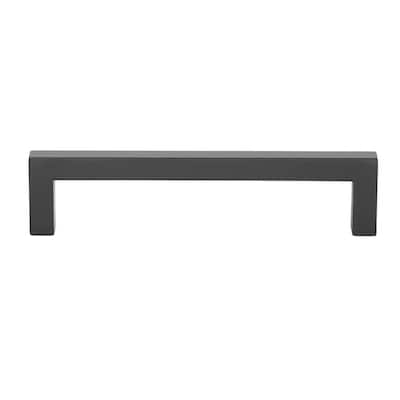
Step 5: Installing Cabinet Hardware


Adding cabinet hardware is an easy way to elevate the look of any kitchen! In terms of installation, using a cabinet hardware jig is a great way to make sure the hardware is all installed consistently. You just set the size of your hardware, center it on your cabinet door or drawer, drill, and install!
Step 6: Ordering Countertops + Installation

When it comes to ordering countertops, The Home Depot makes the process a breeze! They have tons of materials, colors, and finishes to choose from for your next big project. You can use their countertop designing tool to choose your material, plug in your measurements, and customize your finishing touches. From here, The Home Depot will send an associate to your home to take some final measurements, and before you know it your countertops will be ready for delivery and installation!
Step 7: Finishing Touches
Now that your cabinets and counters are installed, it’s time for some finishing touches like your sink faucet!

I hope these tips and tools come in handy on your next project! Be sure to follow my kitchen renovation on @DIYHuntressand stay tuned as I document my entire Kitchen remodel process. You won't want to miss it!
This post was created in partnership with The Home Depot. The author may have received compensation for this article and associated images or video, potentially in the form of products and/or services. All expressed opinions and experiences are the author’s own words.