Vintage Small Bathroom Renovation

Last updated August 21, 2024

Christy Black of 11 Magnolia Lane is a mom and lifestyle blogger who writes about style, fashion, decorating, DIY projects, organization, entertaining, and much more! You can read more about her best here on her blog.
A Note From The Home Depot
When you’re a part of military family, you tend to move often and updating your home space can feel limited. Christy Black of 11 Magnolia Lane was able to take advantage of a few The Home Depot products to give her bathroom a much needed renter-friendly update with a vintage touch.
Table of Contents
Pre-Project Planning
Phase 1
Phase 2

When we moved into Magnolia Cottage this past July, I knew that the downstairs bathroom was going to need a facelift sooner rather than later. While I absolutely loved the vintage touches, like the clawfoot tub, the cast-iron apron front sink, and the beadboard, the space looked slightly dated, especially the discolored vinyl floor.
Since we’re a military family and we move often, we’re renting this home, but fortunately the homeowner is 100% supportive of all of my updates and projects. Since we’ve partnered with The Home Depot in the past, I knew this could be another great collaboration if they saw the same potential for this space that I did, and I was thrilled when I got the green light to go ahead with the project.
Pre-Project Planning
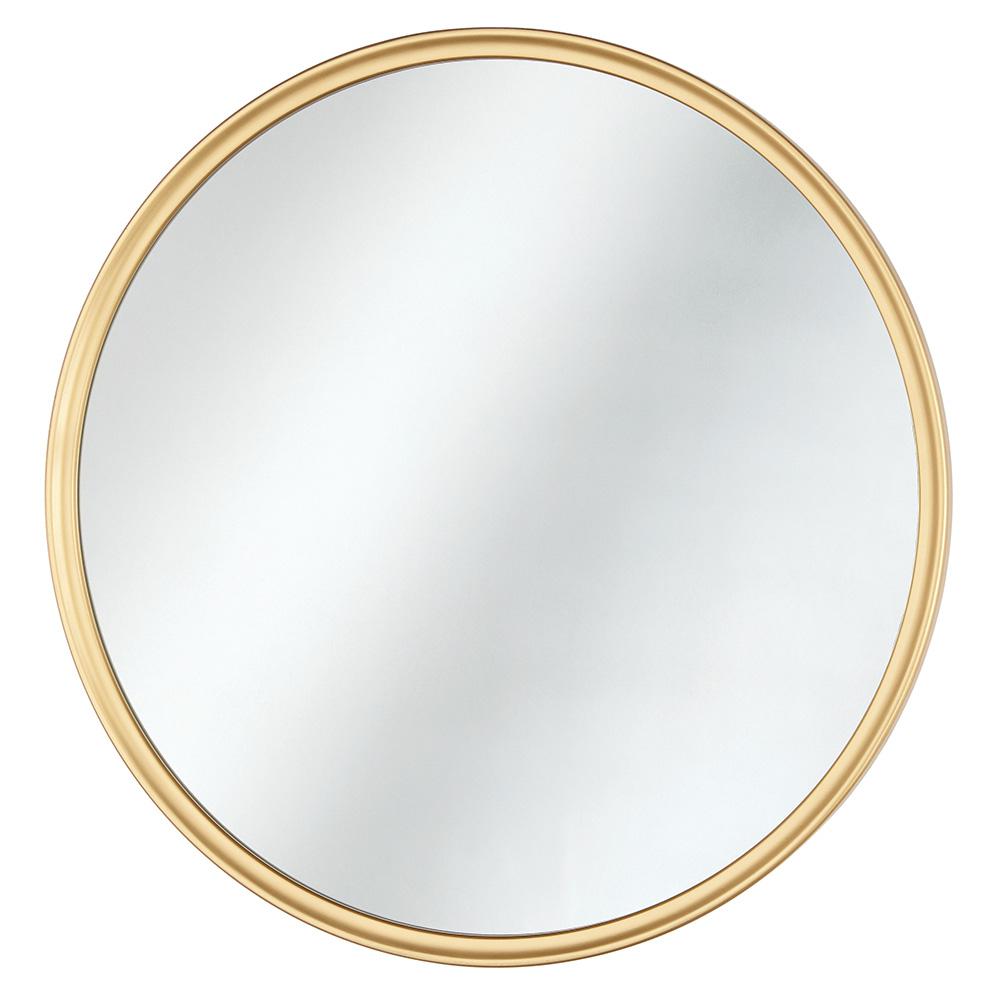
My first step when I’m planning a room redo is to create a list of projects and prioritize what needs to happen first. The first phase of my plan for this room included new paint on the walls and ceiling, updated lighting, a new mirror, and updated shelves for storage.

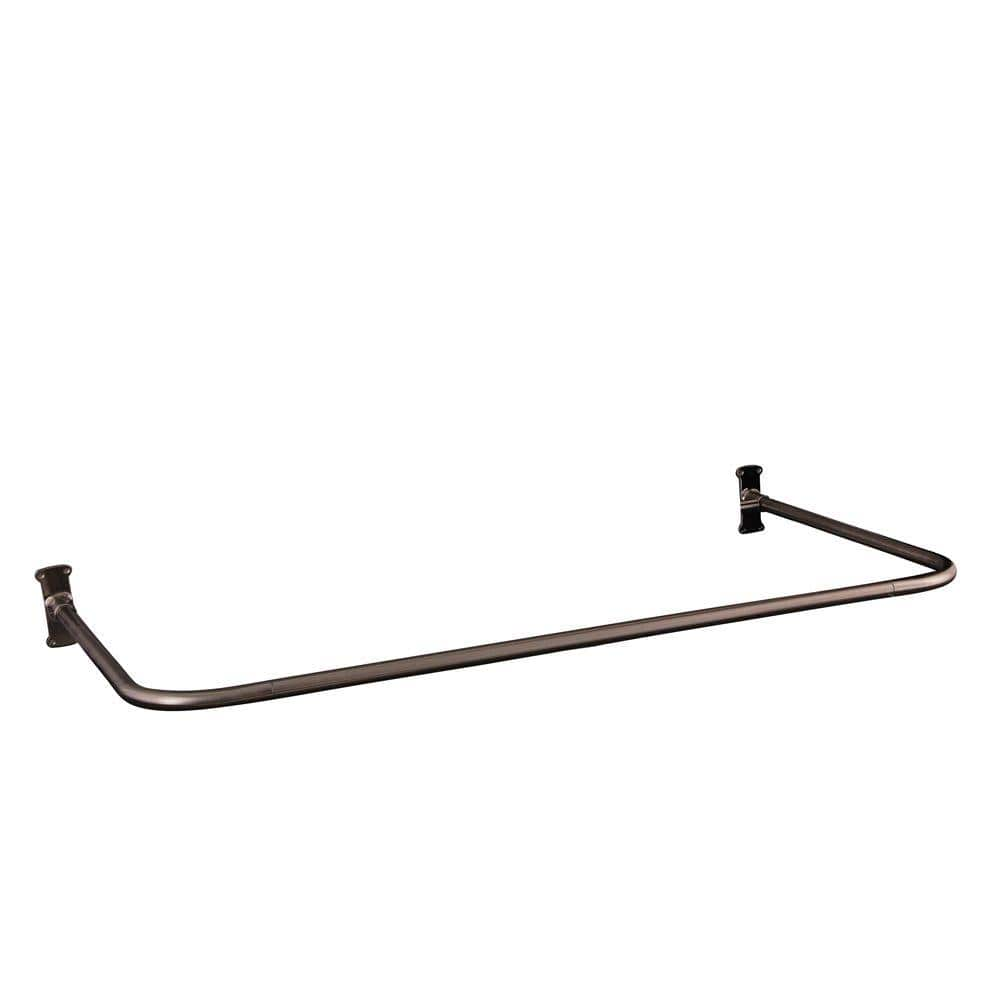
Phase two consisted of new faucets for the sink and clawfoot tub, a new shower curtain ring, a sink skirt, and peel and stick vinyl flooring.
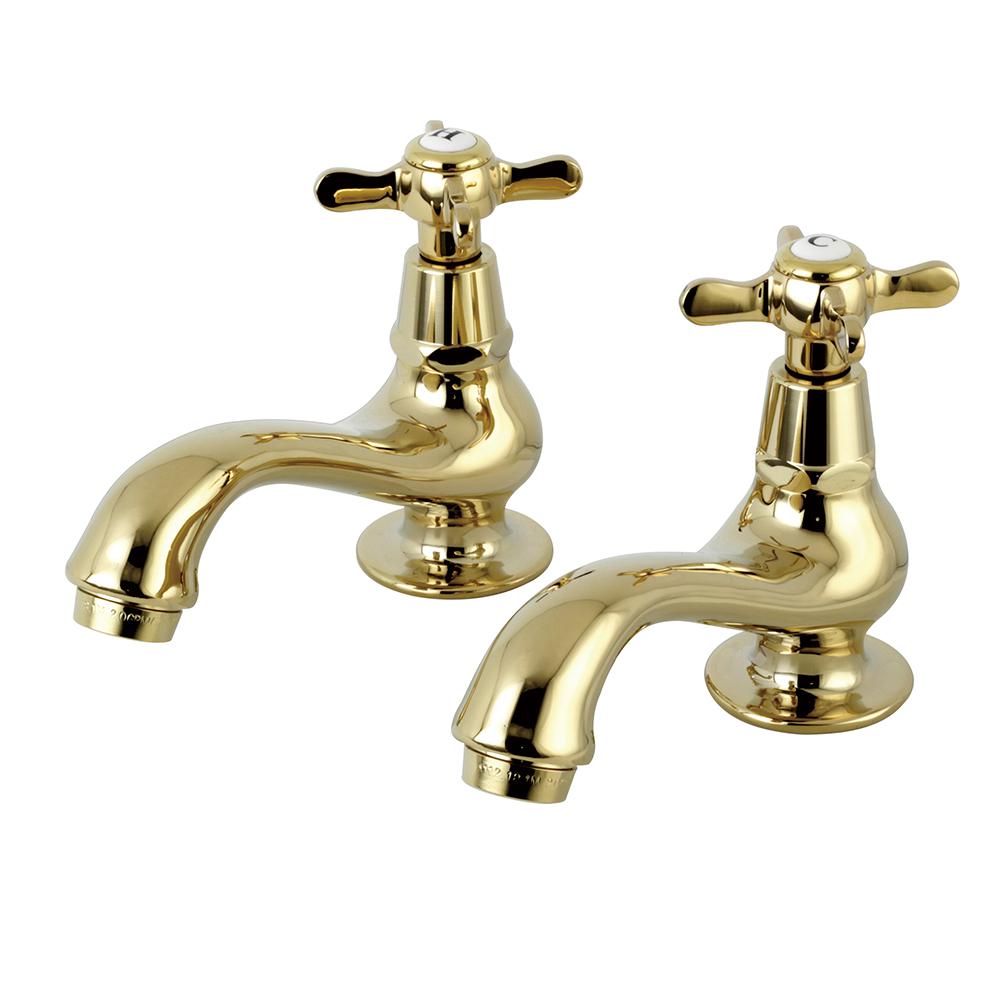
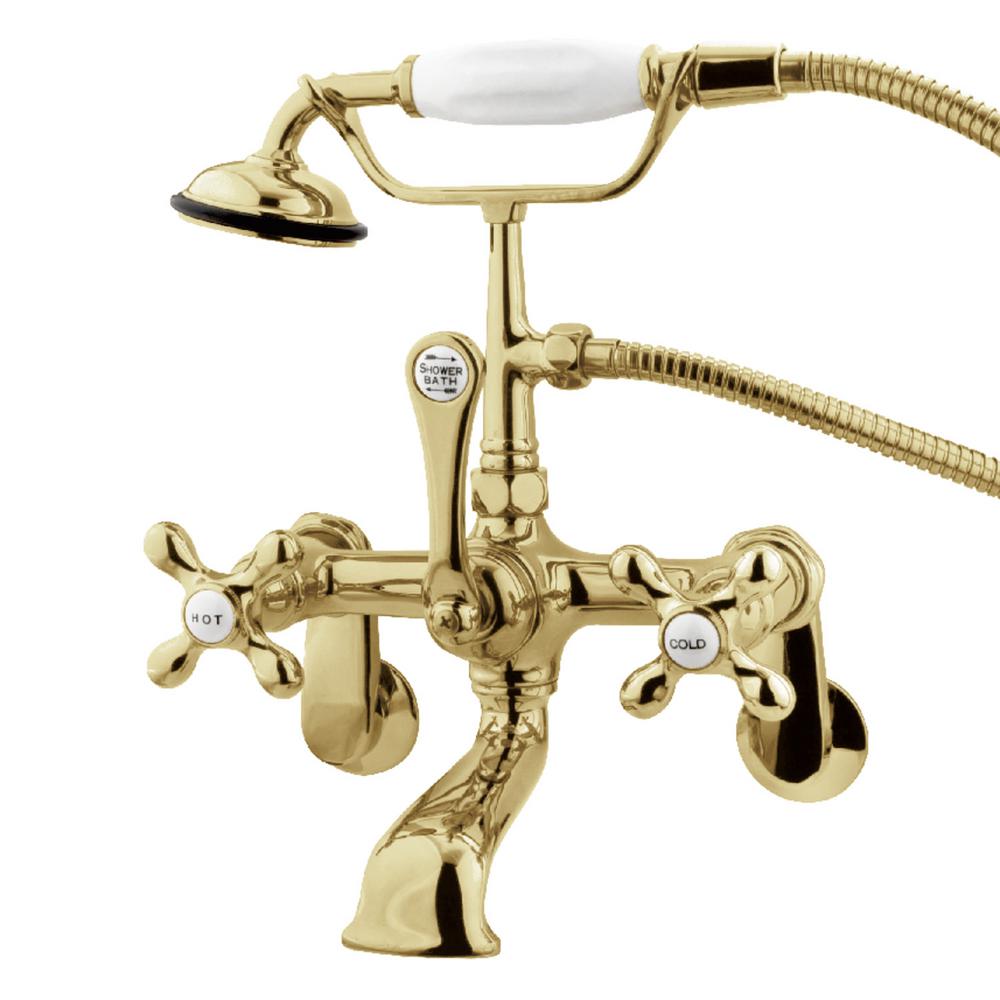
As I picked out colors and finishes, I created a design board to ensure that all of my choices would work well together in this small space. I wanted to be sure to keep the vintage elements that reflected the age and character of the house while updating the finishes and function for modern living. Since the cast iron tub was already black and white, I elected to use those colors along with a very pale blue (that reads white) on the walls and bring warmth in by using brass fixtures for the sink and tub.

Phase 1
First, I removed the moon shelves, patched the nail and screw holes, and painted.

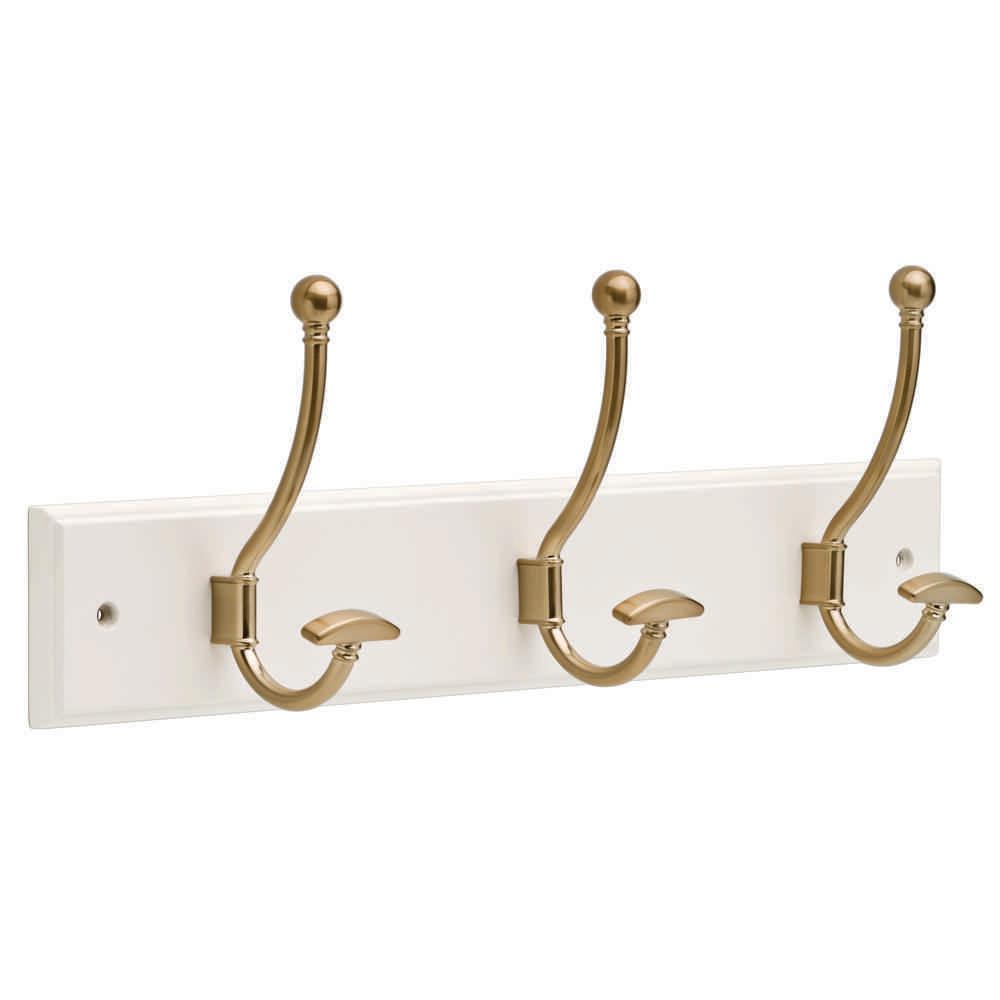
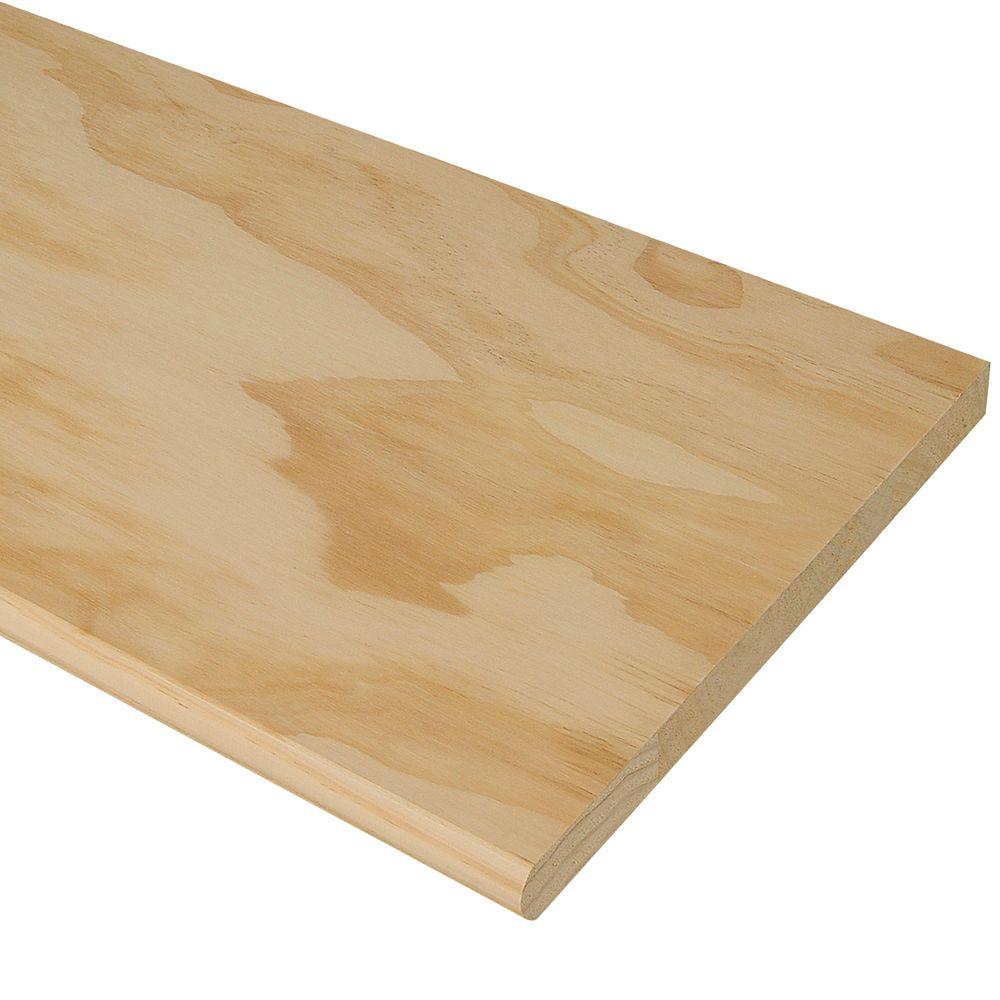
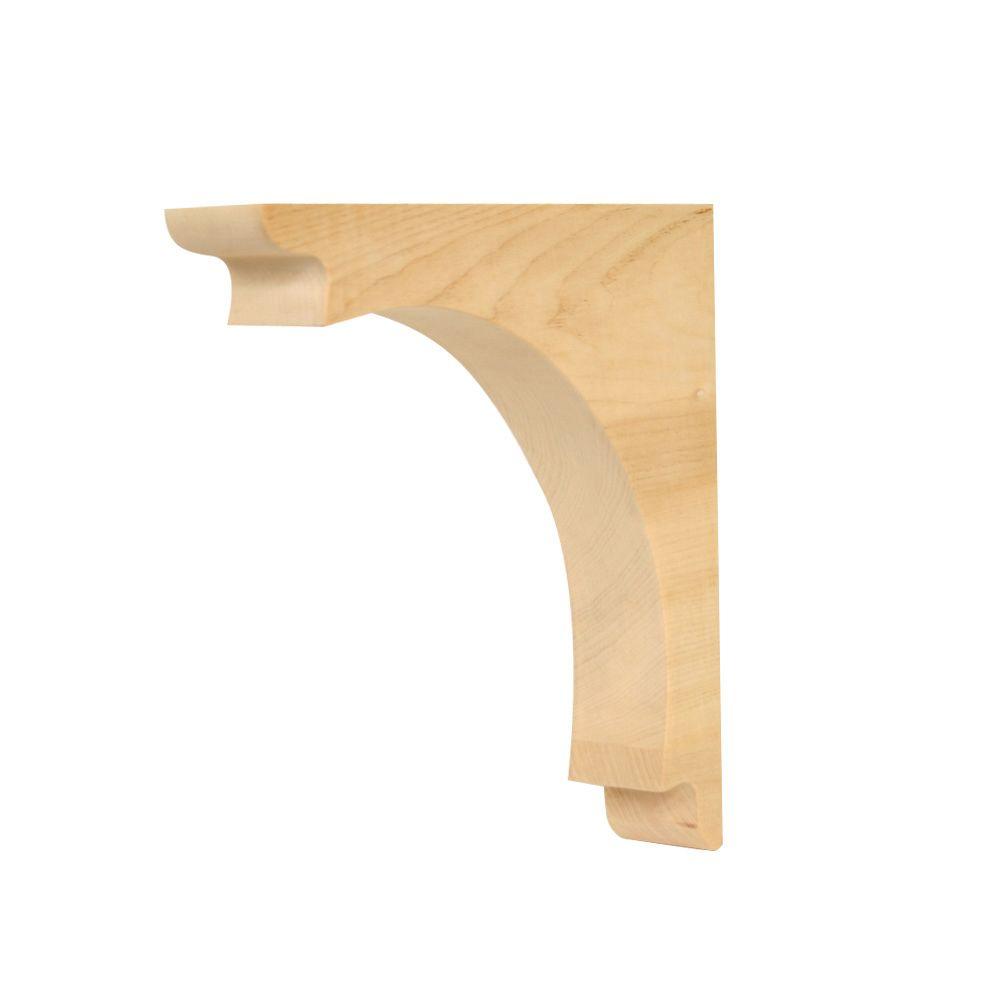
Next, I built new shelves using these great wood corbels and stair treads painted white. I also added hooks underneath for towels.

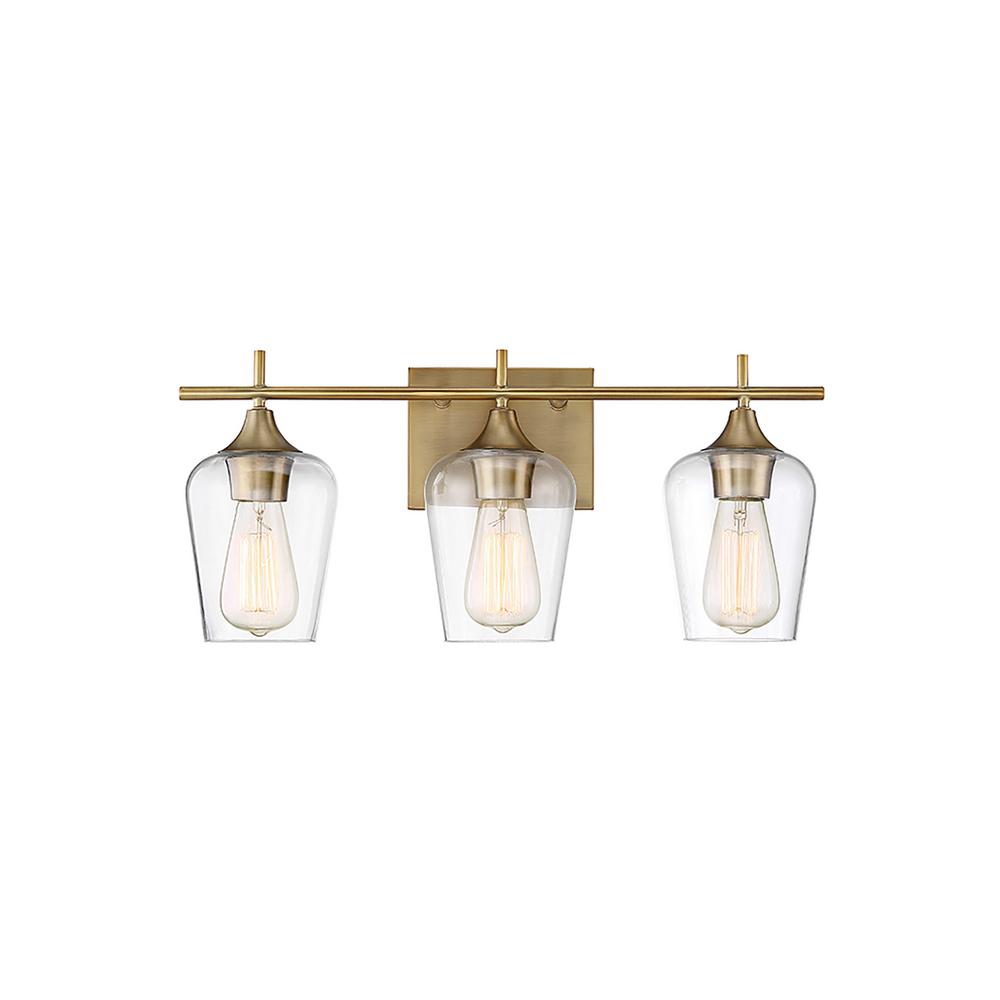
I learned years ago how to do simple electrical work like installing light fixtures and replacing switches. That knowledge has been invaluable. The new lighting and large, circular mirror made a huge difference in the feel of the room, as did the Edison light bulbs that I used in the brass light fixture.

Phase 2
When the plumber arrived to install the brand new beautiful, vintage faucets in the sink and tub, things got even more exciting. I absolutely love the brass fixtures we chose!
After discussion with the homeowner, we decided to hire a professional for this part of the project. While my husband and I can change out a “normal” faucet, there’s nothing normal about the plumbing in a 100-year-old house! The plumber even ran into some unexpected challenges, because we all know that’s how home improvement projects work. At the end of the day we knew that everything had been done competently and thoroughly, and would last for years to come.


I had begun to install the peel and stick vinyl floor tiles before the plumber came, but waited to finish the work around the pipes until he’d finished with the faucets just in case anything had to move. The tiles were so easy to work with. I could easily trim them with utility scissors to ensure a perfect fit.

The flooring was the perfect finishing touch to tie everything together perfectly, in my opinion.


We’re all thrilled with the new look of this small bathroom and how it’s now both functional and beautiful. I can say without a doubt that it’s one of my very favorite room renovations ever. Many thanks to The Home Depot, my patient husband, and Albert, our wonderful plumber, for helping to make this space so lovely!
This post was created in partnership with The Home Depot. The author may have received compensation for this article and associated images or video, potentially in the form of products and/or services. All expressed opinions and experiences are the author’s own words.