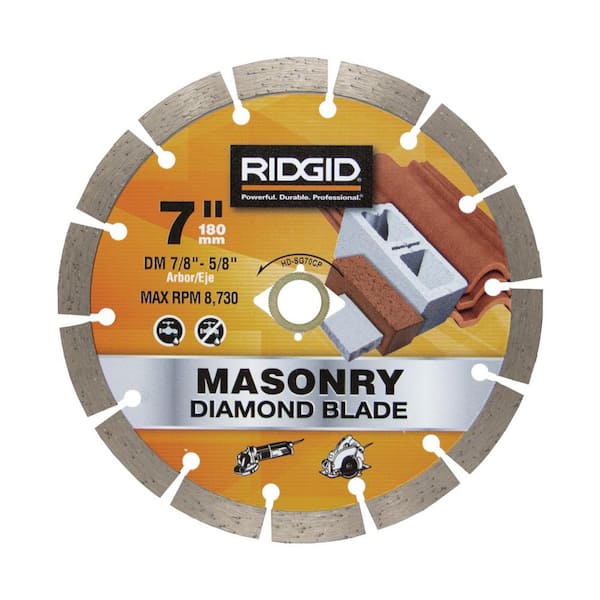
I don't normally write a lot of reviews - but felt obligated to in this case (knowing how much this information would have helped my decision). I used the segmented diamond blade to cut over 200 4"x8" concrete pavers for our patio - and it performed excellent. I had considered renting a wet saw, but decided to see how a purchased blade would cut dry first - since it was both much cheaper and easier than hauling a wet saw from the rental company. I used the blade in a standard 2.5HP (13 amp) Craftsman circular saw that is labeled to run at 5000 RPM. Entering the project, I was skeptical that both the saw and the blade wouldn't be able to handle that many pavers (we installed a 400+ SF patio with a 45 degree herringbone pattern - so we had cuts all the way around the perimeter), but I was pleasantly surprised how well the saw cut through the first paver and there was not any noticeable slow down in cutting between the first paver and the last one. Because I was using a circular saw, the cuts were not quite as professional as a miter or table saw, but after the joint sand was applied (we used a professional polymeric sand made by SEK), the quality difference is barely noticeable. I saw that there was a similar blade that is non-segmented and that it had excellent reviews, but opted at the last minute for the segmented one, expecting that it would remove the dust better and stay cooler longer. I generally marked and cut 4 blocks at a time, but cut as many as a dozen blocks in a row and heat buildup never seemed to be an issue. A few pointers I picked up... first, wear safety gear (goggles and respirator mask) - tiny particles of concrete will occasionally fly up at your face and there is an incredible amount of dust. Second, I happened to coincidentally cut on windy days and I'm glad I did. Even though I religiously wore dust protection, I (and I'm sure my neighbors too) appreciated the fact that the dust was being carried off by the wind. Third, bring the saw blade up to full speed before starting your cut on the the paver/block - it made for a more accurate cut since the saw jerks slightly when starting. Fourth, take your time and let the saw do the work. Fifth, if cutting dry, be sure to mark the block well - I used a chalk line for many of my cuts, but a white permanent chalk pen was actually much more noticeable when I used it (the chalk line got covered/blown away quickly by the dust). Sixth, cut on a slight angle inwards towards the bottom of the paver (i.e. the top of the paver should be the size you need to fit your opening but the bottom will be slightly smaller) - I cut at about 8 degrees. If the pavers are a tight fit, this slight wedge shape will help you to insert the cut paver into your pattern (picked up this tip from other websites). Finally, I cut my blocks about half way through (top to bottom). I put the scored/cut paver onto a large concrete block. I then lined up a brick chisel on that score and gave it a very firm whack with a 3 lb. hammer. This cut/broke off the rest. By doing this, the cutting went much faster and I imagine that the blade lasts much longer. Of course, the bottom of the paver was irregular and jagged, but that was unnoticeable in the finished product (I was also concerned that the paver would not seat properly in the bedding sand after compaction - but I had no problems at all with this). There were times that the paver would not break off entirely or enough, but a couple more firm hits with a well positioned chisel (or even just hitting the paver direct with the hammer would finish the job off. Definitely be sure to wear eye protection for this last step!
Pros: Easy to Use, Sturdy, Durable, Strong, Long-Lasting, performed its function