3 Easy Tile Edging Options Clients Love
Last updated August 12, 2024
The finishing touch can be most important part of laying tile. Clients prefer the smooth, cleaner appearance of finished tile edges for countertops, bathrooms and flooring. Sharp, exposed tile edges are more likely to be chipped or damaged.
This guide reviews these methods for finishing tile edges:
Use a caulk line to seal tile edges that already have a smooth appearance.
Use trim tile pieces such as bullnose tile to provide a finished perimeter.
Apply metal or plastic tile edging for a stylish, less expensive finish.
Table of Contents
Tile Trim Ideas
How to Finish Tile Edges With Caulk
How to Finish Tile Edges With Trim Pieces
How to Finish Tile With Edging
Alternatives to Bullnose Tile Edges
More Tools. More Products. More Perks.
Tile Trim Ideas
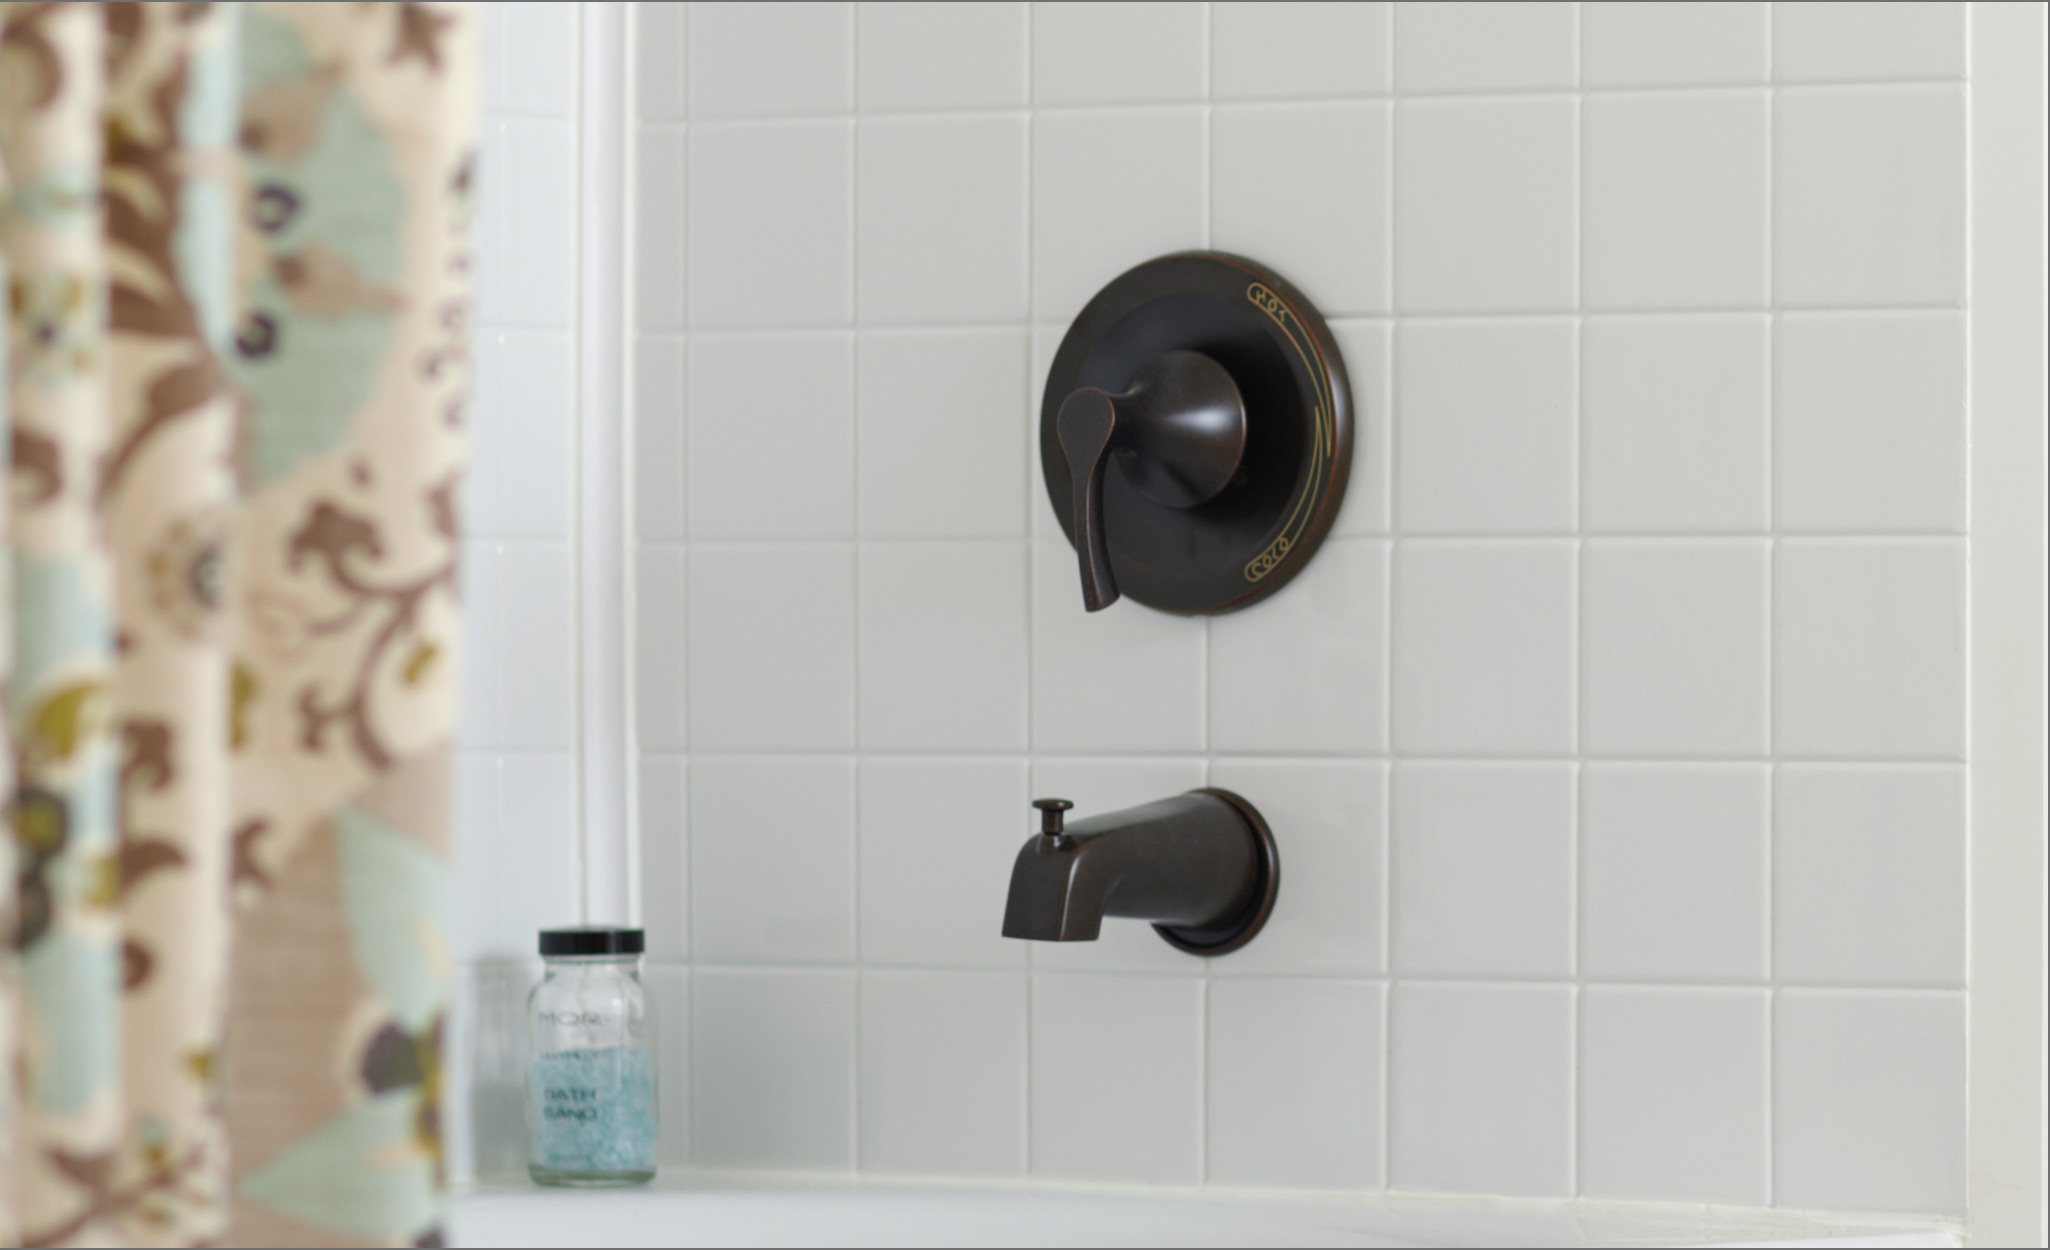
Finished tile looks better and lasts longer than unfinished or exposed tiles. Sharp edges can chip or crack, and finishing provides important tile edge protection. Finished tiles are important for:
- Transitions from a tiled floor to carpet or hardwood flooring
- Shower jambs or walls where the tile ends
- Unfinished edges of a backsplash
- Edges around a recess or niche
- Other unfinished tile edges, including trim, decoration and walls
Protective tile edging options are not needed for areas with unexposed tile edges, such as the borders where the tiles meet a wall, cabinet, ceiling or molding.
How to Finish Tile Edges With Caulk

Finishing tile edges improves the appearance of a tile project while protecting exposed edges from cracks or moisture. Using caulk, trim tile pieces and edging are three of the most popular and effective ways to finish tile edges.
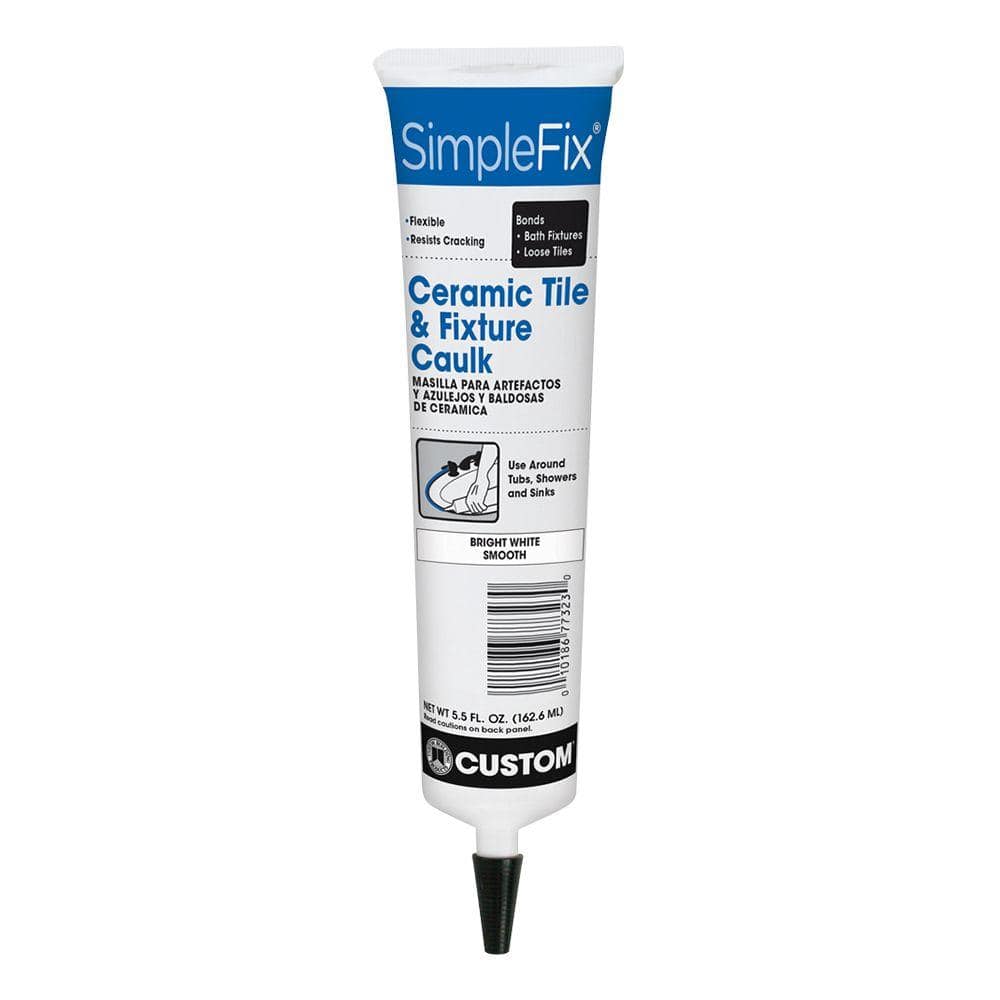
Caulking is the cheapest and easiest method for finishing tile edges. Caulk provides a waterproof seal and is recommended for tiles with edges that already have a finished appearance, such as mosaics, tumbled stone, glass and some porcelain tiles.
- Install and grout all the tile, including the edge pieces.
- Choose a caulk that matches the grout as closely as possible.
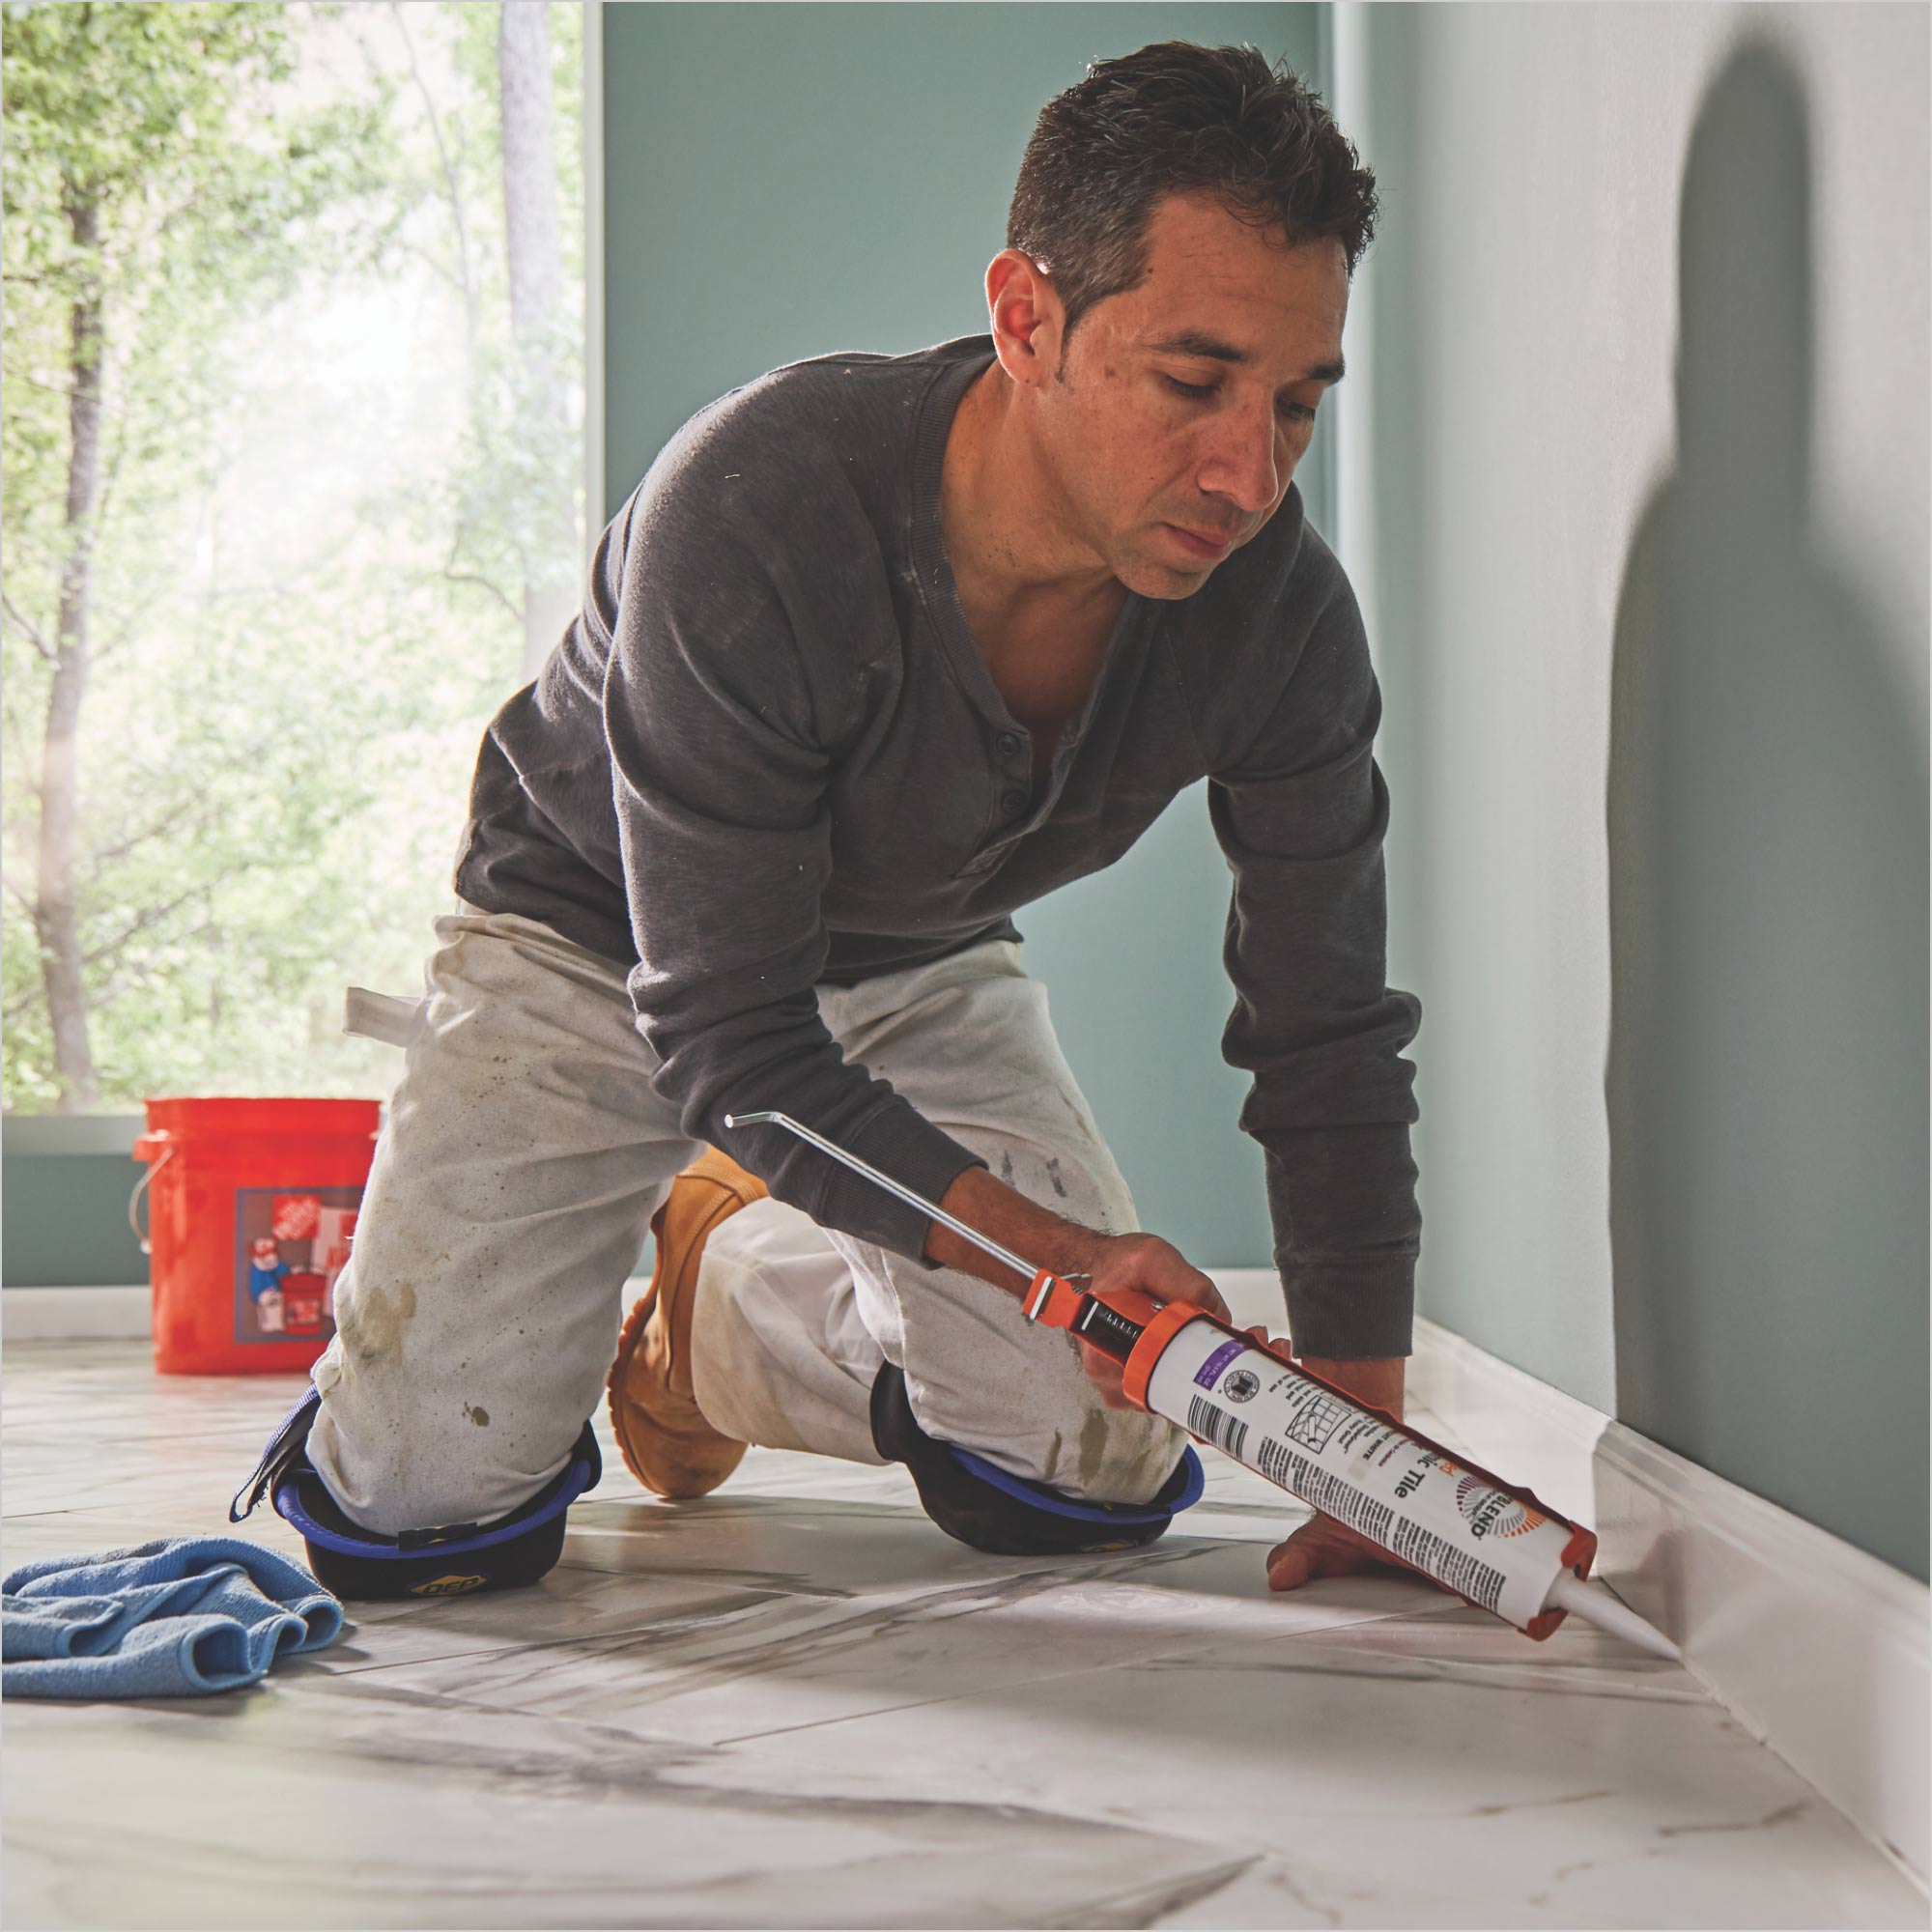
- Apply a thin, even line of caulking along the exposed edge to create a water-tight seal.
- Smooth the caulk line with a fingertip or a damp linen cloth. The smoother the caulking, the more professional the finished appearance.
- If the caulk line has uneven areas, touch it up with wall paint.
- Allow the caulk to cure and dry before exposing the area to moisture. Depending on the formula, caulk can take 1-10 days to fully cure.
Pro Tip: Finishing tile edges with grout leaves an exposed edge that is porous and prone to mold and mildew if not sealed.
Unsealed grout is not recommended for a clean appearance or high-moisture areas.
How to Finish Tile Edges With Trim Pieces
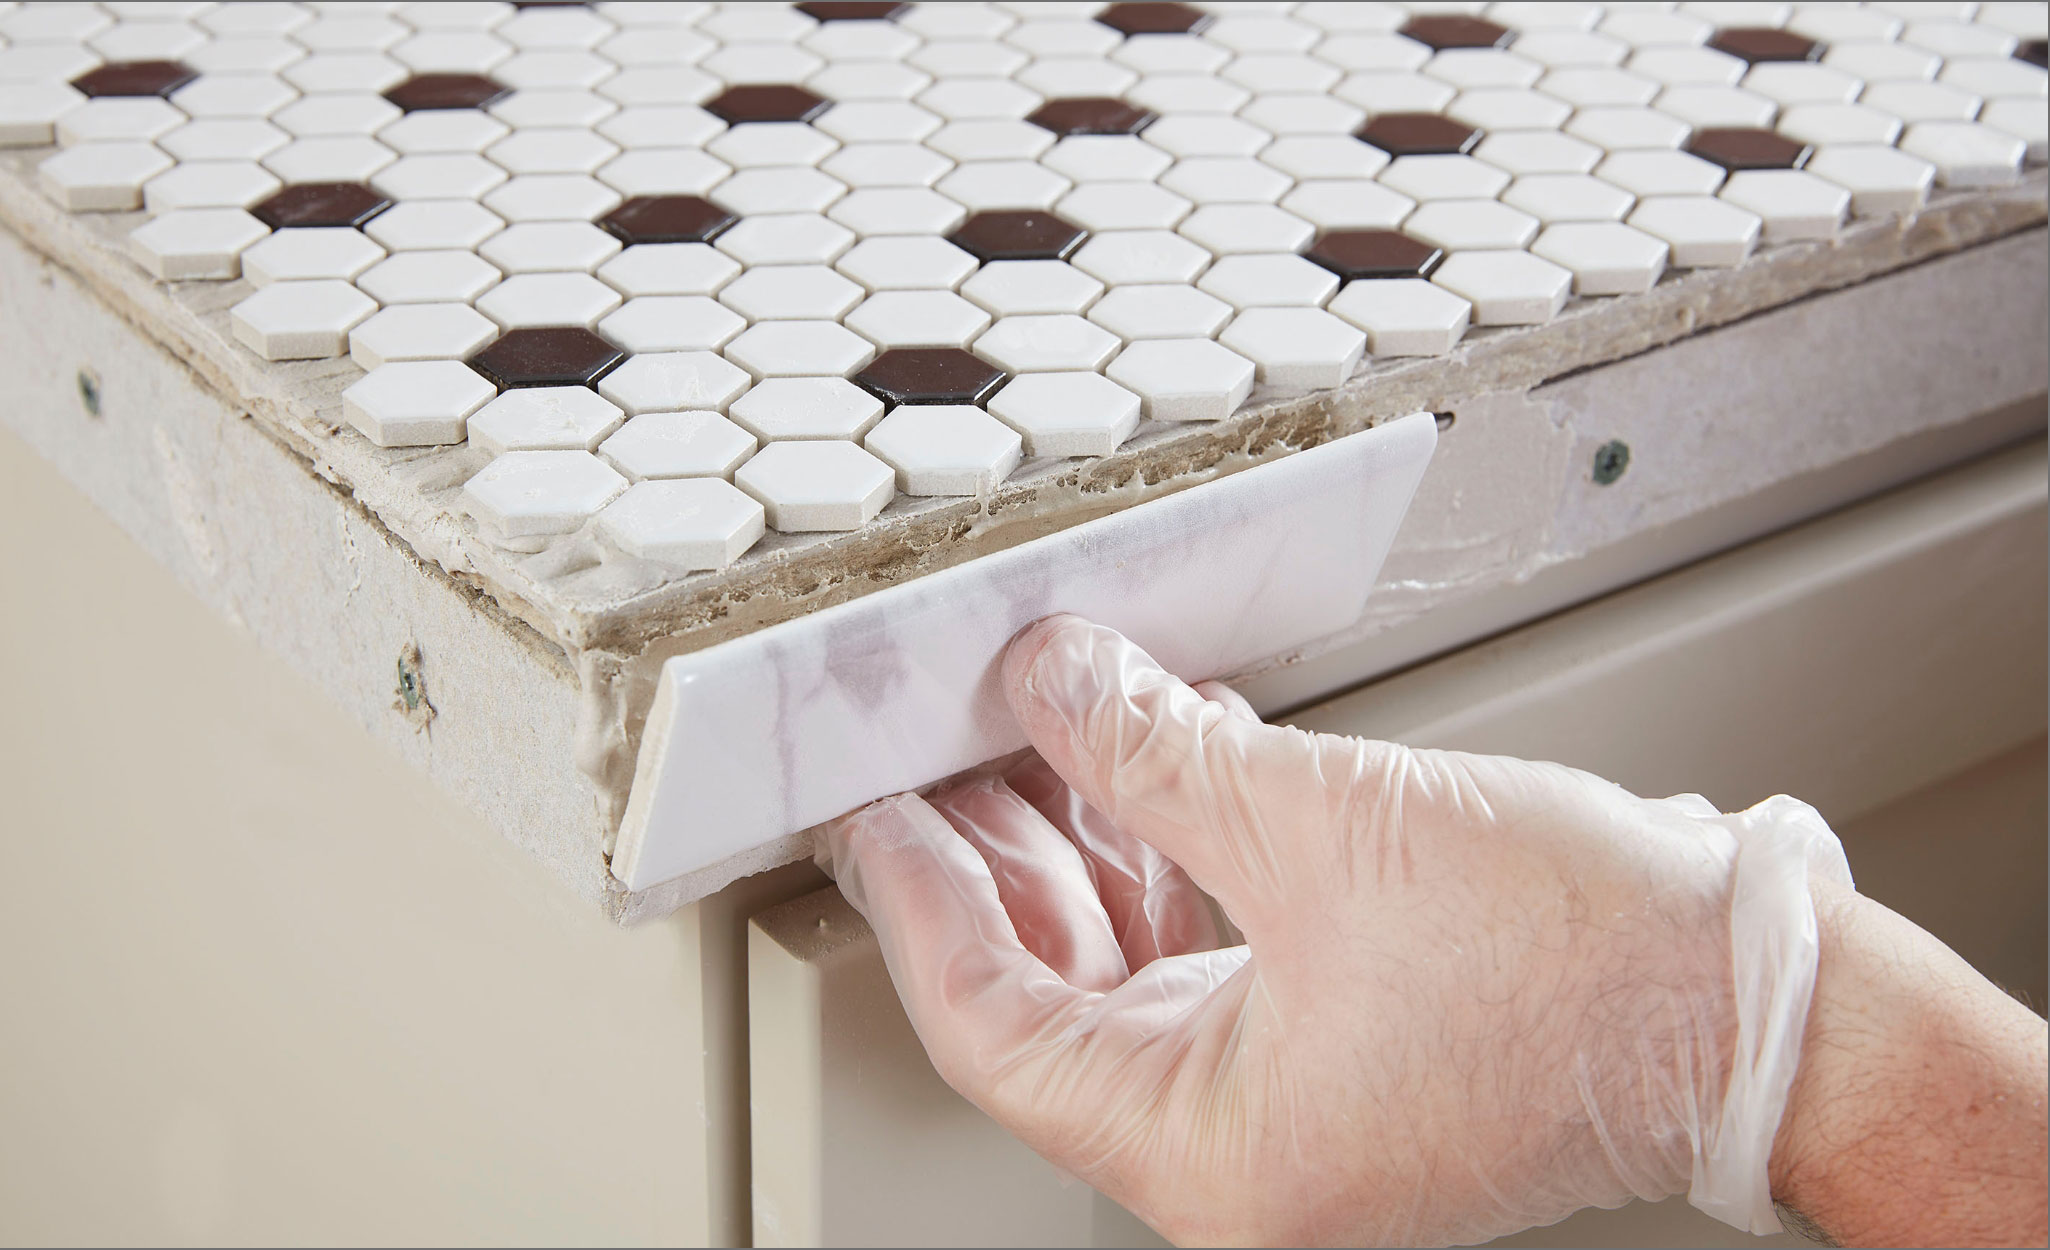
A popular method to finish tile edges is to install a row of tile trim such as bullnose tile.
Tile trim, alternately called trim tiles, are specialized pieces of tile designed with a smooth edge. They are used as finishing pieces to hide the rough, unfinished edges of standard tile (sometimes called field tile). Tile trim pieces can cost twice as much as standard tile pieces.
Bullnose tile refers to a type of tile trim with a half-rounded, finished edge, making it convenient to use on edges or corners that transition from tile to wall. Standard bullnose tile, also called surface bullnose, has a curved edge on the outward side but is flat where it faces the wall or surface.
Follow these steps to lay tile trim pieces such as bullnose tile:
- Make sure the thickness of the trim tile matches the rest of the tile. The color of the trim pieces can either match or complement the other tile, depending on the client’s preference. Buy all the tile from the same manufacturer to ensure consistency.
- Measure the location of the tile placement and determine the needed amount of your standard tile and trim tile pieces.
- Use masking tape or a pencil to mark the edge where the trim tile will go.
- Lay and grout the standard tile, saving the top row, or border row, for the tile trim pieces.
- Apply thin-set mortar and the trim tile pieces, with the smooth edge aligned with the border marked with pencil or masking tape.
- Grout the bullnose tile using the same mixture as the rest of the tile to ensure consistency. Remove excess grout.
- Apply a thin line of caulk to the edge to form a seal.
Pro Tip: An alternative to buying tile trim with bullnose edges is to grind custom bullnose edges onto standard tile pieces. This can be effective with tiles of porcelain or natural stone such as granite, marble or travertine.
How to Finish Tile With Edging

Tile edging trim consists of rigid strips of plastic or metal, designed with different profiles to create a smooth edge. Rounded and squarish edging options are available. One side includes a row of holes to glue the edging between the tile and the wall or floor.
Plastic tile trim generally offers more options for colors and designs, while metal trim is more durable and better suited for high-traffic areas. Metal trim materials include brushed aluminum and coated chrome.
Follow these steps to finish tile with plastic or metal edging:
- Install and grout the tiles on the surface, leaving a single untiled row along the perimeter of the area.
- Measure the width of installation area and cut an equal length of tile edging. Use tin snips to cut the metal edging.
- Smooth the tile adhesive onto the surface to attach the remaining row of tiles.
- Hold the strip so the side with the row of holes faces the wall or installation surface. Align the strip with the outer edge of the area to be tiled and press it to the surface, making sure the adhesive seeps through the gaps.
- Use a level to make sure the edging is straight.
- Immediately press a tile to the surface, making sure it’s flush with the edging on one side and the installed tile next to it.
- Apply the remaining tiles by the same method until the row is fully tiled.
- Wipe up the excess mortar with a damp cloth.
- Apply grout as described above.
Alternatives to Bullnose Tile Edges
Tile trim pieces can be designed for tile edging options in addition to bullnose.
- V-cap tiles, also called sink caps, have rounded edges and are designed to fit over the edge of tiled countertops. They have an L-shape, with the longer edge designed to be installed at the top of the counter, flush with the tile, and a shorter edge that covers the front of the counter. Use V-cap trim with raised edges near sinks to prevent water from spilling onto the floor.
- Pencil tiles and liner tiles are thin pieces that provide a clean edge or border for floor tile or mosaic tile. Pencil tile pieces are rounded while liner tiles are flat, making them better suited for flooring.
- Tile moldings are thin, decorative pieces in natural stone or porcelain, molded on one side. They are designed to provide a raised border between a tiled surface and drywall or two different types of tiles.
More Tools. More Products. More Perks.

Be more competitive and boost your bottom line with Pro Xtra, The Home Depot's loyalty program built for Pros. Sign up today to access the enhanced Pro Online Experience, built with the online business tools and time-saving features Pros need.
Save money on your tiling project with the Volume Pricing Program and your free Pro Xtra account. Just assemble your project list, bring it to the Pro Desk at The Home Depot and let our Pro associates get you the lowest price possible.


