How to Use a Drill
Last updated September 7, 2023
Learning how to use a drill is an important skill for any homeowner. Power drills may seem intimidating, so start with the basics. They’re fairly simple to operate. Using a drill allows you to take on a greater variety of DIY projects.
This guide will outline the basics of how to use a power drill. It will also cover the parts of a drill. You’ll learn how to change a drill bit as well. Read on to get a handle on this basic DIY power tool.
Table of Contents
Parts of a Drill
How to Choose a Basic Drill Bit
How to Change a Drill Bit
How to Use a Drill
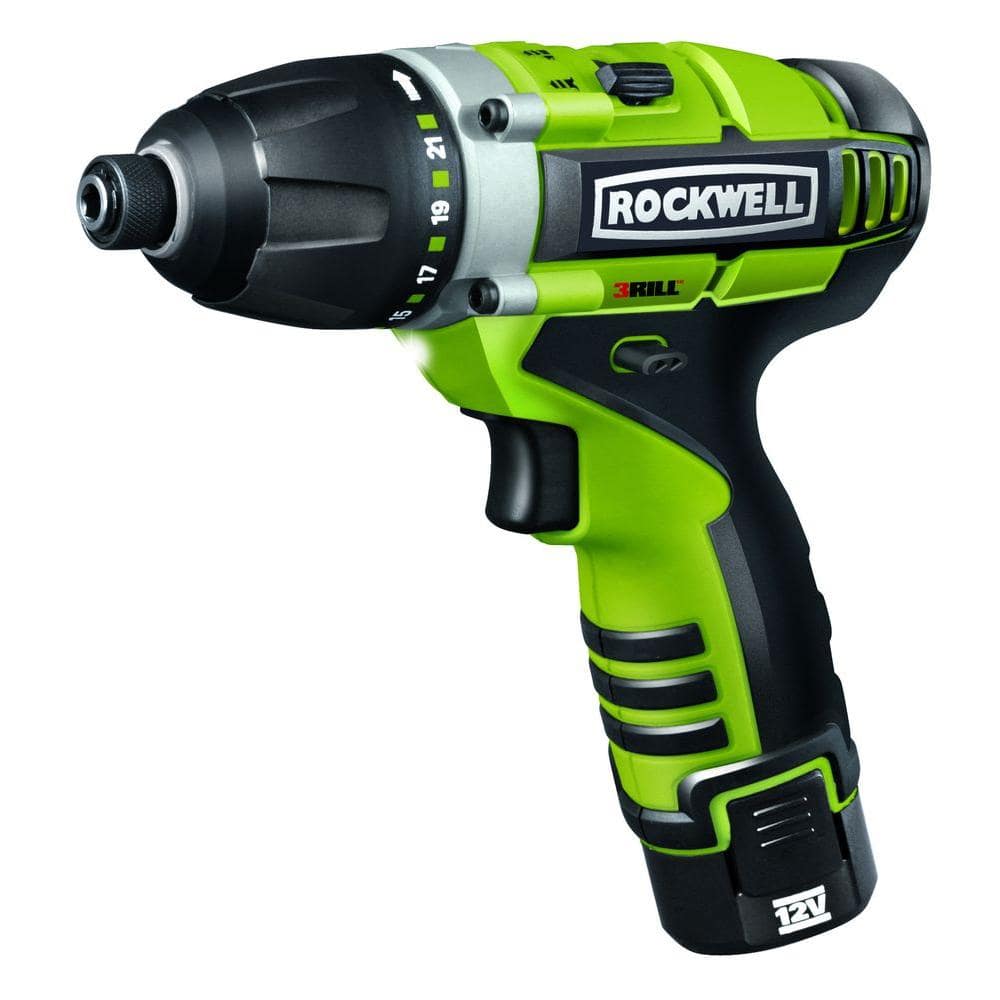
Parts of a Drill

Every power drill has the same basic anatomy. Get familiar with the parts of a drill to feel more comfortable using one.
Here are some terms you’ll come across:
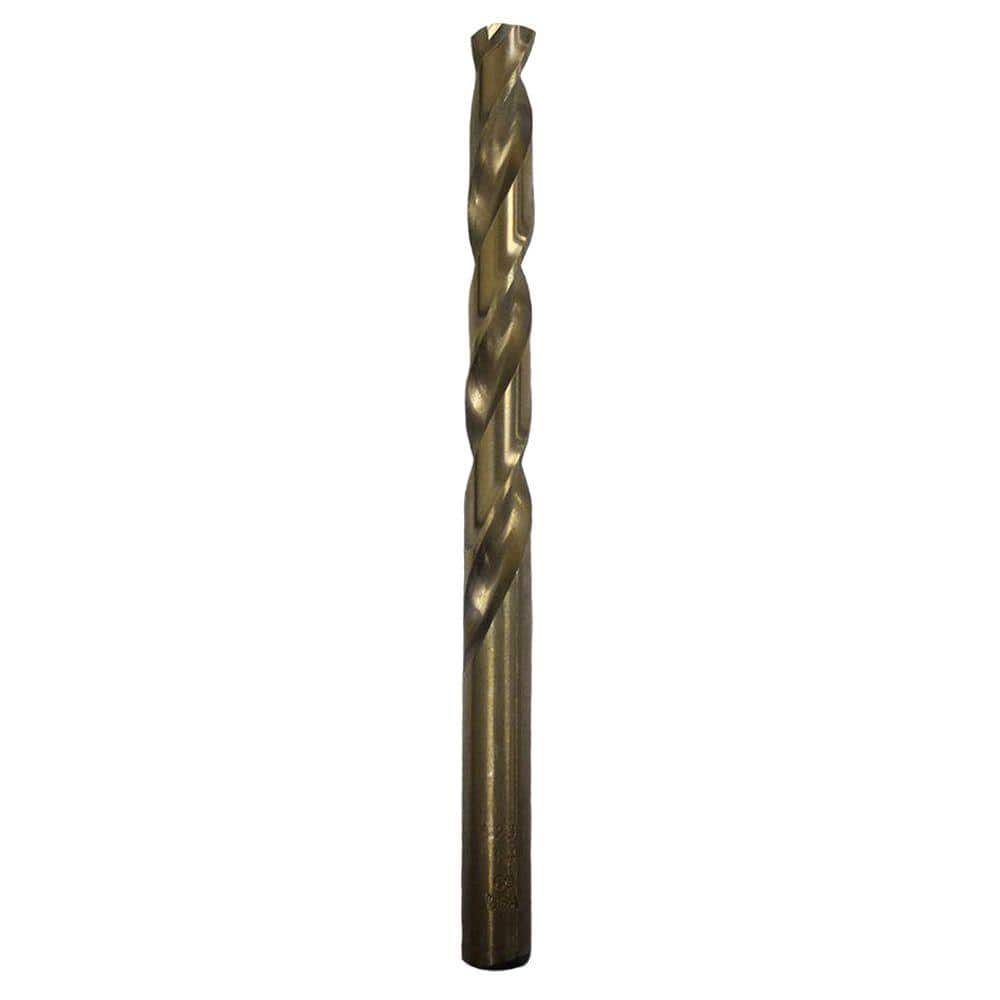
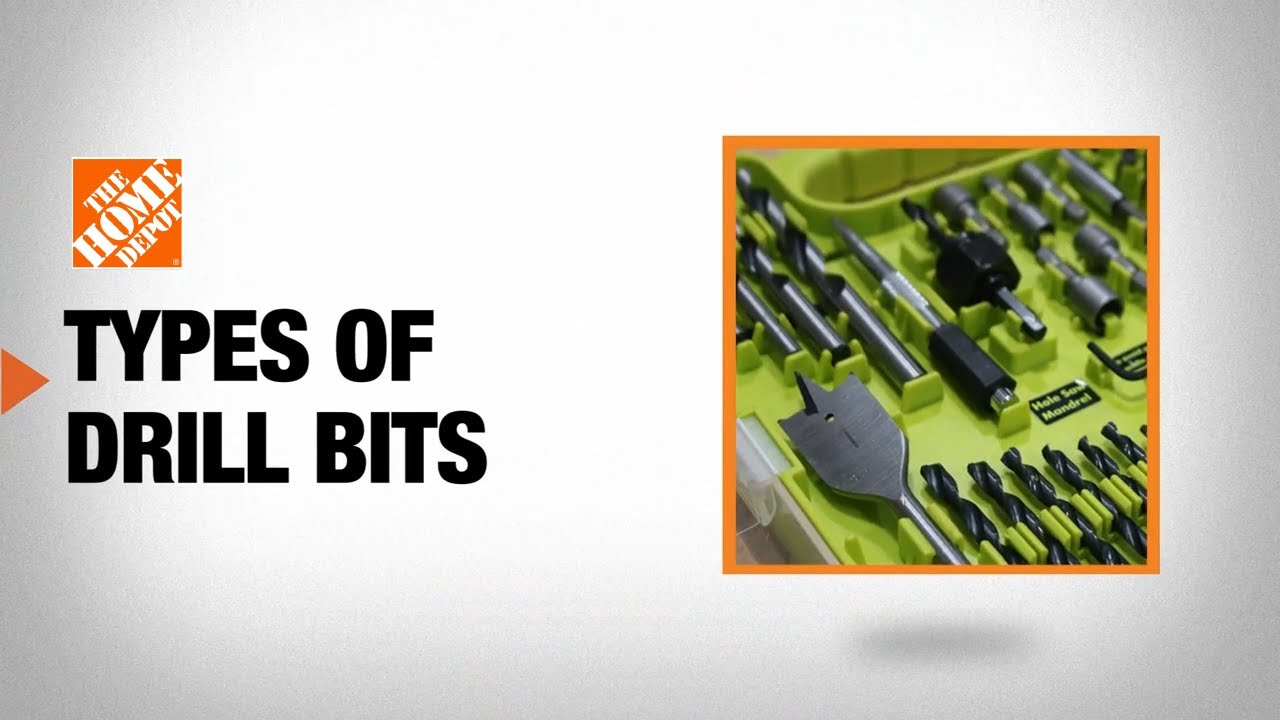
Drill bit: This pointy part may have a swirled design or look like the end of a screwdriver.
- It comes in many different shapes and sizes.
- Choose a drill bit according to the hole you need for your project.
- The bit is inserted into the chuck. It’s what bores a hole into the surface you’re drilling.
- Use screwdriver bits for driving screws.
- Use pointed drill bits for drilling holes.
Chuck: This is the adjustable part of the drill that holds the drill bit.
- Picture a hand with the fingers open wide, then closing to grab something. That’s what the chuck does. It grabs the bit, holds it place and lets it rotate.
- Some chucks require a special key to change drill bits. Most don’t need any extra tools to swap bits, as you can twist them open by hand.
Trigger: You squeeze this piece to operate the drill. It’s a standard trigger that you pull with your finger. When you release the trigger, the drill bit stops rotating.
Clutch torque selector: This selector adjusts to increase or decrease the drill’s speed.
- Go with higher speeds for drilling.
- Stick with lower speeds for driving a screw.
Forward/reverse/off switch: This is a switch or button that changes the direction of the drill bit’s rotation.
- Keep it forward and going clockwise to tighten screws or drill a hole.
- Toggle to reverse when removing a screw. The rotation goes counter-clockwise in reverse.
- Put the drill in reverse to extract the drill bit from the hole you just drilled.
Battery or cord: This is the power source for your drill.
- Some drills are corded and plug into the wall.
- Other power drills have a rechargeable battery pack.
The battery is a removable and rechargeable power source. It may be ideal to keep an extra battery pack around. That way, one can charge while you’re using the other one.
Battery charger: Although not technically part of the drill itself, you’ll need this for a cordless drill.
- The battery needs to have power for the drill to turn on.
- Make sure your battery is firmly seated on the charger to assure it’s charging.
How to Choose a Basic Drill Bit

When you’re ready to learn how to use a drill, start with the bit. The drill bit you use will depend on the task at hand.
Keeping a drill bit set in your toolbox means you're prepared for many projects.
- If you’re drilling a hole, you’ll need a pointy drill bit.
It's called a twist drill bit.
There are bits that fit whatever you’re drilling: wood, metal, ceramic or other surfaces. Choose a bit that matches your project. It’s smart to drill a slightly smaller hole than the screw you’re using. That way, the screw can bite into the material firmly.
- If you’re driving a screw in with a drill, go with a drill bit that fits the screw.
These are called screwdriver bits.
You’ll have drill bits with Phillips and flat head options. It doesn’t have to be an exact match to the screw. As long as the bit fits into the slots on the screw, it works.
How to Change a Drill Bit

Once you’ve chosen your drill bit, it’s time to insert it.
It's not tough to learn how to put a bit in a drill. In fact, changing a bit is a big part of knowing how to use a drill.
Safety Tip: If you’ve just used your power drill, the bit will be hot from friction. Let it cool or use work gloves to remove it.
Follow these steps to change or insert a drill bit:
- Disconnect the drill from the power source. That means remove the battery or unplug it.
- Open the chuck. Unless you have a heavy-duty drill, just unscrew the chuck. It’ll be a circular piece with the bit in the middle. Rotate it until you see the chuck open. If you need a key, use the chuck key that came with the drill to open it.
- Pull out the bit. If it’s stuck, open the chuck more so you can remove the bit.
- Put the old bit in a case or off to the side. You don’t want it getting stepped on.
- Insert the new bit into the chuck as far as it can go. Make sure it’s centered and not angled.
- Twist the chuck to tightly close it around the drill bit. Again, if you need the key, use it here.
- Assure your drill bit is snugly held. It should be evenly inserted so it won’t wiggle.
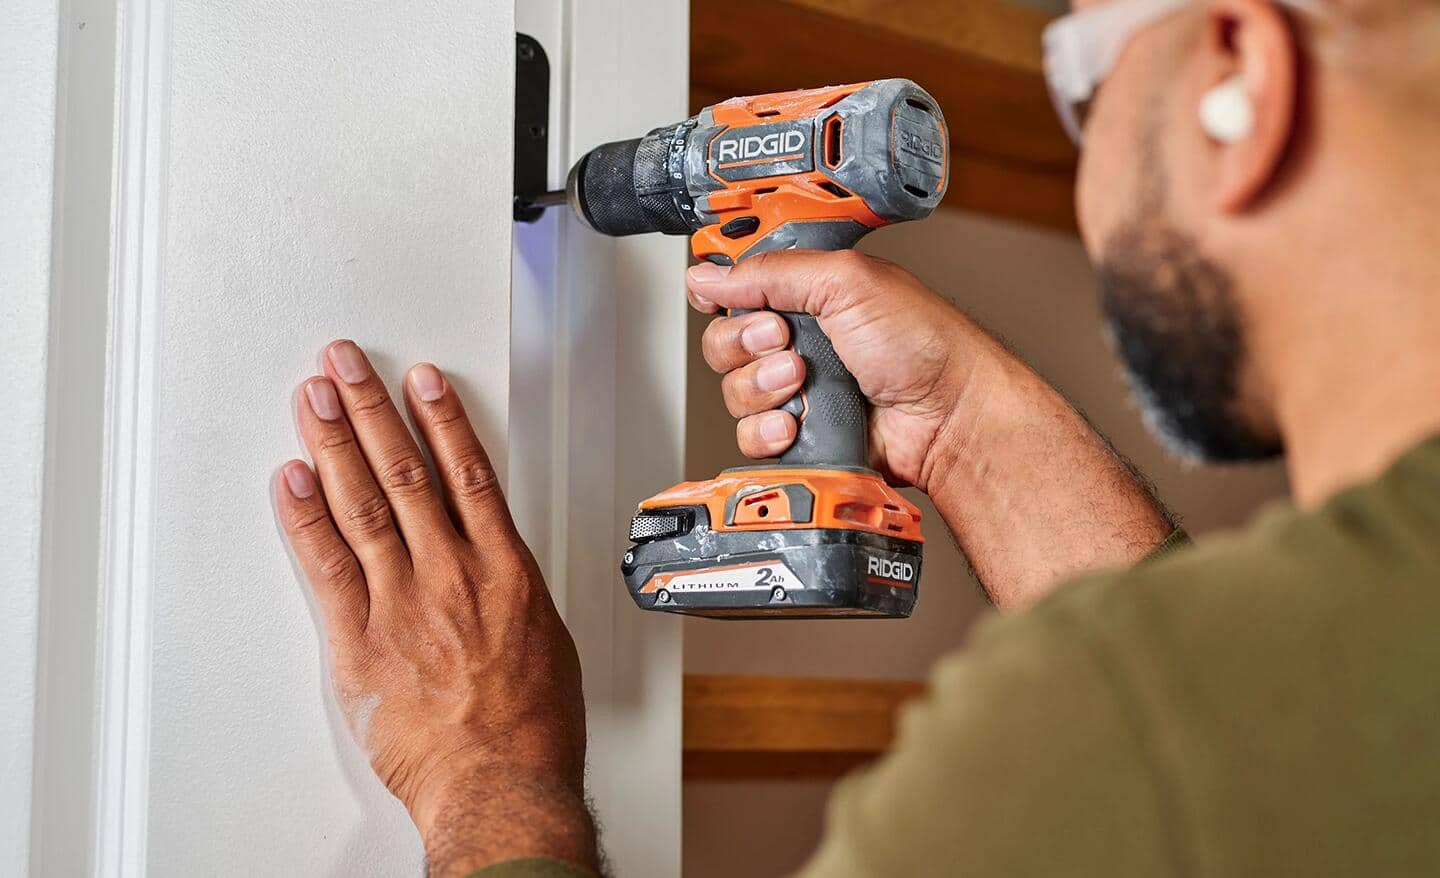
How to Use a Drill

To save time once you’re ready to drill, figure out where you need screws. Finish all your measuring and assure any straight lines are level. Then, mark with a pencil where you want to drill each hole. Use a tiny X or make a dot with a pencil.
Safety Tip: Always wear protective glasses or goggles when using power tools. Secure all loose clothing and hair before working. You want to avoid anything getting tangled or wrapped around the drill bit.
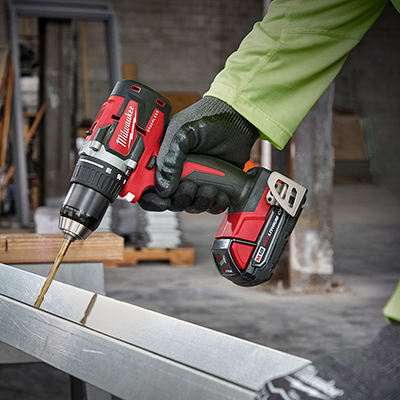
To use a drill for drilling a hole, follow these steps:
- Power up your drill. Plug it in or insert the battery.
- Adjust the torque to suit the material you’re drilling. For example, drilling wood will require more torque than drilling drywall. In general, harder surfaces need more torque.
- Find the Xs or dots you made to mark where to drill.
- Get at the correct level to drill the hole. If you need a ladder, assure it’s opened and secured properly.
- Stabilize your drill vertically. You want the hole to be perfectly straight.
- Gently pull the trigger. Start drilling with a low speed. As you get further into the material, you can speed up.
- Once you’ve drilled as far as you need, put the drill in reverse.
- Pull the trigger and back out the drill bit. Take care not to yank on the drill or pull at an angle.
To use a drill for inserting a screw into a pilot hole, follow these steps:
- Power up the drill.
- Adjust the torque so it’s low. Drilling in screws that have pilot holes doesn’t require a lot of force.
- Fit the screw into the slot on the drill bit.
- Line up the screw with the hole.
- Make sure the drill is vertical.
- Pull the trigger on the drill and press gently into the screw. This should keep the screw in place.
- Make sure you’re not drilling at an angle.
- Once the screw is inserted, stop drilling.
- If you’re concerned about over-screwing, stop before the screw is completely inserted. Finish with a screwdriver.
Now that you know how to use a power drill, it’s time to put it to use. Hang new curtains, put up shelves or tighten screws on a rack. Locate products and check inventory with The Home Depot Mobile App. We'll take you to the exact aisle and bay.