Attic Ladder Installation
Last updated September 7, 2023
Your attic is a great place for extra storage, and the right attic ladder provides easy access to this space. The ladder must be sturdy, secure and installed properly to allow anyone who uses it to ascend and descend safely.
Attic ladders are made of steel, aluminum and wood. The one you buy should resist rust or rot and remain unaffected by humidity and temperature for as long as you plan to use it. Read this guide to learn the steps of attic ladder installation.
Difficulty:
Advanced
Duration:
2-4 hours
Table of Contents
Choose an Attic Ladder
Choose the Access Point
Place the Ladder
Secure the Ladder
Trim the Excess
Install the Feet
Choose an Attic Ladder
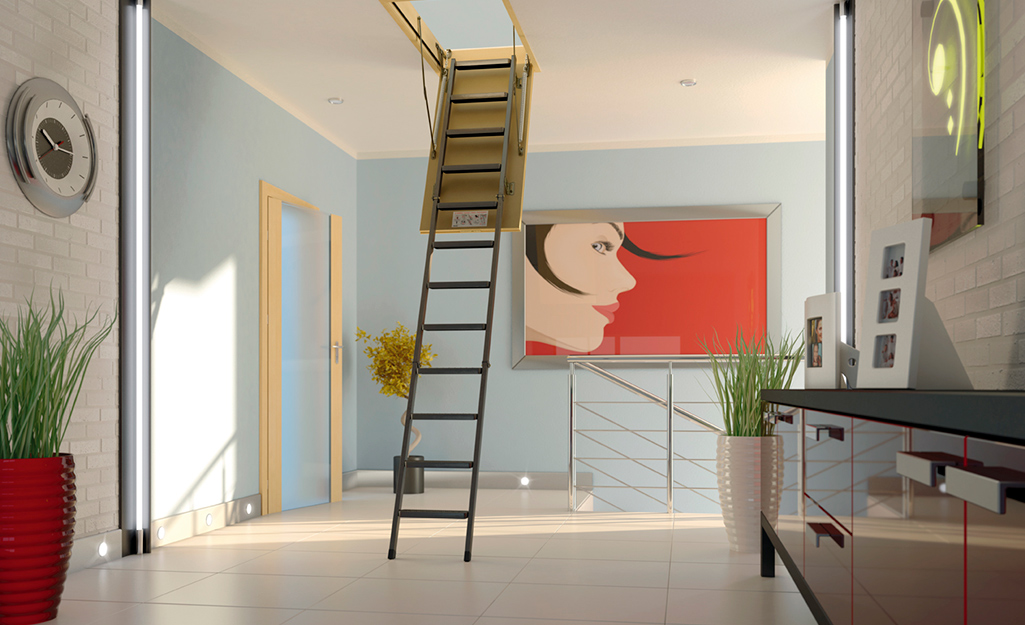
Before you learn how to install an attic ladder, you must choose the one best suited for your home. For most homeowners, aluminum attic ladders are the easiest to install. They’re durable and lightweight, which makes them easier to fit properly. Here are a few tips for choosing the right ladder:
- Look for the right length. You’ll need to measure the length from your floor to the ceiling to find the appropriate size.
- Choose a model that holds a minimum of 250 to 300 pounds. Remember that you may be carrying a box or storage container, so you want a ladder that supports extra weight other than your own.
- Consider an aluminum attic ladder with a handrail. These are especially helpful if you’re carrying boxes or items up and down by yourself.
Choose the Access Point
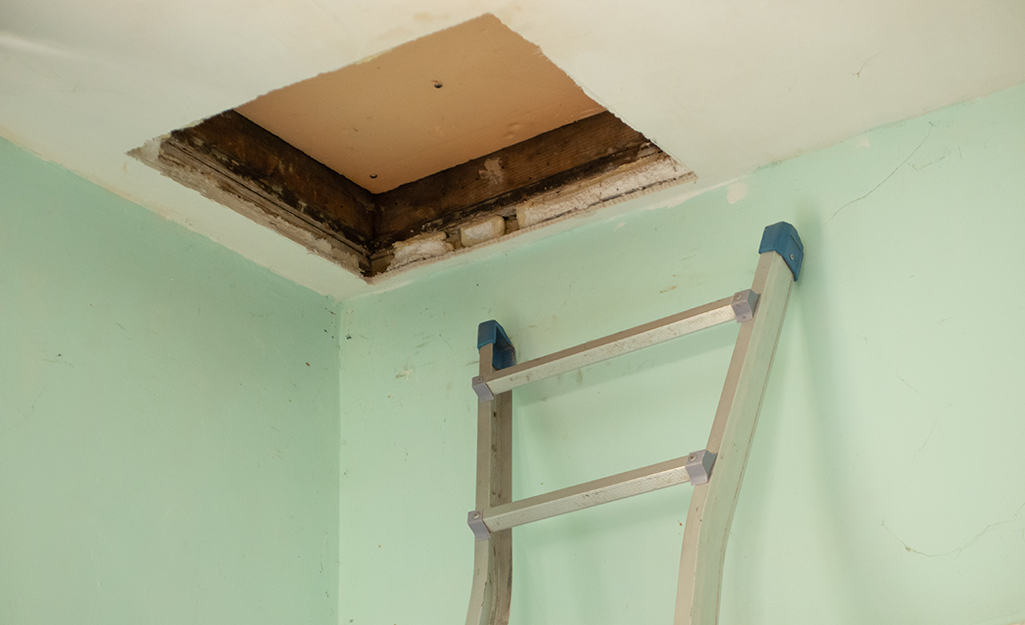
The first task of attic ladder installation is to choose a location to create your access point. If you’re installing pull-down attic stairs for the first time, you’ll need to cut the hole yourself. If your home already has an access hatch and you’re adding a ladder, you can skip to the next step of instructions on how to install a ladder.
Here are a few guidelines for choosing the right area and cutting an appropriate access hatch that leads to your attic:
- An attic ladder typically requires a space between two joists behind the drywall on the ceiling. It should be at least 25 inches by 55 inches. Smaller spaces may be hard to access, especially if you’re taking items to or from the attic. You may increase the size of your hatch if you have space. This will make in and out access even easier.
- Consider where you’ll be once you climb up the ladder. You’ll need ample room to get off the ladder safely once you’re in the attic.
- Look for an access point that offers enough headroom for you to stand comfortably and not crouch. You don’t want to get off your ladder and immediately bump your head.
- Make sure to add the appropriate framing to support your weight and that of the ladder. Wood framing works particularly well for attics and is easy to install. Installing temporary support boards will also make the installation process easier.
Place the Ladder
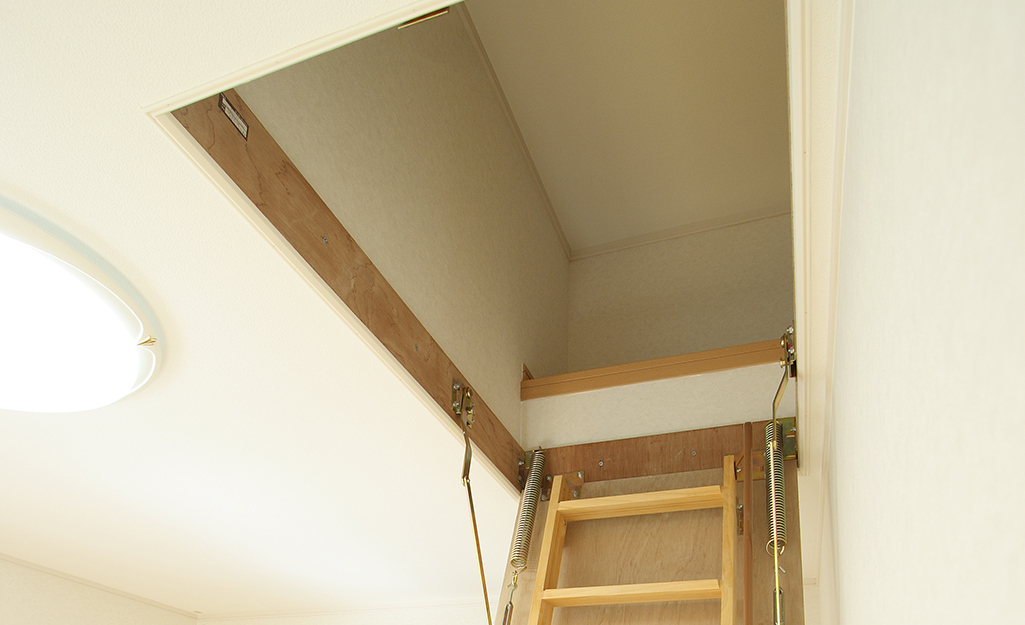
Once you’ve finished creating the access hatch, you’re ready to get started.
- Attach the pull cord on your attic ladder. This varies by manufacturer, so follow the simple instructions that should come with your model.
- Place the ladder into the opening of the access hatch. You’ll need somebody standing in the attic to help install the attic ladder.
- Get your ladder into place, securing it with temporary support boards if you’re using them. Avoid putting weight on the ladder at this point.
Secure the Ladder
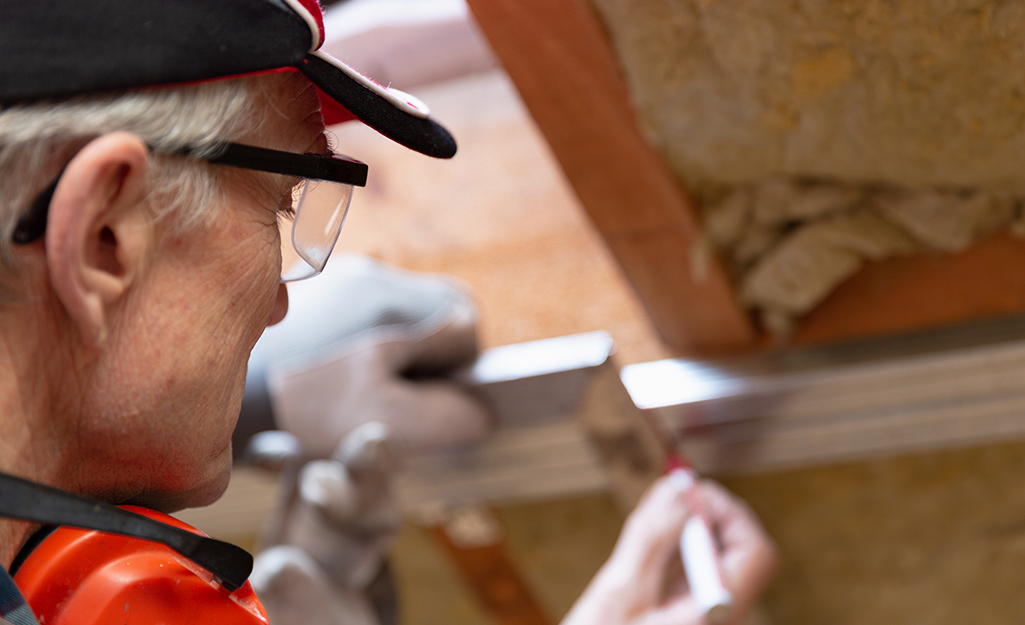
The next task is to secure the ladder in its fixed spot.
- Use a power drill and two wood screws to hold the frame of the ladder to the header of your support structure. Now you can open the ladder to continue the installation.
- Begin to secure the ladder by pre-drilling four 1/8-inch pilot holes at the top of the frame.
- Screw 1/4- x 2-inch hex-head lag screws into the header, fixing into place the portion of the ladder that will remain at the top of the opening. You should use 1/4-inch washers under the screw heads before finishing.
- Repeat this process with hex-head lag screws and 1/4-inch washers to secure the mounting plates on the sides of the ladder.
- Pre-drill four 1/8-inch holes into the wood supports beneath the mounting plates. Install hex-head lag screws with fitted washers into the pre-drilled holes. Remove any temporary support boards that you were using.
Trim the Excess

If you are installing a wooden ladder, follow these steps to ensure the legs rest securely on the floor.
- Use a tape measure to mark the distance from the ladder opening to the floor. With the ladder folded, mark the legs where you’ll need to trim any extra length for a proper fit.
- Use a hand saw or power saw to remove the excess wood length from your ladder.
Install the Feet
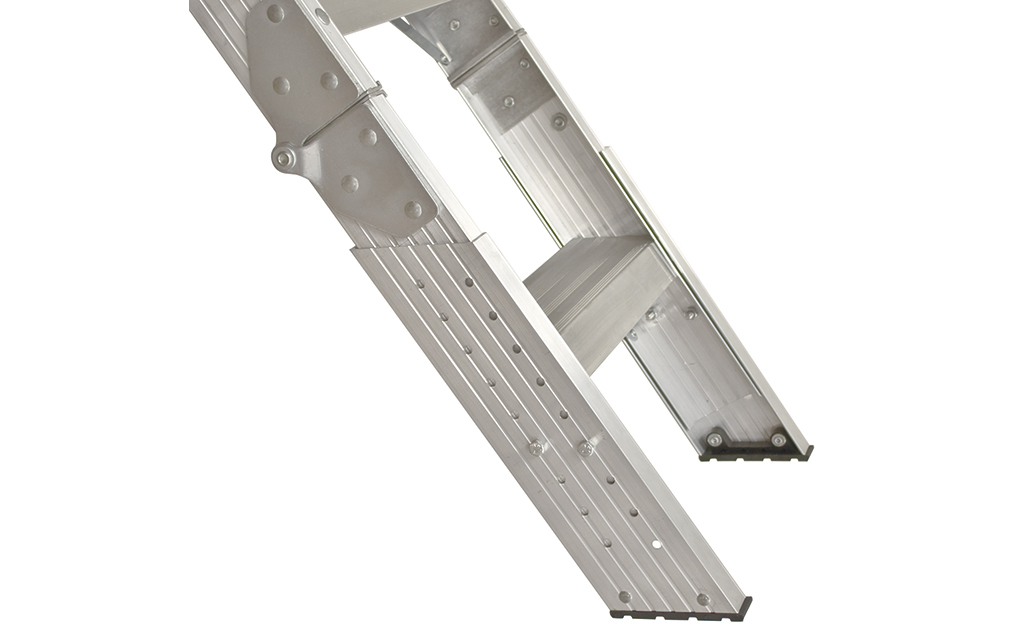
Make sure you have ladder feet among your ladder accessories. Install the attic ladder feet as instructed by the manufacturer. Make sure the foot pads touch the floor and provide a stable, even surface for you to step on.
Drill a pilot hole and install a hex-head cap screw and lock nut to keep the foot in place. Repeat the process for the other side of the ladder.
Add Insulation
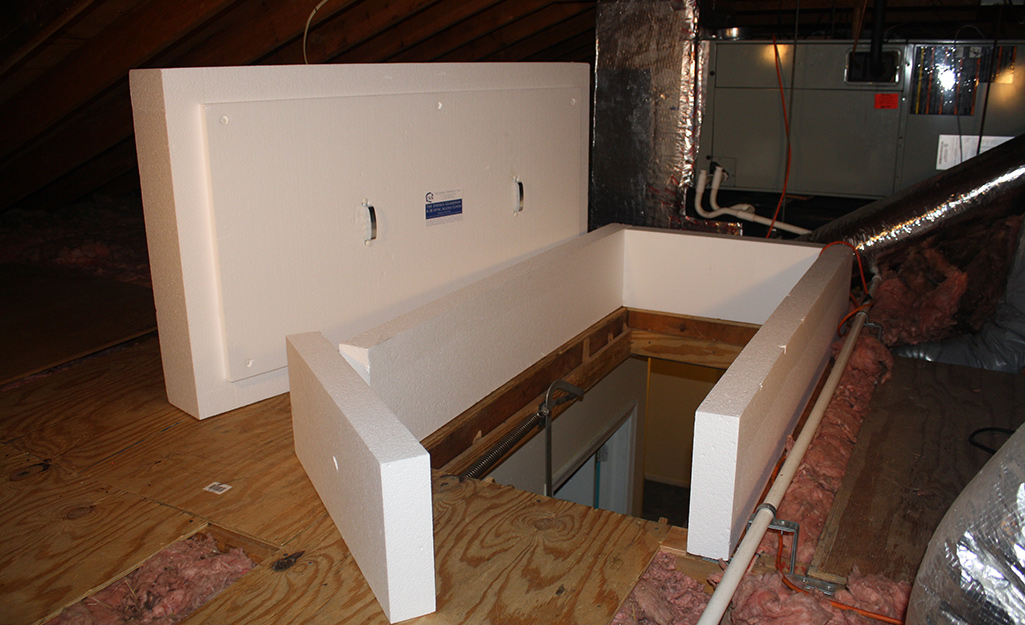
The attic is a common point of entry for unwanted cold air in the winter and hot air in the summer. There are a few ways to keep problem air from messing with the comfortable temperature in your home.
- Use weatherstripping after your attic ladder installation. Weatherstripping along the edges of your hatch can seal spaces and prevent drafts.
- Cover your attic door panel with foam insulation. Choose a type of insulation that can be cut to size at home and installed using adhesive or glue.
- Look for an attic ladder that comes with an insulation cover. Some ladder kits provide these to make installation a little bit easier and all-inclusive for DIY homeowners.
Attic stairs installation makes access to previously unused storage space a breeze. While it might seem like a complex job, you can put up an attic ladder and achieve satisfactory results if you just take it step by step. When it is time to begin work on your attic ladder, consider tool rental at The Home Depot before you get started.
