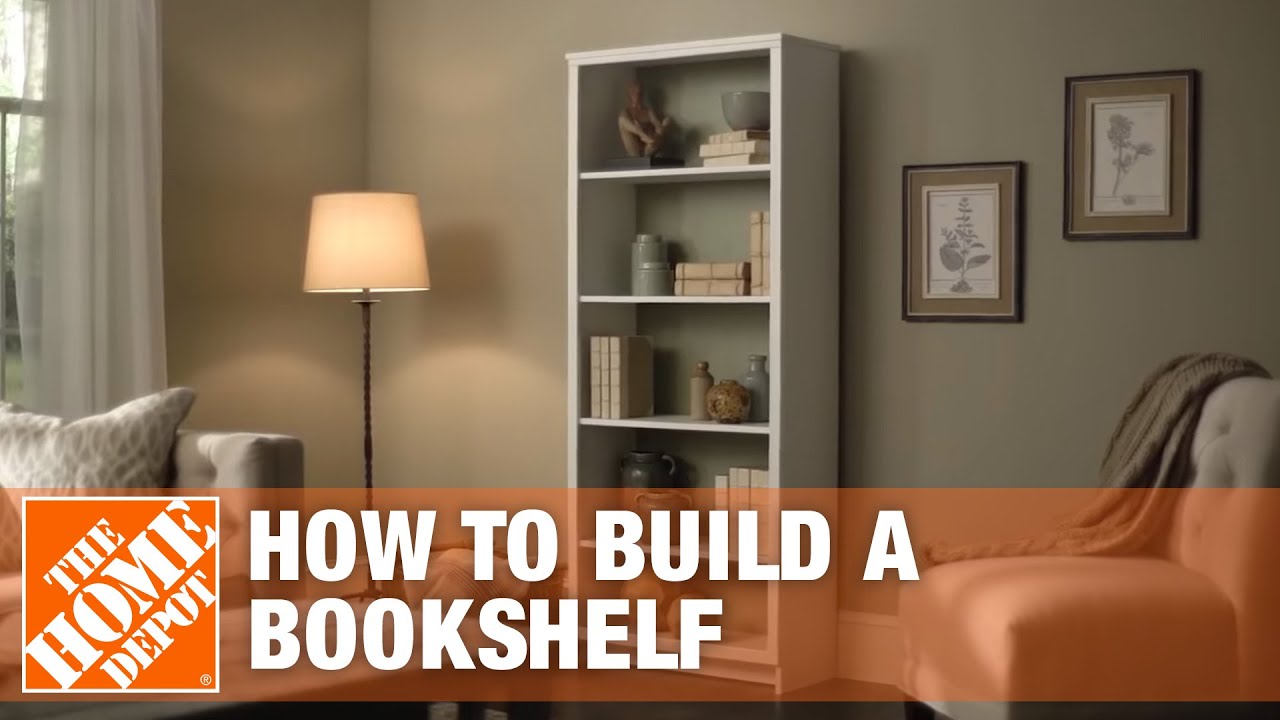
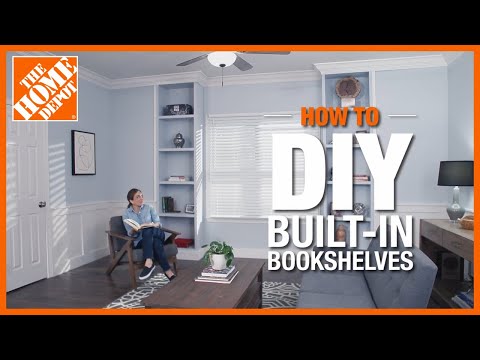
DIY Built-In Bookshelves
Last updated September 7, 2023
Built-in bookshelves are a stylish and functional storage solution in any home. They transform empty wall space into a focal point to frame your personal collections in an attractive way.
There are bookshelf design plans available that allow you to be creative in your organization vision for the room’s layout. Whether you want to renovate a small nook to hold your books or turn the length of a sitting room wall into a library for your valued vinyl collection, you can create the shelving solutions that meet your needs. This guide takes you through the steps to do your own DIY built-in bookshelves project for a room in your home.
Difficulty:
Beginner
Duration:
Over 1 day
Table of Contents
Take Measurements for Your Built-In Bookshelves
Choose Wood for Your Bookshelves
Cut the Support Frame, Side Panels and Shelves
Drill Holes Inside Each Panel
Paint Wood and Attach Side Panels and Top Shelf
Attach the Frame Support
Take Measurements for Your Built-In Bookshelves

The first step in your project is to measure the height, depth and length of the area you want to build your shelves. Use a standard tape measure or a laser tape measure for more precise results.
- The height of your built-in shelves will be 1 inch short of your ceiling.
- When measuring the height of the shelves, measure from the floor away from the baseboard or moldings.
- Once you’ve made your measurements, trim and remove baseboards or crown moulding along the length of where you want the bookshelves to be built.
Choose Wood for Your Bookshelves

The choice of wood is essential when it comes to your DIY built-in bookshelves project. The bookshelves you’ll build must be sturdy and last a long time. You want to make sure that the shelves are cut from quality lumber and composites that do not bend under prolonged weight or warp.
Cut the Support Frame, Side Panels and Shelves

Once you’ve selected the wood for your project, the next step is to create the support frame.
- Using sawhorses and a circular saw, cut four 2 x 2-inch studs of pressure treated lumber to create the frame. Cut the studs 1 1/2-inches less than the unit’s width.
- After you’ve created the support frame, cut the boards for the side panels. The length of the panels is the measurement from the floor to 1 inch short of the ceiling.
- Next, cut the top and bottom shelves and display shelves. The shelves should be at least 3/4-inch thick and also cut 1 1/2 inches shorter than the unit’s overall width.
Drill Holes Inside Each Panel

Ensure that
the built-in shelves are level on the bookcase. You will need a shelf pin jig to create holes for the hardware to attach the shelving. If one is not around, a piece of pegboard works as a guide.
- Use a power drill to create pairs of 1/4-inch holes along the inside of each side panel.
- Drill the holes 3/8-inches deep. Use a depth-stop bit attachment or a block of scrap wood as a guide for the pegboard to make sure you don’t drill all the way through.
- Space pairs of holes about 9 inches apart horizontally and every 2 inches vertically.
Paint Wood and Attach Side Panels and Top Shelf

You’ll paint or finish the wood before you assemble the built-in bookshelves.
- Rub sandpaper on the side panels and shelves to smooth any rough spots. Apply a coat of your choice of paint or wood stain. Finish with a coat of polyurethane wood finish to protect the shelves.
- Attach the side panels to the ends of the frame supports. Drive 6d finishing nails through the side panels into the end grain of the support frame.
- Attach the top shelf to the support frame. Drive the finishing nails through the side panels into the end grain of the top shelf.
Attach the Frame Support

Now that you’ve attached the side panels and top shelf to your DIY built-in bookshelves unit, you’ll have to raise the unit into position to attach it to the wall. Get someone to assist with this step.
- First, use a stud finder to locate the wall studs. Tilt the unit into position and flush against the wall.
- Use a screw gun to drive 3-inch wallboard screws through the top rear frame support into the wall studs. Repeat with the bottom frame supports into the studs close to the floor.
Attach Bottom Shelf and Baseboard

Your built-in bookshelves project is now in its final stages. Make sure the bookshelf is securely installed to the wall before proceeding.
- Use the 6d finishing nails to attach the bottom shelf. Drive the nails through the side panels into the end grain of the bottom shelf.
- You can repurpose the baseboard for the bookshelf with this step. Cut the baseboard to size and use a miter saw on the ends as necessary.
- Use wood glue to bind the baseboard to the bottom of the built-in shelves. Use the finishing nails to attach the baseboard into place. Use a nail set to recess all nail heads.
- Install the shelf pins in the desired holes and slide the shelves into place.
Add Books and Decor

Dress yourDress you DIY bookshelves with books and decor to enhance your saooacepace!r
Your built-in bookshelves can be a showcase that adds to your home’s overall character and decor. Create a unique modern space for the collections that mean much to you. Don't worry if you need tools and supplies for this DIY project. Download The Home Depot Mobile App and check its inventory for the materials you need.