Difficulty
Intermediate
Duration
2-4 hours
Give your bedroom a personal touch with a homemade bed frame. Whether you have a little or a lot of woodworking experience, learning how to build a DIY wooden bed frame can help improve your skills. This example uses fir 4x4 posts and whitewood framing lumber, but this bed could be made with self-laminated plywood beams or Western red cedar.
This guide will teach you how to build a wooden bed frame for a queen-sized mattress. You can build a DIY wooden bed frame of any size by scaling the measurements to suit your mattress.
Tip: As you decide where to put your bed, measure the distance between surrounding furniture to ensure that you have enough room for the frame. Make sure to account for the space, like doorways, you’ll need to move through to get your homemade wooden bed frame into the room.
Selecting Lumber
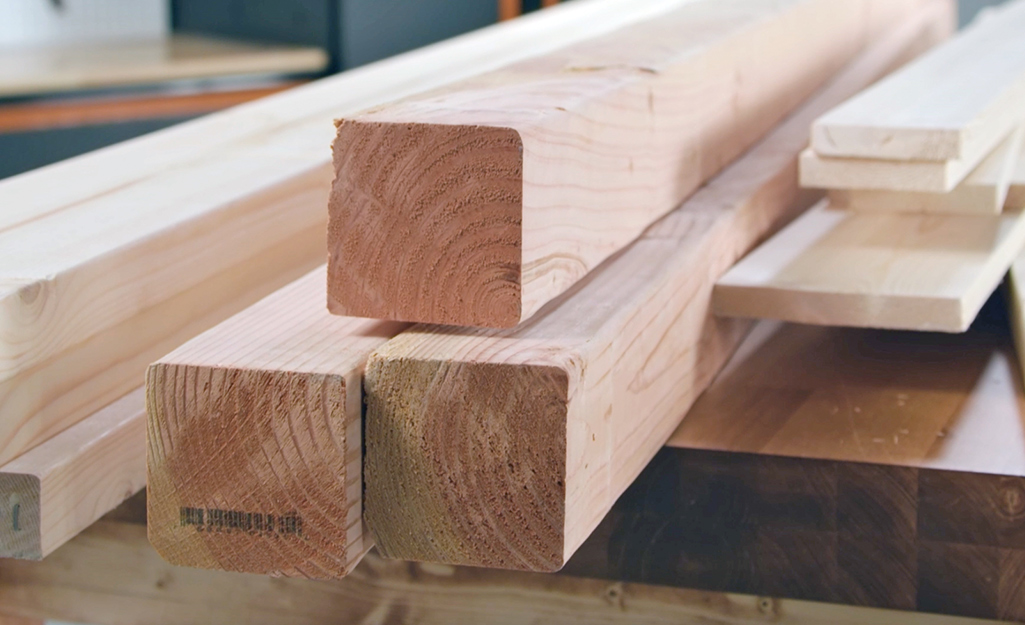
Wood is a natural material that reacts to ambient and internal moisture by expanding and contracting. Sometimes, this causes wood to bend or twist. Knots can cause cracks and are difficult to drive screws into. Often, wood on the outside of a bundle is damaged in shipping or by handling in the store display. This is all fine for framing a house, as the wood isn’t meant for appearance. However, in this project we’re going to look for the best pieces of wood in the framing lumber department to make a bed frame.
When selecting your lumber, look down each edge for signs of bowing or twisting. Also inspect for knots, cracks, or surface damage that might be problematic. Small dings and stains on the fir 4x4s won’t be an issue with this build, as the outer surfaces will be cut away.
The structural screws are an important part of the project. They provide the necessary strength for the bed to have no center support.
Materials:
- Three 4x4x8 Fir posts
- Five 2x6x8 boards
- Six 1x4x10
- Two 1x6x6
- Twelve 4-1/2-inch structural screws or lag bolts
- 1 Pound 1-1/2-inch screws (optional)
- 1 Pound 3-inch screws
- Wood glue
- Wood putty
Tools:
- Table saw
- Thickness planer (optional)
- Miter saw
- Circular saw
- Router with 1/4-inch roundover bit
- Drill with 1/8-inch bit and 5/16-inch bit
- Impact driver with bits for screws
- Chisel
- Hammer
- Rubber mallet
- Clamps
- Rafter square
- Tape measure
Shape the 4x4s
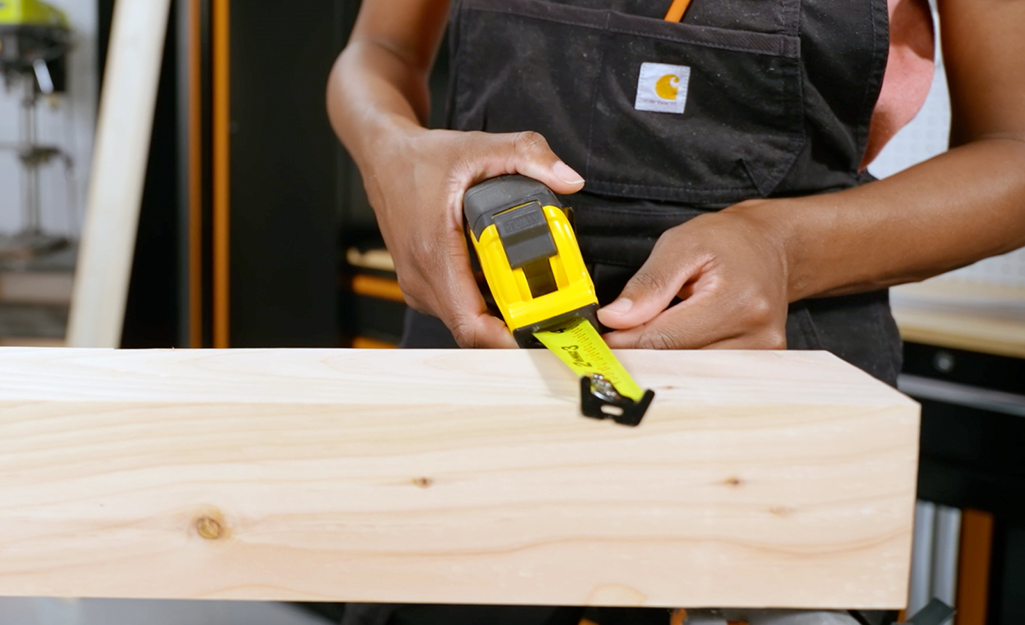
In their current state, the 4x4s may have some rough surfaces and rounded edges. To make the bed look its best, and to make cutting the joints easier, the posts need to be squared. This can be accomplished several ways. An easy method would be run them through a thickness planer several times, rotating the post to ensure that equal amounts are removed all around, stopping at 3-1/4 inches.
Another good way is to cut 1/8-inch from each face on a table saw. The posts should be 3-1/2 inches square but measure to verify. Set the table saw blade to be just high enough to cut through the post and set the fence at 3-3/8 inches. Using push sticks, cut one face off the post, then rotate the post 1/4 turn and cut off the next face. Turn off the saw and set the fence to 3-1/4 inches then cut the remaining two faces in the same manner.
The corners should be sharp. Don’t worry, they’ll be smoothed with the router in a later step.
Cut List
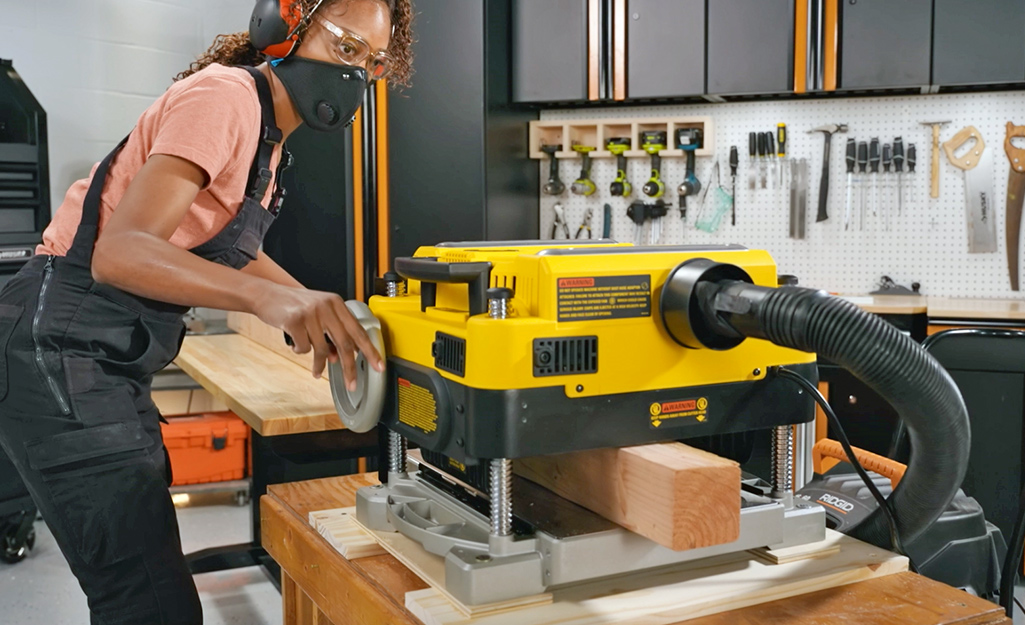
Before cutting the 4x4 side rails, extend the measuring tape to 80 inches and use it to find the best portions of two 4x4s. Knots in the middle can add visual appeal but the last 8 inches of each side rail mostly should be free of knots and cracks. Once the decision has been made, mark 2 lines 80 inches apart. Cut the first line, then remeasure and cut the second line. Save the off-cuts for props, taking a trial run with the router, and testing the paint or stain application.
The third 4x4 will be cut into 4 legs. Each will be 16-1/4 inches long with parallel 15 degree angles on each end. Try to select portions that will allow one end to be free of knots or cracks on one end, to about 4 inches.
- Two 2x6 inner side rails 70 inches long
- Two 2x6 end cross rails 60 inches long
- One 2x6 center support 57 inches long
- Twelve 1x4 slats 60 inches long
- Two 1x6 slats 60 inches long
Cut the Joinery
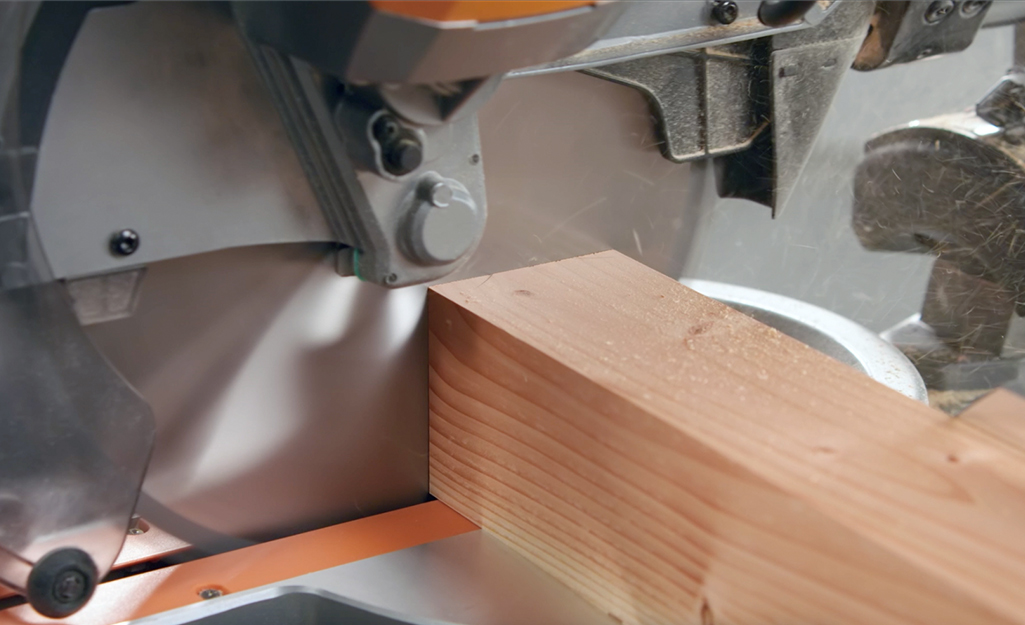
The legs attach to the side rails with a half lap joint. This will provide sufficient strength to hold the bed and allow for not having visible fasteners on the outside of the rails.
First, note that the joints will be cut opposite directions for each end of the rails. Each side rail will have an opposite joint cut at each end. Two legs will tilt one way, the other two will tilt the opposite way. If you get confused, stop and look at the photo of the completed bed.
To get started, lay the first side rail, best-looking side down, and mark 4 1/8 inches from each end. Lay two legs on the siderail (use the offcuts to lift the ends, so the sit flat) and make them flush with the top of the rail. The top outer edges should be on the 4 1/8-inch mark. Once satisfied with how they’re situated, use a sharp pencil to trace the outline of the leg onto the rail. Before moving the legs, trace a line on the face of each leg where it meets the side rail. Somewhere on the are that will not be cut off and also not seen later, write corresponding numbers on the leg and rail. That is, mark “1” on the first leg and “1” on the rail where that leg will join it. Once each joint is cut, they’ll be custom fit to each other.
Follow suit marking the second rail and legs. The rail and leg combos should be mirror images of each other, with the leg on the inside and the side rail appearing to be continuous from the outside.
The leg joints can be cut on the table saw with a miter gauge or with a circular saw, while the joints on the rails will need to be cut with a circular saw.
The blade(s) should be set to half the thickness of the 4x4s, which is 1 5/8 inches.
To cut the joints in the side rails, use a circular saw. Cut on the inside of each pencil line first, to establish the outer edges. Ideally, the cut would barely touch the line, leaving most of it visible on the wood. Make multiple cuts across the waste, about 1/4-inch apart. Be careful to hold the sole plate flat on the surface of the wood to ensure consistent depth of cut.
When finished cutting each joint, use the hammer or mallet and chisel to remove the waste. The big chinks will break out easily. Once they’re out of the way, use the chisel to shave the “fins” all the way down to the smooth wood inside the joint.
If using the table saw and miter gauge to cut the joints on the legs, do not saw against the fence as doing so would cause a high likelihood of kickback. Set the angle of the miter gauge and align the blade with the cut line. Cut the line first and work your way out, making multiple cuts to remove the waste material from the joint. If using the circular saw, cut the line first, then make multiple passes about 1/4 inches apart to weaken the waste material, as with the side rails. Use one of the offcut pieces of 4x4 to support the saw’s sole plate when cutting close to the end of the leg. Use the hammer and chisel as before, bringing the joint down to smooth wood.
Begin test fitting each joint. They should be snug but not overly tight. If a joint is too loose, shims can be added on the inside to tighten them. Use window shims, wood shavings from around the shop, or even a few strips of paper if there isn’t much play.
Side Rail and Leg Assembly
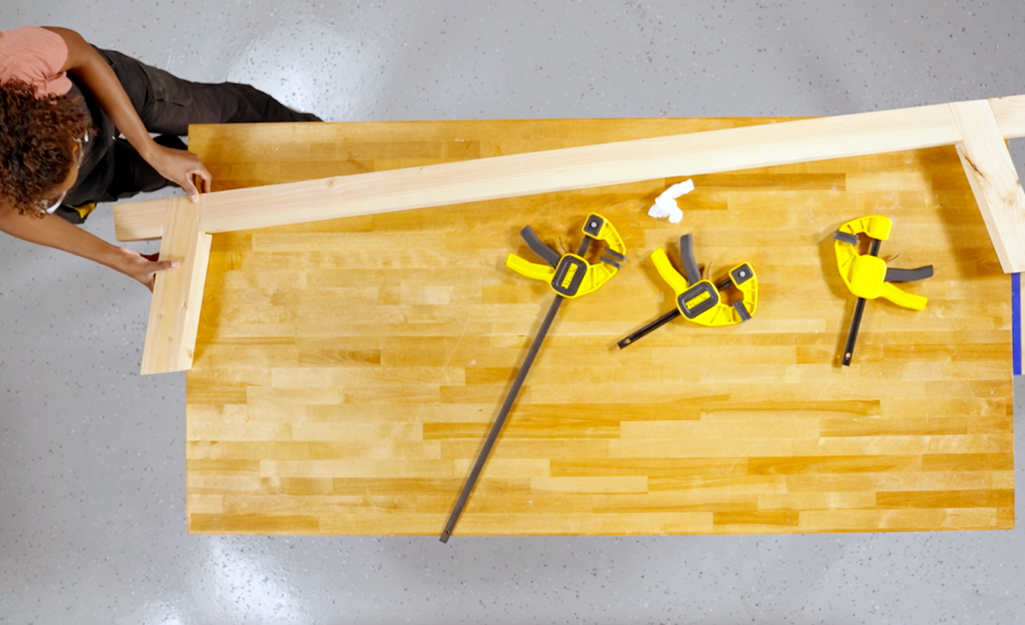
Now it’s time to relive the sharp edges of the 4x4s. Fit the router with the 1/4-inch roundover bit. Adjust the bit so that it only rounds over the edge, without leaving a shadow line. Make a few test cuts on the scrap pieces of 4x4 to be sure the router is set right. Not including the edges that will be in the joints, round over all the edges on the side rails. Be sure to get the ends of the rails and foot ends of the legs.
Now it’s time to glue the assembly together. The joints need to be tightly clamped until the glue dries. If you don’t have enough clamps for all 4 legs, 3-inch screws can be used to hold things together while the glue sets up.
Fit one leg at the time.
Apply glue to the three inner surfaces of the joint on the rail, and to the corresponding surfaces on the leg. Also the faces where the top of the leg joint meets the underside of the rail. The glue should be spread evenly.
Put the leg in place. Use the mallet to make sure the leg is fully set in the joint, then make sure there is no gap where the leg contacts the underside of the side rail. If there is a gap here, it will be visible on the outside of the bed.
Clamp the leg in place. If you have plenty of clamps, move on to the first leg on the other rail. If you don’t have enough clamps, drive three 2 1/2-inch screws through the back of the leg into the side rail, then remove the clamps for use on the next leg.
Repeat the procedure for the remaining legs. Follow the glue instructions for how long to let the glue dry before proceeding.
Drill Pilot Holes
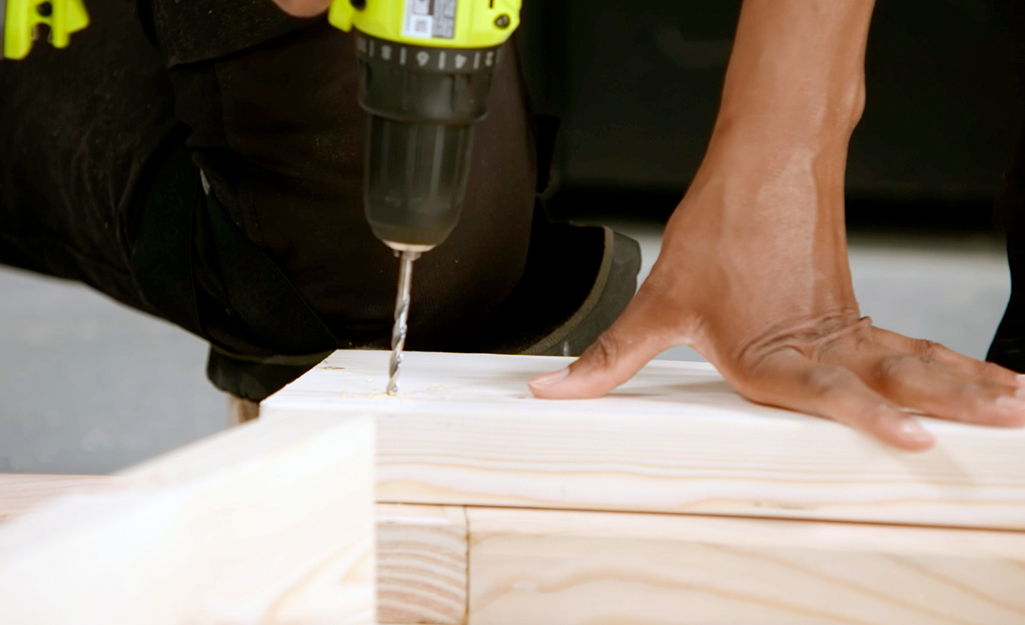
Once the leg glue has set up, remove any clamps and temporary screws.
In this step, be mindful that part of the inner side rail is visible on the outside of the bed. Select the best faces for this purpose.
Lay one siderail and leg assembly on your work surface, with the inside facing up. Clamping will be easier if the 4x4 offcuts are used to hold the assembly off the work surface. Measure and mark 1 1/2 inches down from the top edge on each leg and in several places in between. Lay a 2x6x70 down with the top edge aligned with the marks that were just made. The ends of this board should be equal distances, which should be about 1-5/8 inches from the outer edge of each leg. Clamp the board in place. This will give space for the 2x6 cross pieces to go on each end but be hidden by the legs. Dry fit a piece of 2x6 on each end to ensure everything is lined up properly.
Being very careful to not drill all the way through the show face or to angle the drill in such a way that it will come out of a side edge, drill two 5/16-inch pilot holes through the inner rail into each leg. One of these pilot holes should go into each joint. Then drill two more pilot holes along the inner rail and into the side rail, about 30” from each end. Again, be careful that you have plenty of clearance. These holes will be closer to the top of the rail than the bottom.
Follow the same procedure on the other side rail assembly.
Mark the inner rail and leg/rail assemblies with corresponding marks “A” and “B.”
Inner Frame Construction
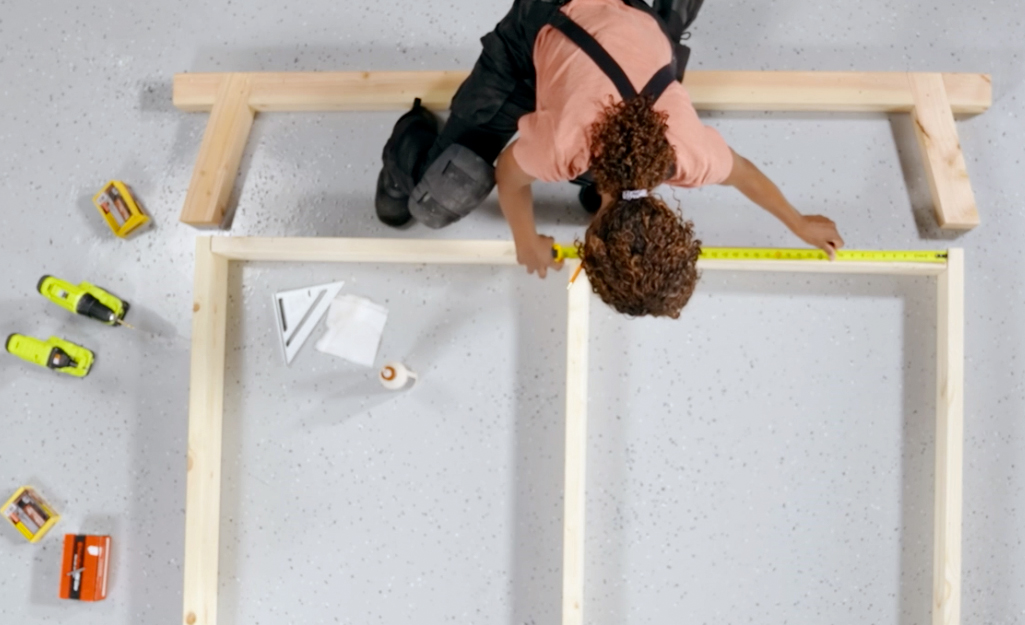
Remove the inner side rails from the leg assemblies. Set the leg assemblies aside for now.
Sit the inner rails on edge, top edge up. Make a mark at 35 inches from the end of each rail. Arrange two 2x6x60 pieces, one on each end of the rails. And place the 2x6x57-inch crossmember, centered on the 35-inch marks. The 60-inch pieces will join to the end of the side rails and the 57-inch piece will butt into them on the ends, forming a 60x73-inch rectangle.
Go around the outer corners first, making sure the top edges of the board are flush and that the boards are square to each other. Dill three pilot holes, then glue and screw each joint. Do the same thing with the center crossmember.
Fill, Sand, Paint, Stain
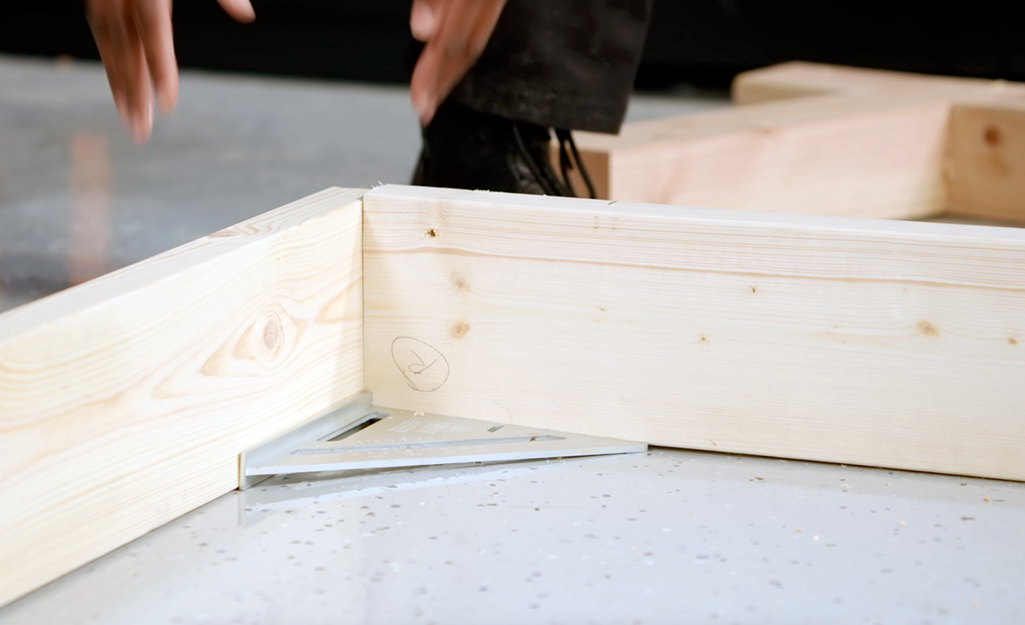
Fill the screw holes on the ends of the outer crossmembers. With wood filler. They may be visible, depending on the bed linens. Sand all visible parts.
If staining, this is soft wood so a wood conditioner should be used. If painting, prime and paint as desired.
Assemble the Bed
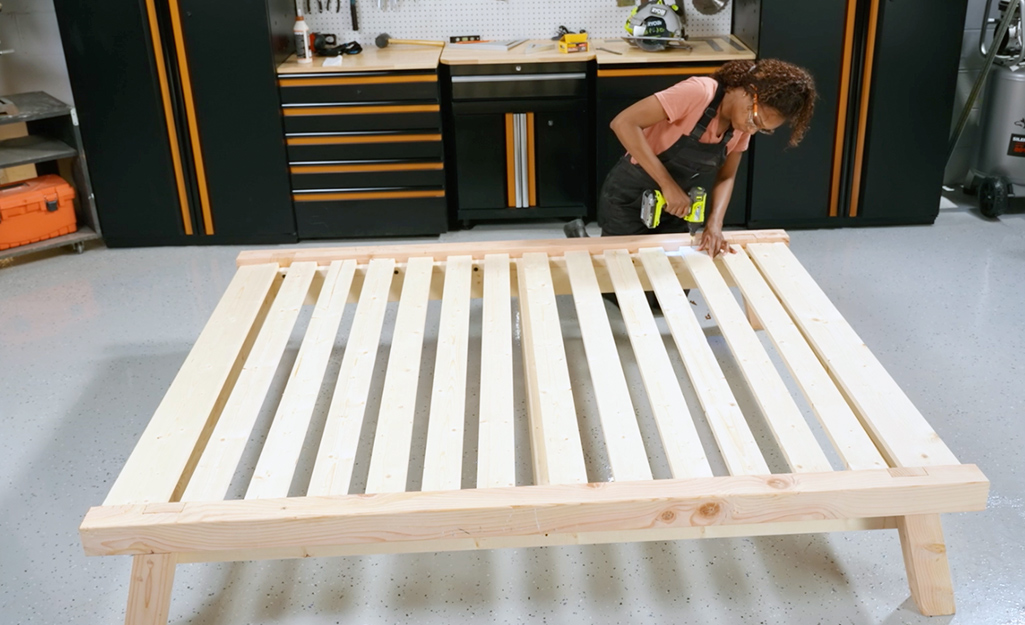
It may be easier at this point to assemble the bed in place than to assemble in your work area and move it to the bedroom.
Sit each siderail and leg assembly up as the will be when the bed is finished. Place the inner frame between them. Lift one end and clamp, then lift and clamp the other end. Adjust placement until the pilot holes are aligned.
Start driving structural screws but don’t tighten completely. Once all twelve screws are in place, move from screw to screw in a haphazard pattern until all are tight. Be careful to not drive the screws so tightly that they come through the show faces.
Place a 1x6x60 across each end of the frame. Part of each board should be on the frame, with about 1 1/2-inch overhanging each end. Attach to the inner frame with six 1 1/2-inch screws.
Lay the Twelve 1x4 slats out evenly distributed across the inner frame. The weight of the mattress will hold them in place but they should be screwed down with one 1 1/2-inch screw at each end if the bed will be moved with the slats in place.
Get a Good Night’s Sleep
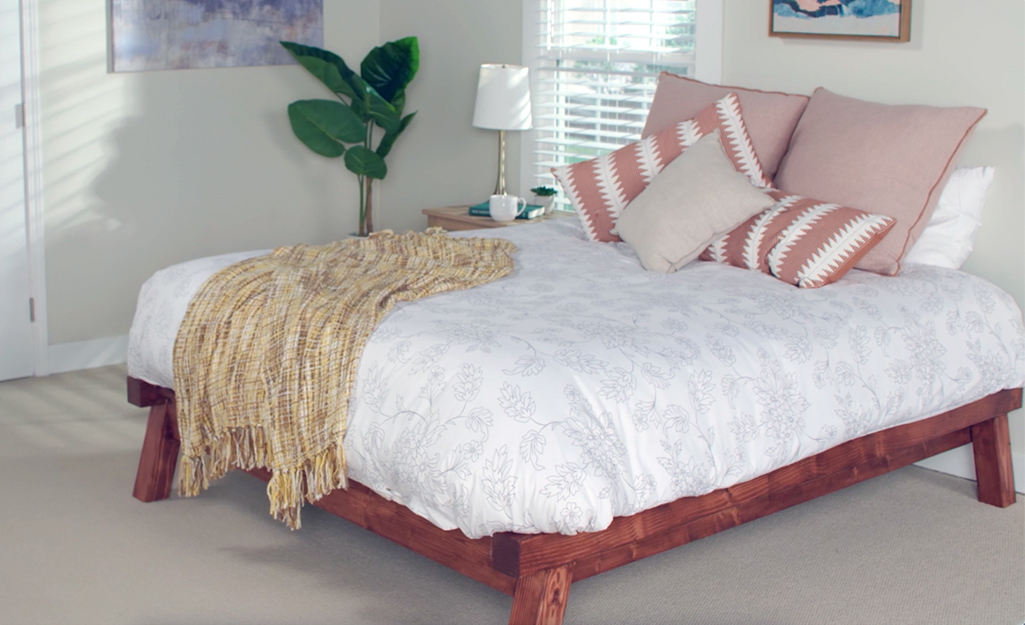
Put the mattress on the bed and get some sleep. You should be tired after all this work.
After you finish learning how to build a wooden bed frame, you may want to create a matching headboard. You might even be inspired to continue woodworking with other projects. Or you may just want to rest for a little while in your homemade bed.
As you review how to build a bed frame, you may realize you don’t have all the tools you need for this project. Tool rental for any project is available at The Home Depot.
