How to Install a Garbage Disposal
Last updated February 13, 2025
A garbage disposal, sometimes called a food waste disposer, makes it easier to get rid of certain types of food waste and keep your kitchen clean. Many types of garbage disposals begin to wear out after more than a decade. This guide reviews how to install a garbage disposal, either for the first time or when you need to replace an old one.
Tip: Check with local codes before attempting to install a garbage disposal. Some communities have plumbing codes that don’t allow disposals because of limits on sewer capacity. They may also require an air gap if the disposal is used with a dishwasher.
Difficulty:
Intermediate
Duration:
Under 2 hours
Table of Contents
Gather Tools and Materials
Considerations Before Changing Out a Garbage Disposal
Prepare for Replacing a Food Waste Disposer
How to Remove a Garbage Disposal
Wire the Disposal
Insert the Drain Flange
Gather Tools and Materials

The process of how to replace a food waste disposer begins with having basic tools and materials on-hand. Besides having the replacement disposal unit, you’ll need a few more items:
- Screwdriver set
- Dish or some type of container (to catch water)
- Wire nuts
- Plumber’s putty
- Tube cutters, hand saw or pipe cutters
- Sturdy object to rest the disposal while working
- Adjustable pliers
Considerations Before Changing Out a Garbage Disposal

While the process isn’t very complex, there are factors to consider before you tackle this as a DIY project.
- Homeowners with a septic system will need be sure their new disposal is suitable for it.
- Disposals vary in how much horsepower (HP) they use. While 1/3 to 1/2 HP is the most common for the average house, you may want one as powerful as 3/4HP to 1 1/4 HP.
- Make sure the disposal will fit under your kitchen cabinet. Units with more horsepower are sometimes too large for some under-cabinet spaces.
- Also consider what type of disposal, batch feed or continuous feed, will be best for your household. Batch feed disposals require a stopper cover the opening before a switch turns it on. Continuous feed options work just by turning on a switch.
Prepare for Replacing a Food Waste Disposer

Once you’ve gotten your tools and materials gathered, the next steps for how to replace a food waste disposer involve a little more preparation.
Most important, turn off the main power supply, at the circuit breaker, to the room where you’ll be installing the disposal. Optionally, you can also turn off the water supply.
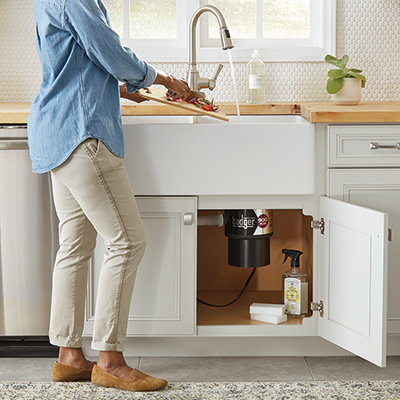
Next, give yourself easy access to the area under the sink. This makes the installation process less complicated, and it protects your belongings from getting water damage.
You also need to understand your current garbage disposal setup. Understanding your current garbage disposal setup. For instance, if you have a dishwasher, the dishwasher’s discharge tube will be attached.
How to Remove a Garbage Disposal

If you’re changing out a garbage disposal, you’ll need to remove it before installing the new one.
- Shut off power at the circuit breaker.
- Disconnect the drain trap from the discharge tube. Disconnect the disposal from the dishwasher connection if necessary.
- Detach the disposal from the mounting ring. Consider placing a sturdy object directly underneath the disposal to help support its weight.
- Remove electrical cover plate and detach the disposal from the electrical connections.
- Remove the sink mounting hardware if necessary.
- Remove the flange from above the sink drain and any old plumber’s putty. If the flange sticks, grip the lower end of the flange with adjustable pliers and rotate the flange one-quarter turn to unseat the plumber's putty.
Tip: Position a bucket under the pipes before detaching them to prevent spills.
Wire the Disposal

- Begin to install a garbage disposal by removing the appliance from the packaging.
- Read the installation instructions in the owner's manual to identify the disposal parts and wiring colors.
- Disconnect the power at the circuit breaker.
- Identify and remove the cover plate on the underside of the disposal.
- Connect the power cord if the disposal doesn’t come with one.
- Most cords and disposals have the same-colored wires. Connect white to white, black to black, and the green wire to the disposal’s ground screw.
Insert the Drain Flange

Many garbage disposals will require a new sink drain flange. A drain flange consists of the metal disk at the drain entrance at the bottom of the sink and a short length of pipe that extends below the sink, where the drain attaches.
- Roll a rope of plumber’s putty of about 3/8 inches in diameter and press it onto the underside of the drain flange.
- From above the sink, insert the flange into the drain hole and press down evenly.
- Attach the backup ring, the fiber or rubber gasket, and the mounting ring to the flange from beneath the sink.
Make sure you snap the backup ring in place.
Tip: Place a heavy object, such as the disposal itself, in the sink to weigh down the flange and keep it from moving during installation.
Install Mounting Ring

- Align the rubber or fiber gasket between the bottom of the flange and the mounting ring.
- Tighten the mounting screws for the upper mounting ring.
- Alternate the tightening of the screws to pull the ring up evenly against the underside of the sink.
The gasket will create a water-tight seal.
Mount the Disposal

- Raise the disposal and attach it to the mounting ring. Consider propping up the disposal with a sturdy object while working.
- Make sure the disposal outlet faces the drain pipe connection.
- Turn the lower ring clockwise until the disposal is supported by the mounting assembly.
- Insert a screwdriver or disposal wrench into the mounting bracket on the lower mounting ring.
- Turn clockwise until the disposal is locked into place.
Connect Outlet to P-Trap

- Measure the discharge tube and, if needed, use a hacksaw or tubing cutters to cut the pipe to length. Not all disposals are the same size.
- Attach the discharge pipe, or P-trap, to the disposal outlet with pipe connectors as instructed.
Tip: If the disposal has a line to the dishwasher, remove the plastic drain plug (also called a knockout) from the disposal inlet before mounting the disposal. When you attach the P-trap, also attach the dishwasher discharge tube to the inlet.
Tighten Fasteners and Test for Leaks

- Tighten all fasteners at plumbing and mount connections.
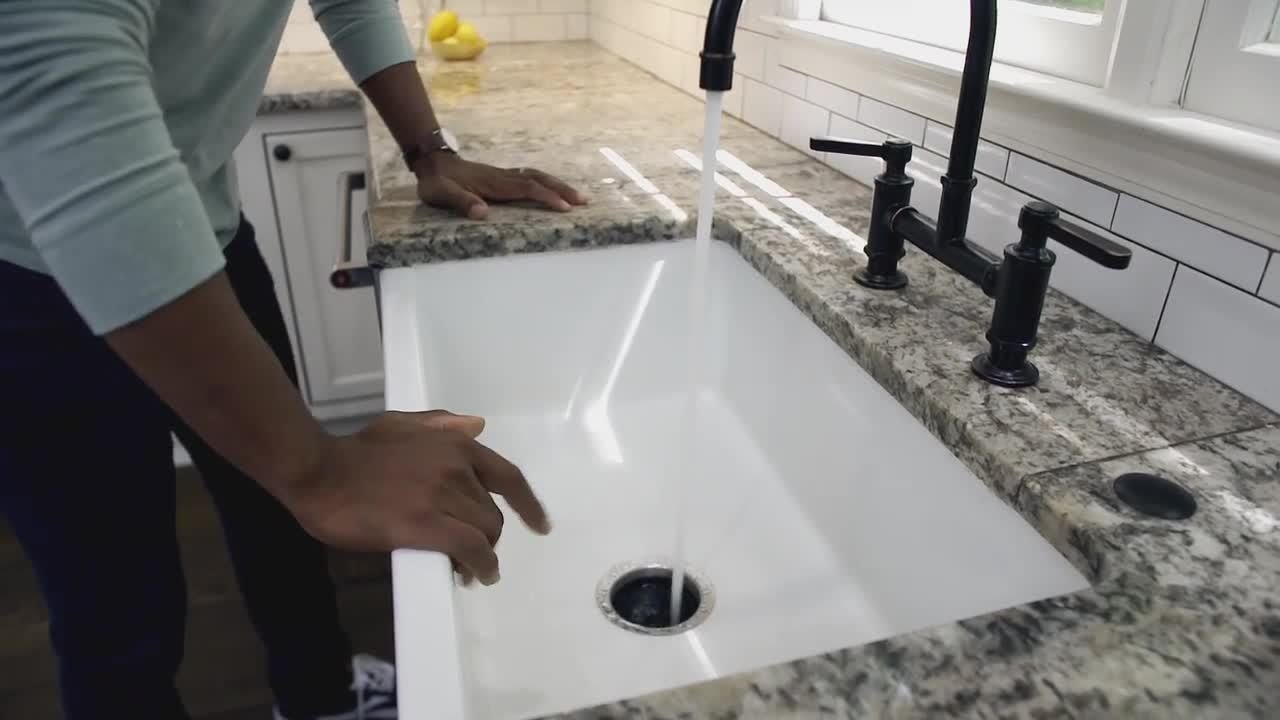
- Run water into the sink.
- Turn on the disposal and check for leaks.
- Tighten the fittings if necessary.
Tip: Plug the sink with a stopper, fill with about an inch of water, and check the flange and drain for leaks.
Maintenance Tips

Changing out a garbage disposal may have been straightforward, but it’s just as important to know how to maintain your new device. Proper disposal usage and maintenance can extend the product’s lifespan.
- Turn on your food waste disposer daily to help keep the blades from rusting.
- Grind ice in it regularly to help keep the blades clean.
- Don’t put in food items that damage the appliance. A few examples of items to avoid include banana skins, bones and celery. Read the manufacturer’s instructions for more information.
- Cut large food items into smaller pieces.
- Don’t put in too much food too quickly.
- Use cold water while grinding up food, and let it run for a little while after the food has cleared.
- Following manufacturer’s instructions, clean your disposal unit on a regular basis, depending on how often you use it.
Garbage disposal installation is a straightforward process, especially if you follow all steps and all garbage disposal parts are in working order. As long as you use the garbage disposal for getting rid of the recommended types of waste, it will help your kitchen look its best.
When shopping for new appliances, remember that homes built before the year 2000 use 3-prong plugs, and those built after 2000 use 4-prong plugs.
When you add professional installation to your new appliance purchase from us, the delivery agent carries both types of cords to make sure your home is covered. If you purchase a new appliance from us without opting for professional installation, we’ll provide a 4-prong cord. If your home is equipped with a 3-prong outlet, you will need to purchase a 3-prong cord or connector adapter separately.
Ready to find the supplies you need in your local store? Use The Home Depot app to locate products and check inventory. We'll take you to the exact aisle and bay. If you need extra help installing your garbage disposal, Home Services can help.