How to Install Under Cabinet Lighting
Last updated September 7, 2023
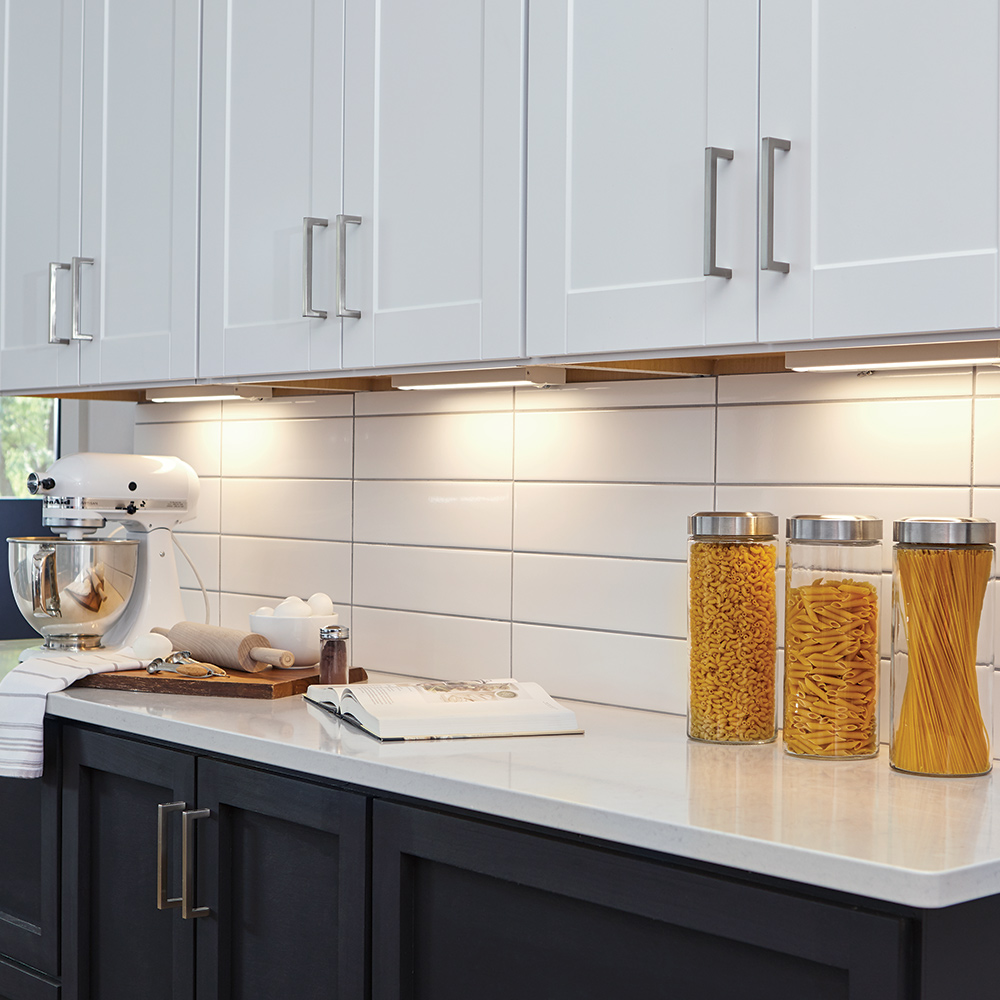
Installing under cabinet lighting beneath upper cabinets provides more direct task lighting on the counter surfaces below it. This can be important if the work you usually do there involves using a knife or other sharp kitchen utensils.
This guide walks through the DIY steps on how to install under-cabinet lighting yourself, quickly and easily.
Difficulty:
Advanced
Duration:
Over 1 day
Table of Contents
Get the Right Fixture
Turn Off Power and Follow Safety Precautions
Prepare the Wall and Cabinet
Cut a Hole for the Switchbox
Attach the Lights
Wire the Lights
Get the Right Fixture
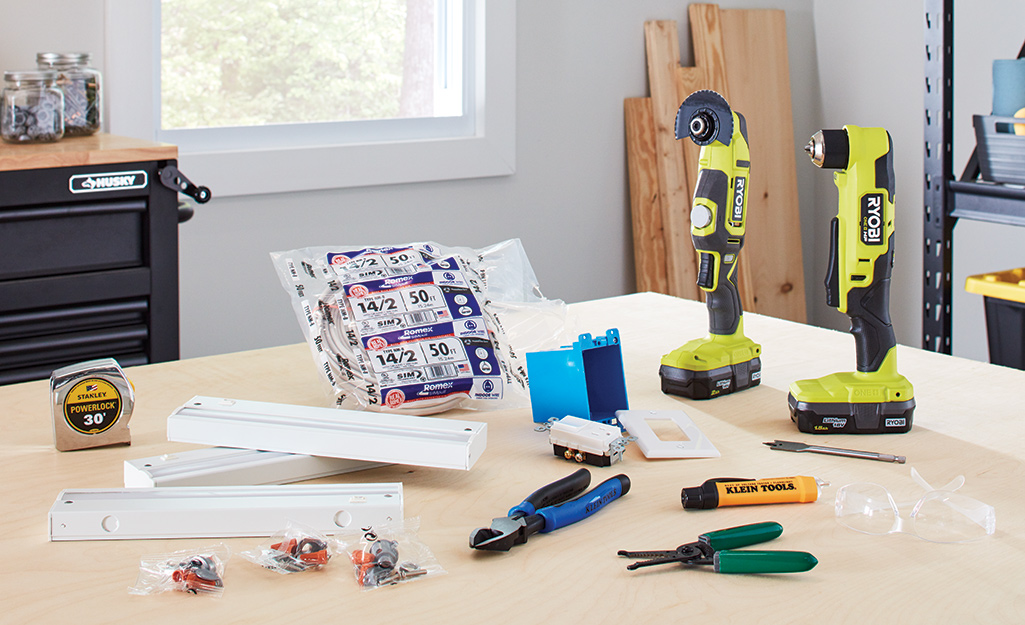
To choose the right under cabinet light fixture for your space, consider:
- Dimensions: Measure the overall width of your cabinets and the distance from the countertop to the bottom of the cabinet. In addition, determine the depth of the recessed area under the cabinets. Generally, under cabinet lights should be at least 2 inches shorter than the width of your cabinets and slightly less deep than the recessed area of the cabinet underside.
- Dampness rating: For bathrooms, damp-rated lighting resists high humidity. In the kitchen, use dry-rated fixtures, except in areas where the lights may come in contact with water, such as directly over the sink.
- Finish: Under cabinet lighting comes in an array of colors. White, bronze, black, nickel and silver are the most popular options.
- Lighting type: Many fixtures feature LED. They reduce energy use and burn for thousands of hours without requiring a bulb replacement. Depending on the design, LEDs produce warm white or soft white illumination. Fluorescent lights are another option that outlasts incandescent lights and offers greater energy efficiency.
- Adjustability: Some under cabinet LED lighting is dimmable. This lets you adjust the level of illumination using a dimmer switch.
Turn Off Power and Follow Safety Precautions
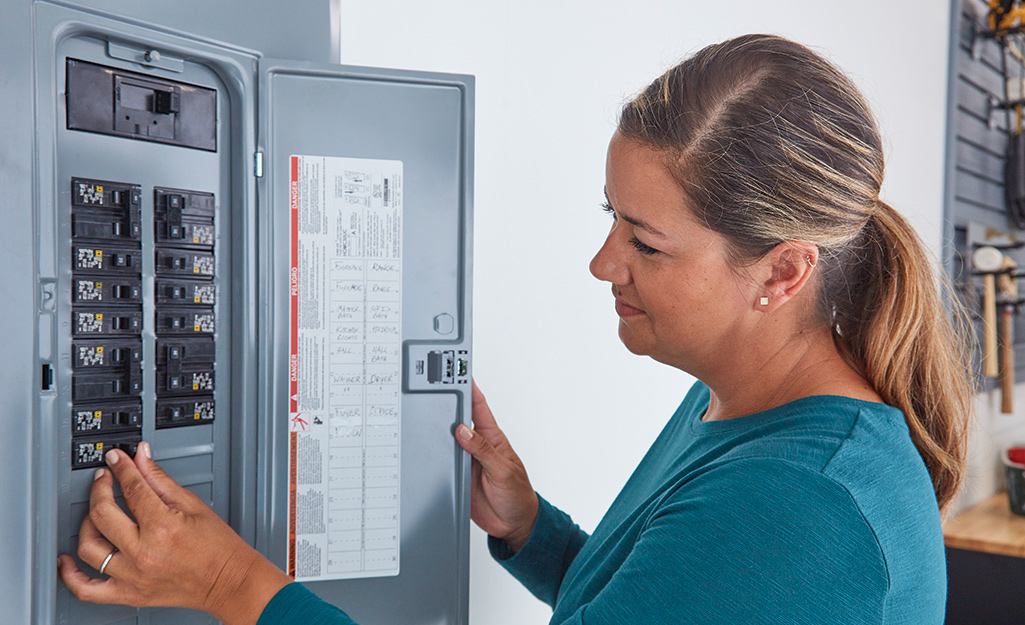
Before you start this project, turn off all power to the cabinet location at your home's fuse or breaker box. Use a voltage tester to confirm that power is off to all of the wires in the electrical box you’ll be using. While using power tools, wear safety goggles to protect your eyes.
Prepare the Wall and Cabinet
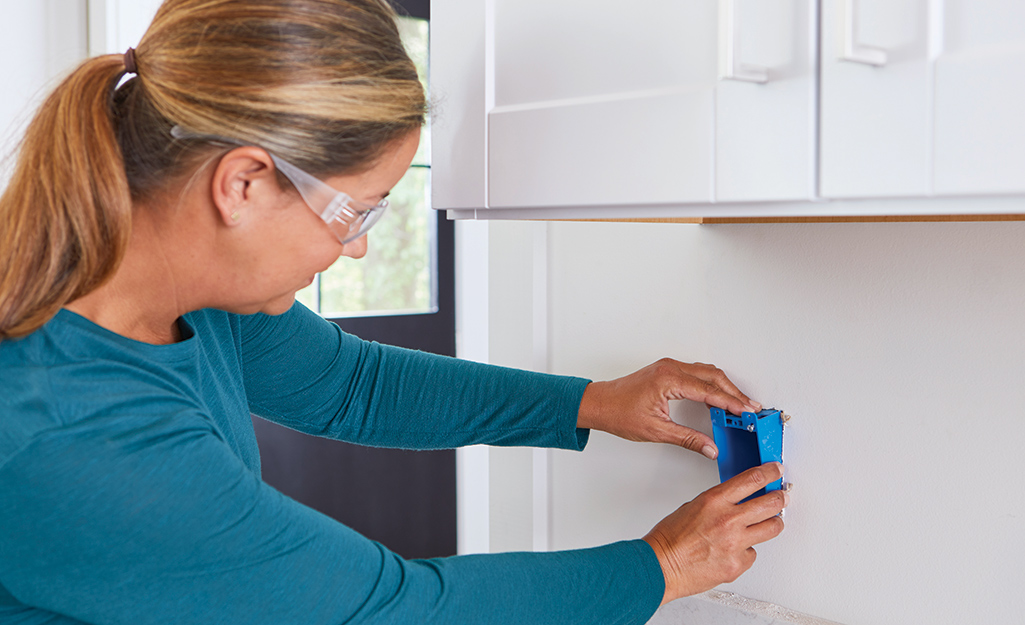
Plan the wiring so as many holes as possible will be covered when you finish. If the countertop backsplash is removable, take it off and cut a channel in the drywall or plaster that will be completely covered by the backsplash.
Use a power drill to drill holes in the studs to accommodate cable. Or, install tile between the countertop and the wall cabinets to cover holes and cuts.
Examine each light to determine exactly where the cable will enter and exit. Cut narrow holes in the wall where the cable will enter the lights. Work carefully so the hole will be covered when the light is installed.
Tip: If you can't remove a backsplash, allow time for patching and painting the wall after you finish installation.
Cut a Hole for the Switchbox
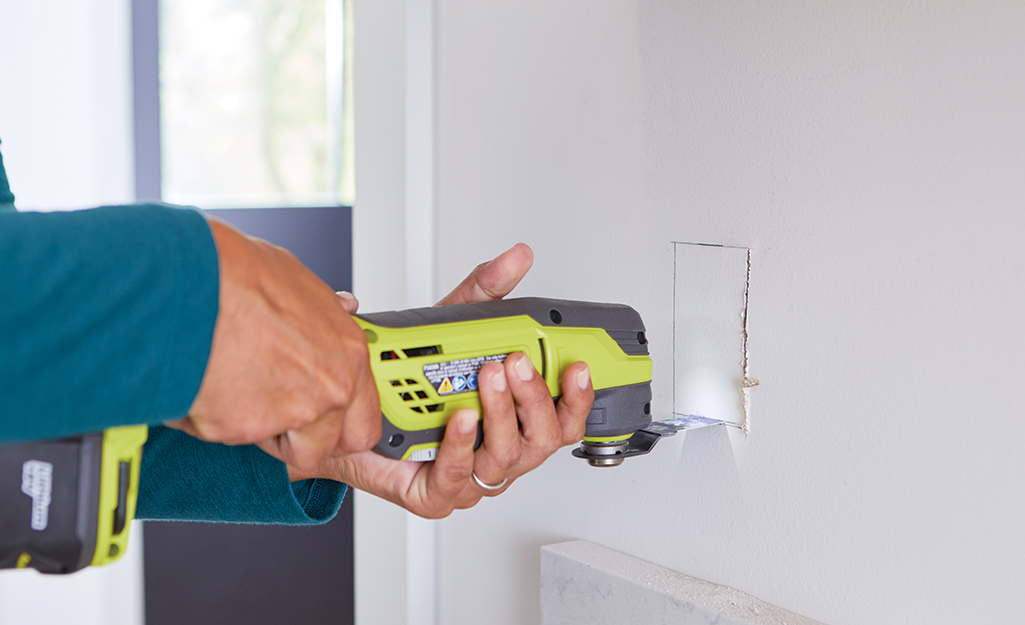
Cut a hole for the switch box
and run cable into it from a power source. This could be from a nearby receptacle. Do not connect the cable to the power yet.
Run cable from the switch box to the hole for the first light, then from the first to the second light, and so on. Let about 16 inches of cable hang from the holes so you have plenty of slack to make connections.
Tip: If installing fluorescent lights rather than LEDs, or installing another type of lighting, check local codes before you get to work. Most allow fluorescent lights to be used as junction boxes, so you can string the wire from light to light.
Attach the Lights
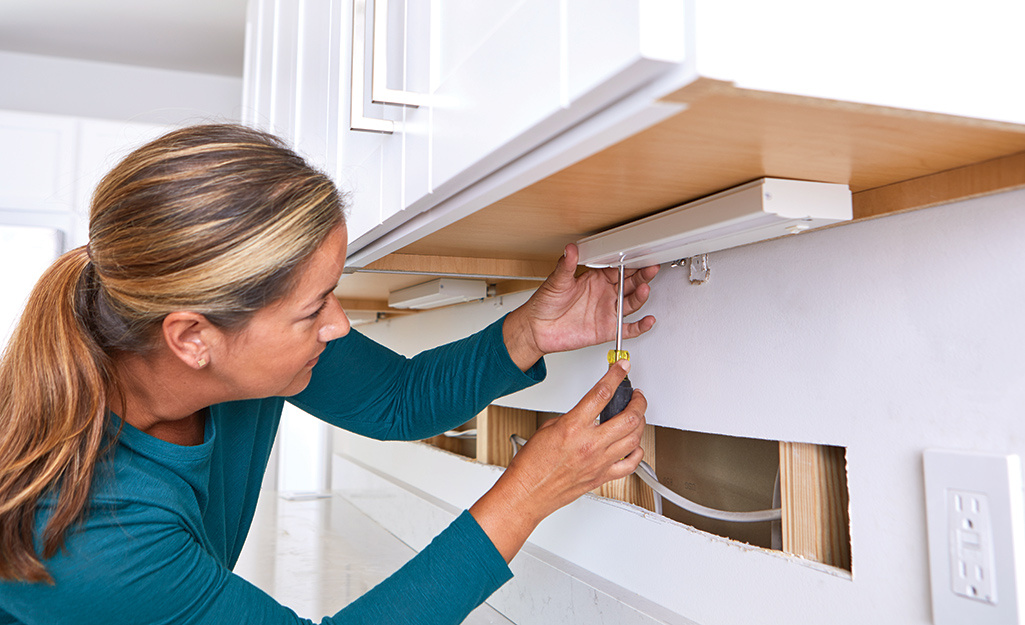
Disassemble the lights and remove the lens and fluorescent tubes. With a clamp conduit fitting, secure each cable to the light as you would clamp cable to a box. Have a helper hold the light as close to the rear wall as possible when you drive screws through the light and into the underside of the cabinet. Ensure the screws won't poke through to the inside of the cabinet.
As an alternative, you might be able to secure the lights in place by using adhesive or hook-and-loop strips. You can attach the strips to the light and then press the light firmly to the bottom of the cabinet.
Wire the Lights
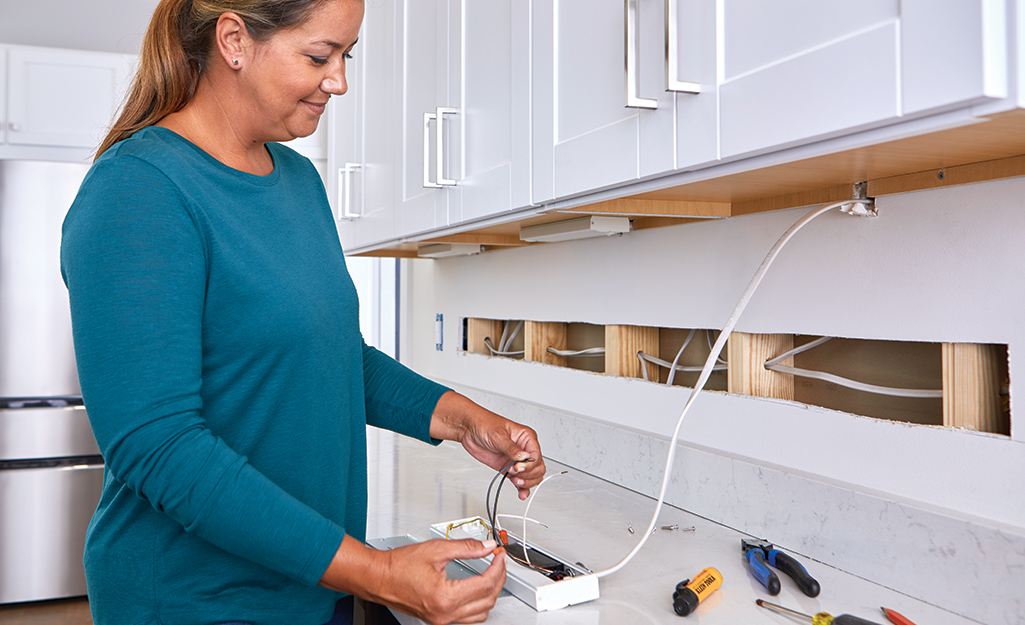
Plan so the wires will not come within an inch of the ballast.
- Splice wires with the leads inside the light, black to black and white to white.
- Position the wires flat in the base so they will not get in the way when you add the fixture body.
- Gently push the bottom portion of the light into position. If it does not go in easily, take it down and realign the wires for an easier fit.
- Attach the fixture base.
Wire the Switch
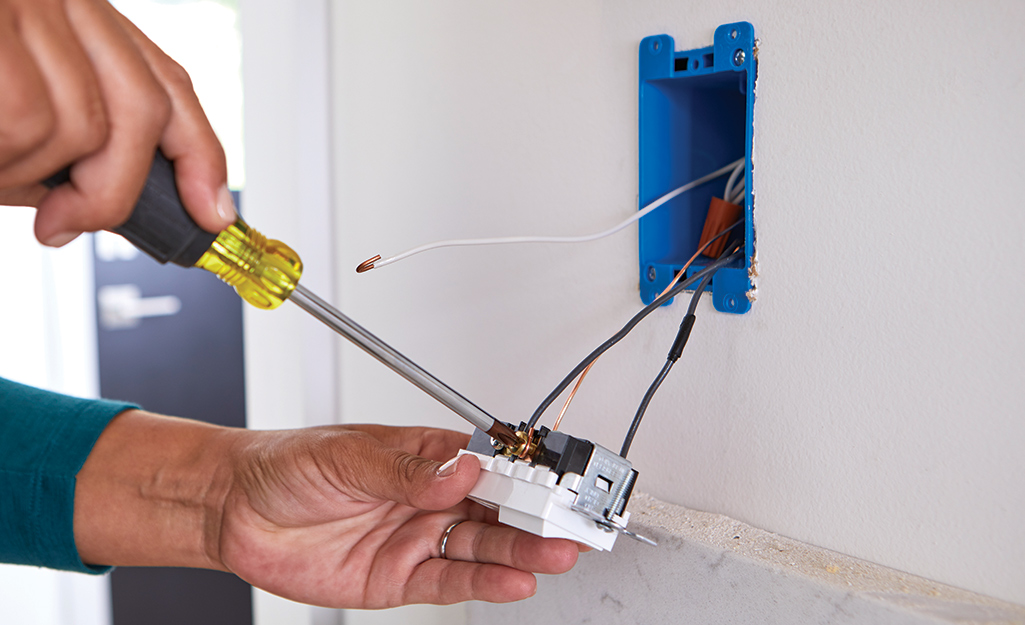
Install a switch box with the cables clamped to it.
- Splice the white wires together.
- Attach each of the black wires to a single-pole switch (don't use a dimmer with fluorescents).
- Connect the ground wire to the switch and to the box if it's metal.
- Wrap the body of the switch with electrical tape so the terminals are covered.
- Shut off power to the receptacle or junction box that will supply the power.
- Splice white to white and black to a black or color wire.
- Restore power.
Tip: Have a professional electrician inspect your work before you begin using your new lights.
Run Cable Inside the Cabinet
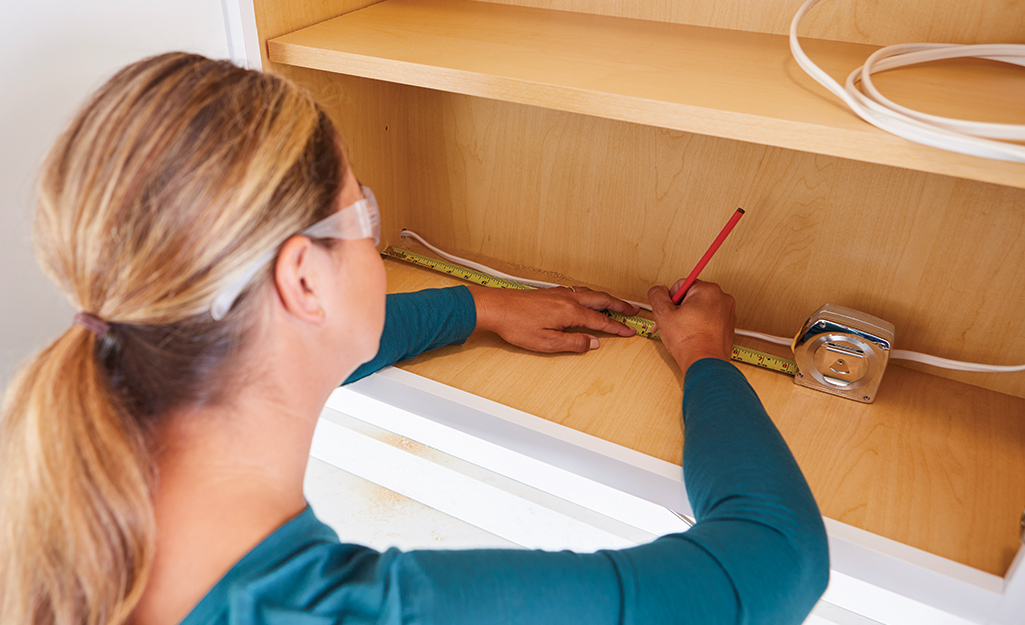
To speed up installation, cut holes in the cabinets. Lay BX or MC cable on the inside. Use a tape measure to plan exactly where the cable will enter each light below the cabinet. Because you can't slip excess cable into the wall cabinet, you will have to cut the cable precisely.
Run Cable Under the Cabinet
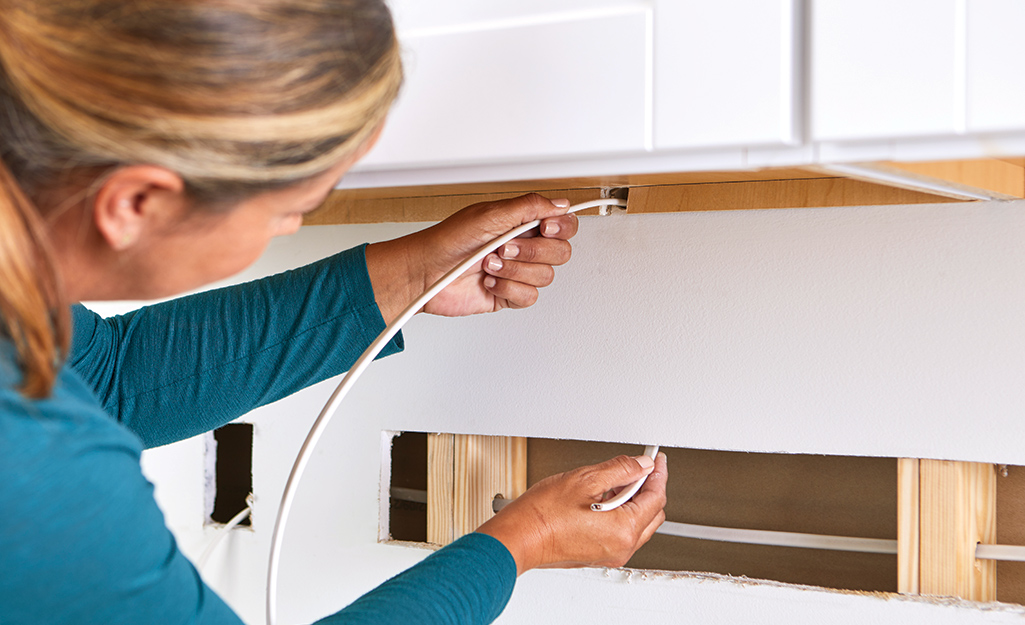
Another way to simplify installation is to secure the cable under the cabinet if permitted in your area. Check your local codes before proceeding. To mount cable under the cabinet, attach the lights and string cable under the cabinet. Staple the cable in place using cable staples. Measure and cut carefully so the cable is flat along the length.
Self-Adhesive Lighting
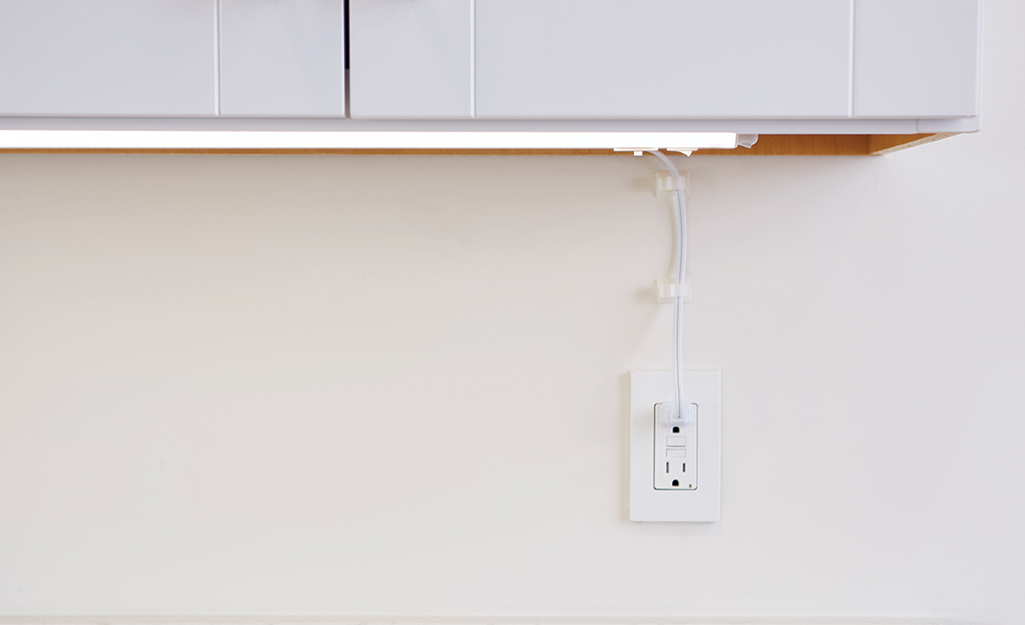
Not all under-cabinet lighting requires hard-wiring. Some fixtures stick to the underside of the cabinet via strong adhesive. Often, these lighting fixtures require batteries and feature LED lighting. To install one of these fixtures, find and mark the center point of your cabinet. Determine the center point of the light, and peel off the backing. Position the light so that the center points align, then press into place. The manufacturer may provide mounting screws for extra security.
Follow this step-by-step process to safely install lighting under your cabinets to provide task or accent illumination in a kitchen, bathroom or other space. Getting the job done right requires the right tools and materials, and The Home Depot makes it simple to stock up on everything you need to master the installation of under cabinet lighting. Use The Home Depot Mobile App to locate products and check inventory. We’ll take you to the exact aisle and bay.


