How to Lay Tile
Last updated June 12, 2024
Tile is an attractive and low-maintenance flooring option. It can also be a creative way to finish a kitchen, bath or other floor. From prepping the subfloor to applying grout, a tile job takes several steps to complete. Use this guide to find out how to lay tile from start to finish, and which tools you’ll need. Plus, learn how to plan and set a striking pattern centerpiece in floor tile.
Difficulty:
Intermediate
Duration:
2-4 hours
Table of Contents
Plan for Safety and Comfort
Determine Square Footage to Estimate the Amount of Tile
Measure & Mark Layout Grid
Plan Tile Layout
Divide Floor Into Sections
Mix Thinset Mortar
Plan for Safety and Comfort

- Wear safety glasses and rubber gloves when mixing and applying thinset mortar and grout and when cutting tile.
- Knee pads will keep you from hurting your knees while positioning tile.
- Read the instructions carefully before beginning your project.
Determine Square Footage to Estimate the Amount of Tile

Before tiling a room, determine the amount of tile flooring by estimating the number of tiles you'll need. Use the formula provided, or you can check out our calculator for ceramic tile.
- Multiply the length of the room times the width to determine the room's square footage. For example, a 12- by 15-foot room has a square footage of 180 feet.
- Compare the tile size to the room size for an estimate of the amount of tile needed. For example, if your tile is 1- by 1-foot and your room is 180 square feet, you'll need about 180 tiles.
- If your room is L-shaped, divide the room into two rectangles. Determine the square footage of each rectangle and then add the sums together.
Tip: Typically, it is advised to add 10 percent to the amount of materials estimated to cover the room in case of breakage or other mishaps.
Measure & Mark Layout Grid

The first step in laying out tile is to mark a guideline, or layout line, in the room to make sure your tile pattern is evenly centered.
- Measure the four walls in the room with a tape measure to find the midpoint.
- Snap a chalk line between the marks from two opposite walls.
- From the center point, use a carpenter square to establish a second perpendicular chalk line.
- Snap a second chalk line perpendicular to the first. The two chalk lines should intersect at the room's center point.
- Next, confirm your room is square. You can do this by measuring from one wall to one of the center lines. Do this in a couple of areas. If the measurement(s) are the same, the room is square and your tile layout should be uniform.
Note: If the lines are not exact, then adjustments may be needed during layout.
Plan Tile Layout

Laying out tile before you set them in place saves time and money. You’ll know whether you have enough material to complete the job, which reduces the number of cuts needed to create the pattern you want.
Begin laying tile in the center of the room and work your way out. Lay a single row of tiles in both directions without mortar. Start at the center point and work outward. This dry layout will make sure your finished project will be centered.
- Insert tile spacers between the tiles. Tile spacers come in a variety of widths. The wider the spacer, the wider the grout line between the tiles. Spacers of 1/8-inch are standard for most projects.
- When you get to the end of the row(s), check to see how big your final tile will be. Depending on the size, you may want to adjust your center/starting line to achieve the aesthetics you desire.
- Re-snap lines if needed.
- Remove dry tiles from the floor and prepare to apply the mortar.
Tip: Before laying tile, pull tile from different boxes and mix them so that any color variations are evenly distributed throughout the floor. Be sure all tiles are clean and free of dust.
Divide Floor Into Sections

For larger areas or L-Shaped Rooms, you can continue with this step by dividing the floor into smaller sections.
- Lay out the tile by dividing the floor into sections of a manageable size, such as 2- by 3-foot squares.
- Use the row of tiles from the above step as a guide and lay out additional tiles in an L-shape. Use the chalk lines as a guide and separate the tiles with spacers.
- Measure both branches of the L-shape to determine the size of the sections you will lay out on the floor.
- Add the width of one spacer to each measurement. Mark the area with the marking pencil.
- If the room has obstructions such as floor vents, door jambs and other fixtures, cut tile to fit using a tile cutter.
- Complete the chalk grid over the entire floor.
Tip: Some types of tile have directional arrows on the back. Make sure all tiles point in the same direction when laid out.
Mix Thinset Mortar

Thinset mortar is the cement or bonding agent that attaches tile to the floor. Using a thinset mortar mixer, mix with the appropriate amount of water in a large bucket. Let stand for five to ten minutes after mixing to set. This “slake time” allows chemicals in the thinset mortar to fully activate.
Some thinset mortars are “non-modified” and require a latex polymer additive to improve performance and increase bond strength. Most thinset mortars come already modified.
Porcelain tiles must always be applied using a modified thinset mortar to achieve the appropriate bond.
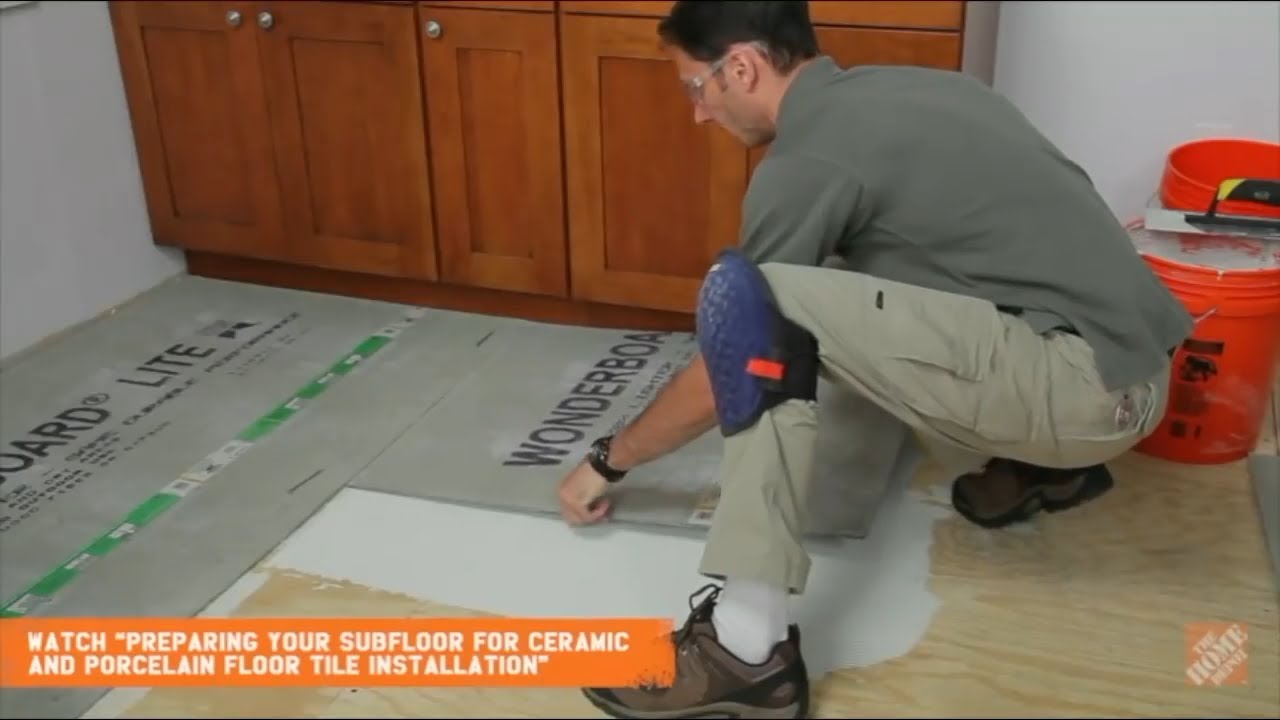
When installing tile to a wood subfloor, mist or lightly sponge the subfloor with water before spreading the thinset mortar. Otherwise, the subfloor will soak up water from the thinset mortar and impact how well your tiles adhere to the floor. Mist the floor as you work. Also take care to mix small batches of thinset mortar so that it doesn’t harden before you’ve had a chance to use it all.
Do not add water after the thinset mortar begins to harden. This will weaken the bond.
Apply Thinset Mortar

Start laying tile from your center line. Begin by only applying enough thinset to lay a few tiles at first. This will help you gauge how much you can lay before the thinset begins to set or develop a skin on it. Using the flat side of a square-notched trowel, work the thinset into the backerboard by pushing it into the face of the backerboard as you go. Apply enough mortar to fill the grooves of your notched trowel.
Make Uniform Ridges

Hold the trowel at an angle and push the teeth of the trowel to the floor to make uniform ridges. The size of the trowel notches should be the same as the thickness of the tiles you are setting. Typically, the larger the tile, the larger the notch created by the teeth of the trowel.
Test Thinset Mortar & Lay Tile

- Lay the tile flat and slightly twist back and forth to embed it into the thinset mortar.
- Pull the tile up and check the back of the tile to make sure it’s completely covered by thinset mortar.
- Set the tile once again.
- Remove excess thinset mortar with a damp sponge or cloth as you go. If you place a tile crooked, pick it up and realign. Do not step on any tiles until the mortar has hardened.
- Place two spacers along the side of the tile so that they stick up.
- Place the second tile on the side with the spacers and aligned with the guidelines.
- Continue laying tiles two or three at a time. Make sure you don’t tile yourself into a corner.
Level and Clean Tiles

- After laying three or four tiles, place a 2 x 4 or beater block on top of the tiles and tap lightly with a rubber mallet to level the tiles and bed them firmly in the mortar.
- Continue spreading thinset mortar and setting tiles.
- Cut tiles to fit against the wall if necessary. (Refer to Step 12 & Step 13 below.)
- Clean thinset mortar from the top of the tiles as you go.
- Step away every so often to make sure the tiles are still aligned visually.
- Continue until all full tiles are laid.
- Let thinset mortar cure for 24 hours.
- Once thinset mortar has hardened, remove all spacers.
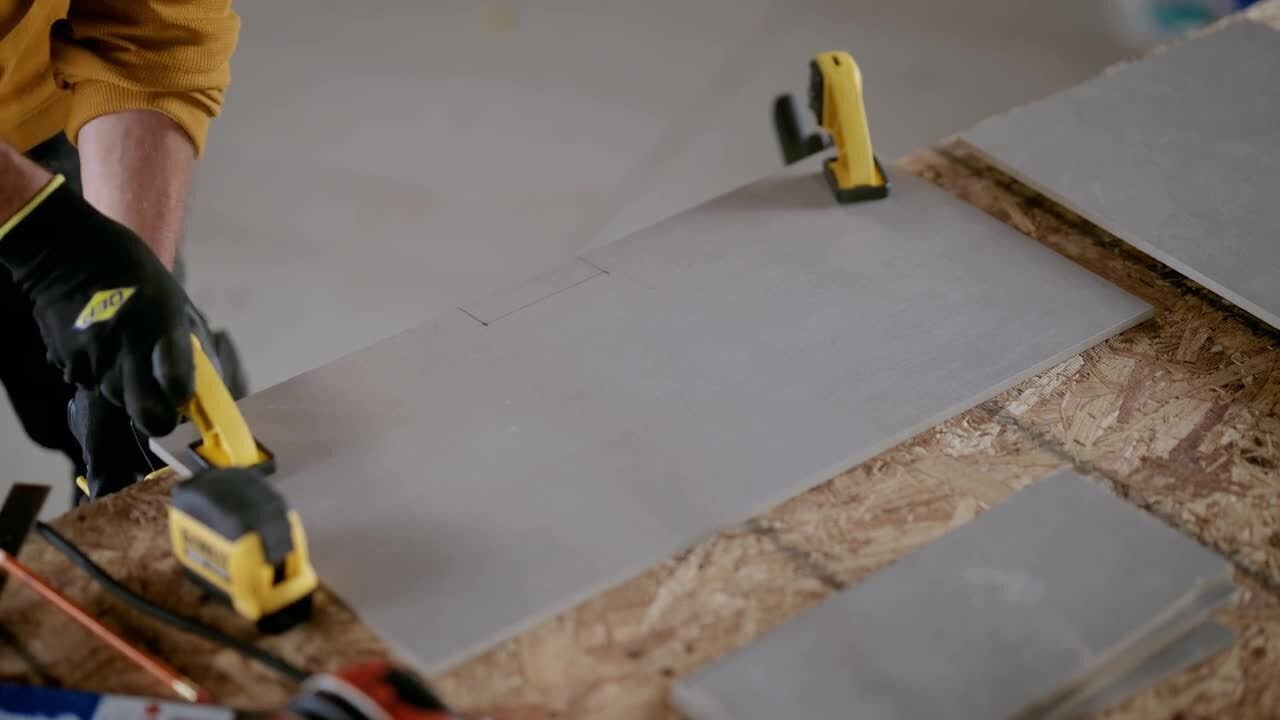
How to Measure & Cut Tiles

Cutting tiles requires a few specialty tools. A manual snap cutter is a good choice for cutting tile for small projects.
For larger jobs, use an electric wet saw. Always use a wet saw with natural stone to prevent breaking or chipping. Use a tile nipper to cut a curve.
- To cut tile, place a full tile over the last full tile in a row.
- Place two tiles vertically against the wall. This creates room for expansion.
- Place a fourth tile over the stacked tiles and slide so that the end butts up to the two vertical tiles.
- Using an erasable marker, draw a line at the end of the top tile on the tile underneath it.
- Remove all tiles and then cut the tile.
- To avoid confusion, lay out and mark tiles to be cut in small batches.
How to Score Tile

If using the manual cutter, place the marked tile onto the cutter and align the cutting line with the scoring tool. Pull or push the cutter along the top of the tile with a single, firm stroke. Snap the tile in two.
For the wet saw, adjust the guide so that the cut mark aligns with the blade. Using both hands, move the tile into the blade using the fence as a guide. Cut slowly to avoid chipping the tile.
Cut and set tiles until the entire floor is covered.
Mix and Apply Grout

The final step in laying tile is mixing and applying grout. Grout fills the spaces between tiles.
There are several types of grout to choose from. Use the tile manufacturer's recommendation. Refer to the tile's coverage charts to determine how much grout you will need for your project. Protect baseboards with painter’s tape.
- Using a mortar mixer, mix grout in a large bucket as directed by the manufacturer. Once grout is mixed, allow it to set for 10 minutes. Mix small batches at one time to keep it from drying.
- Use a rubber grout float to spread grout in sweeping arcs across the tiles. Apply grout at an angle and work in small sections.
- Press grout into the joints to fill completely. Work diagonally across the joints.
- After grout is spread, remove excess grout with the float.
- Working in small sections, use a sponge to lightly wipe away grout residue. Repeat as needed until clean.
- To aid curing, mist the grout with water twice a day for three days. Also avoid walking on tiles for 12 hours.
- Seal grout to keep mildew and mold from growing into the grout.
Tip: Add stain blocker additive to your grout mixture to provide stain resistance to the curing process.
Create a Pattern (Optional)

Using the basic steps above, you can bring personality to your floor with a centerpiece pattern. Here's how to use angled tiles to create a dramatic diamond pattern:
- Complete steps 1–2 above.
- Draw a picture of the pattern pictured above on graph paper to scale. Account for all the tiles.
Use this drawing to guide you as you install the pattern. - Draw chalk layout lines on the floor for the diamond pattern. This will represent both the interior and exterior areas of the border and the tiles within the field. (Refer to Steps 2-5 above for how to chalk line the tiles outside the pattern.)
- Using the pattern chalk lines as a guide, dry lay all the tiles. (Refer to Step 6 above.) Make sure the layout will not produce tapered rows.
- Cut a guide board from a piece of plywood 1/2-inch thick to the dimensions of the interior of the border.
Refer to Steps 7-14 above as needed for the steps below:
- Mix the thinset mortar.
- Set the plywood guide on its layout lines. Arrange the border pieces in order on top of the guide board.
- Spread and comb thinset on the area just inside the border and across to the nearest wall.
- Place the border pieces in the thin set.
- Dry lay the centerpiece on its layout lines and dry lay the surrounding tiles.
- Wherever you need to make inset cuts, first cut cardboard templates for a test fit. If they work, use them as a guide to cut the tile itself.
- Cut the insets for the diamond inset. For every diamond inset, hold the pattern tile centered on the corners of the cut tile. Trace a cut line around the edges.
- Cut all of the tiles at the same time.
- Once all tiles are installed, mix and apply grout.
Installing a tile floor can transform a room. Beautiful and easy to maintain, tile can be simple or laid in a pattern. It takes an investment of time and the right tools to install tile. When you’re ready to start, The Home Depot delivers online orders when and where you need them. Or, if you have a project that’s too large for you to handle on your own, check out our professional tile installation services.