Difficulty
Beginner
Duration
Under 2 hours
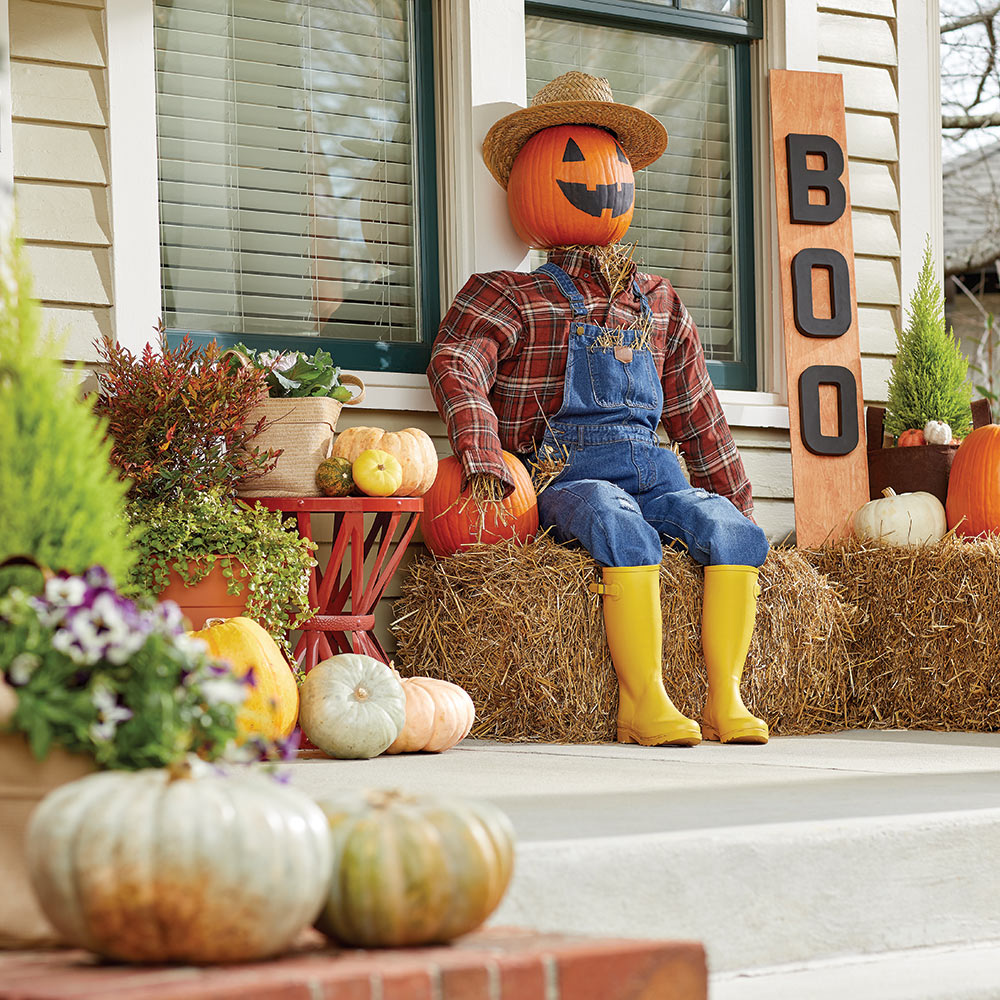
Traditionally, scarecrows were made to keep birds from eating up corn, vegetables and other crops. Now they are also a great way to add a festive fall touch to your front porch or yard. Once you know how to make a scarecrow, the sky’s the limit. Surround a farmer scarecrow with pumpkins and pots of mum. Or create a family of jack-o-lantern scarecrows to welcome Halloween guests. Read on for step-by-step instructions on creating your own DIY scarecrow.
Gather Tools & Materials
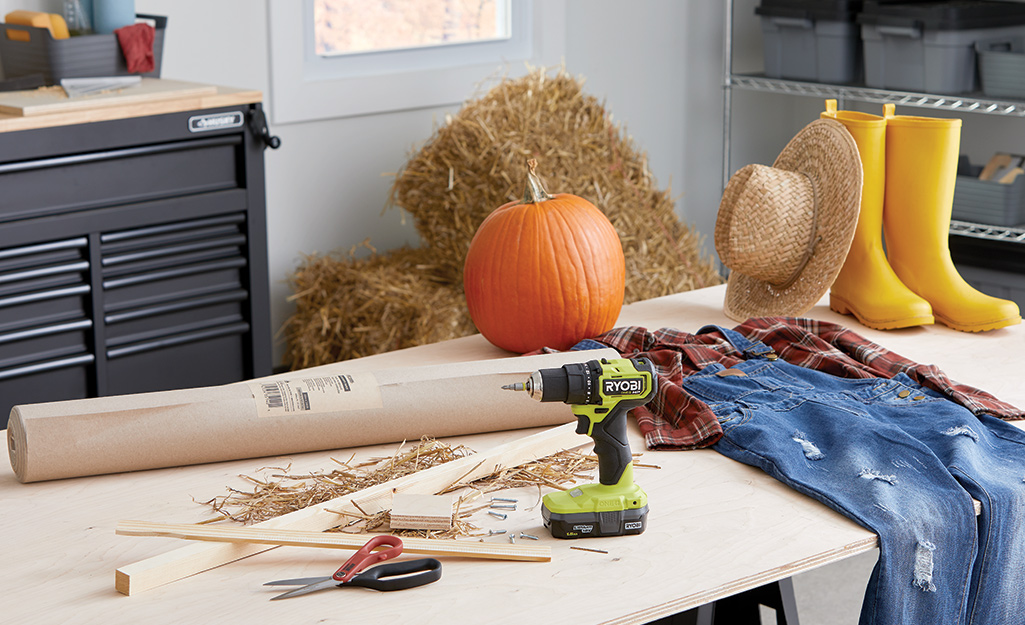
You can create a scarecrow out of almost anything you have around the house. A scarecrow can be any size or character. In the true scarecrow tradition, you’ll need lots of repurposed materials. Here are the basic things you’ll need to create a traditional scarecrow:
- One 36-inch 1 x 2 wood strip or yardstick
- One 12-inch 1 x 2 wood strip or one paint stirring stick
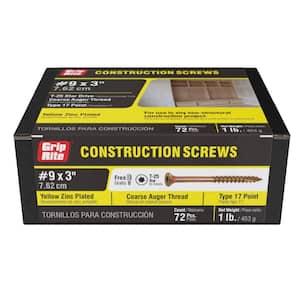
- Wood screws
- Drill
- Floral or garden wire
- Scissors
- Old clothes and shoes
- Stuffing
- Twine, buttons, straw and art supplies
Build the Scarecrow Frame
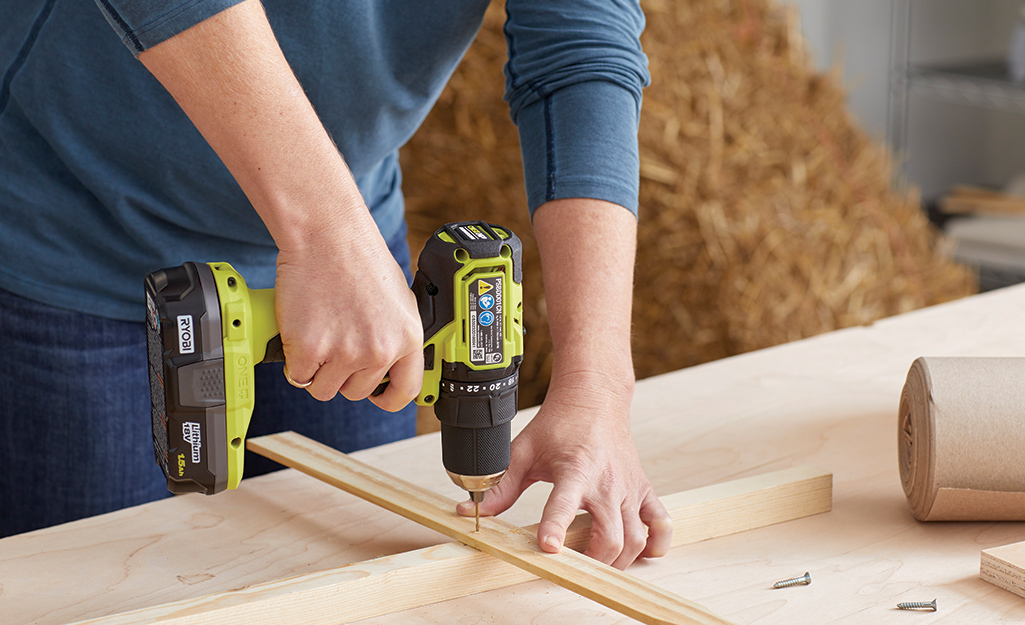
Whether you decide you want your scarecrow standing or sitting, you’ll need a framework. The framework will support your scarecrow and keep it upright. You can use anything from tree branches to mop handles.
For this seated DIY scarecrow, you’ll build a sturdy frame for its back and shoulders using wood.
- Working on a table or the ground, place a 36-inch wood strip or a yardstick vertically. This will be the backbone.
- Measure from the top of the vertical wood piece down 8 inches. Center a 12-inch wood strip or painting stir stick horizontally at this 8-inch mark. This will be the shoulders.
- Screw these two pieces of wood together with wood screws.
- Wrap garden wire around the point where the sticks meet. Pull the wire tight and use scissors to cut it.
Add a Head Platform
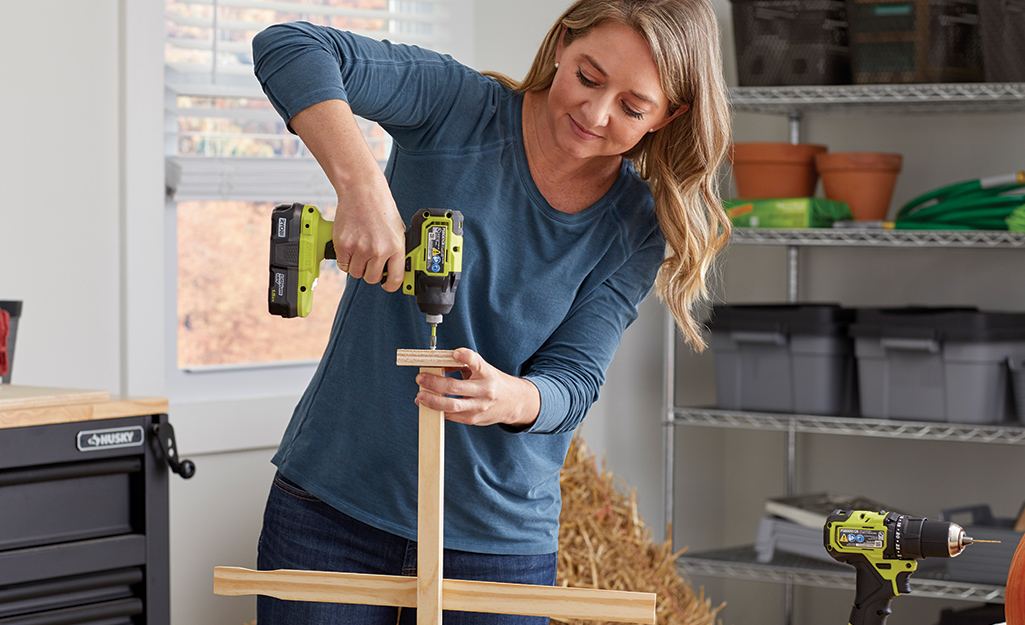
Create a support for the head of your scarecrow. Cut and screw a small scrap of wood to the top of the frame. This is especially important if you’re using something heavy for the head like a fresh pumpkin.
Dress the Scarecrow
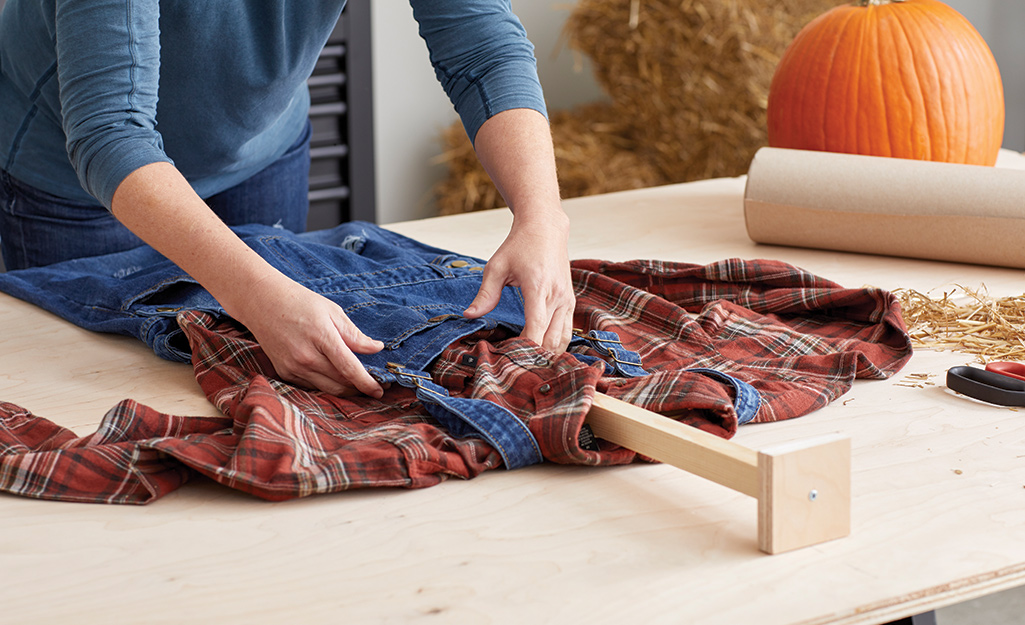
Now that you have your frame built, it’s time to add the clothes. Clothes make the scarecrow and create its character. You can use any old garments you have around the house. Just make sure whatever you choose has enough room for a lot of stuffing.
For a farmer scarecrow, use a traditional plaid shirt and bib overalls or jeans. Begin by hanging and buttoning the shirt onto the wood frame. Next, buckle on the overalls. If you don’t have any overalls, sew or staple a wornout pair of jeans to the bottom of the shirt.
Stuff the Scarecrow
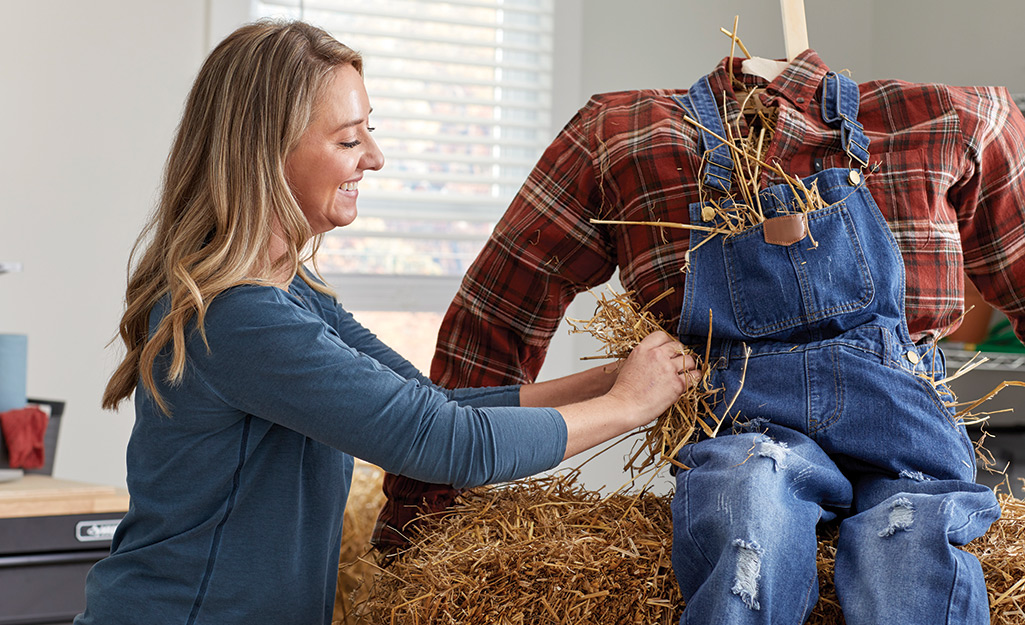
You can use whatever you want to stuff your scarecrow. Plastic bags or more old clothes are a good choice. Or you can even use grass clippings and leaves. Crumbled paper or shredded cardboard also work well. If you do stuff your scarecrow with paper, make sure it doesn’t get wet or rained on.
- Start stuffing the arms of the shirt and make your way to the chest area.
- Make sure to add enough stuffing to fill the shirt and overalls. You want the scarecrow to sit up straight.
- Stuff the scarecrow legs from the bottom. Make them full but able to bend at the knee.
- Tuck handfuls of straw into the sleeves and neck.
Add Shoes
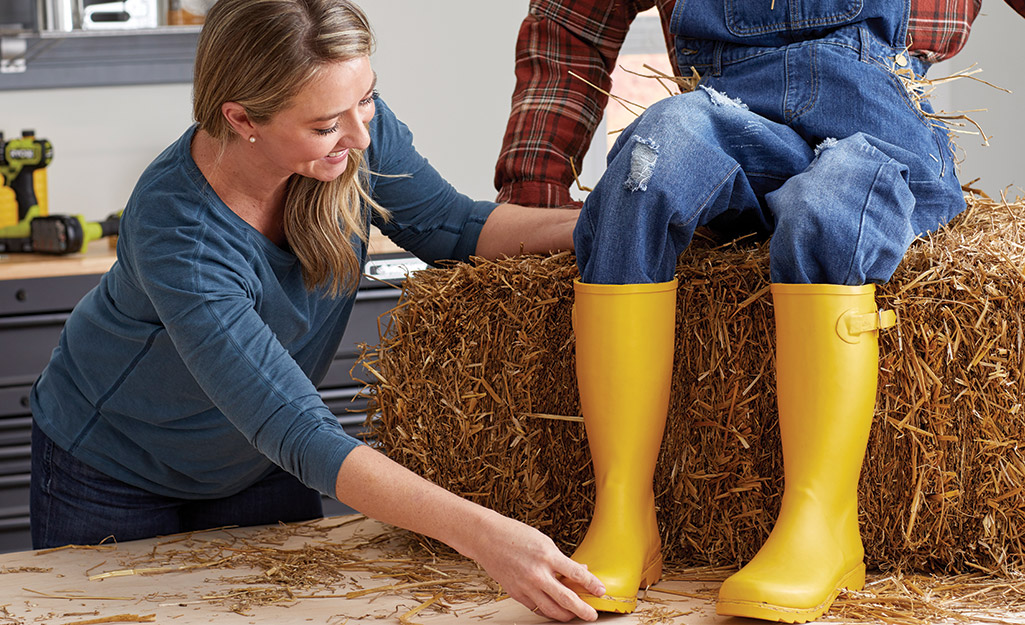
Once you’re happy with the shape of your scarecrow, sit it up on a bail of straw or a chair. Now it’s time to add finishing touches. Anything can be shoes for a scarecrow. Old loafers, sneakers or even old stuffed gym socks. A colorful pair of old garden or rain boots are the perfect choice for a traditional scarecrow.
Add Head & Display
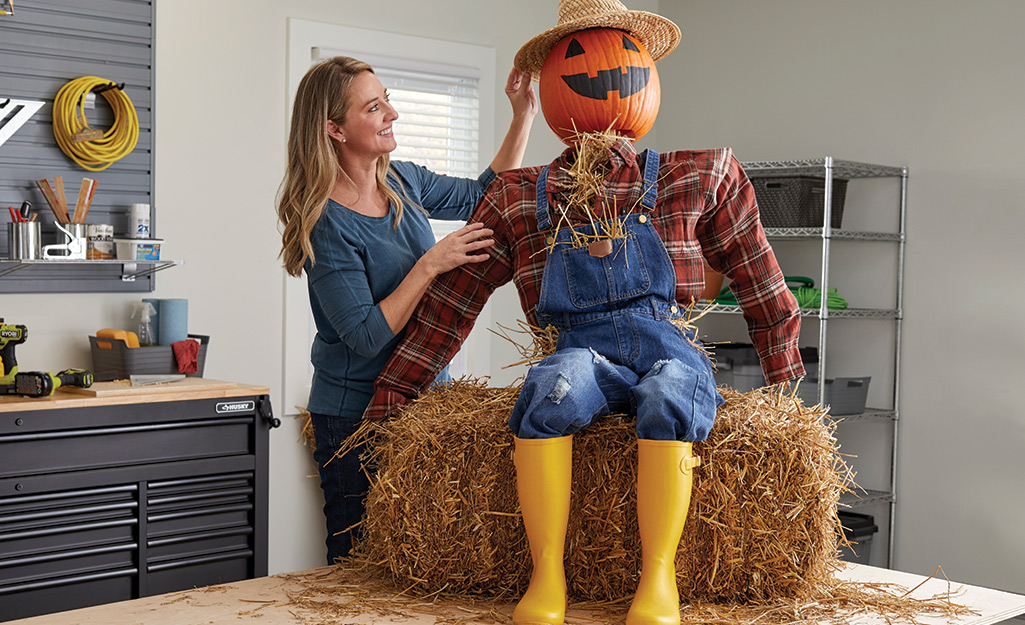
Learning how to make a scarecrow for the fall wouldn’t be complete without a pumpkin head. You can use a plastic pumpkin or a fresh one.
- Use a utility knife to cut a square in the bottom of a pumpkin candy carrier or craft pumpkin.
- If you’re using a fresh pumpkin, cut the bottom and clean it out.
- Paint on a smile and eyes. Let dry.
- Place the head so that the inside top of it rests on the platform you made. Top it off with an old straw hat or cap.
- Display your scarecrow where everyone can enjoy it. Create a festive scene with harvest decor like pumpkins, mums and seasonal signage.
DIY Scarecrow Tips & Tricks
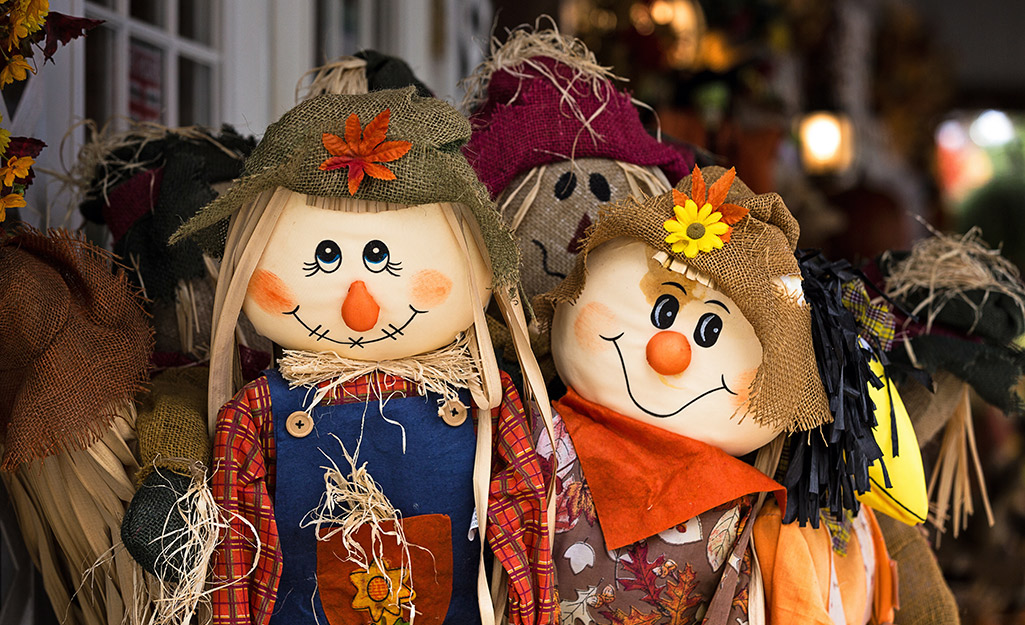
Now that you know how to make a scarecrow, just think of all the different ways you can create one. Here’s few ideas to inspire you:
- You can make a DIY scarecrow out of about anything. Try using plastic planters. Stack them on top of one another. Consider topping it off with a blooming planter head. Use house paint to draw on a face.
- Make scarecrow kids from burlap and decorate the faces with felt. Attach them to a stake with twine and add them to flowerpots.
- Build a scarecrow with cardboard boxes and let the kids decorate it with fingerpaint and string.
- Make a head out of an old mop or broom to give your scarecrow a fun and unique face.
- Build a gardening scarecrow with gardening gloves for hands and a big floppy sun hat on its head. Don’t forget to put a few gardening tools in its pockets.
- Search thrift shops for unique ways to dress your scarecrow. Go fancy by dressing it in a three-piece suit or a glittering ball gown. Don’t forget the dressy shoes and a tiara.
- Add charm to your scarecrow with thoughtful details. Use plaited straw for hair, add buttons for eyes or make glasses for your scarecrow using yarn, foil or old chicken wire.
Few things bring a smile like a classic scarecrow hanging out on a porch or a patio. Very budget-friendly and easy to make, scarecrows can be any size, shape or character. The Home Depot is your DIY headquarters. Looking for a product to complete your project? We have options to deliver online orders when and where you need them.
