How To Solder Copper Pipes

Last updated September 7, 2023
Learn how to solder copper pipe for DIY plumbing projects. Copper tubing is flexible, bacteria-resistant and easily installed. It’s also environmentally friendly since it can be recycled.
This guide will show you how to solder copper pipes to ensure there are no leaks in or around your home. It also outlines options to solder without flame and to patch a pinhole with solder. Read on to learn the basics of soldering copper pipe, including how to solder vertical copper pipe.
Difficulty:
Intermediate
Duration:
Over 1 day
Table of Contents
What is Soldering?
Tools, Materials and Safety Gear
Prepare the Pipe and Clean Inside of the Pipe Fitting
Apply Flux to the Pipe and Fitting
Unwind the Solder
Heat the Fitting to Sweat the Copper Pipe
What is Soldering?
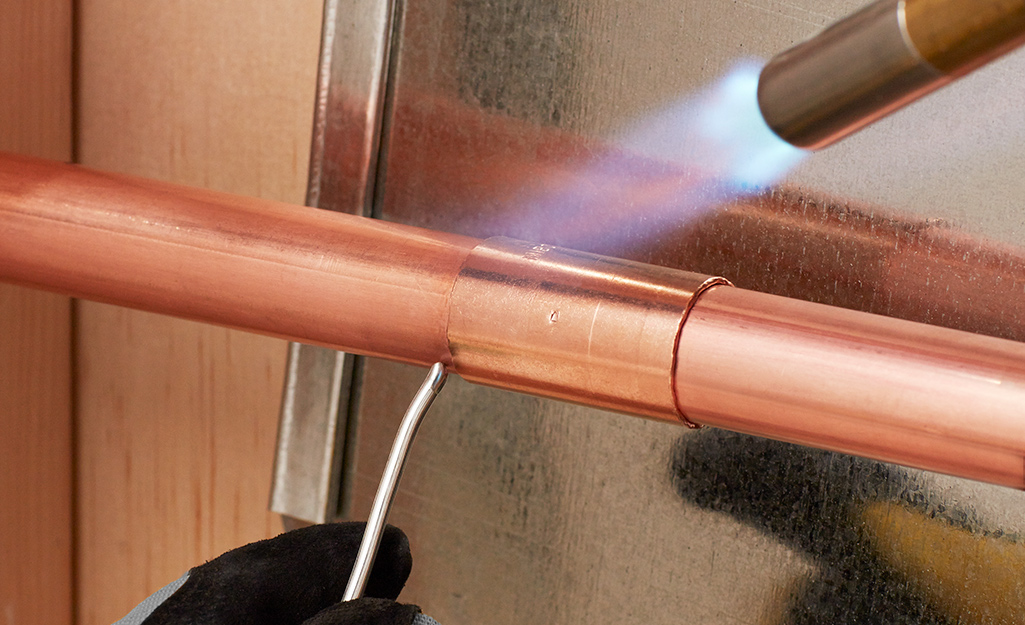
Soldering, pronounced “soddering,” or “saw-ter-ing” is a way of joining pipe using solder. The metal on either side of the joint isn’t melted like in welding, but the solder is. Solder is a filler metal that goes into the joint between two pieces of pipe. It’s a metal alloy, or mix of metals.
Soldering used to be done with lead alloys. These days we normally use a tin and copper alloy, as lead isn’t safe.
However, leaded solder is still on the market.
Safety Tip: Never use lead solder on copper pipes that carry drinking water. If you can avoid using leaded solder completely, do so.
The instructions here are specific to soldering copper pipe or tubing. This is different from the process for welding copper.
Tools, Materials and Safety Gear
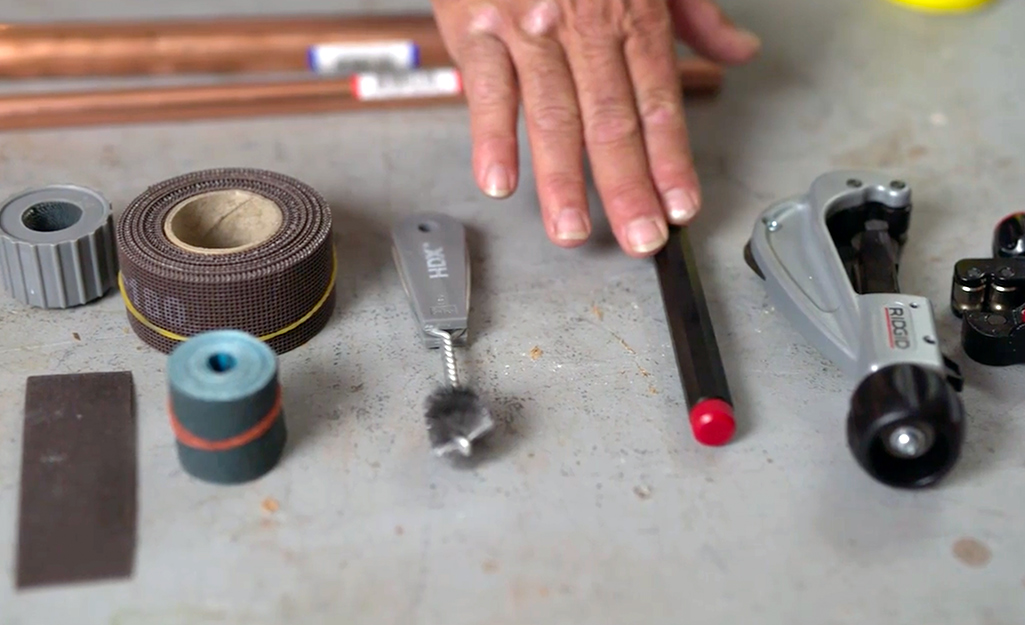
You’ll need certain tools for soldering copper pipe. In addition to your supplies, proper safety gear is a must. Soldering produces fumes, so keep ventilation in mind.
- Soldering Torch: Also called a soldering iron, the torch for this project is usually propane. It may also be a MAPP torch, which uses a gas that burns hotter than propane.
- Deburring Tool: This removes tiny jagged and uneven pieces of metal from your pipe and fitting. You can also use a metal file in a pinch.
- Wire Brush: This small brush made of wire is important for cleaning the inside of your pipe fittings.
- Pipe Cutter: Cut your pipe to size. A pipe cutter usually has a deburring tool on it.
- Emery Tape: This is also known as plumber’s tape or emery cloth. Plumber’s tape has an abrasive surface like a cloth sandpaper. It’s made for smoothing rough edges on pipes.
- Steel Wool: This is sometimes presented as a substitute for emery tape. It's not ideal to deburr your pipes with this. It could leave behind tiny metal splinters that could interfere with your soldered bond. Use a scouring pad if you can't find emery cloth.
- Pipe Fittings: Choose the copper fittings that fit your pipe. Make sure they fit before jumping into soldering. If you’re using the press-connect method, assure you’ve got press fittings.
- Copper Pipe: If you’re making a repair, you’ll need a short stretch of copper pipe. Otherwise, you’re working on existing copper pipes that need a fitting soldered on.
- Solder: Also called soldering wire, this is what melts and flows into the joint between two pieces of copper pipe. It comes on a spool.
- Flux: Flux is another term for soldering paste. It protects the pipe fitting from the flame.
- Rag: Clean up extra flux with a rag. Also, dry up water that’s leaked from the pipes. Plumbers sometimes use a piece of white bread to sop up excess droplets.
- Bucket: If you need to drain your pipes beforehand, you’ll need a bucket.
- Ventilation: If you’re especially sensitive to odors or smoke, wear a respirator. Work in a well-ventilated area as well.
- Protective Safety Glasses: Shield your eyes from any sparks or pieces of solder that fly off.
- Gloves: Heat-resistant gloves made for soldering are ideal. They’re more flexible than welding gloves but still protect your hands from the flame.
- Heat Shield: Also called a burn blanket or torch blanket, this fireproof fabric is a must. It protects nearby walls, floors or anything else flammable.
- Fire Extinguisher: Keep a fire extinguisher close at hand in case of an accident. Make sure it’s pressurized and full.
- Soldering Iron Stand: You’ll need a stand for the hot iron. If your torch didn’t come with one, make sure you have somewhere to set the iron down that’s not flammable.
Now that you’ve assembled your materials, it’s almost time to get started. You may jump right in with your repair. However, it’s recommended that you first practice soldering with extra fittings and pipe.
It may take several tries to get a good bond. Once you gain confidence and experience, work on your actual copper pipe project.
Prepare the Pipe and Clean Inside of the Pipe Fitting
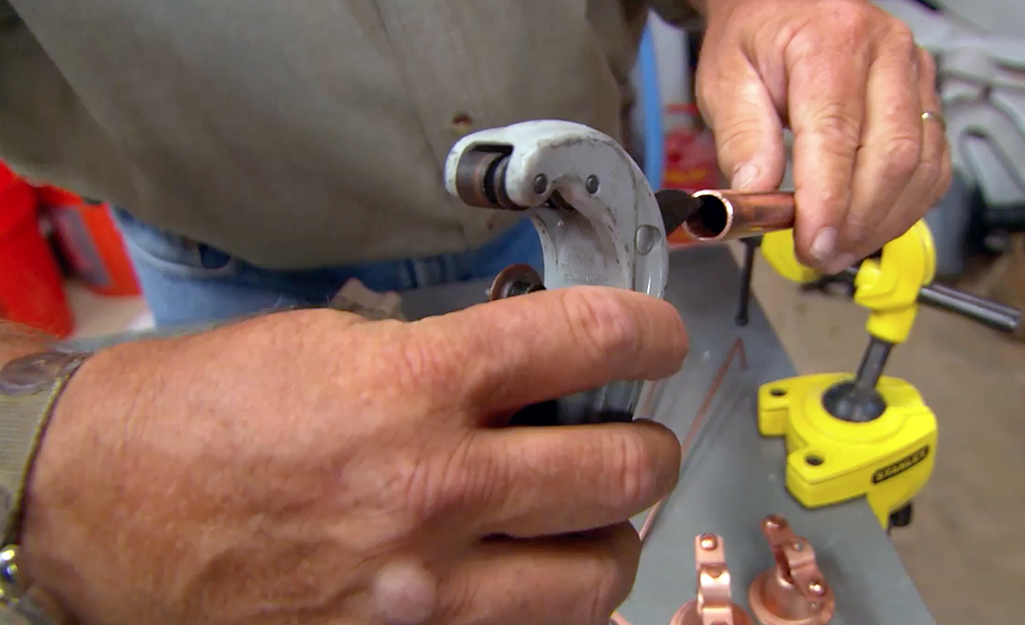
Preparation is the most important part of the process. If you’re working on a pipe that’s part of an active water line, make sure the water is shut off and drained. The pipe needs to be dry before you can solder anything. Having clean and smooth pipe fittings helps your soldering adhere well. After you’ve cleaned the inside of the pipe fitting, make sure the pipe itself is clean too. You'll need to make sure the pipe is free of buildup, dirt and fingerprints.
Clean the pipe by removing any burrs. Deburring a pipe means cleaning off the tiny irregularities and bumps, known as burrs. Reaming and deburring are the same thing.
Don’t skip this step. Your fittings and pipes need to fit smoothly together. Any small bumps in the metal means the pieces won’t be joined as solidly. It also means the pipes could be noisy when water flows through.
Follow these steps to prepare the inside of the copper pipe:
- Use a deburring tool to ream or deburr the inside of each pipe.
- Run the tool around the inside of the pipe. This removes the burrs.
- Make sure the copper shavings don’t go into the pipe or pipe fitting.
- Tap the pipe to get any shavings to fall out.
Clean the Outside of the Pipe
Once the inside of the pipe is smooth and clean of excess copper shaving, clean the outside too:
- Use a pipe brush, emery cloth or scouring pad to clean the outside of the pipe.
- Polish the pipe clean, so it shines like a new penny.
- Avoid getting fingerprints where the pipes will be joined. If you do, clean them off with plumber’s tape or a stripping pad.
To begin, clean the inside of each fitting with a wire brush.
Apply Flux to the Pipe and Fitting
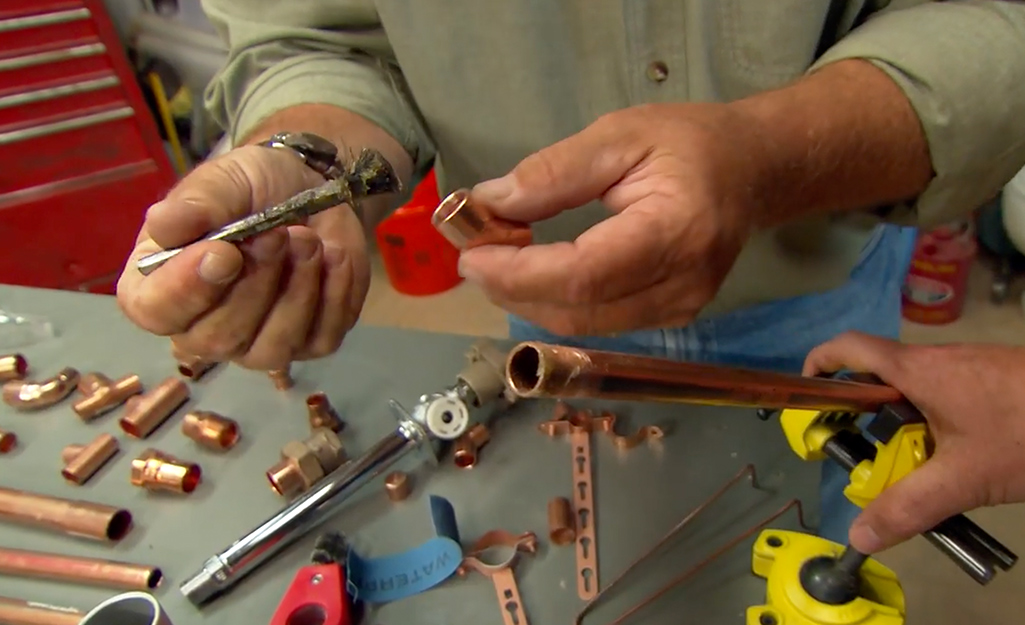
Once you’ve prepped the copper pipe and the pipe fitting, it’s time to add the flux:
- Using a flux brush, apply a thin layer of lead-free soldering paste (flux) to the portion of the pipe that you cleaned. The paste should cover the depth of the pipe fitting.
- Apply a thin layer of flux to the mating surface of the fitting.
- Insert the pipe into the fitting, making sure it is tight against the bottom of the fitting.
Unwind the Solder
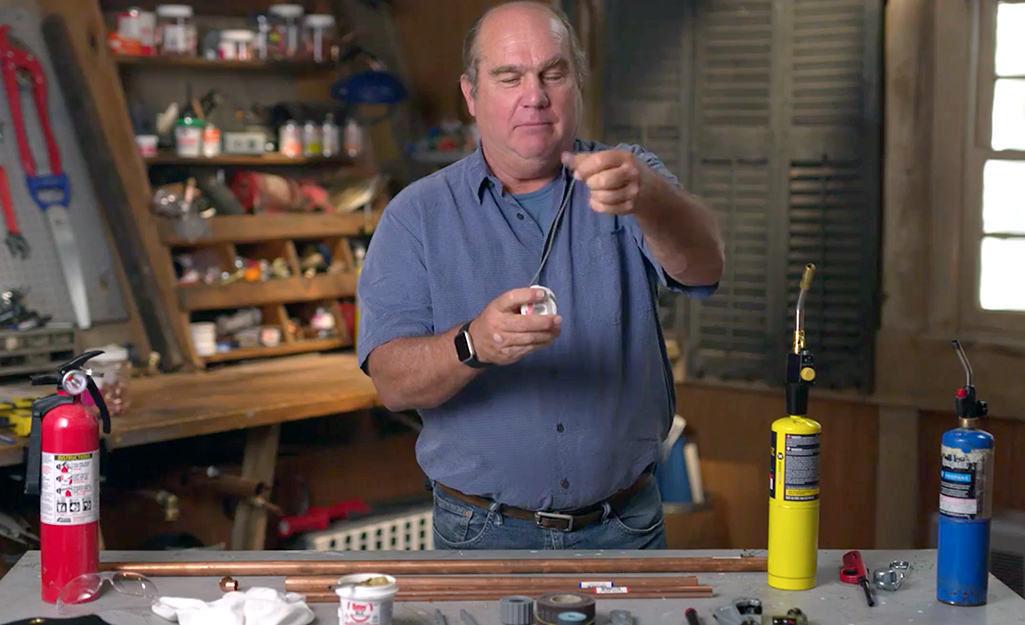
Soldering comes on a spool and looks like wire. You’ll need 8 to 10 inches of the solder extended from the spool.
To prep the solder, follow these steps:
- Unwind the solder.
- Snip off as much as you need.
- Bend the amount of solder you want to use to a 90-degree angle.
The amount of solder should be roughly equal to the diameter of the pipe. A 1/2-inch pipe needs about 1/2 inch of solder. A 1-inch pipe needs about
one inch of solder, and so forth.
Heat the Fitting to Sweat the Copper Pipe
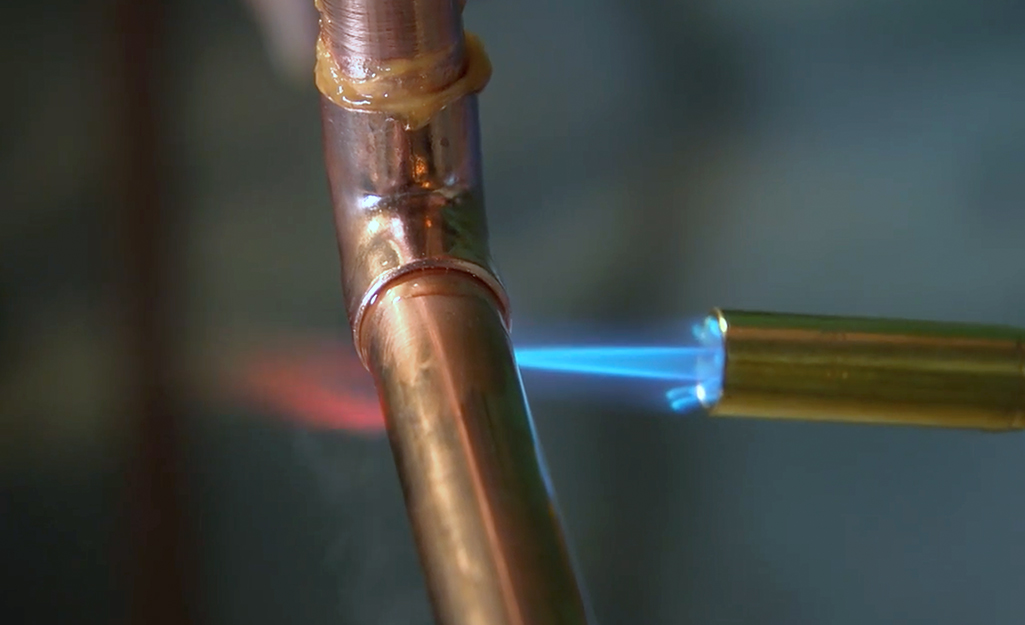
When you’ve prepped yourself and your workspace, it’s time to turn up the heat. Soldering produces fumes, so be ready with safety equipment:
- Light the propane torch.
- Put the tip of the flame against the middle of the fitting. Hold it there for 4 or 5 seconds or until the soldering paste begins to sizzle.
- Heat the opposite side of the fitting to ensure the heat is evenly distributed.
- Use the flame to heat the fitting. Allow the heated fitting to melt the solder.
- As soon as the solder melts, remove the flame.
If you’re using a brand-new soldering iron, you’ll need to “tin the iron” first. That means you put a bit of solder on the tip of the heated iron before using it.
Tip: Don’t heat the solder itself. That will just melt it and make it break off. Heat the middle of your fitting instead.
Touch the Solder to the Pipe
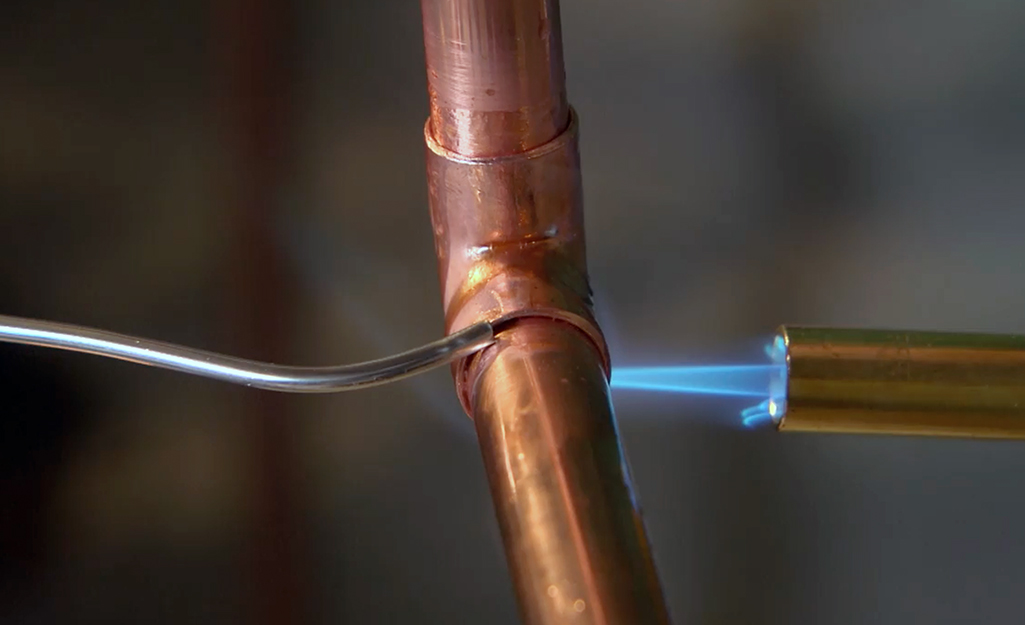
Heat the pipe fitting opposite where you’re applying the solder. Once the solder moves, the whole joint is hot enough to solder. There’s no need to heat the pipe more than that. Don’t burn off the flux, as it’s protecting the pipe and allowing your solder to flow smoothly.
- Touch the solder to the pipe to see if it melts.
- If it doesn’t, pull the solder away for moment, then try again.
- As soon as the solder melts, the pipe is ready for soldering.
Remove Flame from Fitting
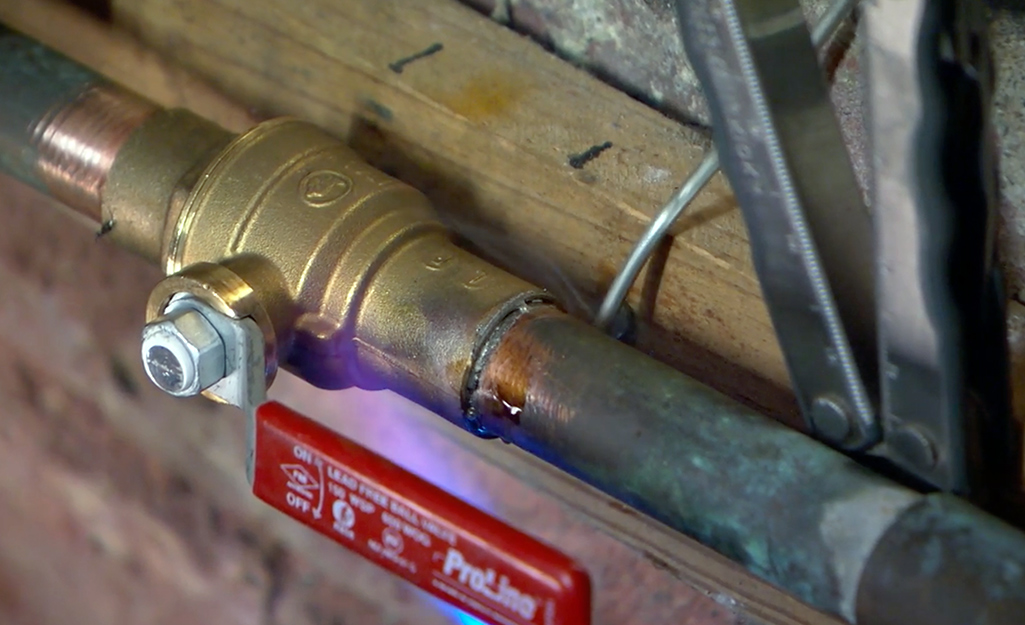
When you’ve used up the bent part of the solder, you've got enough solder in the joint. Try to keep it from dripping into the pipe or leaking down the side.
- As the solder melts, it will flow into the fitting. Solder flows toward the hottest part of the metal.
- Allow 1/2 to 3/4 inches of solder to flow into the joint. This will likely match your pipe diameter.
The second joint will likely go quicker than the first one. The pipe fitting is already hot, so the solder is ready to move.
Clean the Fitting
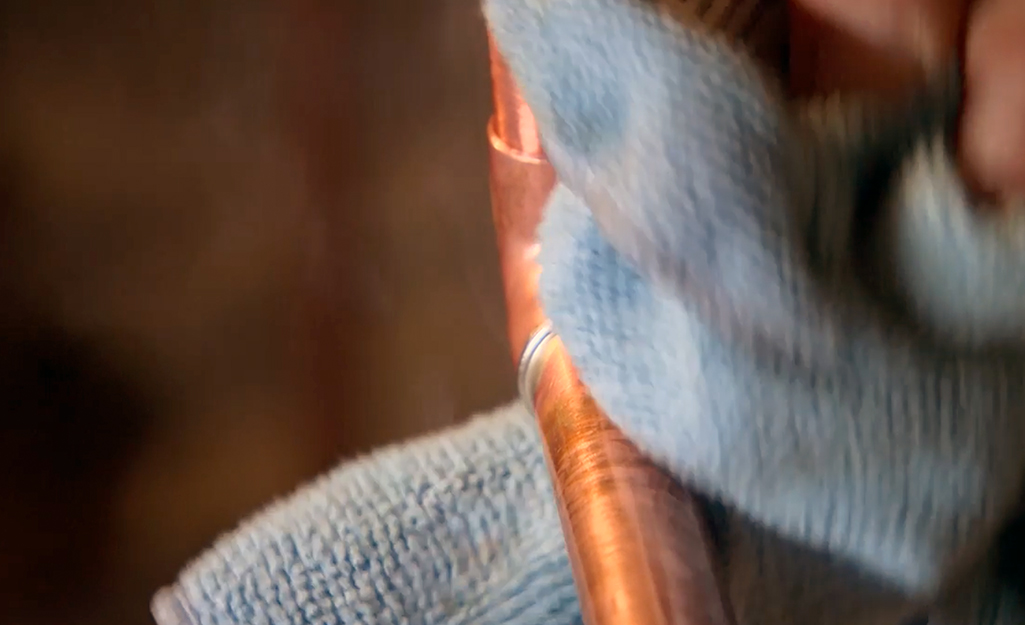
Now the pipe and fitting are joined, clean them up a bit. Drips and extra flux are unsightly. It can even cause pipe damage.
Leftover flux can produce verdigris, a common green copper discoloration. That green hue, like what you see on old pennies, isn't harmless. It actually eats away at copper pipes. Luckily, flux cleanup is easy if you do it immediately:
- Wipe away the excess flux with a rag.
- After the pipe and fitting have cooled, install the pipe.
- Turn on the water and check for leaks.
- If the joint leaks, take it apart and re-solder it.
How to Solder Copper Pipe Without Flame
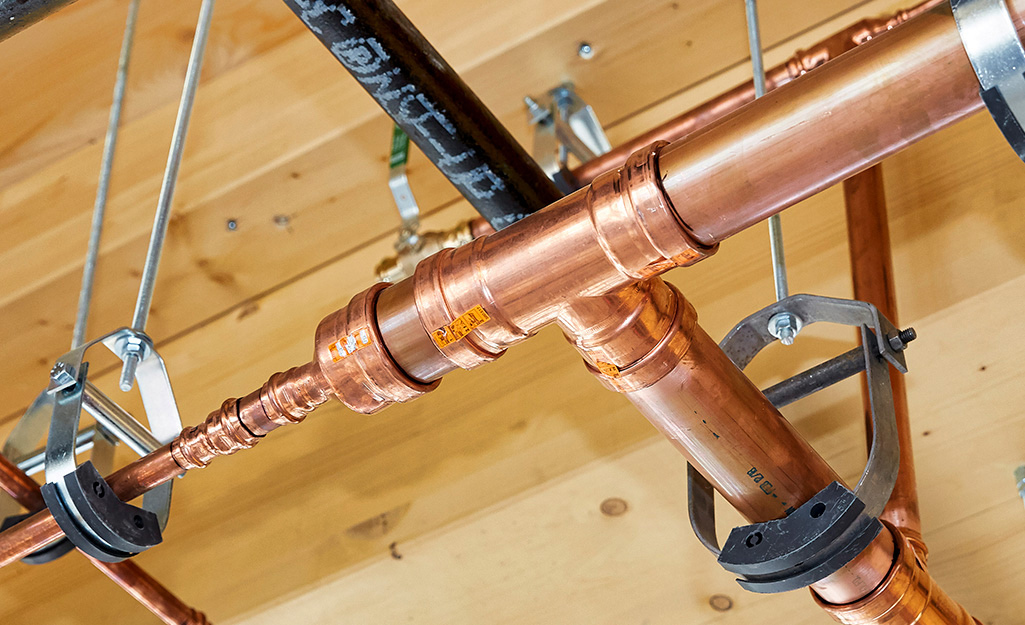
If you’d rather not use a torch or flame, you have two options of soldering copper pipe without it: copper bonding and press fittings.
- Copper bonding is like glue, but it’s made specifically for copper pipes.
- Press fittings need a special tool to fasten properly. They also cost more than regular copper fittings.
Join Copper Tubing with Copper Bonding
- Clean and deburr your pipe and fitting as you would for regular copper pipe soldering.
- Apply the solderless copper bonding to the pipe. Squiggle a line like you would with glue.
- Insert the pipe into the fitting.
- Rotate the pipe 360 degrees, or one full turn, to spread the substance evenly.
- Let dry per the manufacturer’s instructions.
Join Copper Pipe with Press Fittings
This process is also called crimping or press-connect joining. Make sure the pipes you have work with press fittings. You’ll need a specific press tool to clamp the pieces together. A perk is your pipe doesn’t have to be as spotlessly clean as it does for solder.
- Deburr your pipe, inside and out.
- Insert pipe into copper press fitting.
- Use a marker to note the end of the fitting on the pipe. Sometimes it can shift.
- Assure your pipe and fitting are still aligned.
- Use your press tool to crimp the fitting onto the pipe.
How to Solder Vertical Copper Pipe
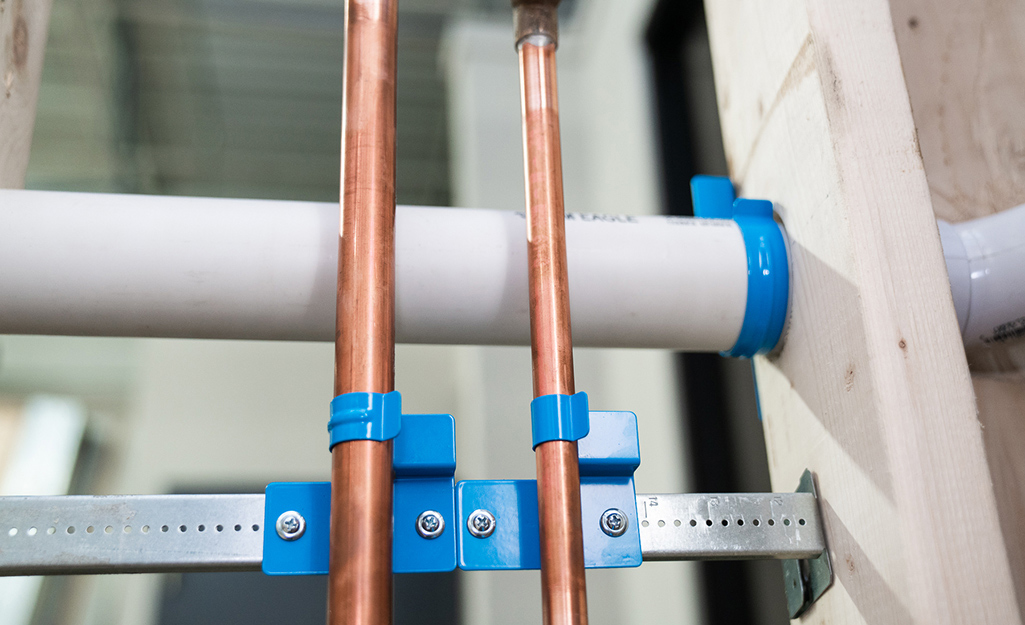
Soldering vertical copper pipe shouldn’t be too different from working horizontally. If the joint and tip are hot enough, the solder should flow right in.
- Heat the middle of the fitting and apply the solder as soon as it starts to melt.
- Remove the heat once the solder starts moving.
- If the solder drips out, it's done.
- Wipe away the excess flux and clean the joint.
How to Solder a Hole in Copper Pipe
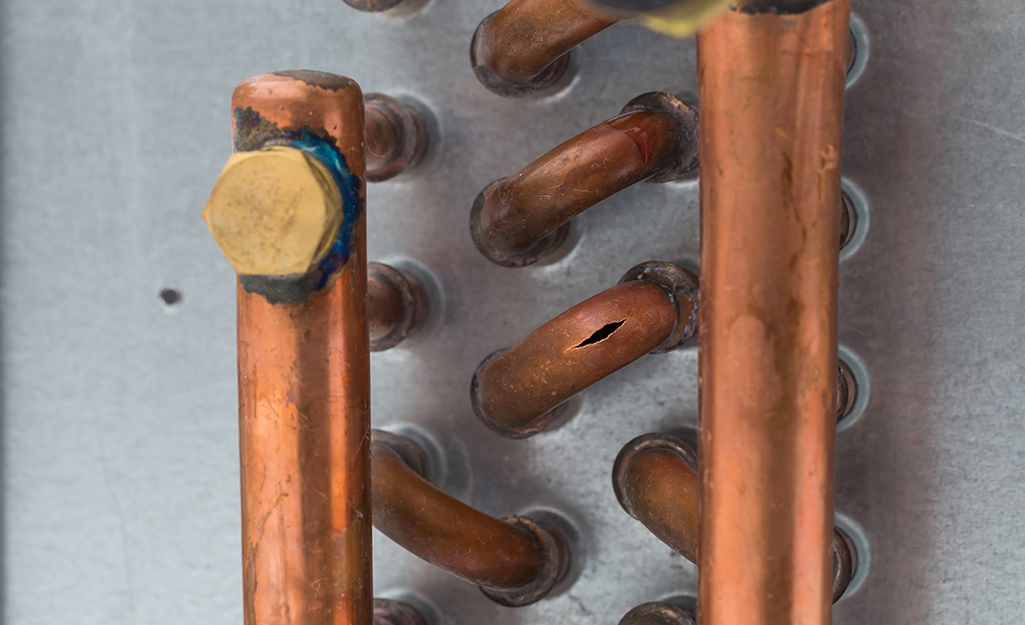
Repairing a hole in a copper pipe is a temporary fix. The solder for this is often 50/50 solder and contains lead. It’s always best to replace a section of pipe instead of patching a pinhole.
Safety Tip: Never use leaded solder on copper pipes that carry potable water.
If you must solder a hole in copper pipe as a repair, here’s how:
- Follow the steps above to clean and prep your pipe.
- Apply flux around the hole.
- Heat the pipe and melt the solder.
- Clean off any drips.
- Let the patched pinhole cool before you turn on the water again.
- Replace the entire section of pipe as soon as possible.
Again, this is a temporary patch. It’s very important that this isn’t a permanent solution. If you have one hole, you could easily get more.
Alternatively, your water may have a corrosive element in it, so check the pH. Call a plumber to check out the situation if you’re unsure why you have pinholes in copper piping.
Knowing how to solder copper pipe is a useful skill for DIY plumbers. Now that you know how to deburr, clean and solder copper tubing, it’s time to get started. We deliver online orders when and where you need them.


