Difficulty
Beginner
Duration
Over 1 day
Sponge painting is one of the easiest ways to give a wall texture, depth and complexity. This decorative application technique is an inexpensive way to add to your interior look. Sponge painting also offers a practical benefit as an option to touch up or cover flaws and imperfections.
This guide will show you how to sponge paint, how to prepare your walls for a sponge painting project and demonstrate the techniques for both sponging paint on and off your walls.
Before You Begin
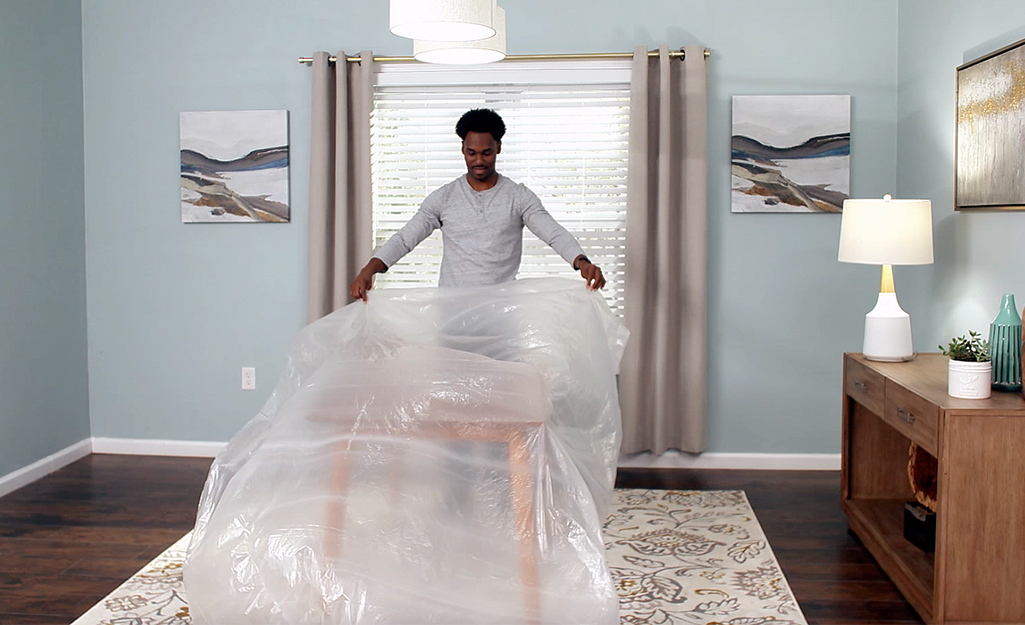
Before taking on any painting project, have all the necessary paint supplies and materials within reach.
- Remove your furniture or group it together in the center of the room.
- Place tarps on the floor and plastic covering on furniture to protect it.
- Wear rubber gloves, latex gloves or work gloves to protect your hands.
Prepare the Wall
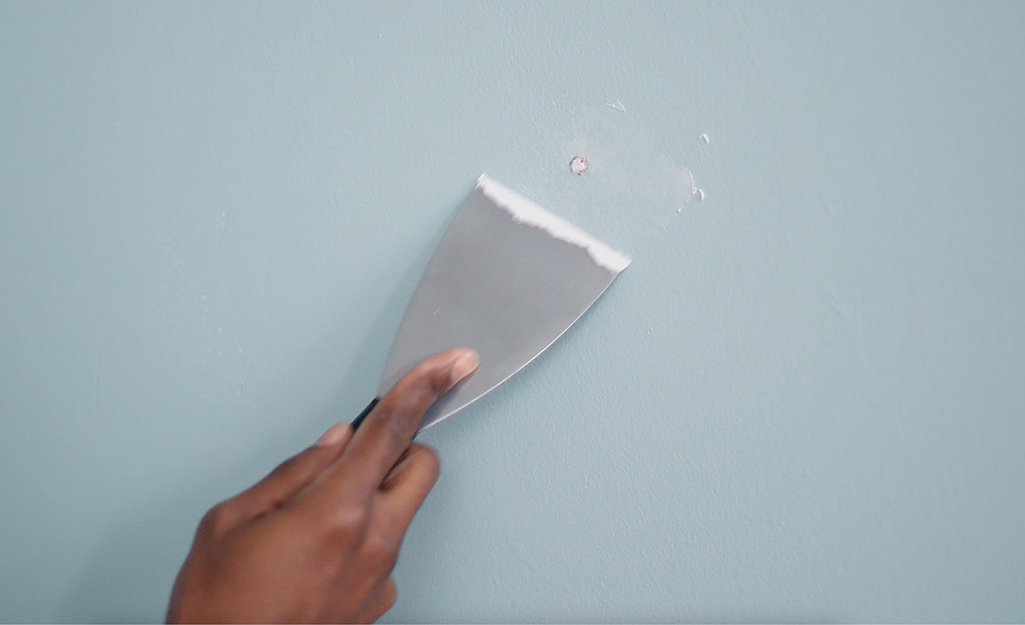
To prepare the wall, line the room with painter's masking tape. Apply putty or caulk to any cracks, dents and mars on your paint surface with a putty knife, smoothing the compound over.
- Using a paint roller, apply a primer even if there is a finished coat of paint on the wall. Primers provide the ideal base for easy sponge painting.
- If there are stains on the wall, discover and eliminate their source. Then scrub the wall with a TSP stain removing solution. Rinse thoroughly because TSP solution residue will prevent even the best primer from adhering.
- Once dry, wipe down the wall to eliminate dust.
Apply the Base Coat
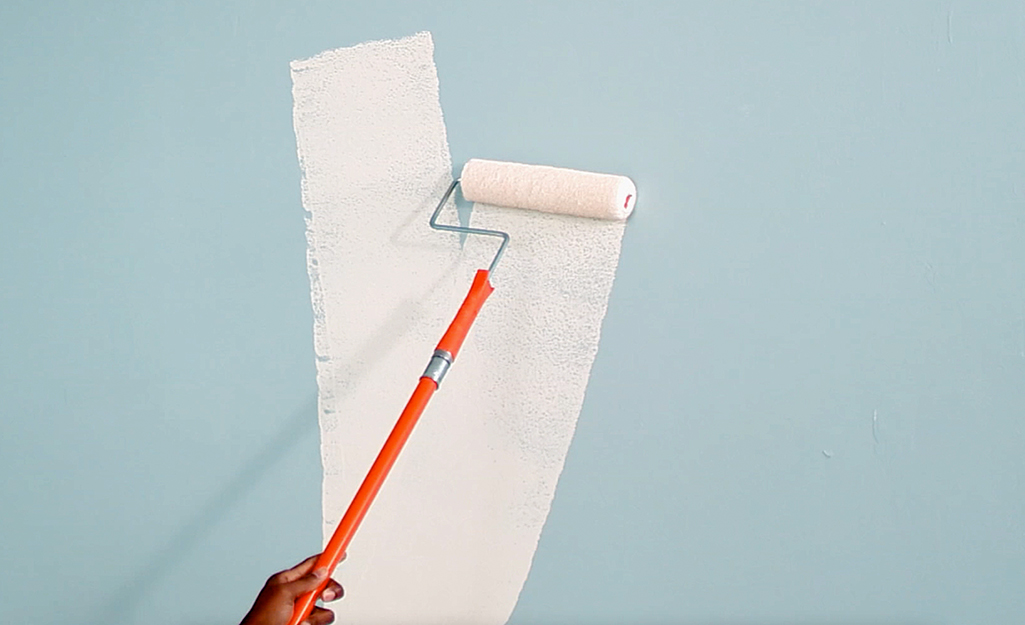
The base coat should be darker than the color you plan to apply. The lighter color layer on top creates a three-dimensional perspective. Satin or semi-gloss paints take longer for the glaze to work than flat or eggshell paint.
- Pour the desired paint into a tray.
- Apply with a 9-inch sponge paint roller cover with a 3/8-inch nap.
- Allow the base coat to dry for 24 hours.
Mix the Glaze
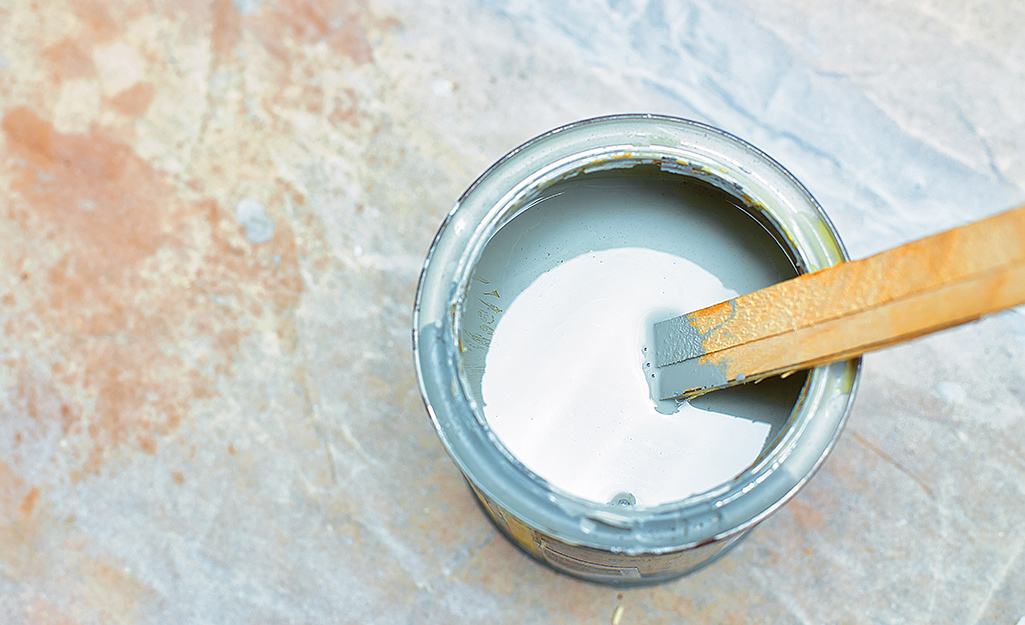
Glaze is the neutral paint formula before the colored pigment is added.
- Mix the glaze in a ratio of one part paint and four parts glaze.
- Practice on test panels to determine the recipe that will create your desired color.
- Make sure your glaze recipe allows enough time to work. You can slow drying by adding gel retarder to the glaze.
Apply the Glaze with a Sponge
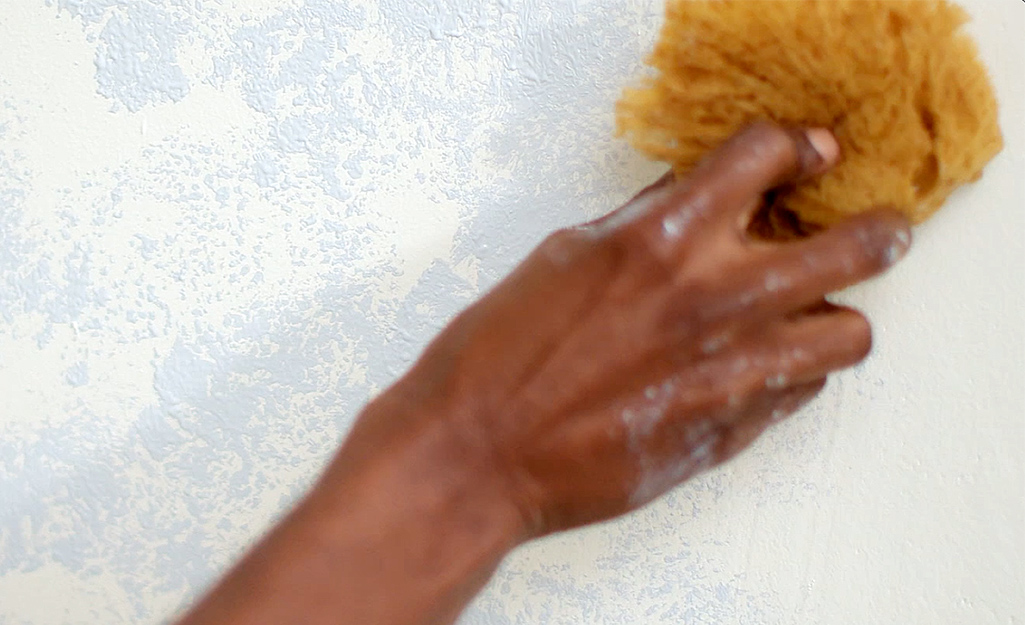
A natural sea sponge is the most suitable for your sponge painting project. Look for a sea sponge with irregular sized pores to create irregular patterns. If you are using a round paint sponge, cut it in half and use the flat side for applications.
- Soak the sponge in water, then squeeze out the excess so the wetness of the sponge will be consistent from start to finish. This is important in maintaining the same sponge painting effect from section to section, as well as allowing the sponge to absorb a full amount of glaze.
- Pour a small amount of mixed glaze into a ceramic or plastic plate that you can place on a stepladder shelf or carry in your hand.
- You can dip the sponge into the mixture or brush the paint onto the surface of the sponge.
- Blot excess paint onto a piece of cardboard if necessary.
Add More Colors
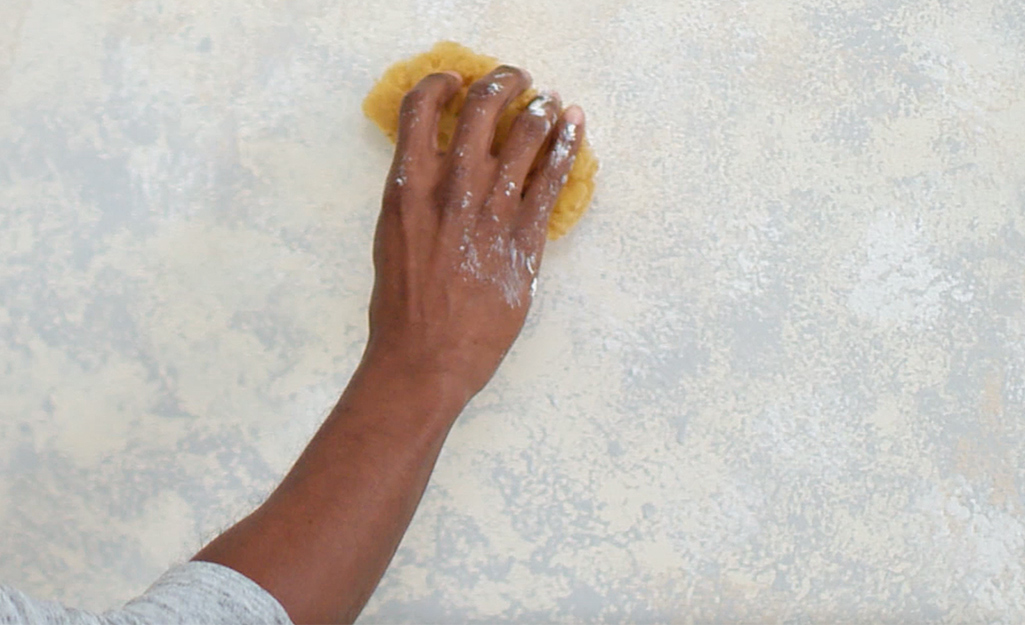
This is an opportunity to use the color wheel for your sponge painting techniques.
- Start with a monochromatic scheme and enhance that scheme by sponging on a different tint or shade of the base color. For added dimension, apply an analogous color.
- If you want to make a bolder statement, sponge on a complementary hue or generate some subtle excitement with colors that form a triad on the color wheel.
- If you add a color that you don't like, sponge over it with another color.
Use the Sponge to Apply the Paint
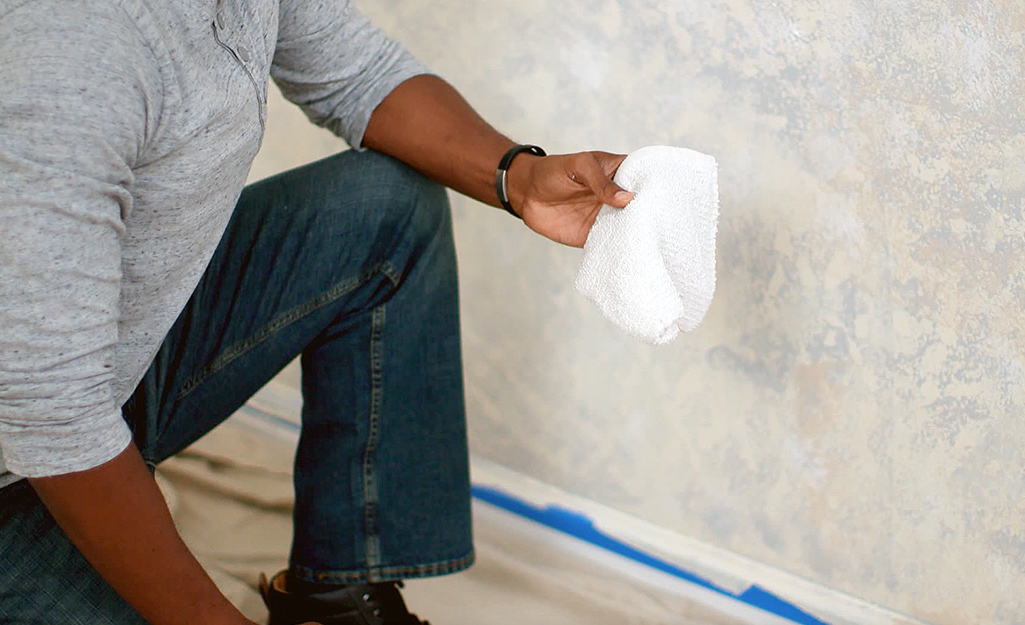
Begin sponge painting in an upper corner. Prime the sponge with water and squeeze out the excess.
- Start sponging from the top of the wall to the bottom in a strip as wide as your arm is long.
- Dab the sponge lightly, applying just enough pressure to create detail. Move your arm in a circular pattern, rotating the sponge occasionally. Repeat these sponge painting techniques to achieve the desired result.
- Keep a clean rag handy to blot the sponge before starting each new section.
Create a Random Pattern
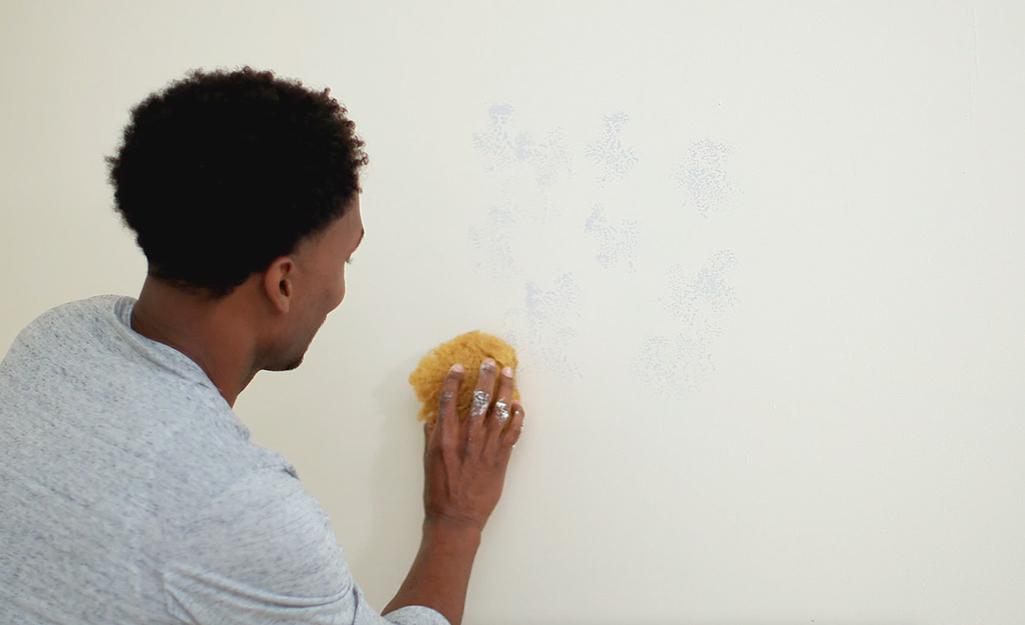
Working from top to bottom, press the sponge on and off the wall.
- Rotate the sponge frequently.
- To create a random pattern, move your arm radially rather than working horizontally or vertically.
- Occasionally blot your sponge on a clean rag. Rinse out the glaze before starting each new section.
- Reload the sponge when the impressions begin to appear lighter to avoid an uneven pattern.
- Start the next section before the previous section dries. Always maintain a wet edge.
Apply Into Corners
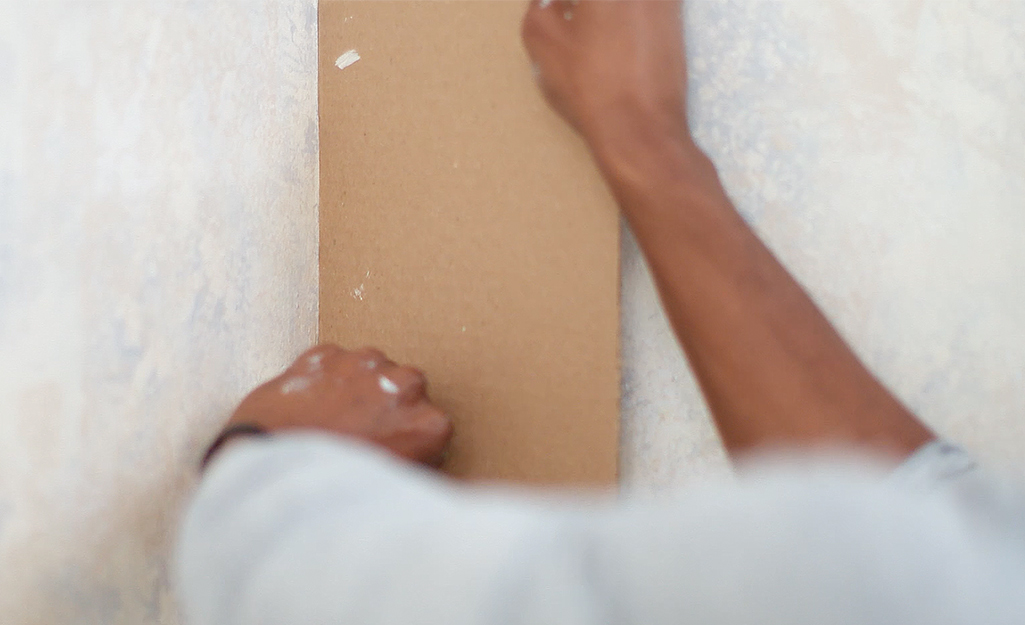
Using a sponge to apply paint into inside corners requires some creativity. One way to do it is to tear off a small piece of the sponge and attach it to a large hair clip. Use the hair clip as a handle to sponge paint uniformly into corners.
You may also use a piece of cardboard to block off one wall as you apply paint with a sponge into the corners of the adjoining wall.
Review Your Work
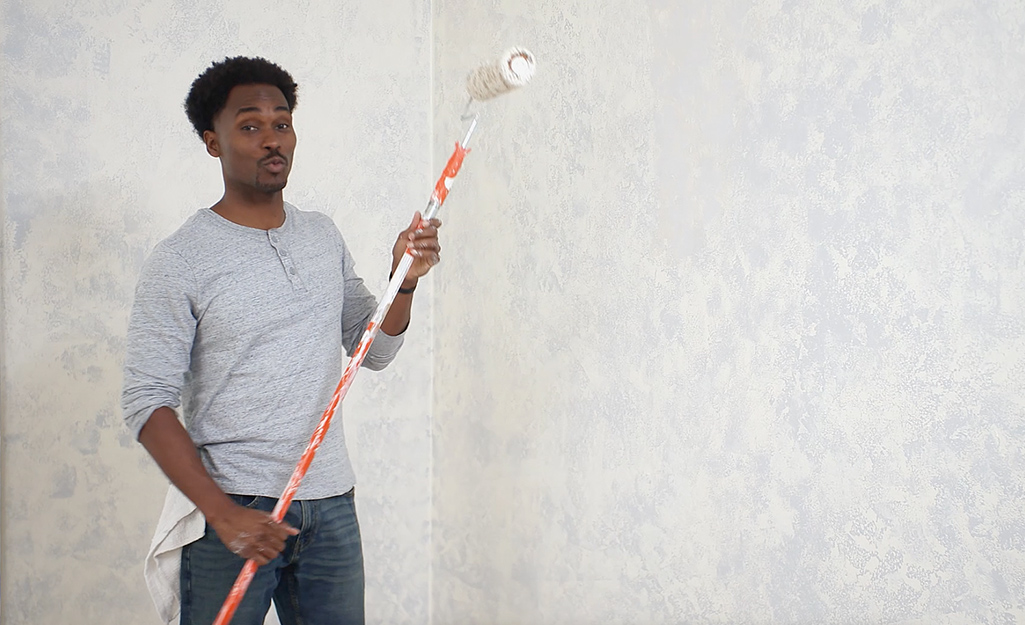
Review the results after each section and add more glaze as necessary.
- If you come across a spot with too much glaze, go back after the glaze dries and sponge on more base.
- If you decide to add any additional color(s), be sure to apply after your current glaze color dries.
Sponge Off Paint Application
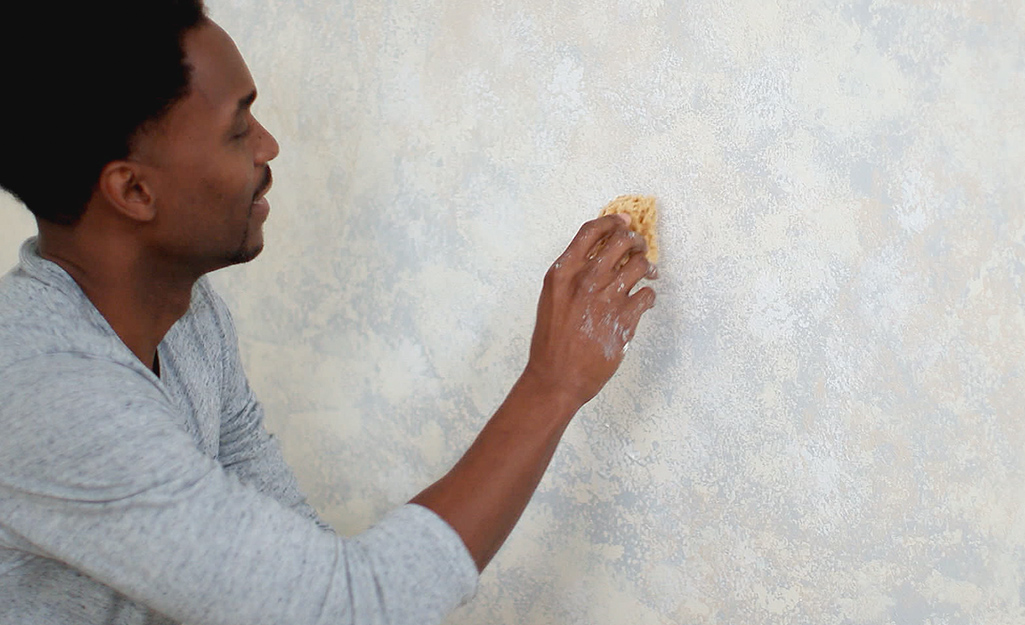
Time is critical in sponging off because you must work before the glaze dries. Practice on sample boards before sponge painting walls so you will be comfortable with your sponge painting technique and your pace.
- Have a pile of clean, dry paint rags or lint-free paper towels handy to blot the sponge when it loads up with paint.
- Between completed sections, rinse the sponge in a bucket to remove glaze, which tends to thicken inside the pores.
- Carry the plate or bucket of glaze in your other hand or keep it nearby on a chair or stepladder.
Sponge Painting Tips and Tricks
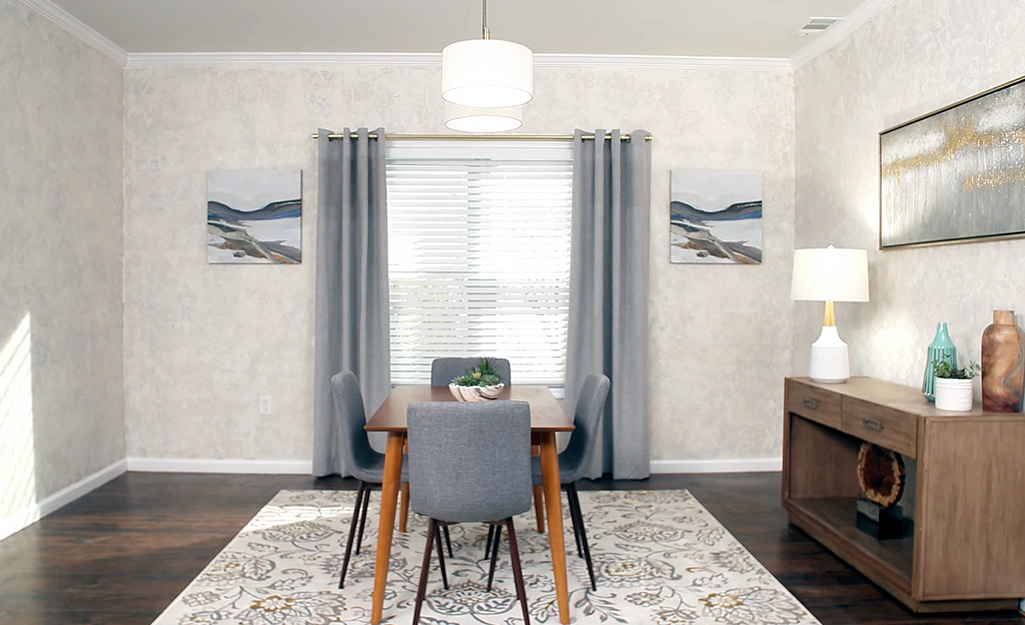
Follow a few tips and tricks for how to sponge paint to get the most satisfying results.
- Your sea sponge should be as big as the area you want to work with. Anything larger than your hand may be difficult to manage.
- Turn off the air conditioner or heater in the room you are working in. This prevents the glaze and paint you are applying from drying too quickly.
- Rinse your sponge frequently to prevent it from becoming saturated with paint or glaze.
You can creatively add style to the look of your home or apartment if you know how to sponge paint. Gather the right materials before you start the project. Download The Home Depot Mobile App for all of your sponge painting project supplies.
