How to Stain Pressure Treated Wood

Published February 12, 2024
Pressure-treated wood contains preservatives to prevent rot and insect damage, but it remains vulnerable to the sun, wind, moisture and dirt. Learning how to stain pressure-treated wood can extend the life and improve its appearance. Read on to get tips for staining decks, fencing, picnic tables, retaining walls and other exterior wood projects.
Difficulty:
Beginner
Duration:
Over 1 day
Table of Contents
When Can You Stain Pressure-Treated Wood?
Choose the Stain
Wash the Wood
Preparing to Stain
Apply the Stain
How to Paint Pressure Treated Wood
When Can You Stain Pressure-Treated Wood?

Pressure treating uses water to force chemical preservatives deep into the wood. Pressure-treated lumber will have a high moisture content and may take several weeks to dry. Staining pressure-treated wood is ineffective if the wood is still wet.
- “Wet-treated wood” still contains significant moisture when purchased and may take longer to dry than other types of pressure-treated wood.
- Kiln-dried wood will be dry at purchase and can be stained immediately. This lumber will have a stamp or tag that says ADAT (air-dried after treatment) or KDAT (kiln-dried after treatment).
- Pressure-treated wood that contains a water repellant will not absorb a water-based stain as well as an oil-based exterior stain.
- To determine if pressure-treated wood is dry enough to stain, try the “sprinkle” test. Sprinkle water on the wood. If the wood absorbs it within 10 minutes, plan to stain as soon as possible. If the water beads or pools on the wood surface, the wood needs more time to dry.
Safety Tip: Wear gloves when handling pressure treated wood.
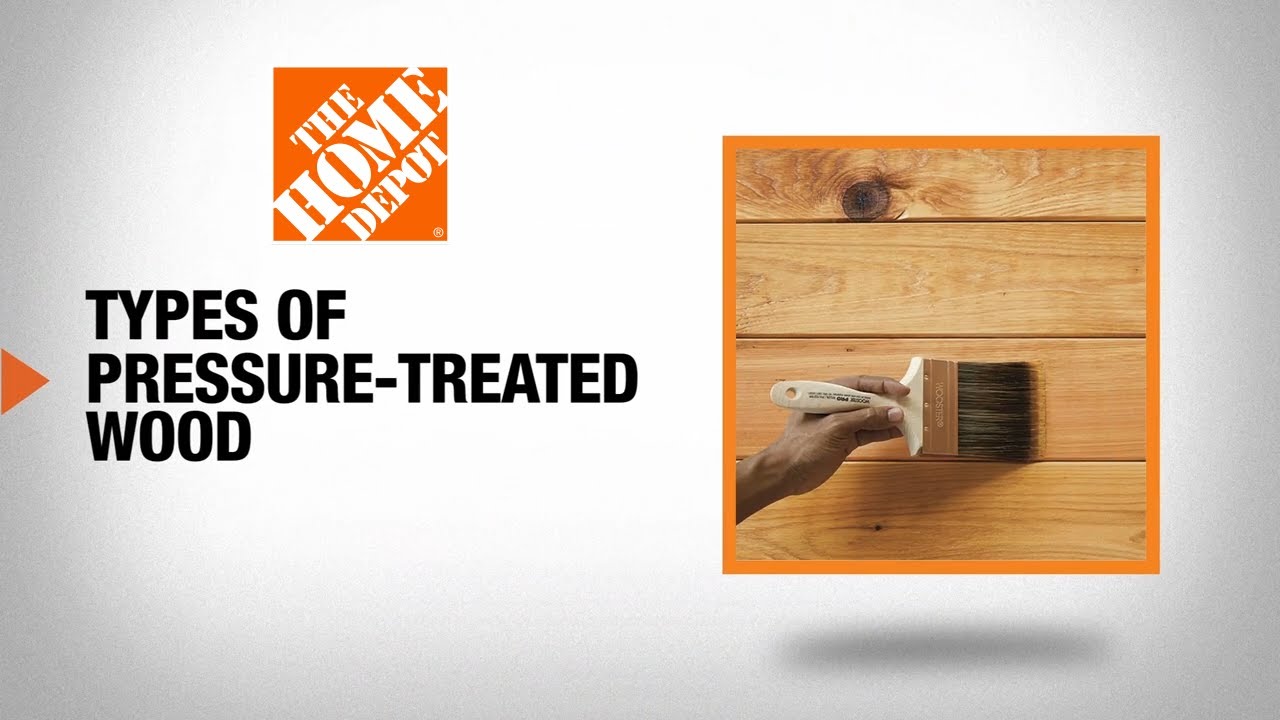
Choose the Stain

One of the best things about learning how to stain pressure-treated wood is choosing the perfect stain.
- Transparent stain has little to no pigmentation, while semi-transparent stains have more pigmentation to add color and tone.
- Consider a lighter-colored stain on a newer wood structure, which gives you the flexibility of applying a darker color in the future. A darker stain might complement older pressure-treated wood by hiding imperfections.
- When staining a deck that receives a lot of sunlight, consider a light stain that reflects heat over a dark stain that will absorb more heat.
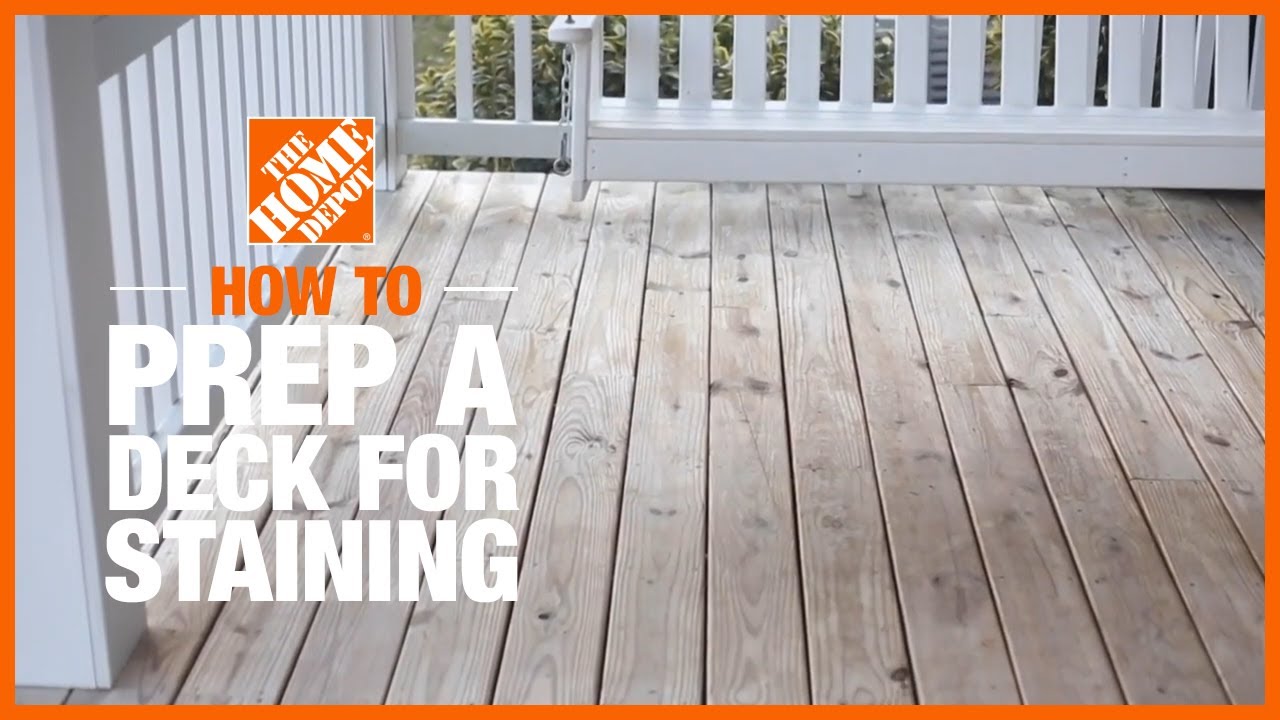
Wash the Wood

- Unless the wood is entirely new, you’ll need to clean the surface. Make sure it's free of dirt or mildew before finishing, so the wood stain doesn’t trap any imperfections. Allow it to dry before staining.
- Wash the pressure-treated wood with a deck cleaner, scrubbing the wood surface with a brush while wet. Use a pressure washer if the wood has tough stains.
- Allow the wet cleaner to soak into the wood for about 10 minutes or to manufacturer’s directions.
- Rinse thoroughly with a garden hose or pressure washer.
- Allow the wood to dry 24 hours before applying stain.
Preparing to Stain

- Stain needs time to absorb into the wood, but dries quickly. Avoid applying the stain in direct sunlight.
- Before applying the stain, use tarps or painter’s tape to protect areas near the wood such as plants or the house's siding.
- Dry brush the wood one more time to remove any leaves, dust or more that settled when the cleaner was drying.
- Stir the stain thoroughly before application and pour into a paint tray.
- Apply the stain to a patch of wood to confirm that you like its color and appearance.
Apply the Stain

- Stain the pressure-treated wood using a paint pad applicator. This is easier than brushing a large deck or structure by hand, and more accurate than using a pressurized sprayer.
- Use a paintbrush to stain between cracks and problem areas.
- Usually no more than one coat is needed. Expect the butted ends of lumber to accept more stain.
- If staining pressure treated fence posts, deck rails or other vertical surfaces, start at the top and work your way down.
- Know how long to wait before staining pressure treated wood. Most stains need 24 to 48 hours to dry. Plus, check your local weather to avoid staining during rainy or humid days.
Tip: Stain downward-facing pressure treated 2 x 4s and other boards (such as the underside of decking) before you nail in place.
How to Paint Pressure Treated Wood

The pressure-treating process can make exterior wood and deck paint less likely to adhere and more likely to peel. Before you paint or stain pressure treated wood, there’s a few things to consider:
- Allow the wood to dry completely and otherwise prepare the same ways you would when staining.
- To help the paint adhere, use a bristle brush to coat the surface with a primer designed for exterior use on pressure treated wood.
- Using a brush, apply at least two coats of latex paint to see best results.
How to Seal Pressure Treated Wood

- Most exterior wood stains contain some sealant to protect the wood against moisture.
- If you want to showcase the natural wood grain and color while ensuring a higher level of protection, consider a clear sealant to protect the surface.
- A product that combines stain and sealer adds both protection and pigmentation, but sealants are not recommended to be used on top of stained wood.
- When sealing pressure-treated wood, choose a product designed to be UV repellant.
- Apply sealant using the same method to apply stain.
Knowing how to stain pressure-treated wood is a simple skill to learn. Primarily consisting of southern yellow pine, pressure-treated wood is required by many building codes in retaining walls, ground contact lumber and other exterior wood projects. Staining pressure-treated wood can help decks, fences and more to look better and last longer.
Get the tools and wood stains you need. The Home Depot to delivers online orders when and where you need them.