How to Install a Motion Sensor Light

Last updated September 7, 2023
Motion sensor lights illuminate the exterior of your home so when you return home in the dark, you can see your way. They also discourage potential intruders. If you have an existing flood light, they are especially easy to install. This guide teaches you how to wire and install a motion sensor light.
Difficulty:
Intermediate
Duration:
Under 2 hours
Table of Contents
Shut Off the Power and Wire Your Motion Sensor Lights
Add the Motion Sensor and Restore Power
Activate Your Motion Sensor
Shut Off the Power and Wire Your Motion Sensor Lights

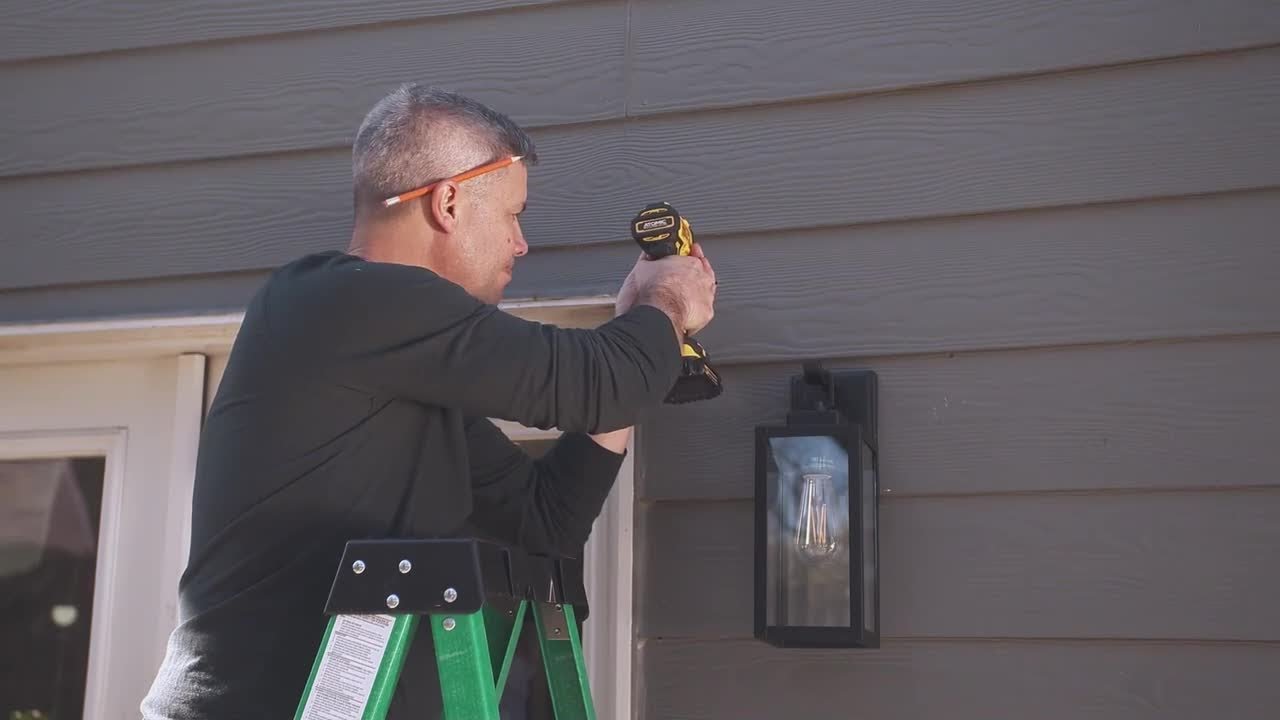
The first step to installing your outdoor security lights is to shut off the power at the service panel and remove the existing floodlight. Next, run the motion sensor wires through the rubber gasket and splice them with wire nuts. While mounting the light to the box, position the gasket so it will keep the box dry.
Add the Motion Sensor and Restore Power

Restore power, loosen the locknuts and twist the light until it is where you want it. Then tighten the locknuts to hold the light in place.
Activate Your Motion Sensor

Activate the motion sensor using the manufacturer’s instructions. You should also choose how long you want the light to stay on when triggered. Test the sensitivity of the sensor by walking around it, and adjust if necessary.
Once your motion sensor light is installed and activated, leave the light switch in the on position. The lights will turn on automatically when the sensor detects movement. With many models, you can change to always-on mode by flipping the wall switch off and on again quickly. Change back to motion detection mode by flipping the wall switch to off for approximately 10 seconds.
The Home Depothas a wide variety of motion sensor lights to choose from. Shop using The Home Depot Mobile App to find what you need, or by visiting your local store.