DIY Easter Bunny Planter

Last updated February 18, 2026

Yuni is a Korean- American raised in the South who loves all things designing, DIY-ing, and cooking. On her blog, Love Your Abode, you can find about interior design inspiration, home remodel makeovers, and recipes.
A Note From The Home Depot
Create an adorable Easter Bunny Planter with your child with this at-home DIY Kids Workshops project. Learn everything you need to know from Yuni Min of Love Your Abode as she walks through how to create a bunny planter.
Table of Contents
How to Make an Easter Bunny Planter
Step 1
Step 2
Step 3
Step 4
Step 5
How to Make an Easter Bunny Planter
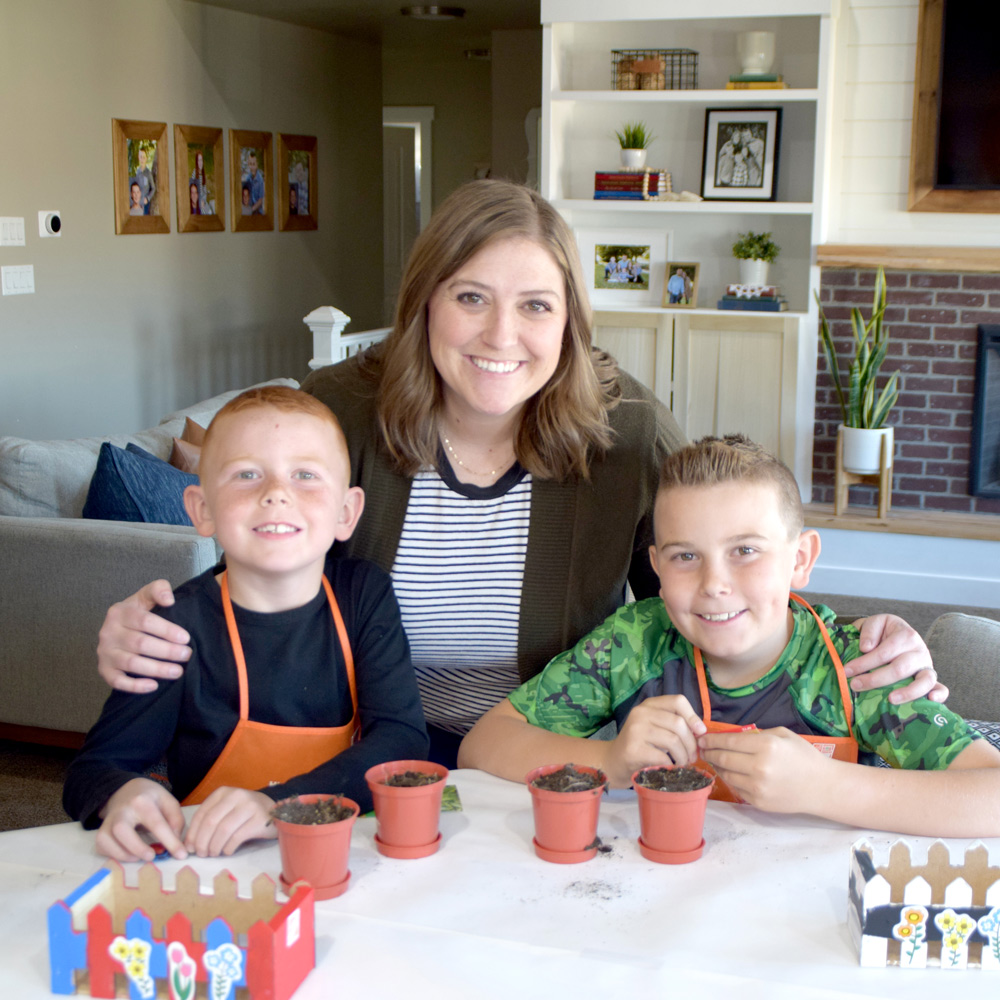
Emmy and I created the cutest Easter Bunny Planter for The Home Depot Kids Workshop! We plan on using it as a table centerpiece on our patio during this Easter season.
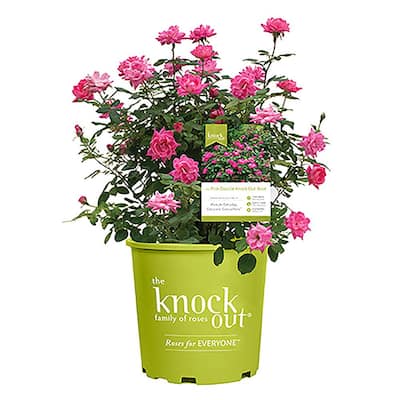
All you need are a few supplies from The Home Depot to make this adorable Easter Bunny Planter with your little one.

Step 1
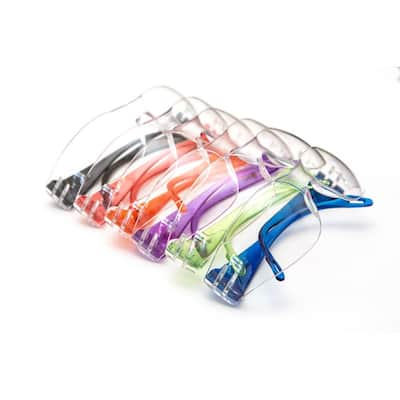
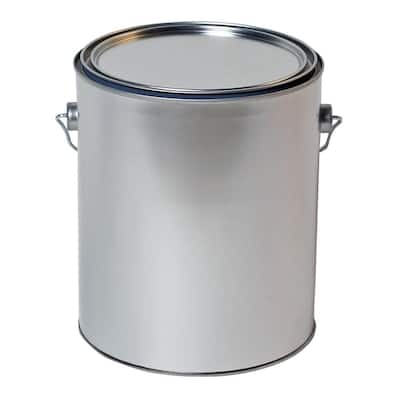
Take the empty paint can outside and lightly spray all over using the Behr Exterior White Glossy Spray Paint. Read the directions on the can and wait for the appropriate time in between coats. We used three light coats and made sure to wear goggles and a mask for protection.

Step 2
After the spray paint has fully cured, it's time to drill some holes. Take your paint can and place it upside down. Make about 4-5 holes in the bottom of the paint can with a drill. This will ensure your plant maintains adequate drainage.


Step 3
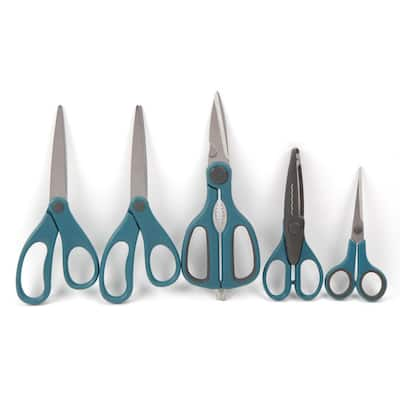
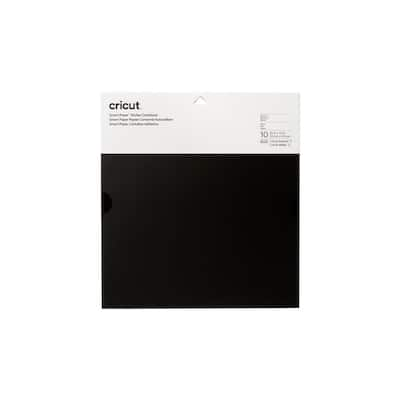
Take some cardstock and freehand two bunny ears, bunny feet, and a nose. Allow your little one to cut out all the pieces and assist them if necessary.

We thought it would add a cute detail to layer two different cardstocks for the ears and feet. Feel free to mix and match to create your own unique pattern.

Step 4
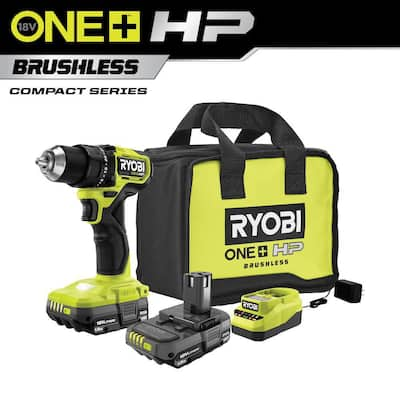
Carefully hot glue the pieces together. Be sure to assist your little one as the glue gun can get very hot. The Ryobi glue gun is amazing because you don't have to mess with any cords.

When hot gluing the ears, place the long toothpick in between the layers. We're going to utilize the toothpick to insert the ears into the soil of the plant. You can also use sticks or straws for this portion of the project if you don't have toothpicks.

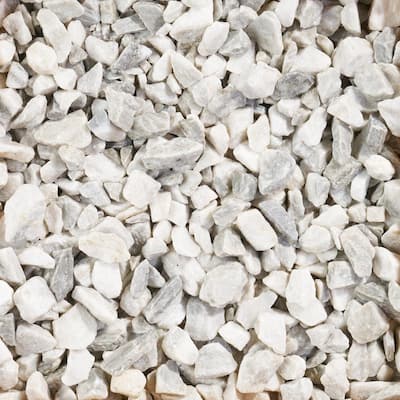
Step 5
Add rocks to the bottom of the can as this will also assist with proper drainage.

Step 6
Hot glue the rest of the cardstock pieces onto the paint can and add the flowering plant. Feel free to add additional gardening soil if necessary.


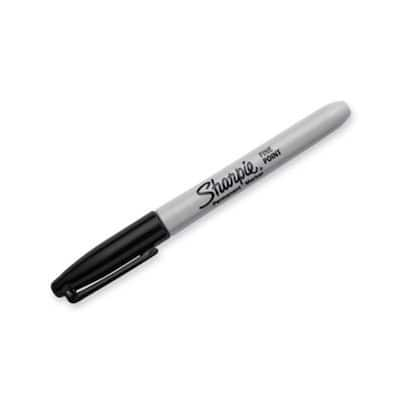
Insert the ears using the toothpicks into the soil of the plant. Draw the eyes and mouth with the black sharpie.

Enjoy your adorable creation with your kid! Emmy and I absolutely love how our planter turned out. This also helps your child learn how to care for their own plant this Easter season. If you place this indoors or on a table, I recommend placing the planter on top of a dish to catch any water that may drain out of the container.

We hope you'll join Emmy and me this month in creating your own version of the Easter Bunny Planter!
This post was created in partnership with The Home Depot. The author may have received compensation for this article and associated images or video, potentially in the form of products and/or services. All expressed opinions and experiences are the author’s own words.