![A wedding reception decorated with a DIY hexagon backdrop. A wedding reception decorated with a DIY hexagon backdrop.](https://contentgrid.homedepot-static.com/hdus/en_US/DTCCOMNEW/Articles/diy-hexagon-backdrop-hero.jpg)
![Jaime Costiglio contributorImage](https://contentgrid.homedepot-static.com/hdus/en_US/DTCCOMNEW/Articles/jaime-costiglio-headshot.jpg)
A Note From The Home Depot
Summertime often makes use feel inspired to tackle on a project or two. Jaime Costiglio, a DIY Master and Woodworker, took on a 3-part hexagon project to accommodate several different occasions. Read more on how she did it below!
Creating a Hexagon Backdrop
![A hexagon shaped backdrop decorates a wedding reception. A hexagon shaped backdrop decorates a wedding reception.](https://contentgrid.homedepot-static.com/hdus/en_US/DTCCOMNEW/Articles/diy-hexagon-backdrop-image-1.jpg)
Make a statement with a beautiful, large and simple hexagon shaped backdrop. Create a framed space with a giant hexagon perfect for a modern party or wedding ceremony.
![A clear podium stands in front of a DIY hexagon backdrop. A clear podium stands in front of a DIY hexagon backdrop.](https://contentgrid.homedepot-static.com/hdus/en_US/DTCCOMNEW/Articles/diy-hexagon-backdrop-image-2.jpg)
This wood frame shape is actually made from two hexagons with cross supports to give it depth. It’s plenty big enough at almost 84” tall to frame multiple adults.
![A woman wearing a dark colored dress stands next to flowers hanging on a DIY hexagon backdrop. A woman wearing a dark colored dress stands next to flowers hanging on a DIY hexagon backdrop.](https://contentgrid.homedepot-static.com/hdus/en_US/DTCCOMNEW/Articles/diy-hexagon-backdrop-image-3.jpg)
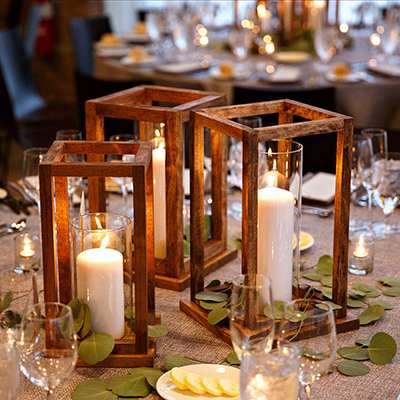
I built this giant hexagon as a focal backdrop piece for a spring benefit party. We used the hexagon theme throughout the party on the invitation graphic, in the table centerpieces, a feature wall in the cocktail area and more.
![A table decorated with white linens, small candles, and a floral centerpiece. A table decorated with white linens, small candles, and a floral centerpiece.](https://contentgrid.homedepot-static.com/hdus/en_US/DTCCOMNEW/Articles/diy-hexagon-backdrop-image-4.jpg)
This is a great solution for an event space that makes a big impact for relatively little effort. The construction is simple and requires few supplies. Please read through the steps entirely before beginning.
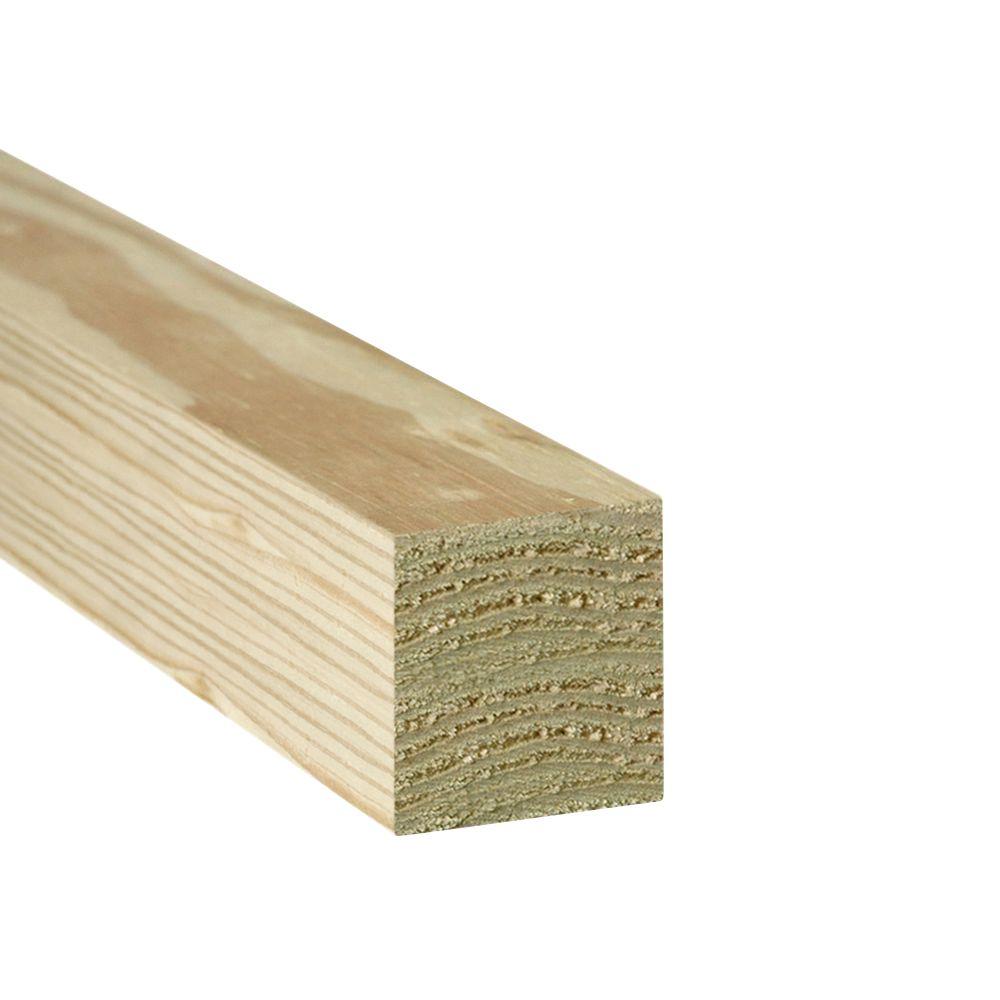
![A diagram of a DIY hexagon backdrop with measurements. A diagram of a DIY hexagon backdrop with measurements.](https://contentgrid.homedepot-static.com/hdus/en_US/DTCCOMNEW/Articles/diy-hexagon-backdrop-image-5.jpg)
Cut List:
- 6 – 2×2 @ 48”, both ends 30 degree miter not parallel (frame)
- 8 – 2×2 @ 8” (cross supports)
- 2 – 2×2 @ 30”, both ends 30 degree miter not parallel (feet)
Instructions:
![A diagram with measurements showing where to connect three pieces of a wood frame. A diagram with measurements showing where to connect three pieces of a wood frame.](https://contentgrid.homedepot-static.com/hdus/en_US/DTCCOMNEW/Articles/diy-hexagon-backdrop-image-6.jpg)
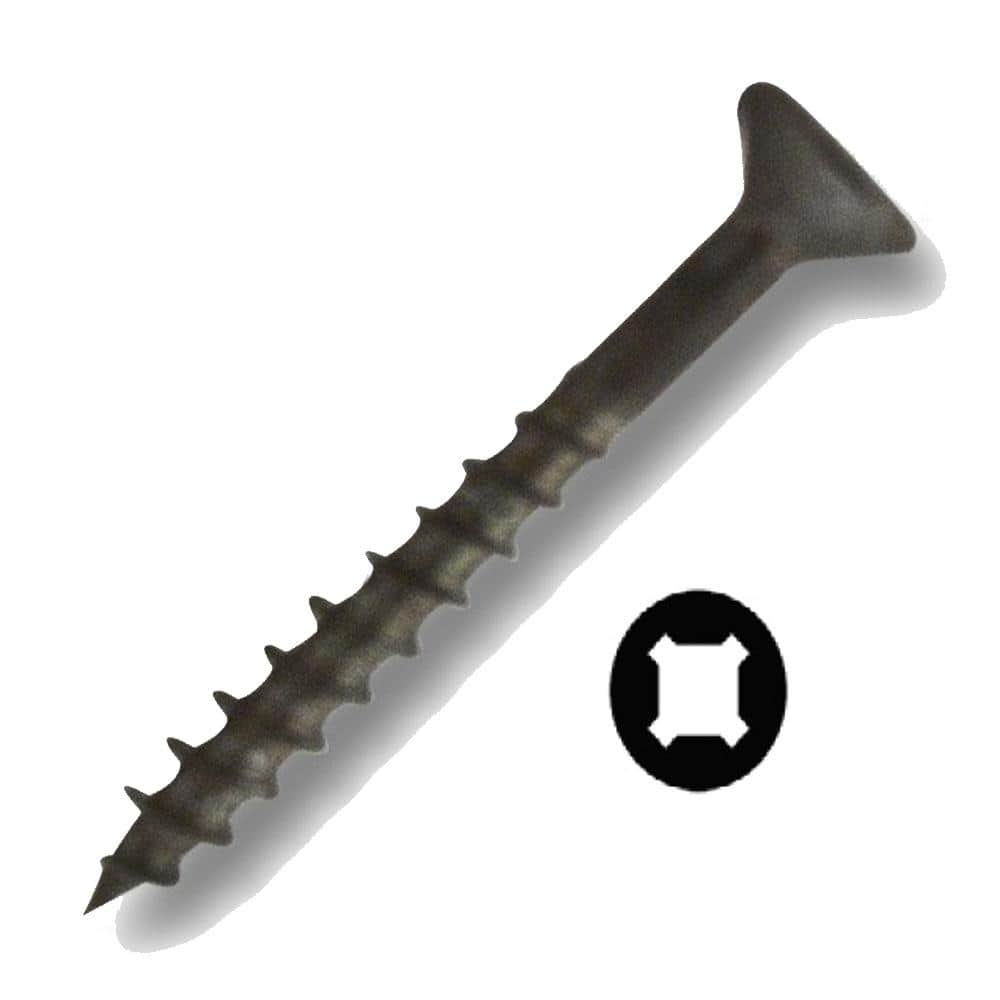
Connect three pieces of the frame together using wood glue and 2 ½” countersunk screws. You’ll make 4 sets.
![A diagram with measurements showing where to attach cross supports in between two frames. A diagram with measurements showing where to attach cross supports in between two frames.](https://contentgrid.homedepot-static.com/hdus/en_US/DTCCOMNEW/Articles/diy-hexagon-backdrop-image-7.jpg)
Attach cross supports in between two frame portions using pocket holes and 2 ½” pocket hole screws. Make 2.
![A diagram with measurements showing where to stack the top half of the frame on the bottom half. A diagram with measurements showing where to stack the top half of the frame on the bottom half.](https://contentgrid.homedepot-static.com/hdus/en_US/DTCCOMNEW/Articles/diy-hexagon-backdrop-image-8.jpg)
Stack one half of the frame on top of the other. Line up and clamp the cross supports then attach using 2” countersunk wood screws.
![A diagram with measurements showing where to mark the half lap notches in the feet pieces. A diagram with measurements showing where to mark the half lap notches in the feet pieces.](https://contentgrid.homedepot-static.com/hdus/en_US/DTCCOMNEW/Articles/diy-hexagon-backdrop-image-9.jpg)
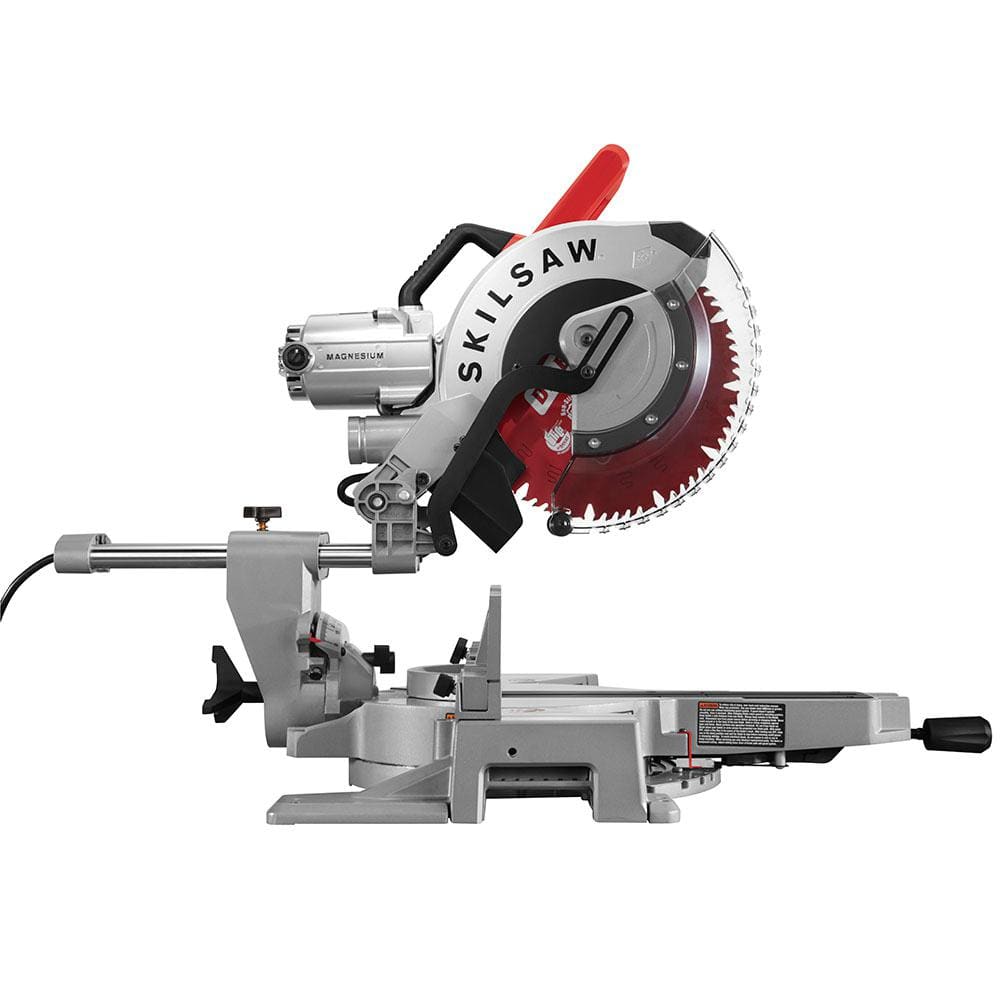
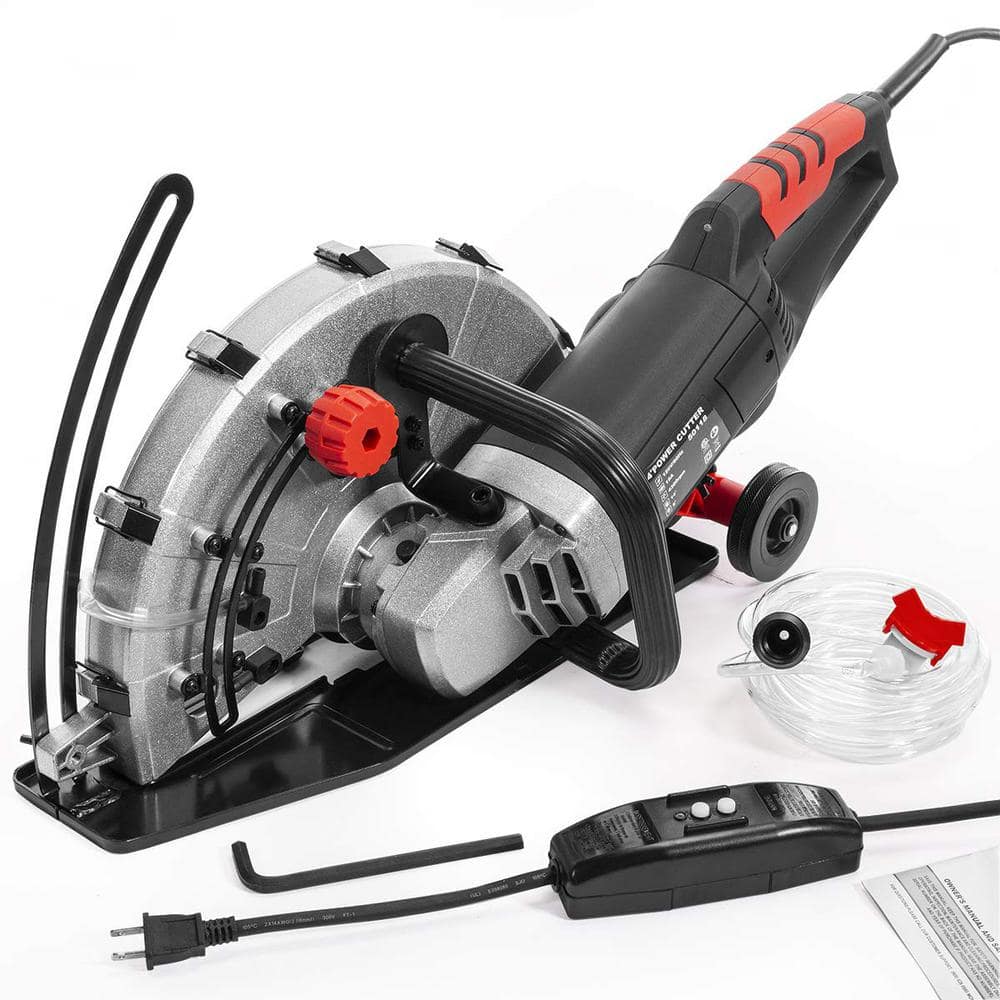
Mark the half lap notches in the feet pieces as per the diagram. Use a table saw or circular saw to remove wood from notch area. You can use a chisel or multi-tool to clean out the notched area.
![A diagram with measurements showing where to place and attach the feet pieces. A diagram with measurements showing where to place and attach the feet pieces.](https://contentgrid.homedepot-static.com/hdus/en_US/DTCCOMNEW/Articles/diy-hexagon-backdrop-image-10.jpg)
Place the feet as indicated and attach from underside using 2” countersunk wood screw.
![The feet pieces on a DIY hexagon backdrop. The feet pieces on a DIY hexagon backdrop.](https://contentgrid.homedepot-static.com/hdus/en_US/DTCCOMNEW/Articles/diy-hexagon-backdrop-image-11.jpg)
Finish the hexagon as desired. For this event I used a pewter metallic paint to keep things neutral. I opted for a few floral arrangements to dress up the modern shape. To make it really pop we used rope lights for a cool blue glow effect.
![A completed DIY hexagon backdrop painted in a pewter metallic paint. A completed DIY hexagon backdrop painted in a pewter metallic paint.](https://contentgrid.homedepot-static.com/hdus/en_US/DTCCOMNEW/Articles/diy-hexagon-backdrop-image-12.jpg)