Front Door Replacement Tips

Last updated February 18, 2026

Jamison Rantz is a husband and father of two. When he's not designing planes as an aerospace engineer, he's designing DIY furniture and publishing simple plans on his blog, Rogue Engineer. With their new family and new house they're always building cool new furniture and sharing tons of free plans with the world.
A Note From The Home Depot
Replacing a front door isn’t a difficult DIY project, but it can pay off with better curb appeal, security and energy efficiency.
Jamison Rantz, of Rogue Engineer, replaced not one, but two front doors in his house, and shows us exactly how he did it.
Table of Contents
Replacing a Front Door
Removing the Existing Door
Installing the Pre-Hung Door
Removing and Installing Door Number Two
Trim and Finishing
Replacing a Front Door
My wife and I have recently taken on a total home renovation and one of the projects we wanted to tackle was one of the first things you see when you walk into the house; the front door. The house we purchased had an addition on the front which included an unheated entryway.


Unfortunately, the original, hunter green and brass, solid front door lead into the house, making the living room feel darker than it already was. We wanted something with more glass that would let in light and help the space feel more warm, but insulated to create an airlock entryway to thwart off the cold Michigan winters. For the front door, that opened into the entryway, we wanted a solid wooden door that would let some light in but also maintain a little privacy.
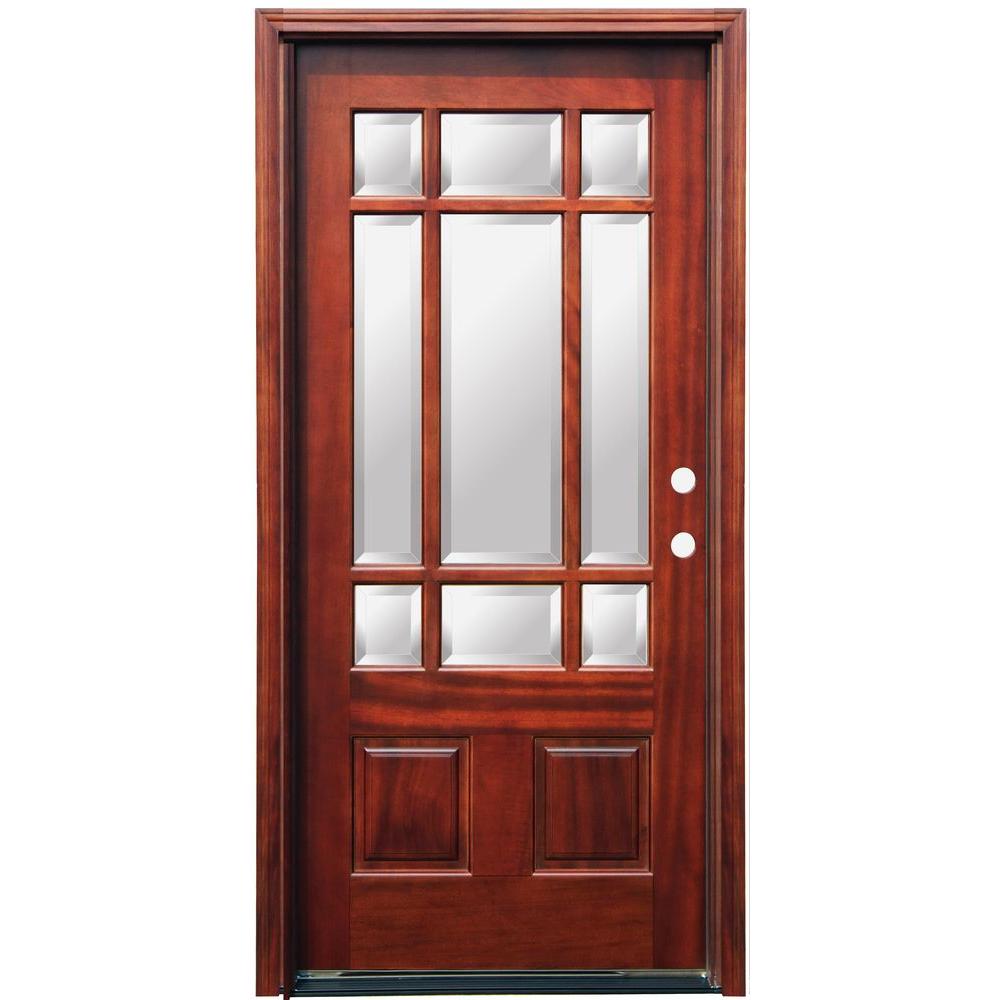
After a lot of searching we settled on the Craftsman 9 Lite Stained Mahogany Wood Prehung Front Door and the 15 Lite Primed White Majestic Steel Prehung Front Door. Now it was time to get started on the installation.

Then we pulled the door off the hinges by first removing the hinge pins. It’s nice to have a second hand here.

After that was done it was time to remove the hardware to prepare for the frame to be pulled. Most of the screws don’t protrude into the studs but there is a long security screw or two in the hinges and there should be two in the deadbolt.

To remove our door frame there was just a few screws in the brick molding but some doors may require that you cut through the nails in the jamb.

Installing the Pre-Hung Door
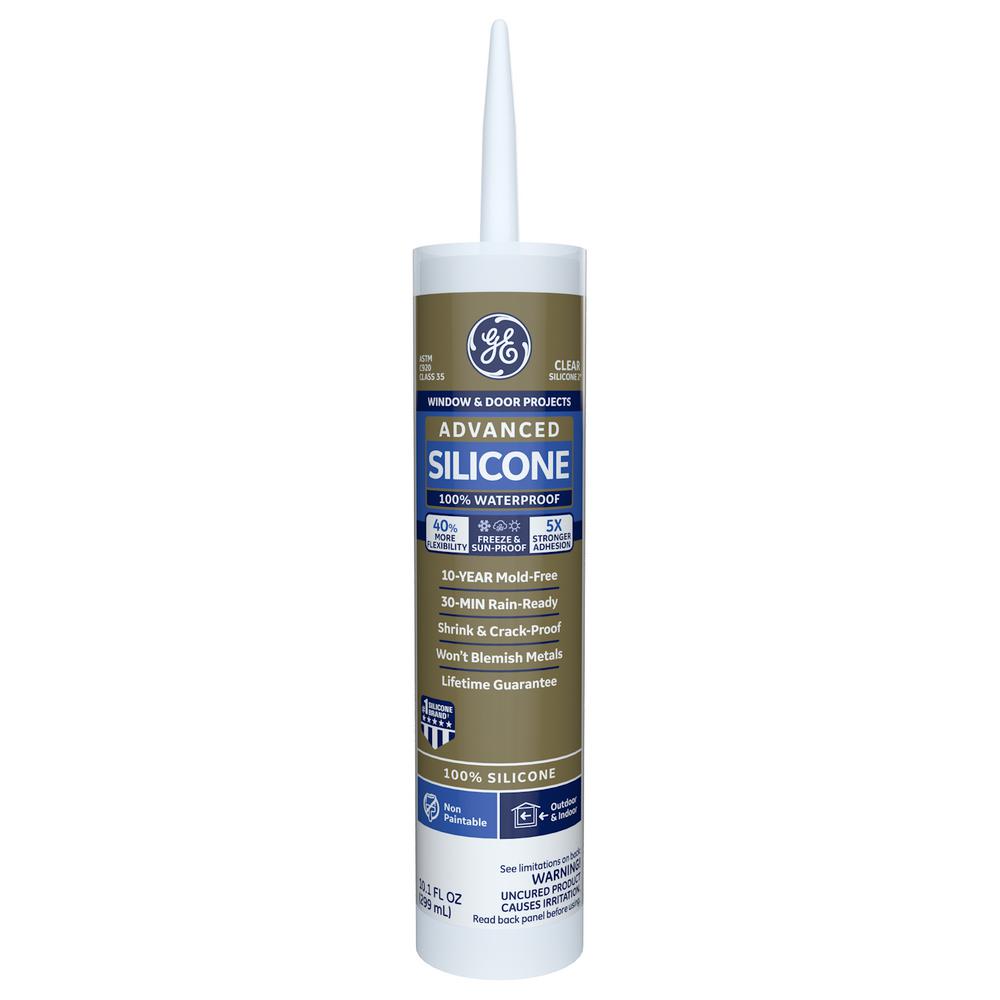
Before installing the door, lay down a thick bead of window, door and siding sealant to weatherproof the sill. I didn’t have to do this for the interior door but I figured I still would for good measure.

Then, we set the door in place and shimmed it temporarily, check for plumb and square, and re-shimmed as required until we got it were we were happy with it.


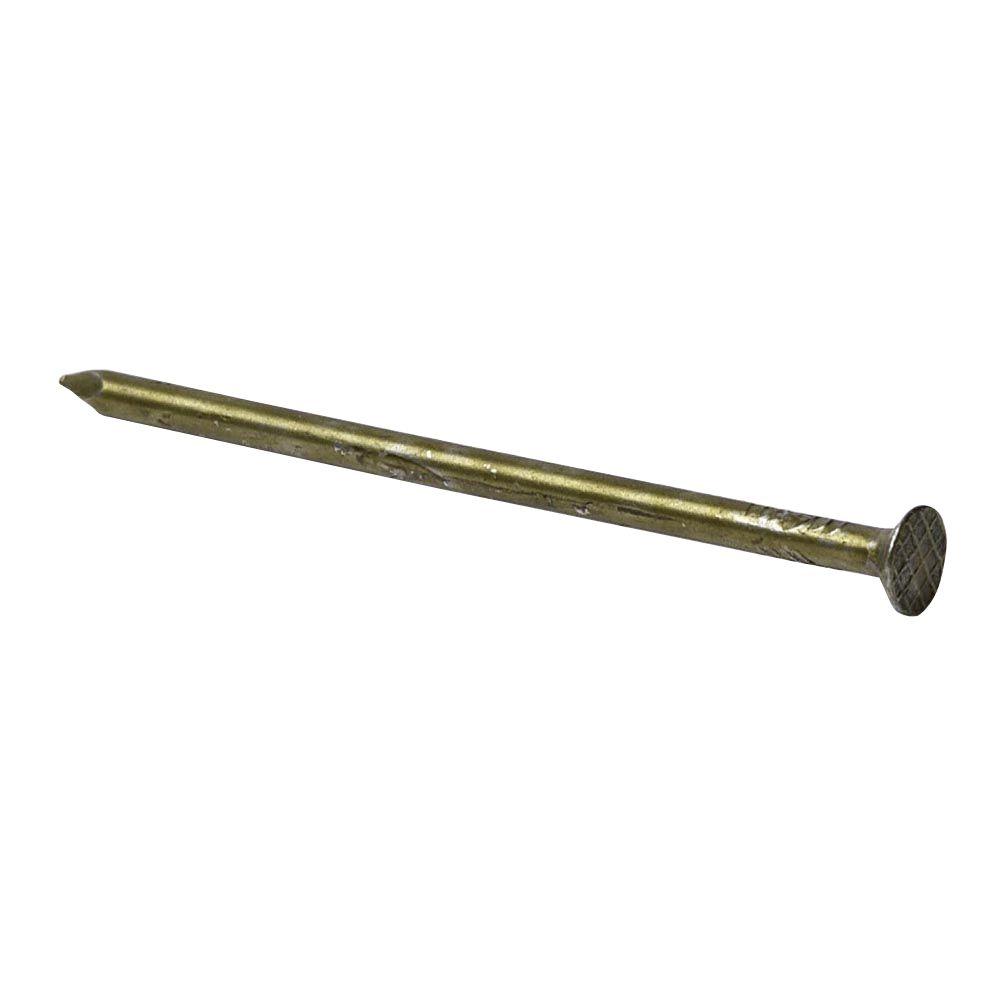
After confirming that door swung smoothly, we nailed through the jamb and shims and into the studs using 16d nails. Then I removed one of the hinge screws and replaced it with a longer security screw.


Finally, we added insulation back around the door frame to assure we were maintaining the energy efficiency of the house.

Removing and Installing Door Number Two
Before finishing up the installation we had another door to install. The real front door! This was the one we were most excited about. A Craftsman 9 Lite Stained Mahogany Wood Prehung Front Door, and boy is it a stunning door.
We had to repeat all the steps that we did with the previous door, first, removing the old door and frame.


After that was out we were able to unbox the new door and install it as we did before.


Trim and Finishing
Now with the doors installed and properly insulated it was time to trim the doors out again. You could use standard casing on the inside and caulk the brick molding on the outside to assure a watertight seal but this house deserved more. For the interior door we trimmed both sides with interior trim to match the house, painted the door to match the trim, and installed aged bronze Schlage locks with their Camelot trim and Birmingham levers.

For the real front door, there was no finishing required but the inside did get trim and the exterior got caulked and sealed for a waterproof finish. As well, the front door got aged bronze Schlage Sense smart locks which are amazing! I feel like ever door should have these. Not only can you use the keypad to gain entry but the lock is HomeKit enabled so you can totally get Siri to unlock your doors for you.


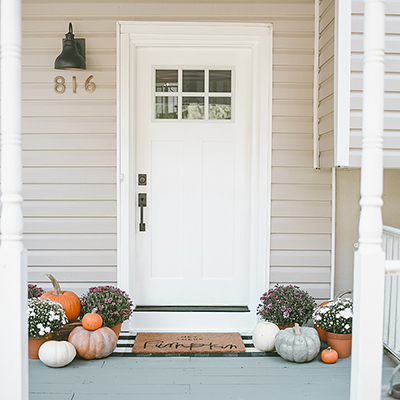
Anyways, as you can see this was a total room transformation from what we started with. To see more projects like this and the tons of other DIY projects, make sure to check out my blog Rogue Engineer.


Browse all our exterior doors and Schlage locks at The Home Depot.
This post was created in partnership with The Home Depot. The author may have received compensation for this article and associated images or video, potentially in the form of products and/or services. All expressed opinions and experiences are the author’s own words.