How To Create Eye-Catching Hand-Painted Striped ‘Wallpaper’: A Step-By-Step DIY Guide

Last updated August 21, 2024

Lauren Comer is an avid DIYer, content creator and the author behind Pinch Plate Party. Through her blog, Lauren aims to inspire and empower others to transform their homes into their favorite place to stay, eat, and entertain! Lauren believes that It’s possible to have the home of your dreams with a few power tools, a simple recipe book, and a modest decor budget.
A Note From The Home Depot
Create your own wallpaper using paint! Lauren of Pinch Plate Party guides you along as she shows how to create hand-painted striped ‘wallpaper’ in this step-by-step guide.
Table of Contents
How To Create Eye-Catching Hand-Painted Striped ‘Wallpaper’: A Step-By-Step DIY Guide
Start by Prepping Your Walls
Next, Create Your Desired Striped Pattern Using Delicate Surface Painters Tape
Paint the Walls With Your Second Color
Gently Remove the Painter’s Tape
Touch Up Paint, Replace Outlet Covers and Decorate
How To Create Eye-Catching Hand-Painted Striped ‘Wallpaper’: A Step-By-Step DIY Guide

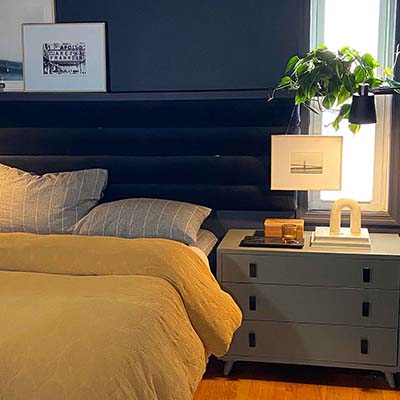
Wallpaper is making a comeback in a big way, but one of the downsides is that it isn't always budget-friendly and can be difficult to remove or cover. If you love the wallpaper trend but want something more cost-effective and easier to change, hand-painted 'wallpaper' is a great project you can tackle over a weekend! This project works particularly well for small spaces like a laundry room or bathroom, while for larger areas, it makes for a stunning accent wall.
To achieve the best results, use two coordinating paint colors. If you're unsure about which colors work well together, the Home Depot’s Paint Colors page is a great place to start. From there venture over to the Popular Paint Colors section, there you can select a paint color that suits your space and explore the coordinating colors section to find a perfect match.
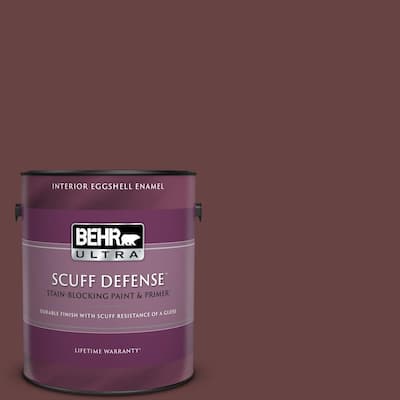
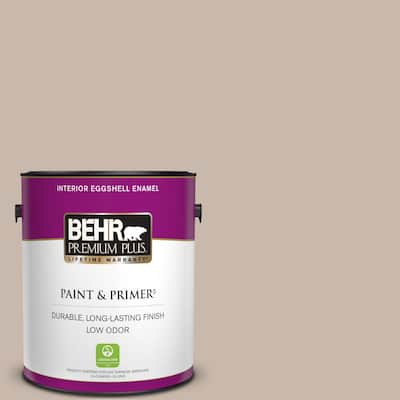
For this project, I used the Behr colors Armadillo and Twinberry. Armadillo is a relaxing taupe, while Twinberry is a deep wine color, combining berry and burgundy hues.
I decided to use two different Behr paint formulas for this project. I chose Behr’s Premium Plus formula for my base color, Armadillo, because it hides and covers well. I opted for the Behr Ultra formula for Twinberry because of its velvety finish and scuff resistant formula. Twinberry will act as a trim paint in this space as well so it’s important that it is highly durable to allow for easy maintenance and cleaning.
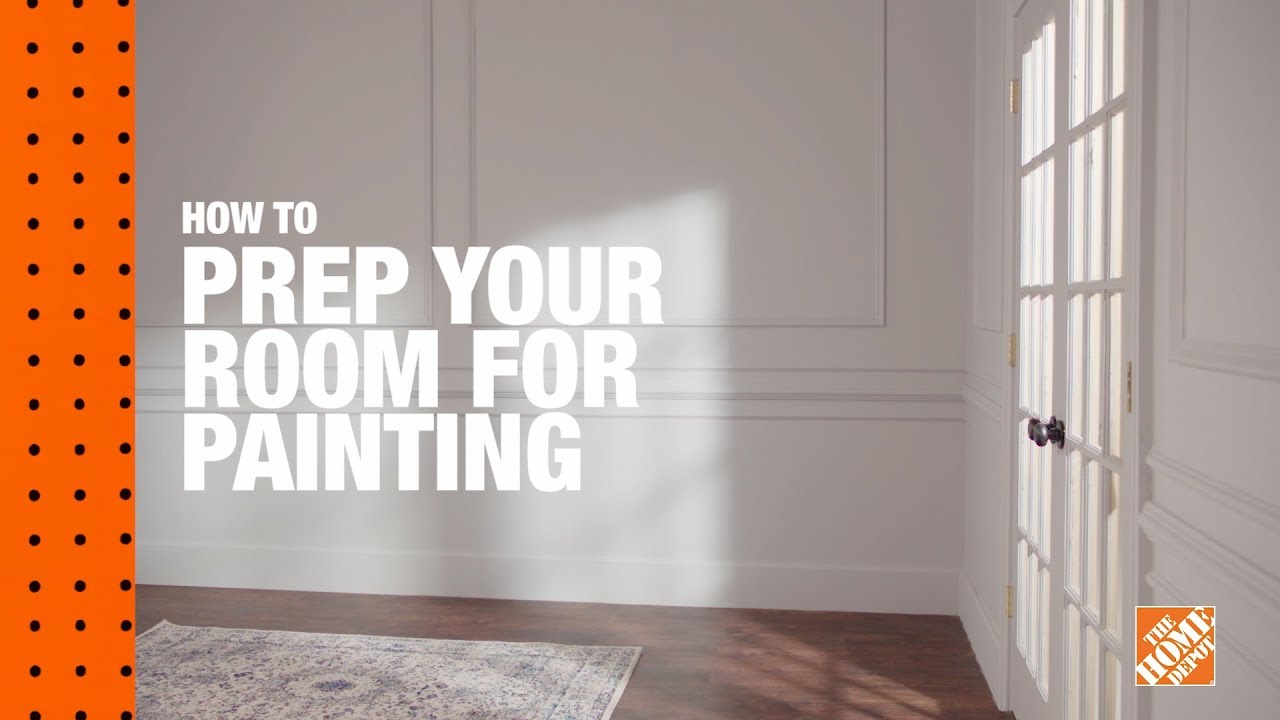
Start by Prepping Your Walls

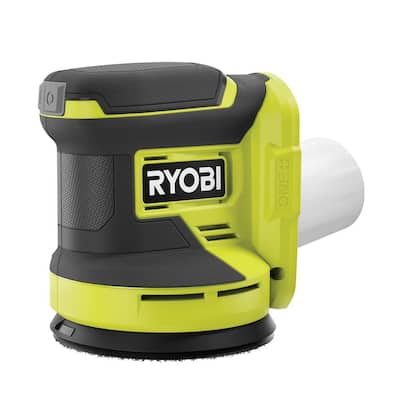
If there's any residual texture from previous paint or wallpaper removal, sand down the surface to make it smooth. This step will help prevent paint from leaking under the painters tape during the later stages of the project. Prep for paint by removing any outlets or switch covers. Use mild adhesion painter’s tape to tape around the ceiling and baseboards if you wish.

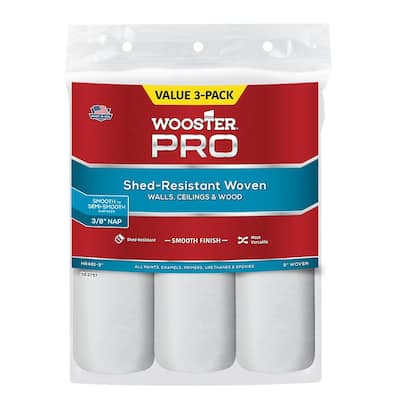
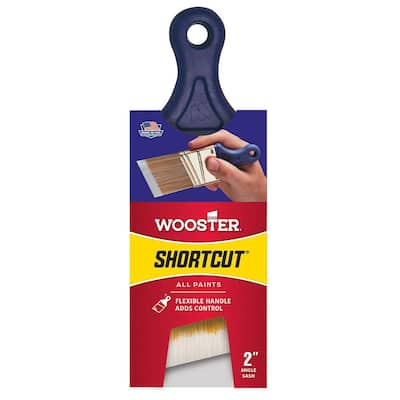
Among your two chosen colors, the base color should be the lightest one. Cut in along the ceiling, baseboards and corners with a paint brush. Roll the paint onto the walls using a paint roller. If necessary, apply a second coat of paint.
Next, Create Your Desired Striped Pattern Using Delicate Surface Painters Tape

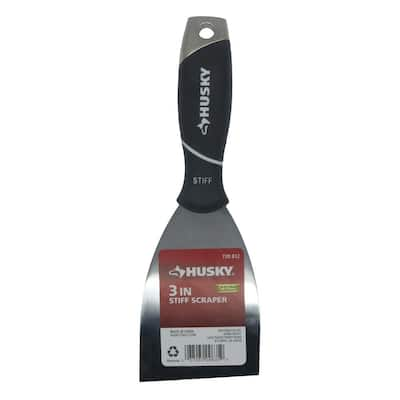
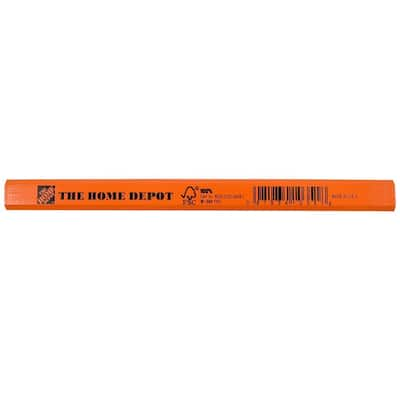
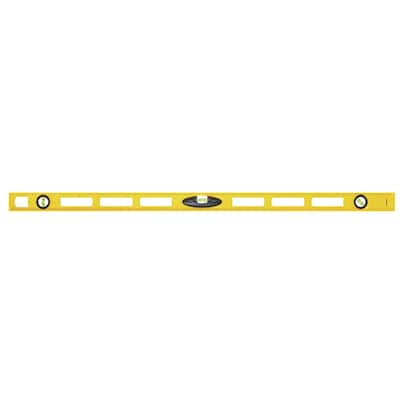
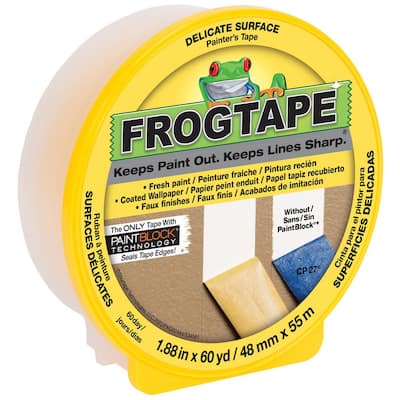
Striped patterns can be customized to your preference and style. For this project, I used 1.88 inch width painters tape in conjunction with a level to determine the stripe pattern. Use a level and a pencil (or a laser level) to mark each vertical line and then press the edge of the tape along the markings. Continue this process for the entire length of the wall and/or room. Once the entire space is taped, use a putty knife to gently smooth down the edges of the tape. This will help ensure a tight seal and limit paint seeping under the edges.
Paint the Walls With Your Second Color


Using the same method as before, paint the walls and cut in along the edge of the ceiling, baseboards (if desired) and corners. Allow the paint to dry. If necessary, apply a second coat of paint and let it dry.
Gently Remove the Painter’s Tape

Be careful while removing the tape to avoid any unwanted peeling of the paint. Take your time during this step to achieve clean lines.
Touch Up Paint, Replace Outlet Covers and Decorate

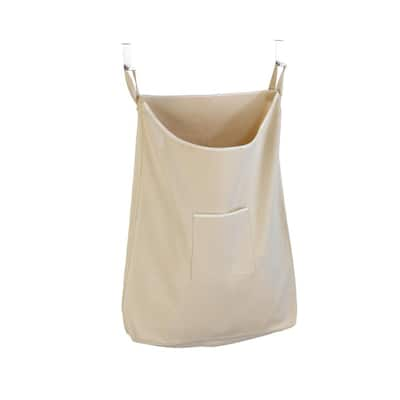
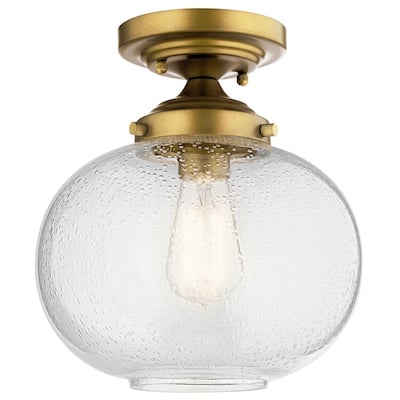
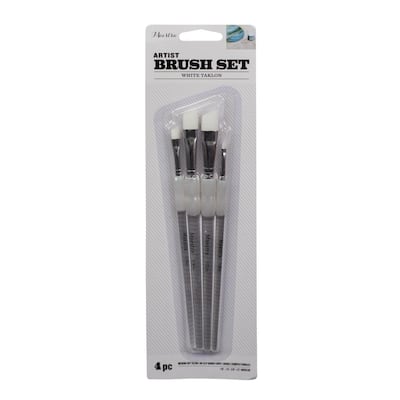
Use an artist paint brush to touch up any paint lines as needed, ensuring the lines look crisp. Re-install any light switch and electrical plate covers. Add any additional laundry room decor, such as new light fixture and hanging laundry bags.
Now you've successfully created your eye-catching, hand-painted striped 'wallpaper'!
This post was created in partnership with The Home Depot. The author may have received compensation for this article and associated images or video, potentially in the form of products and/or services. All expressed opinions and experiences are the author’s own words.