How to Improve the Look of Wood Patio Furniture With Olympic Elite Solid Stain

Last updated August 21, 2024

The idea for Mother Daughter Projects (MDP) came about when the mother daughter duo were working on replacing Steph’s porch screen. Vicki jokingly said, "We should make a ‘how to’ video." She didn’t think anymore about it, but Steph did. She started thinking: "It could be a way to document all our projects, a way to show our niece and nephews (grandchildren) what women can do, and a way to spend more time together." So Mother Daughter Projects was born…March 2015. Steph and Vicki have been doing DIY projects together for over a decade here in Florida. One of our first projects was ripping up the living room carpet and painting the floor - it was a HUGE undertaking! Thankfully, Vicki brings years of wisdom and experience of DIYing and combined with Steph’s vision, discipline, and strength, we are motivated to get the job done! Vicki has a BS in Home Economics Education and Steph's BA is in Television Production, which makes Mother Daughter Projects a natural fit!
A Note From The Home Depot
Mother-daughter duo, Steph and Vicki Kostopoulos of Mother Daughter Projects show us how they touched up their weathered cedar oak patio furniture with the help of Olympic Elite Solid Stain. Check out a video of how they improved the look of their wood patio furniture here.
Table of Contents
First Things First: Choosing a Color!
Prep
Cleaning the Furniture
Staining
Clean Up and Stage
After seven years of use, this outdoor cedar wood furniture was past due for a new look. The unfinished wood meant that stains and dirt could not be easily cleaned. It was water stained and had faded more in some areas than others. This furniture was the perfect candidate to try out the #1 rated Olympic Elite Solid Stain.

Let’s get started!
First Things First: Choosing a Color!
With color chart in hand, we narrowed our choices down to two colors. We found a great resource, a color visualizer on the Olympic website. With it we were able to take a look at both colors side by side to see how they looked against the existing porch carpet.

With the visualizer, we were able to “see” how the color would look on the wood furniture. The online representation actually turned out to be really accurate! Time to place an order at The Home Depot!

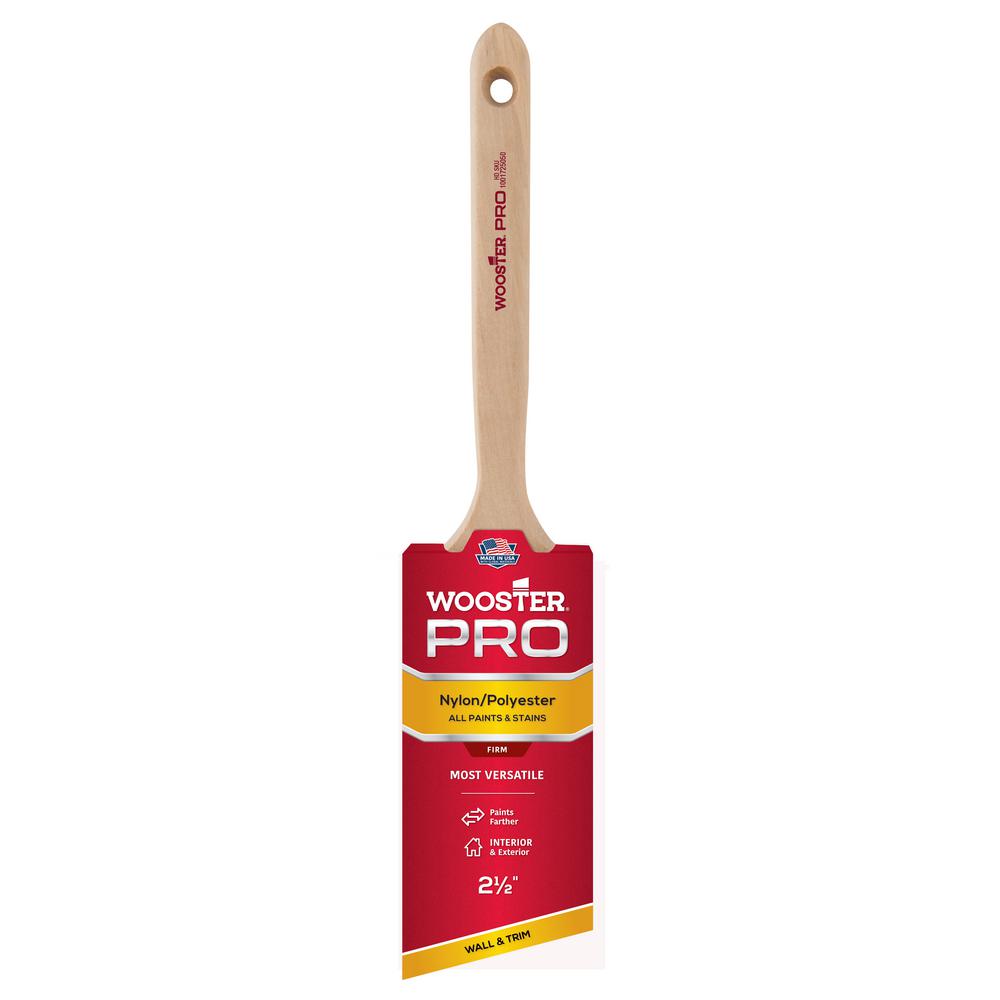
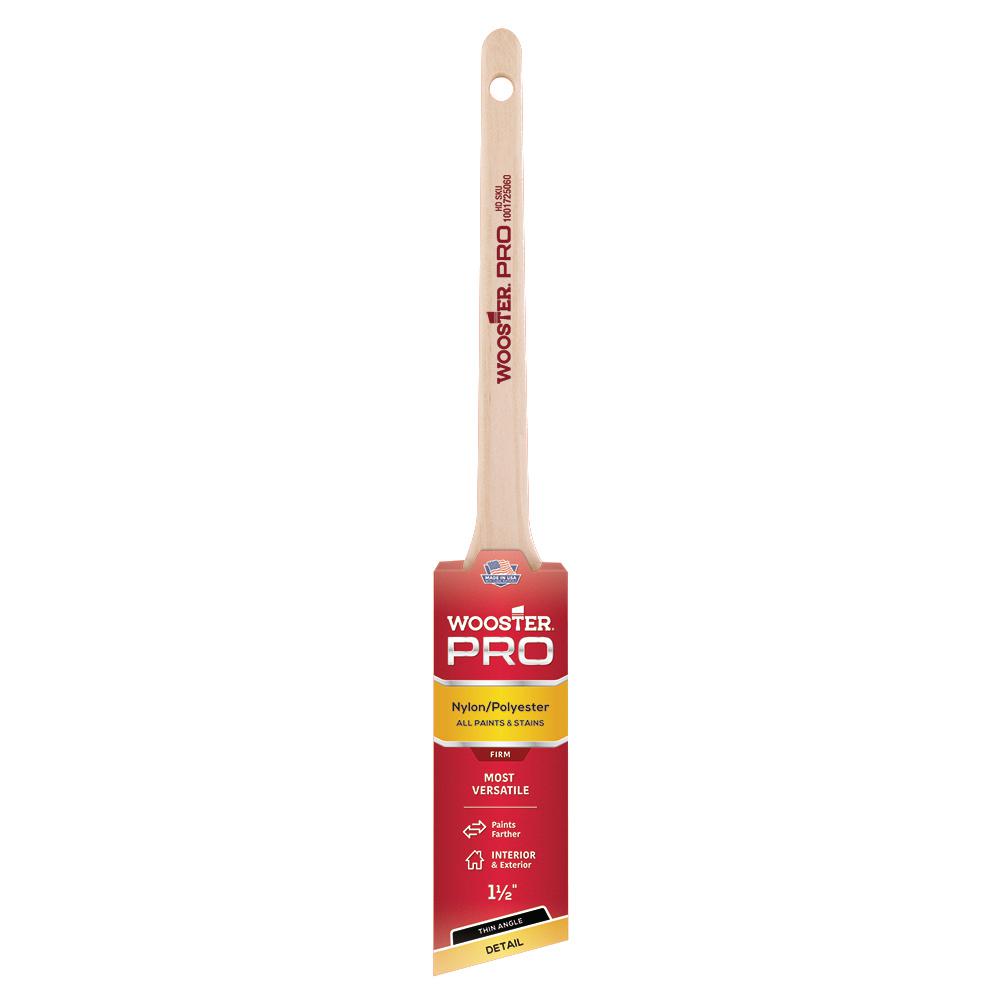
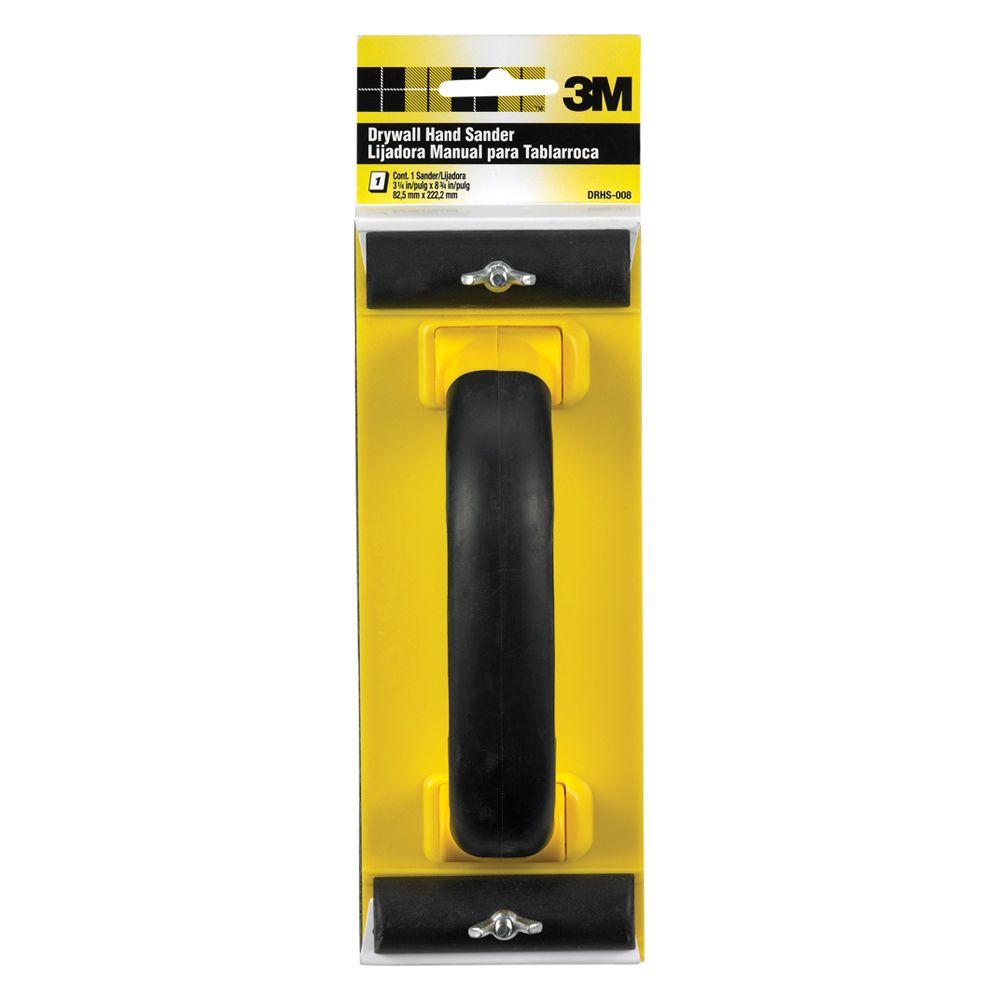
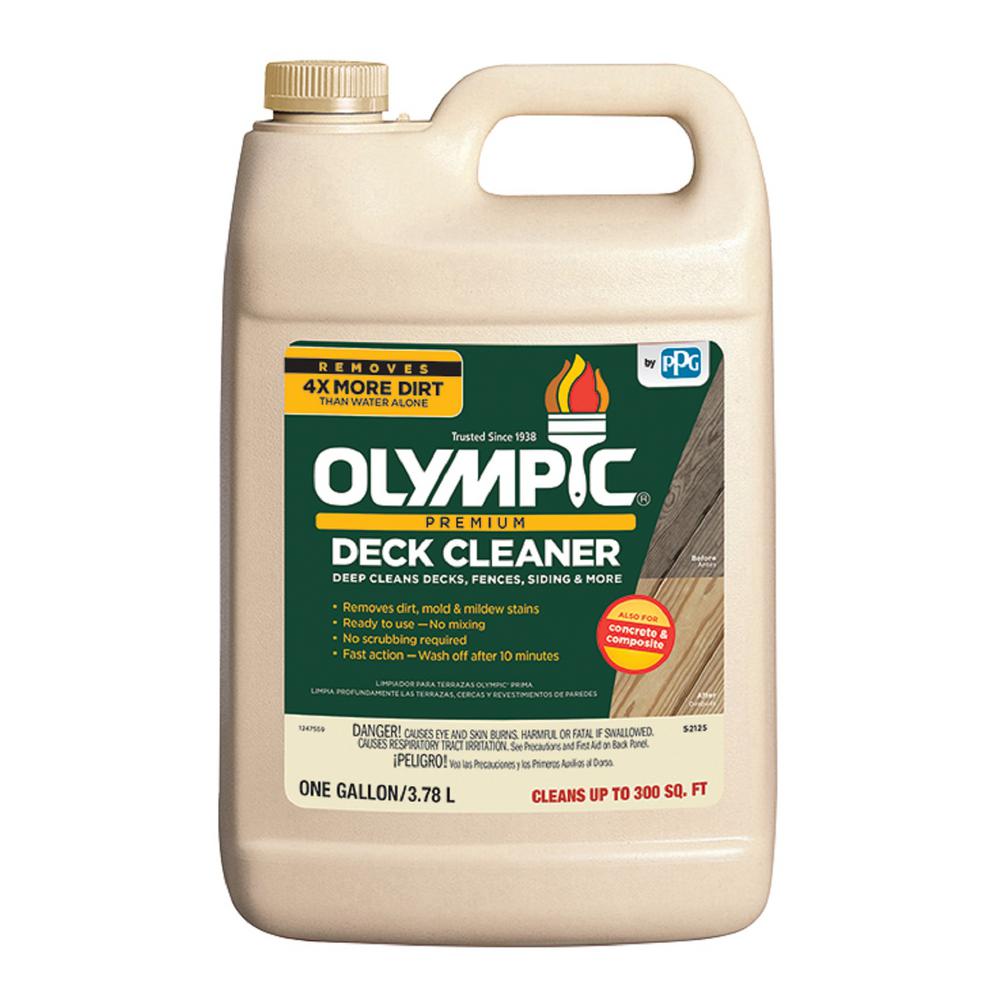
Besides the stain in the color, Chestnut Brown, we bought high quality paint brushes, small paint trays, Olympic Deck Cleaner, and sandpaper. We already had the paint sticks, can opener, sandpaper holder, and drop cloths we needed.


Prep
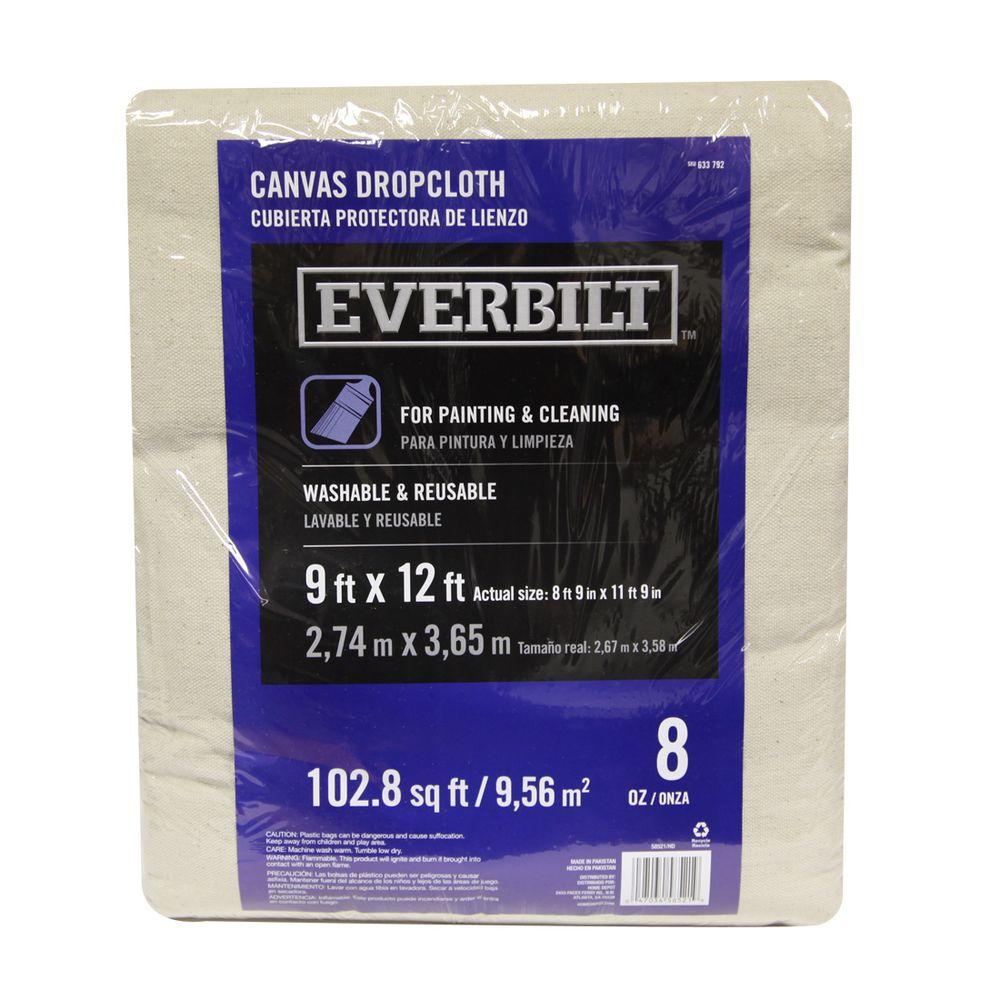
To prep the porch, we laid down a waterproof tarp and topped that with a canvas drop cloth so that the tarp would protect the carpet and the canvas drop cloth would absorb any spills.

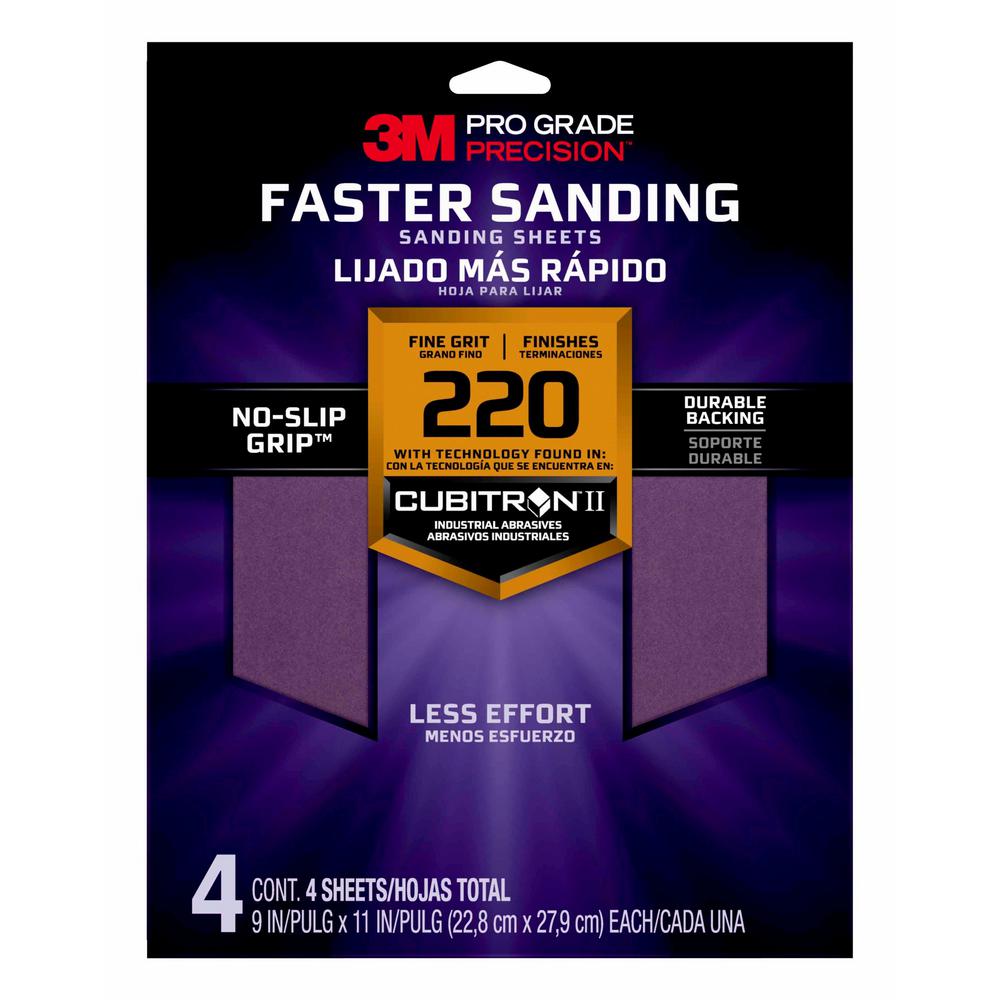
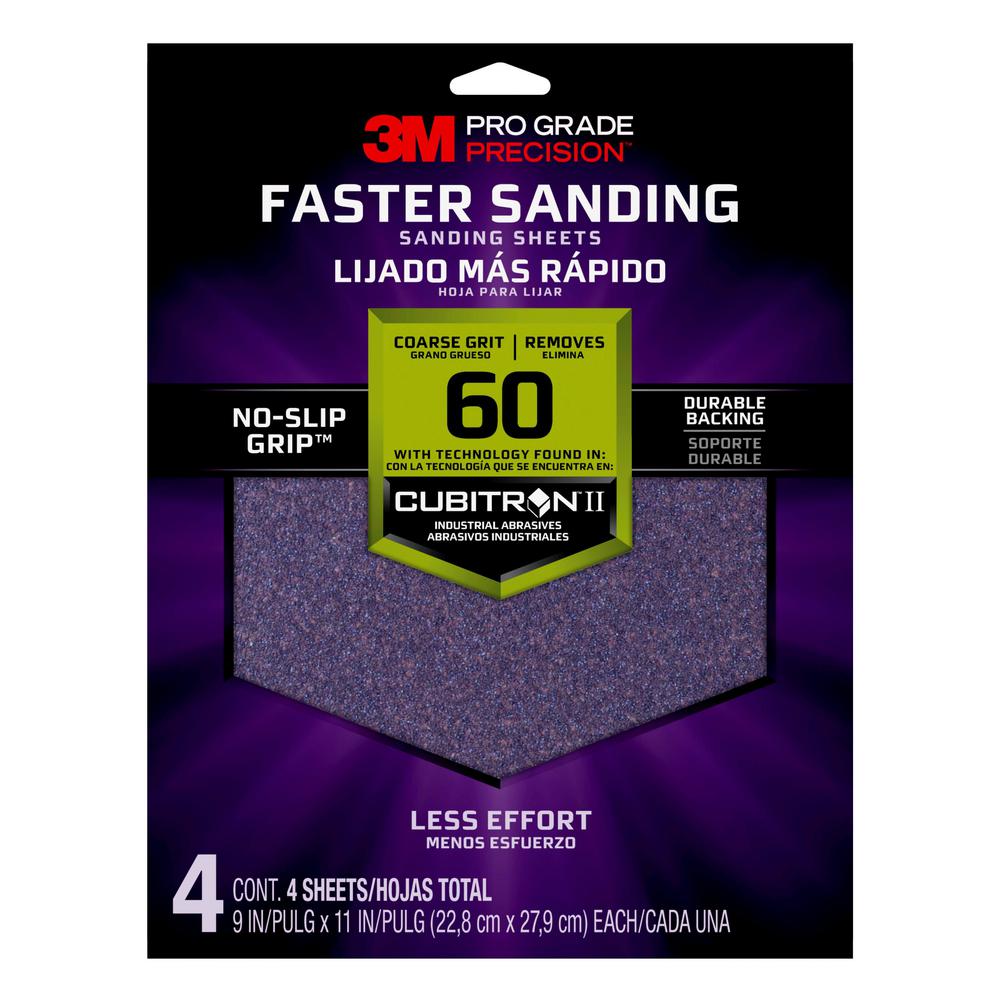
This furniture had never been sanded to remove splintery wood slivers between the seat slats so we took the time to do that. We bought three grits of sandpaper from coarse, 60 grit, 120 grit and 220 grit. We mainly used the 120 grit to get rid of the splinters as well as to even out the water staining and clean up some of the heavy dirty stains. Because this furniture is so rustic in nature, we decided we didn’t need the fine smoothing of the 220 grit sandpaper.
After sanding, we cleaned up the dust with a damp rag and moved the furniture outside for the next step.

Cleaning the Furniture
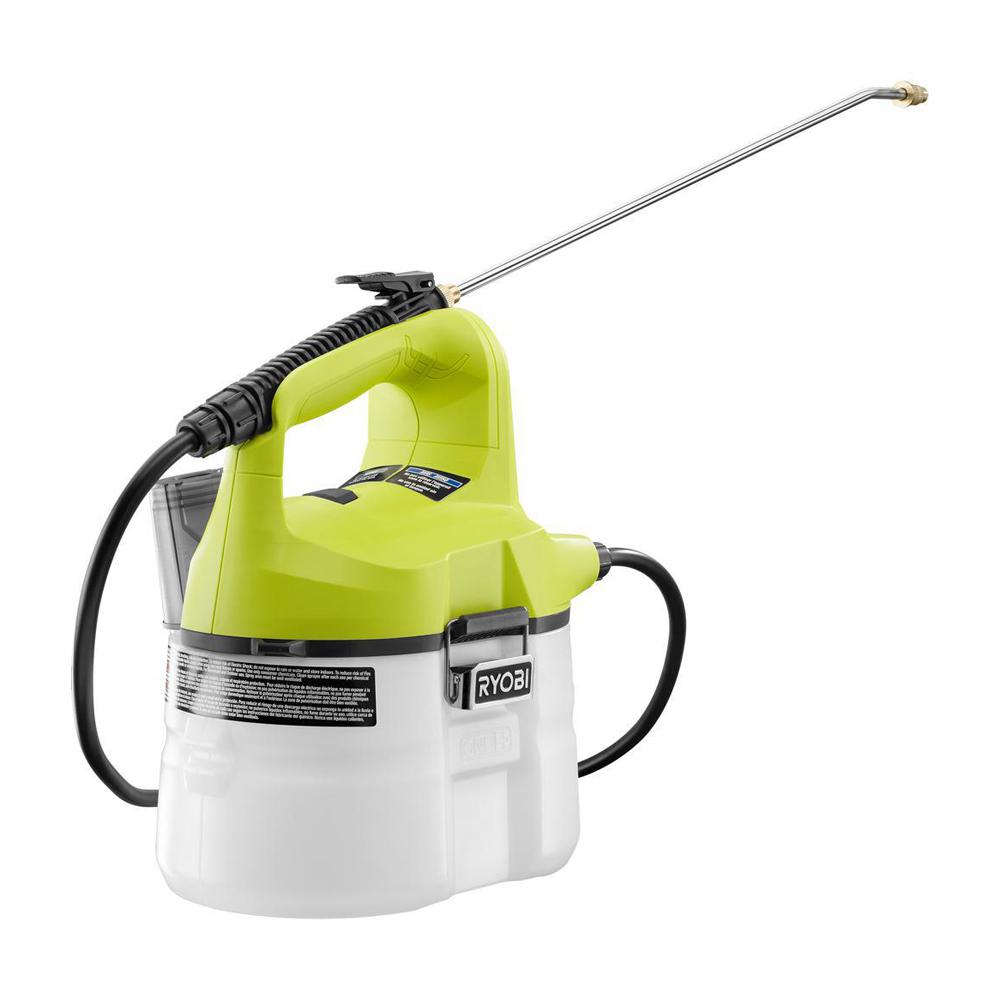
To remove the overall dirt, we used the Olympic Deck Cleaner. Following the label directions, we wet down all the plants that might be subject to overspray. The cleaner was easy to use. We just added it to the tank of our Ryobi battery powered sprayer and sprayed each piece down. We waited 10 minutes and rinsed it off. I have to say, the results were impressive! Actually. we could have stopped here and used the #1 rated clear stain, Olympic Clear Maximum, and called it a day, but we wanted a new look with a bit of color!

We allowed the furniture to dry for a couple of days. We could have stained while it was still damp, but rain was expected so staining had to wait! There should be no rain in the forecast for 24 hours after staining. We got our window of opportunity a few days later!

Staining
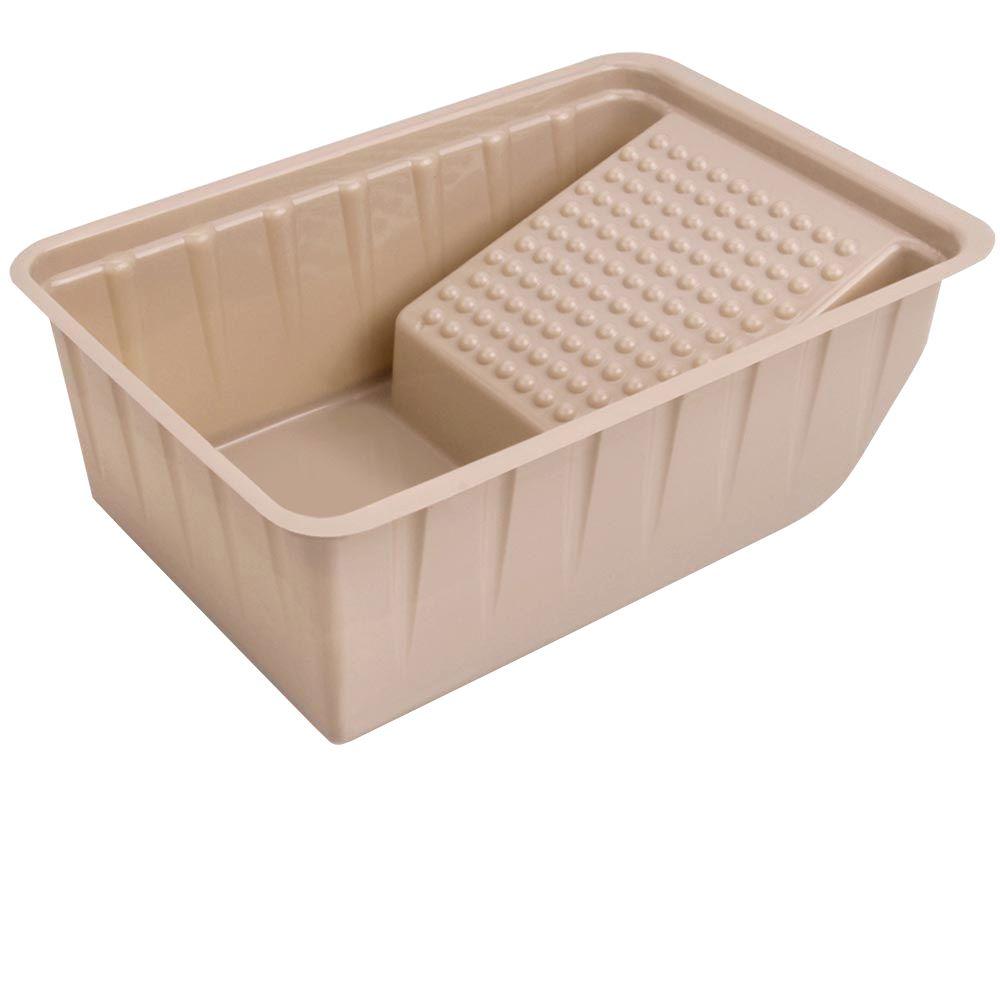
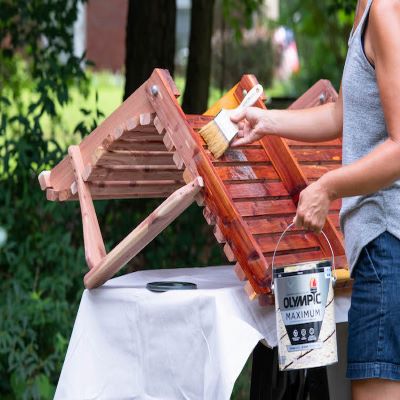
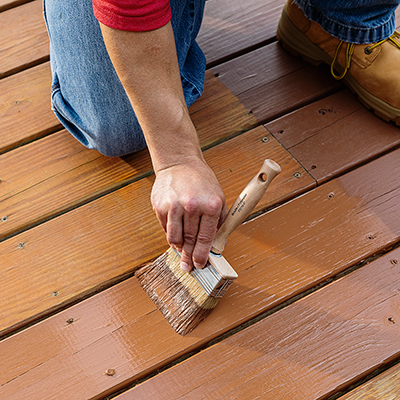
Our preference is to work from a small paint tray rather than directly from the can. We dipped out paint into our trays and got started. Don’t forget to stir well at the beginning and frequently thought the staining process.

Although we did wear gloves to keep our hands cleaner, it should be noted that the stain cleans up very easily with soap and water and there is no smell! It is a low VOC product.
We started on the smallest piece of furniture first to get a feel for the process and to get a little success under our belt! The stain went on smoothly and effortlessly. It is important to keep a wet edge to avoid lap marks. This was a little tricky on the round parts, but we were able to avoid making that mistake.

I did add a couple craft brushes to our tools partway through the process. There were some tight areas that I just couldn’t get into with our 1 1/2” Wooster brush. Also, a rounded tip craft brush was perfect for getting into the screw hole spaces.
Clean Up and Stage
Like I said, our hands cleaned up with soap and water as did the brushes. We managed to keep the can lid clean so we were able to get a nice tight seal on the unused portion of the stain. We actually built a couple of new pieces to add to the porch, a C-table and a succulent holder which we also stained with the Chestnut Brown. All in all, with the three pieces of furniture and two new builds, we used about 75% of the stain. With the exception of the glider seat, the furniture only needed a single coat.

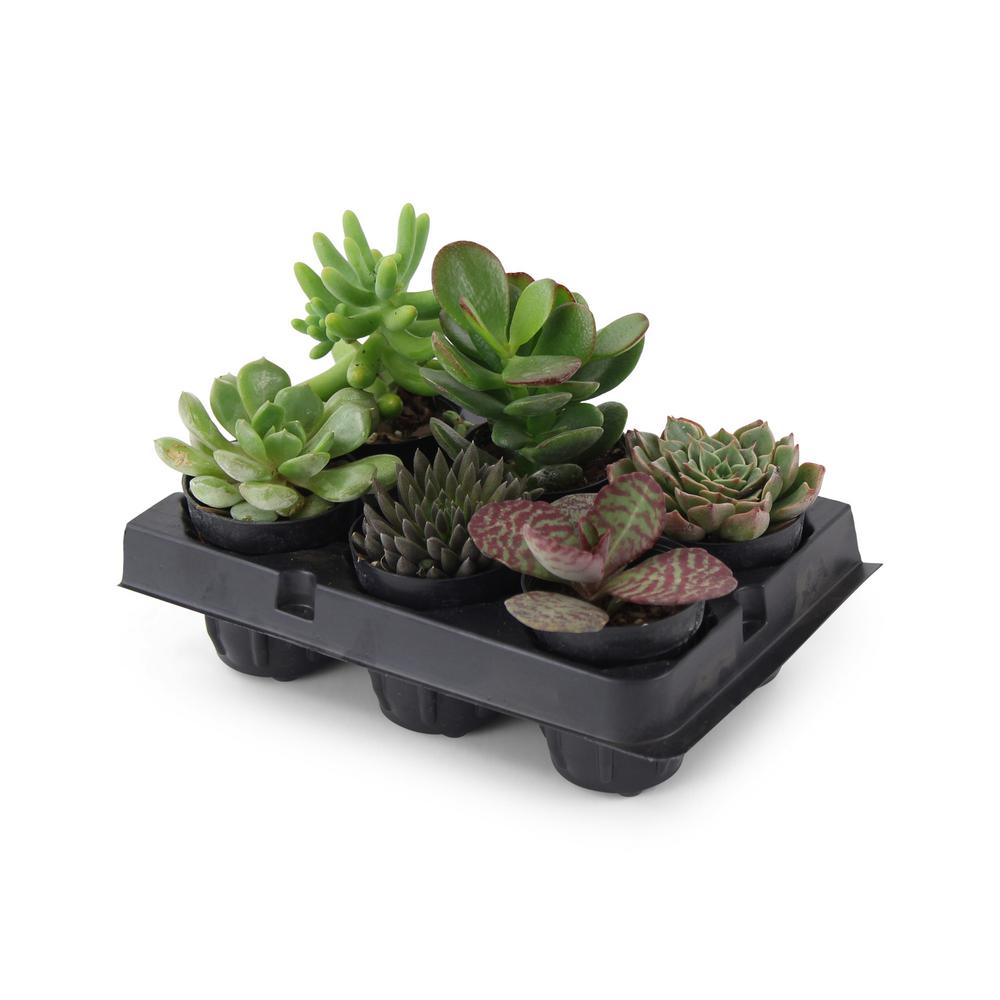
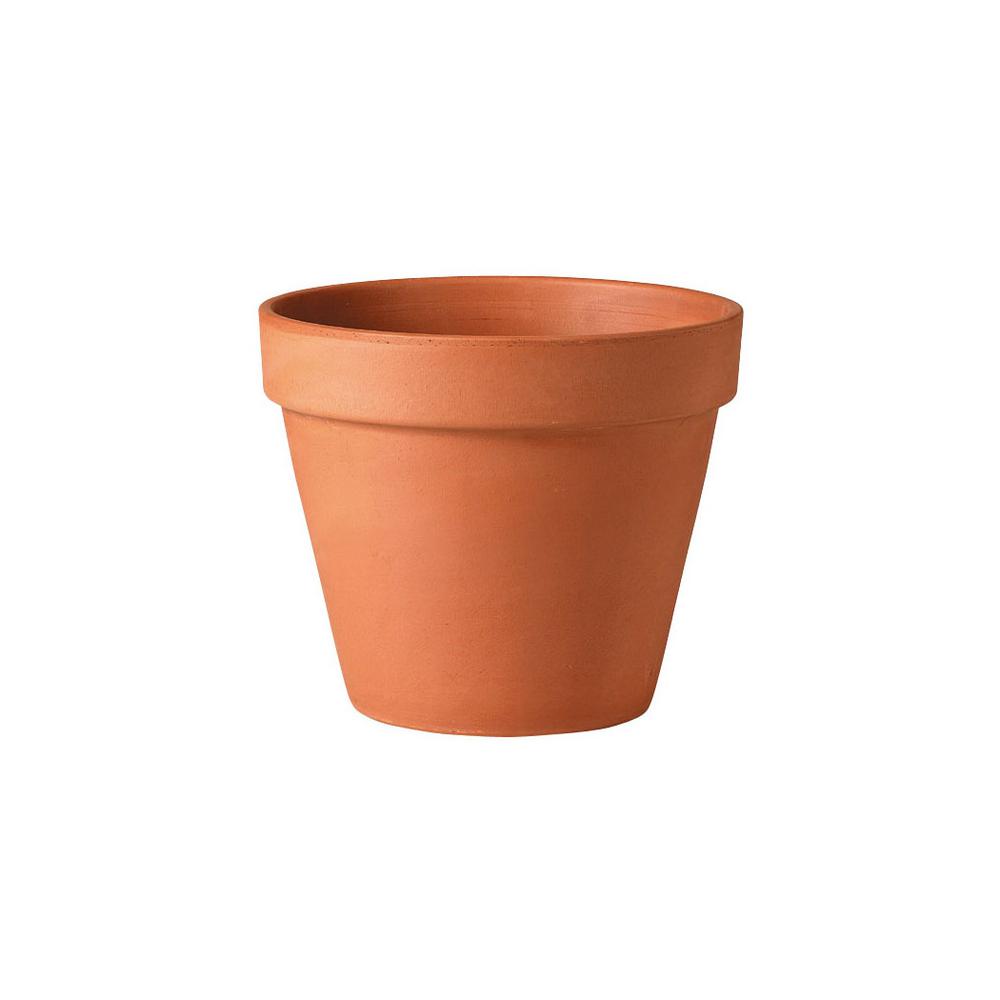
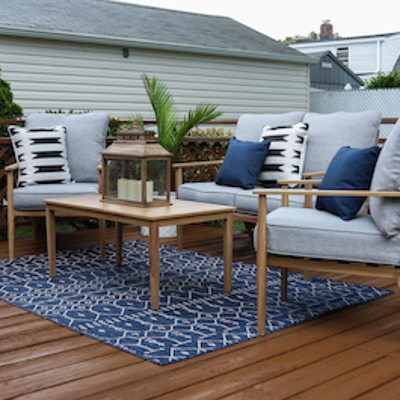
We decided to buy new pillows for the furniture. The Home Depot did not disappoint in their selections of patterns from which to choose. We loved the summery feel of these lemon themed pillows and were excited that there was a similar but different lemon themed lumbar pillow for the rocker. We picked up the teal color in the pillows to use on the terra cotta pots we bought for our new succulents.
The new rich, dark color of the furniture really elevates the space now. It has the feel of a rustic cabin in the woods. It is just the right space for sipping lemonade as we enjoy nature from the comfort of Steph’s screened in porch.


This post was created in partnership with The Home Depot. The author may have received compensation for this article and associated images or video, potentially in the form of products and/or services. All expressed opinions and experiences are the author’s own words.