How to Make DIY Wooden Christmas Trees

Last updated August 21, 2024

Lauren Comer is an avid DIYer, content creator and the author behind Pinch Plate Party. Through her blog, Lauren aims to inspire and empower others to transform their homes into their favorite place to stay, eat, and entertain! Lauren believes that It’s possible to have the home of your dreams with a few power tools, a simple recipe book, and a modest decor budget.
A Note From The Home Depot
With Christmas just around the corner, we know many of you are looking for ways to turn your everyday craft leftovers into fun, festive decor. With a little help from The Home Depot, DIY expert, Lauren Comer
has the scoop on how you can do it!
Table of Contents
How to Make DIY Wooden Christmas Trees
Step by Step
How to Make DIY Wooden Christmas Trees
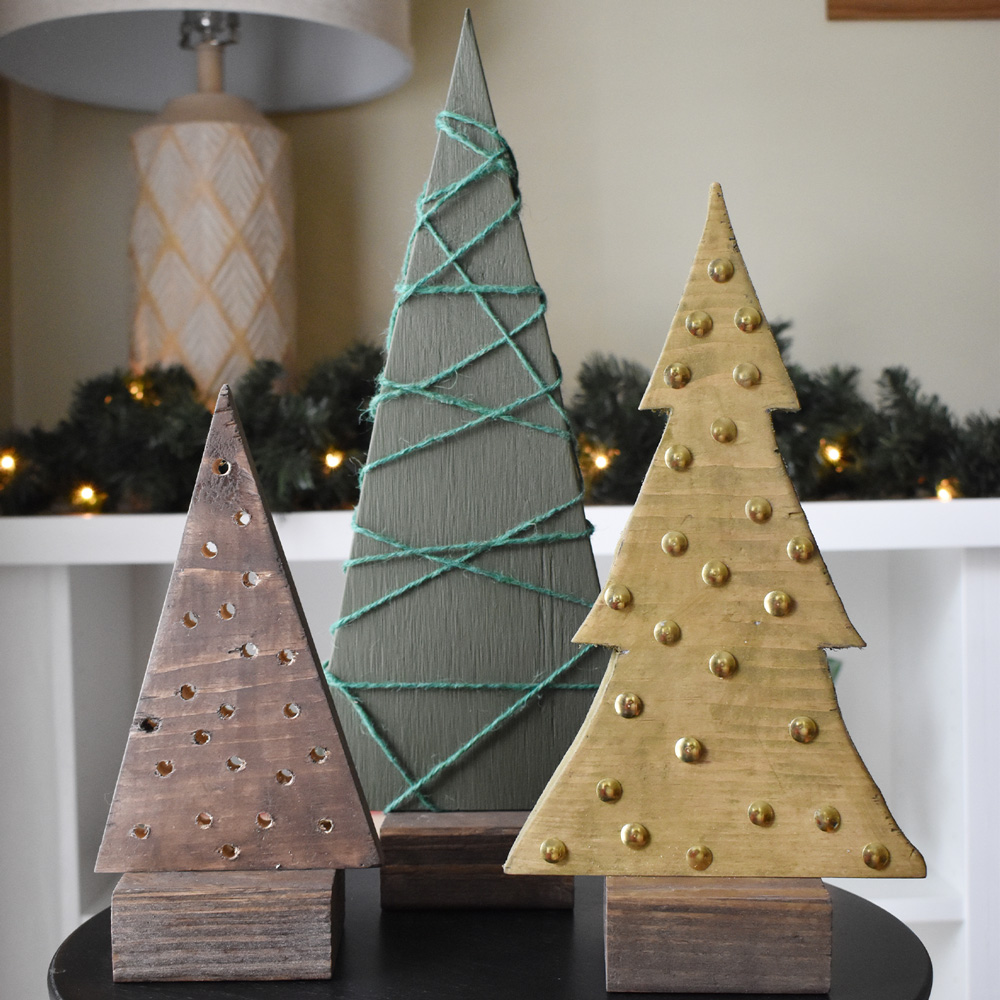
Christmas is one of my favorite holidays. I love spending time with family, exchanging gifts, and cooking desserts for friends but one of my favorite parts of the holiday season is the decorations! I typically purchase a few new items every year but I also like to spend time using leftover craft and project materials to make my own decorations. I want to show you how to create beautiful holiday decorations using items you probably have at home already. Use leftover lumber, stain, paint, and other scrap project materials to make these simple wooden Christmas trees.

Step by Step
Draw your desired Christmas tree shapes on your lumber. Clamp your lumber to your work surface and cut out the shapes with your saw (Use a jigsaw for curved cuts. A jigsaw or circular saw can be used for straight cuts). Once your shapes are cut out, use a sanding block to smooth the surface and to soften any rough corners and edges.
Using your desired saw, cut your 2x4s to 3 inches in length. The blocks will serve as the base for your trees.

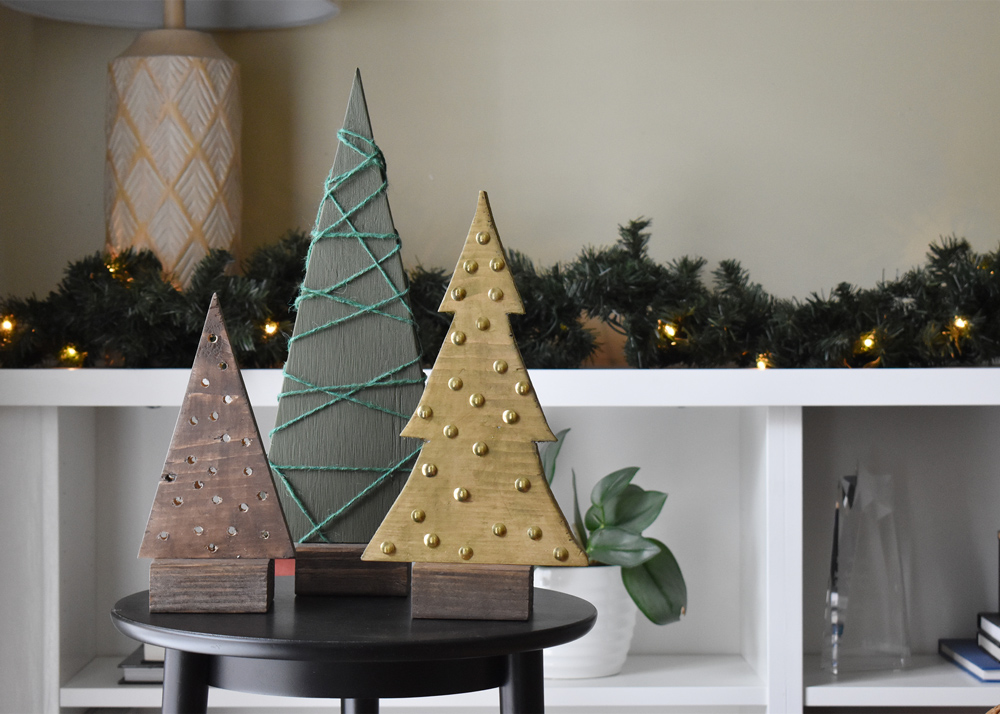
- Decorate the trees using your decor items. I wrapped one of my trees with leftover soft garden twine, another I decorated with thumbtacks, and the final tree I drilled multiple holes through to add texture.
Drill a 2.5-in screw
through the hole in each of your tree bases (the end of the screw should stick through the opposite end). Place the tip of the screw in the pilot hole at the bottom of the tree, and twist the tree base clockwise until it’s tightened and secure to the tree cutout.Touch up any paint or stain as needed and place your trees in your desired location.
One thing I love about these trees is that they can be customized for any design style. Consider all white for a modern home, stain with a natural brown for a rustic look, or use bold and bright colors for a child's bedroom. The possibilities for customization are endless. These trees are perfect for table centerpieces, mantel accents, or could even be made to an extra large scale for outdoor decorations!
This post was created in partnership with The Home Depot. The author may have received compensation for this article and associated images or video, potentially in the form of products and/or services. All expressed opinions and experiences are the author’s own words.


