How to Upcycle an Ice Box
Last updated August 23, 2024

Kaylah Stroup is a northeast Ohio-based content creator. She is currently tackling her largest project yet, renovating a 150-year-old home.
A Note From The Home Depot
Join Kaylah Stroup of The Dainty Squid as she shows you how to upcycle that icebox that has been hiding in storage and gives it a new use.
Table of Contents
How to Upcycle an Ice Box
Step 1: Prep the Piece
Step 2: Prime and Paint
Step 3: Update the Hardware
Step 4: Add Fun Touches
The Final Product
How to Upcycle an Ice Box
When my husband and I moved into our home, the previous owner was kind enough to leave behind a lot of furniture for us. Some of it was perfect as is, other pieces like this ice box weren’t in great shape and didn’t really fit our style. The ice box sat in our basement for over a year before inspiration hit and I was able to turn it into something that we’d want to use.
Here’s a look at the before.
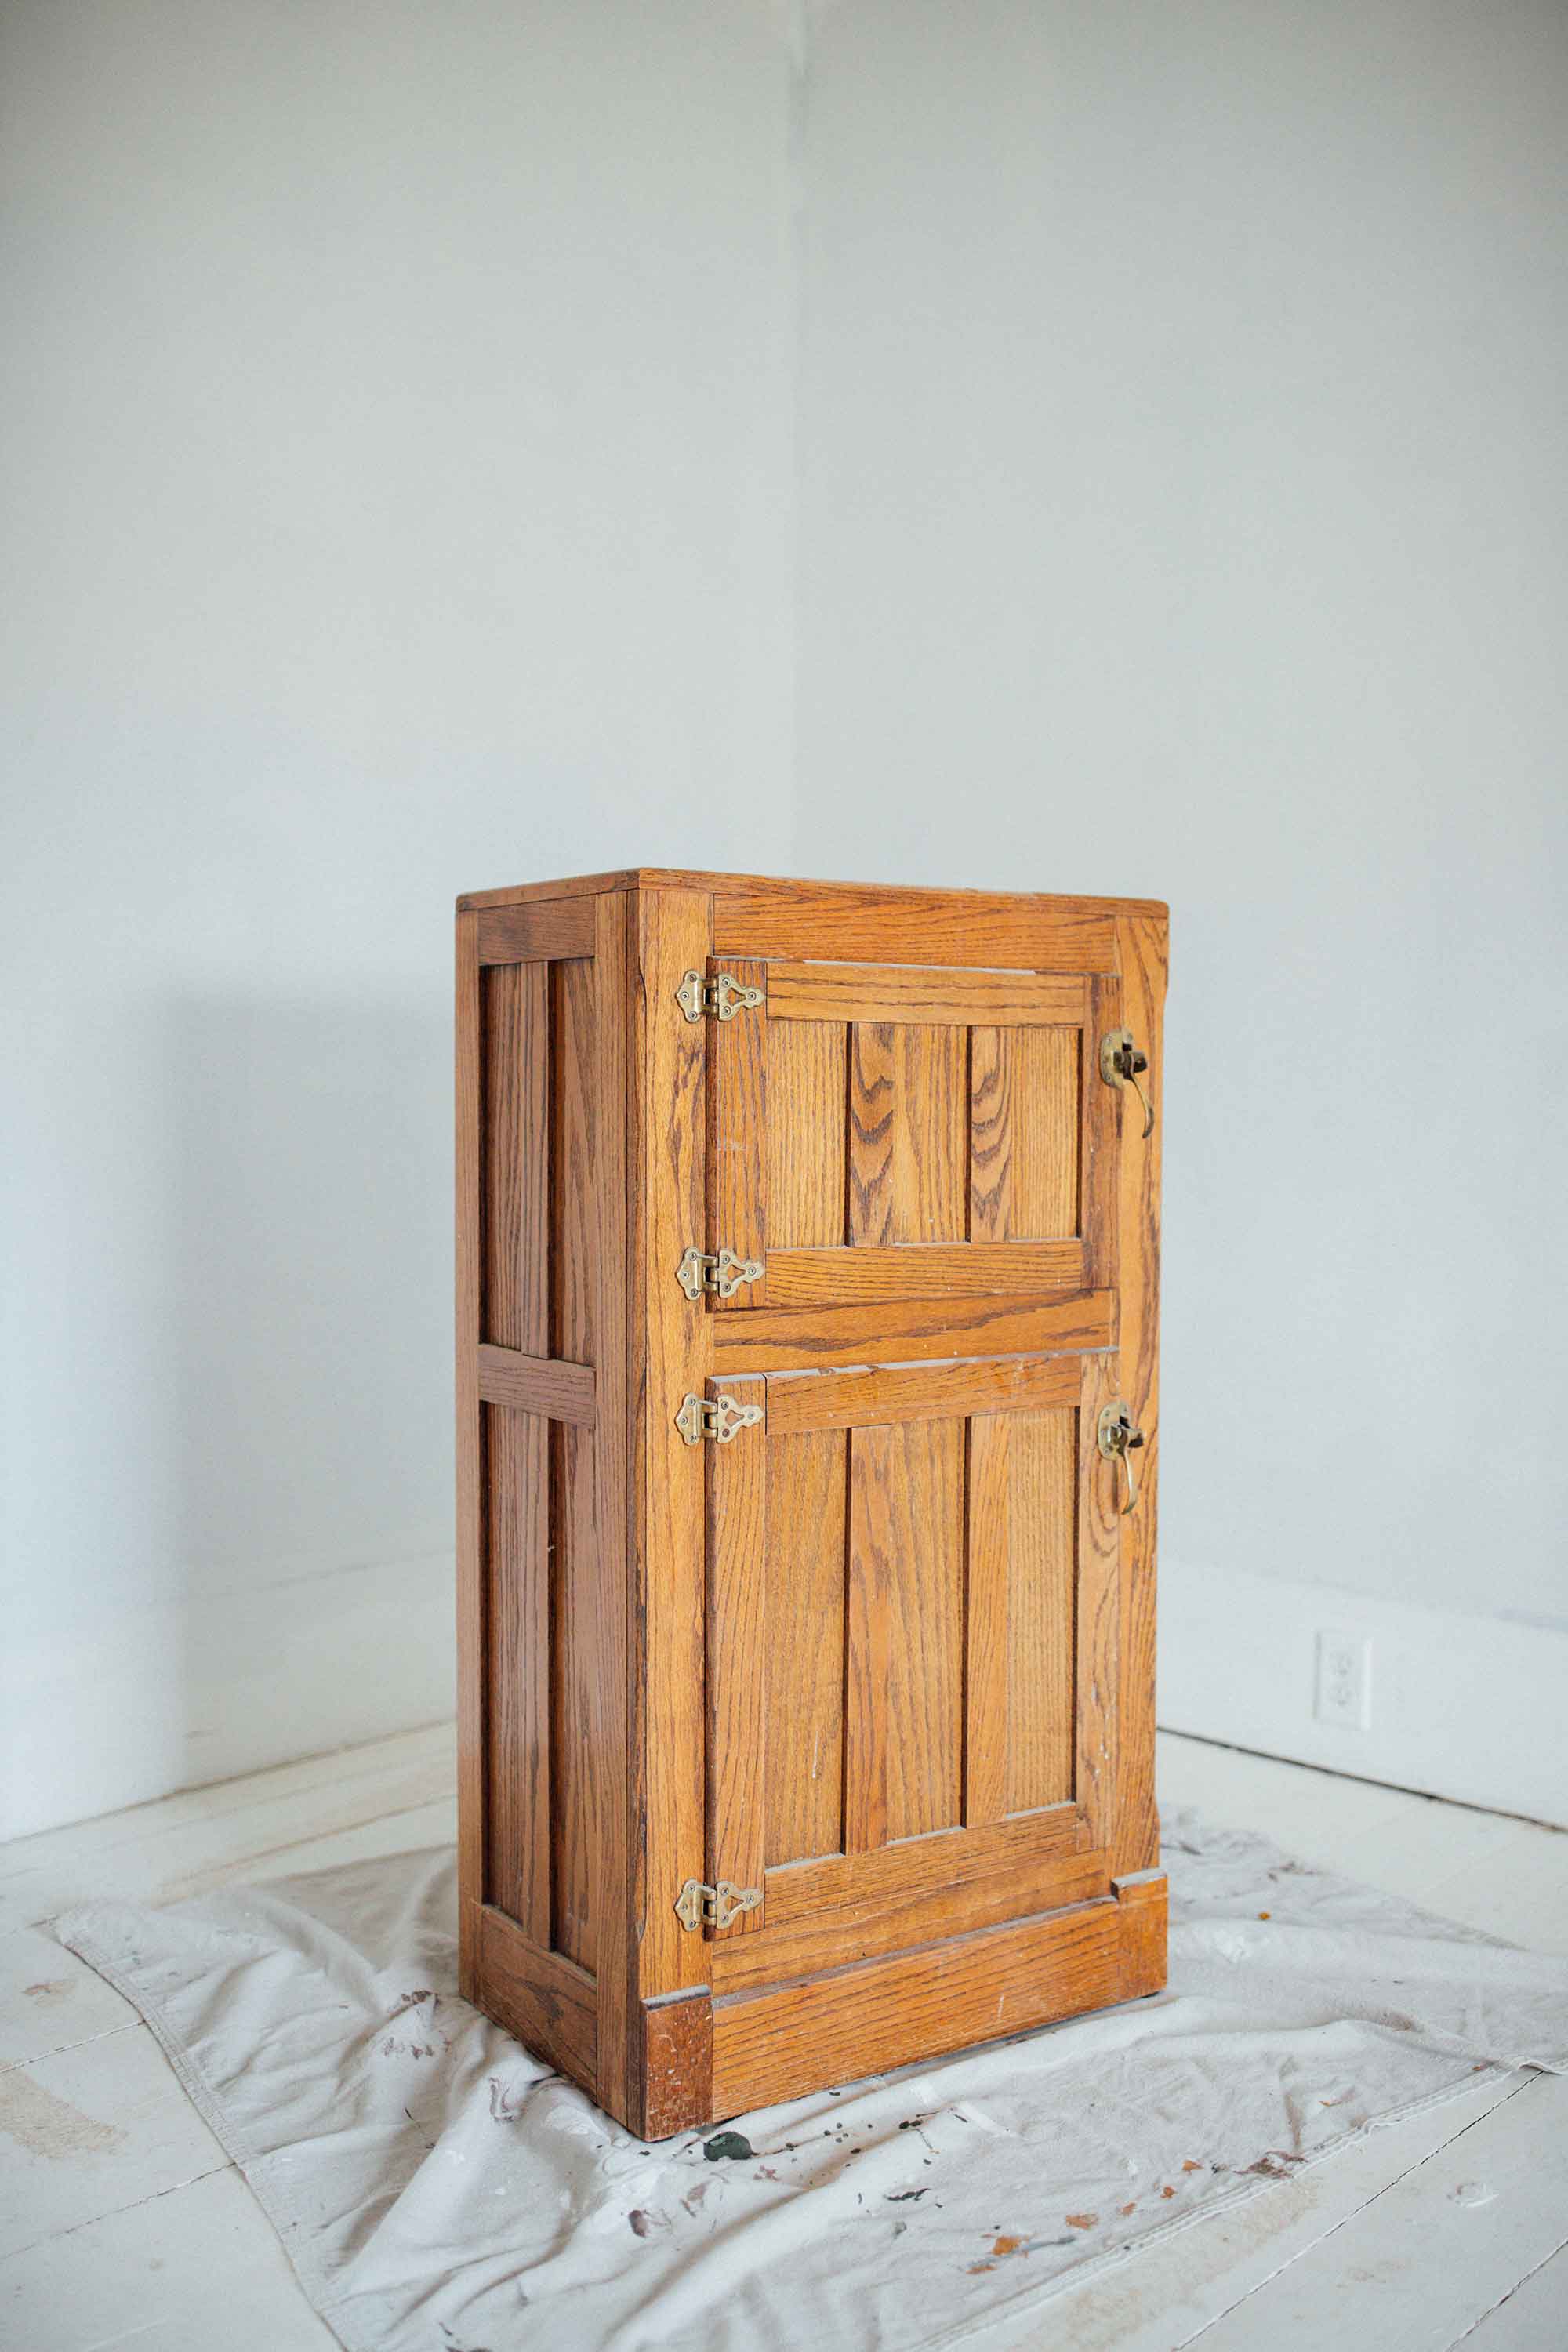
As you can see, it was missing a piece on the side. I was originally planning to replace that but once I took a closer look at the rest of the pieces, I realized they were all quite loose and ready to fall off. I was able to use a screwdriver to pry them off with little effort.
Step 1: Prep the Piece
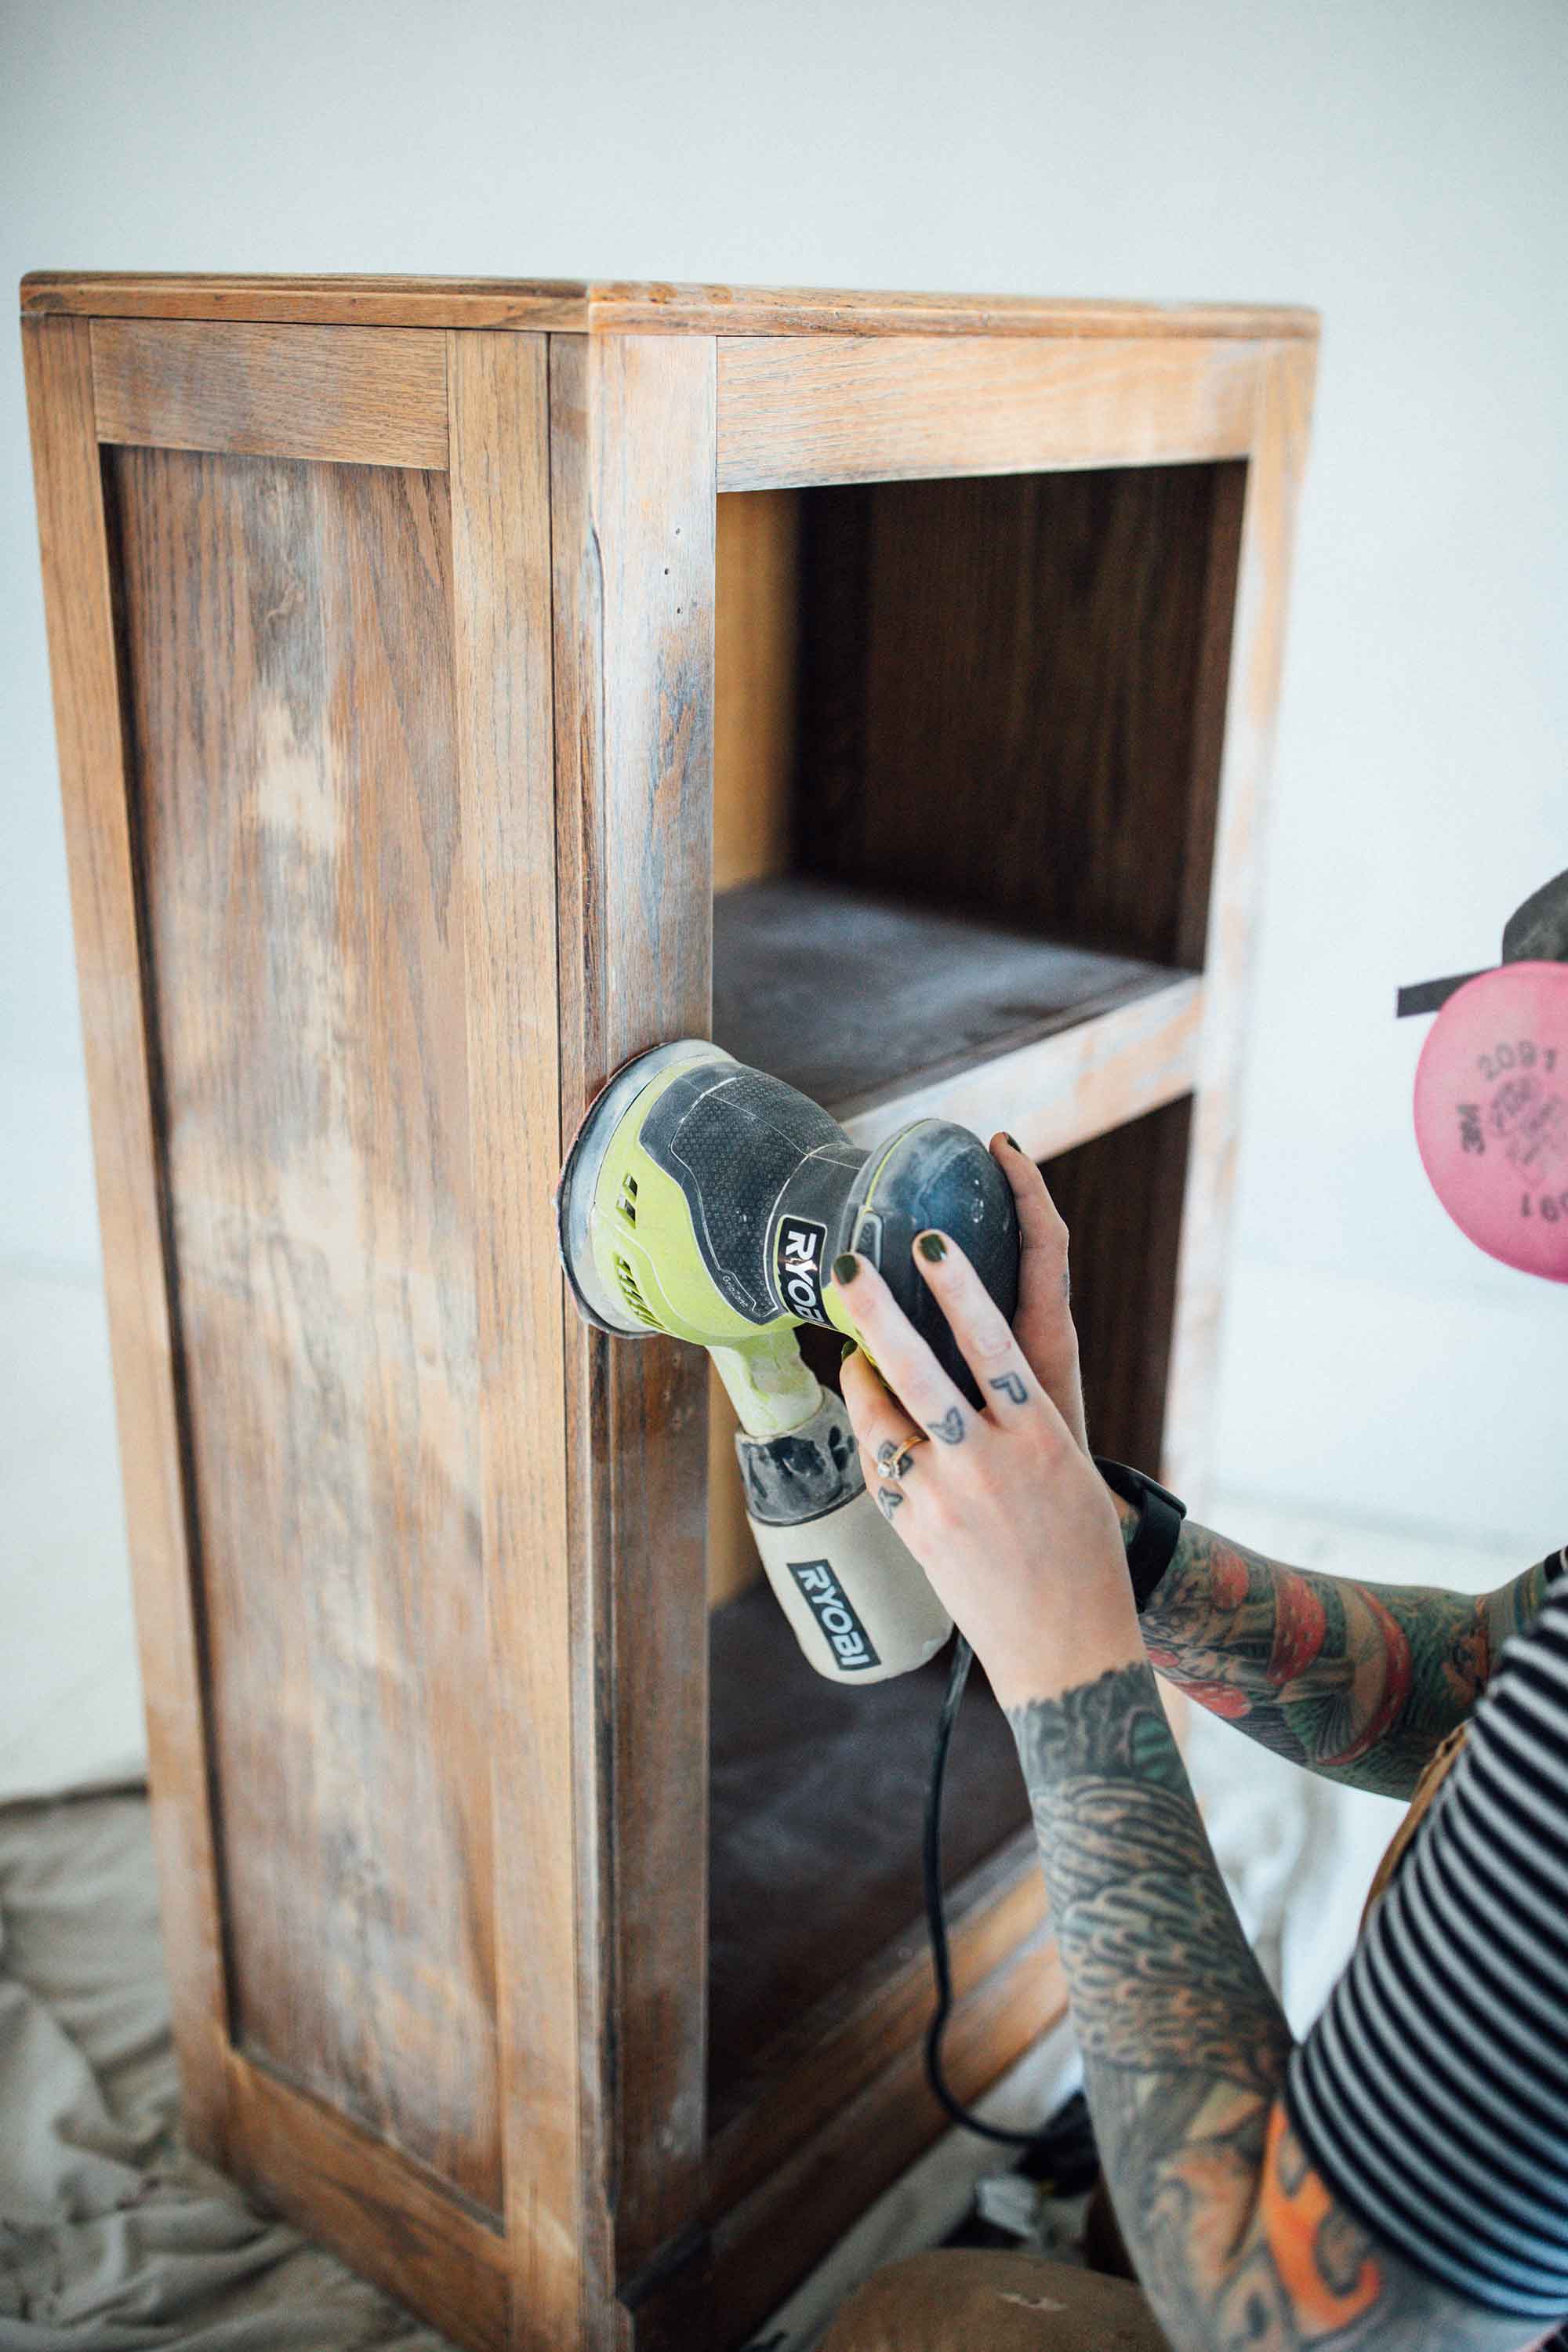
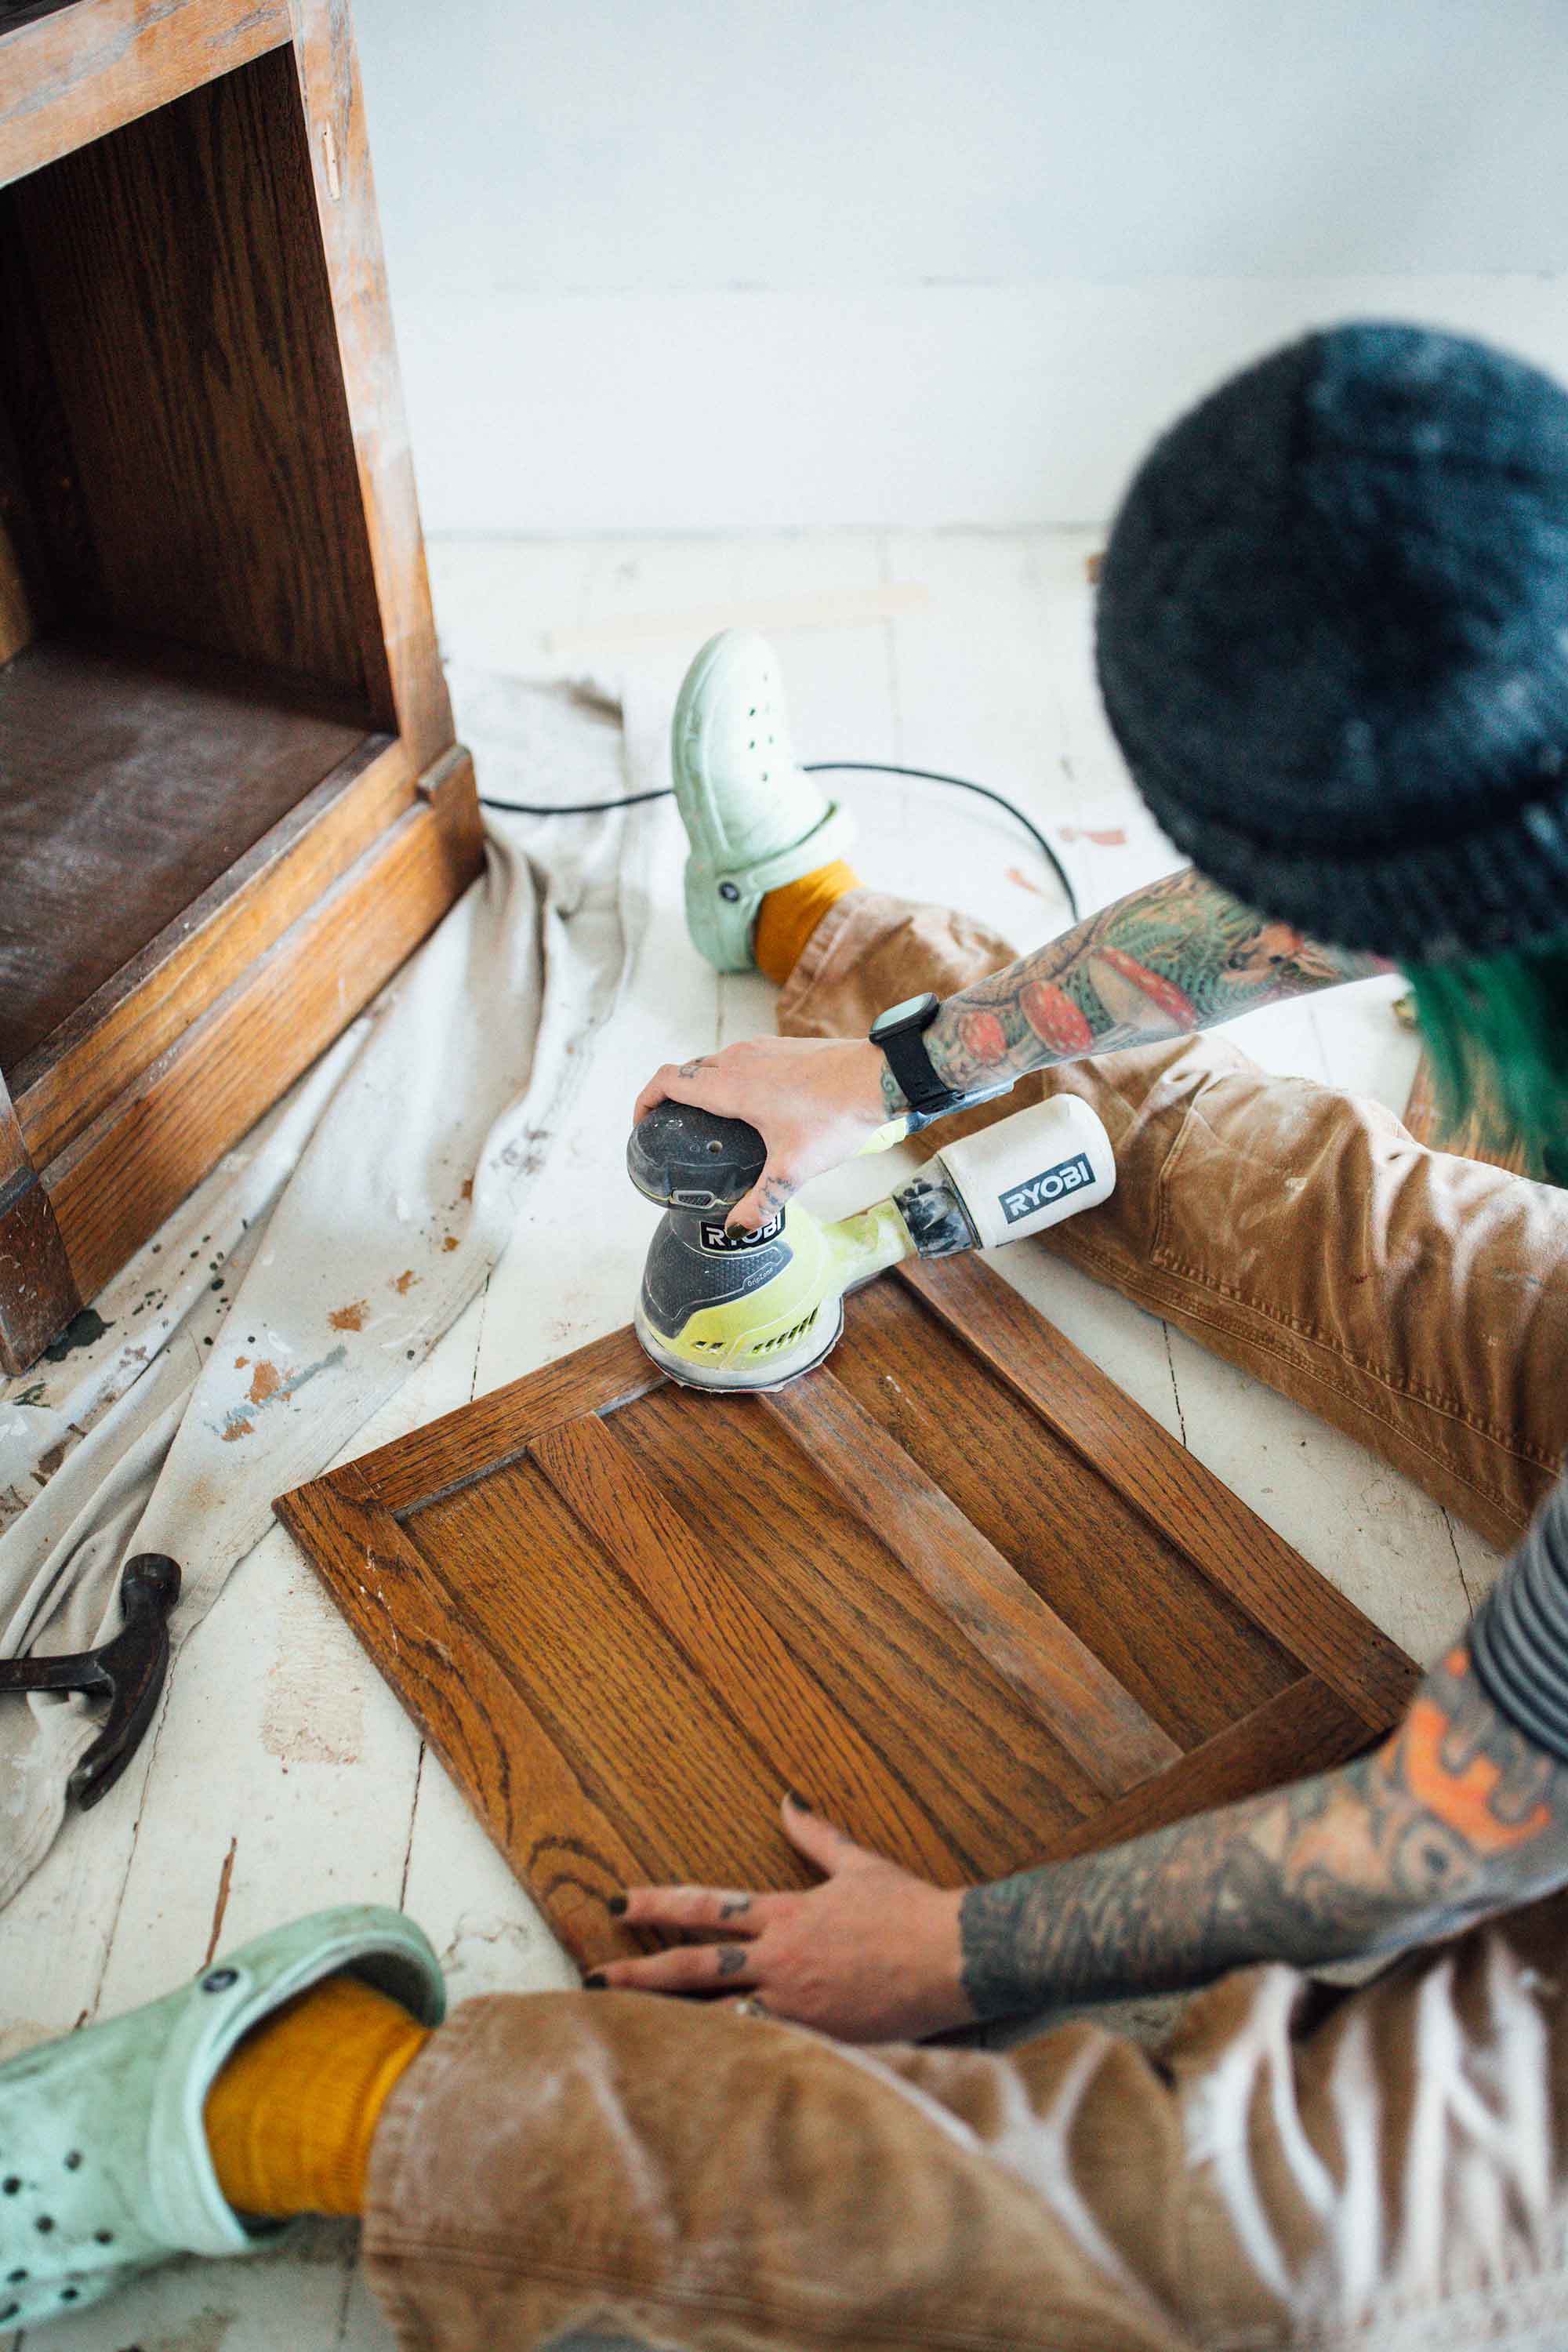
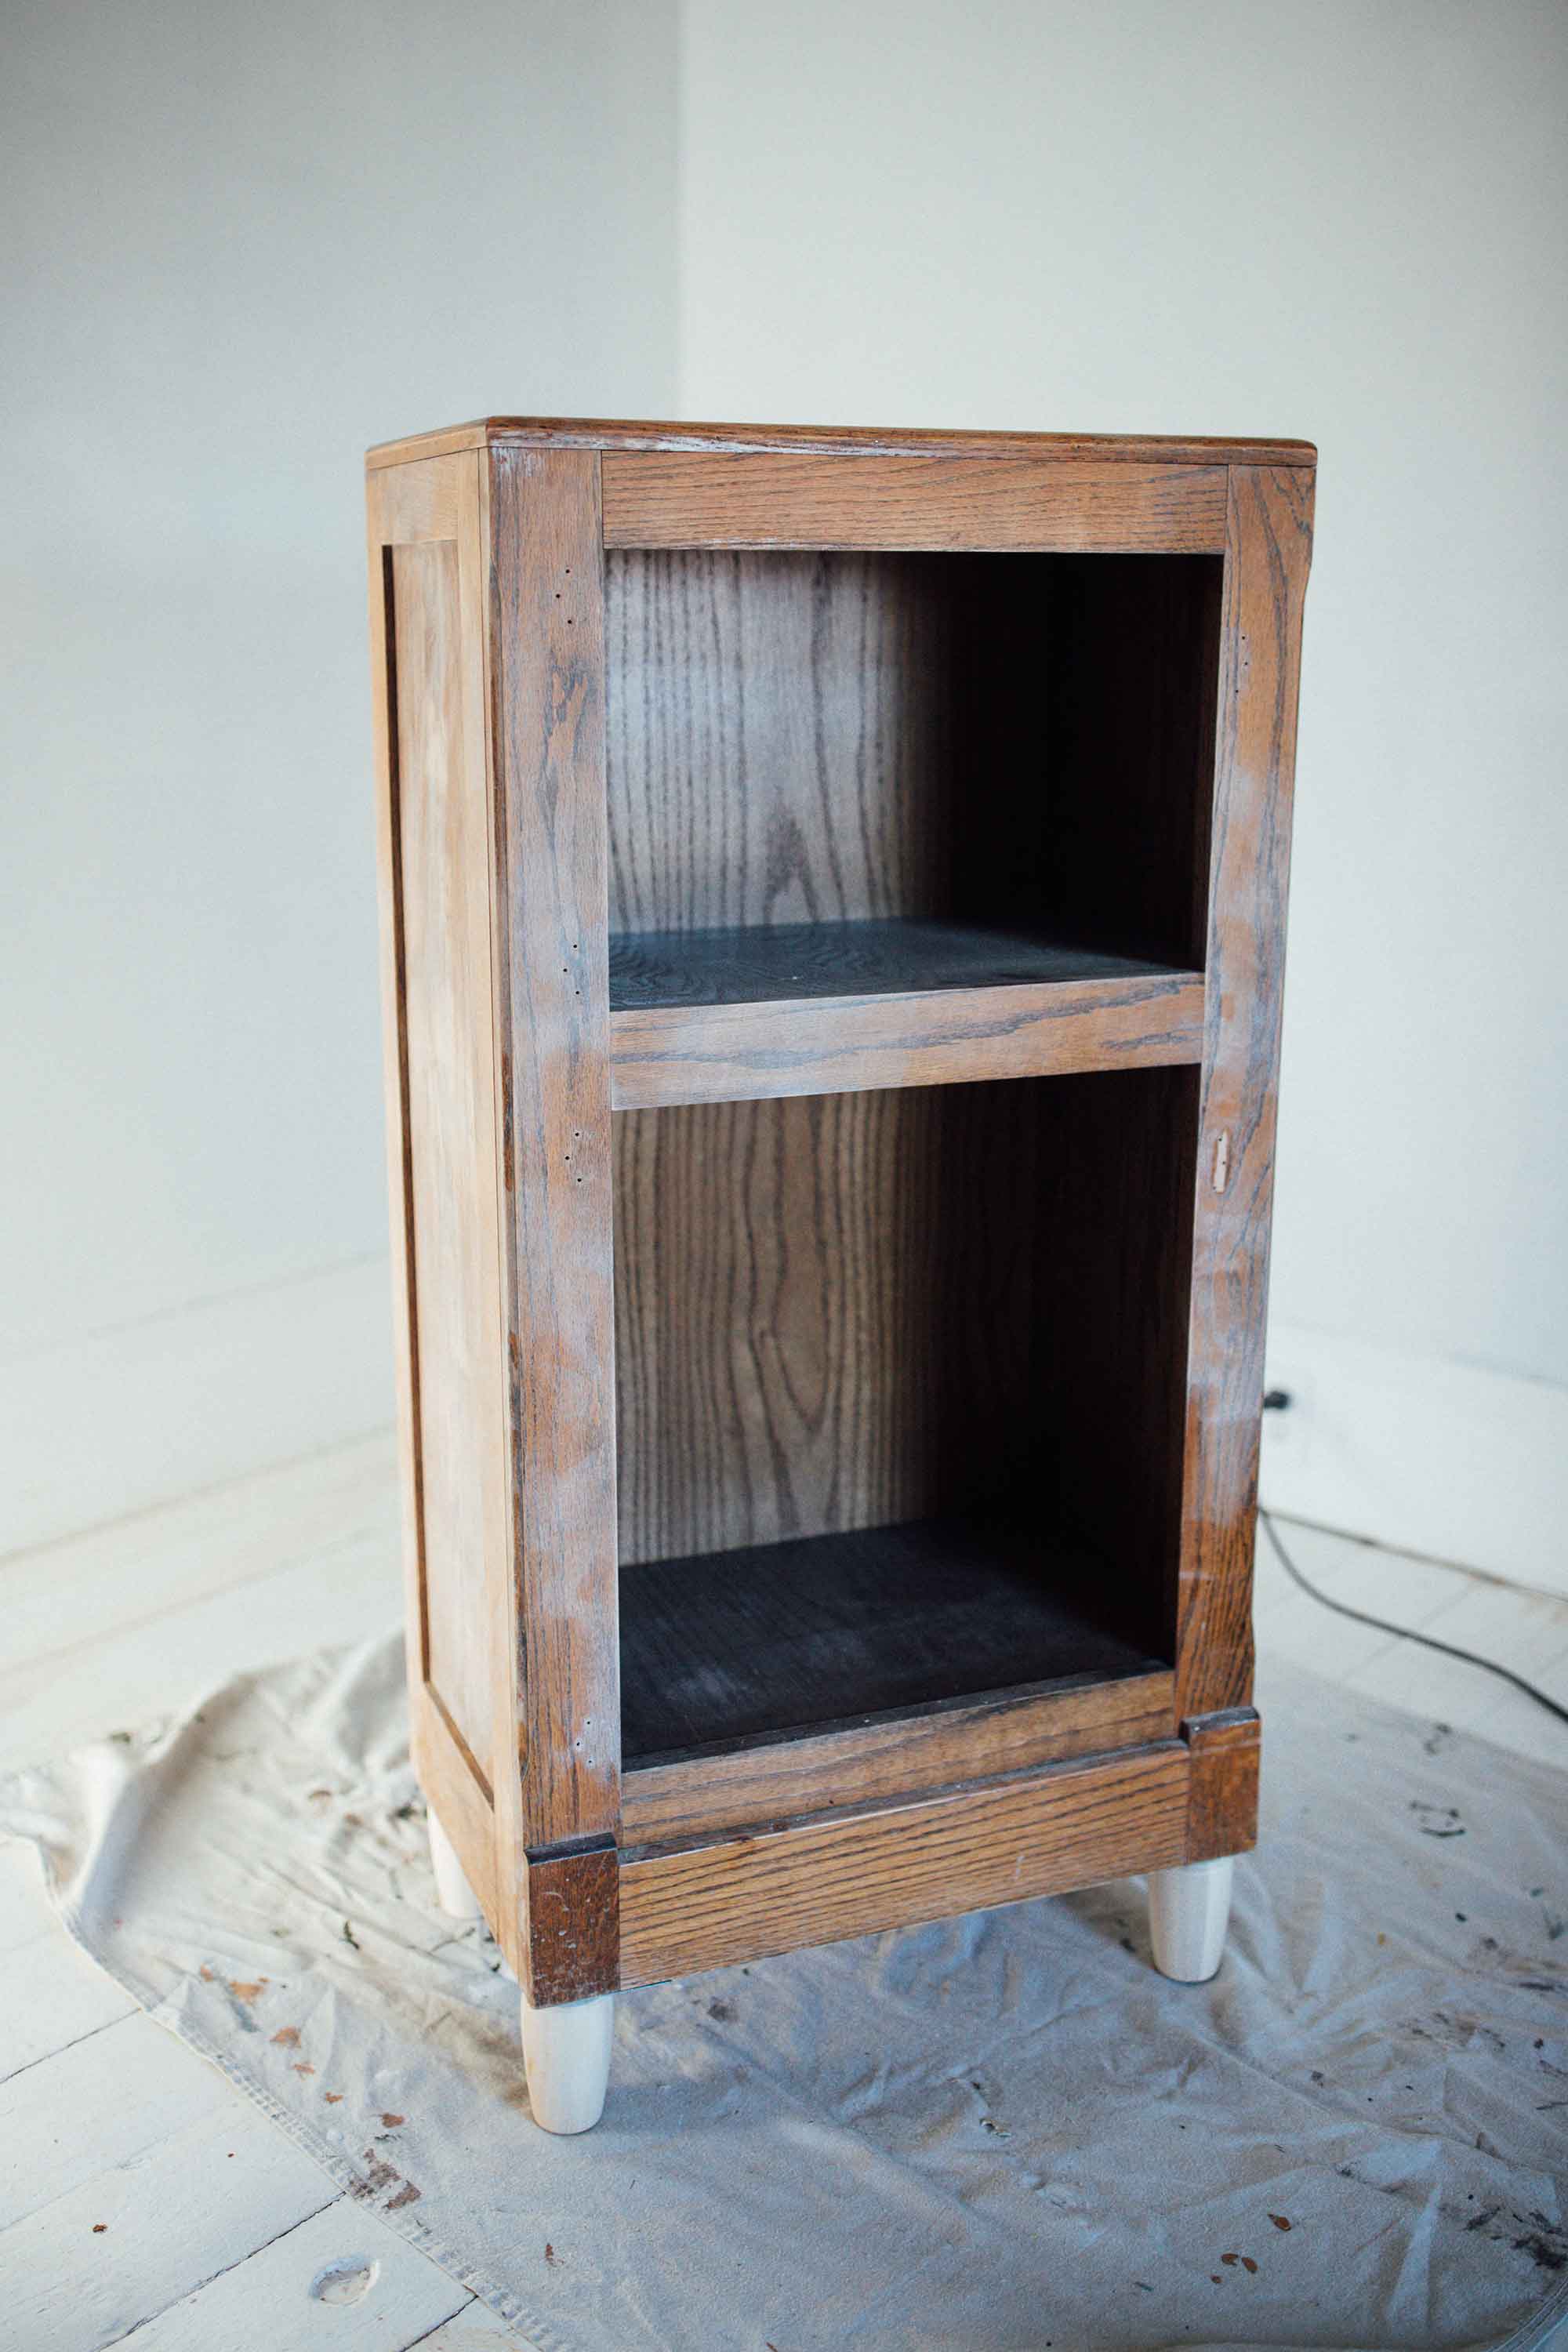
After removing the doors and all of the hardware, I started the makeover by sanding with my RYOBI orbital sander. Sanding down furniture before you paint is such an important step that will really help make sure you get the longest-lasting results. This piece didn’t have many dents or bumps that needed to be sanded out, I just wanted to remove the finish and scuff on the surface. It was quick and not all that messy but make sure to wear a mask when you sand.
I prefer furniture with legs. After browsing all of the furniture legs The Home Depot carries, I ended up choosing short and chubby tapered legs. They were a breeze to install. All you need are the legs of your choice, steel top plates, and a drill. This is such an easy way to change the silhouette of a piece. Already this is looking more and more like something I’d choose to decorate with!
Step 2: Prime and Paint
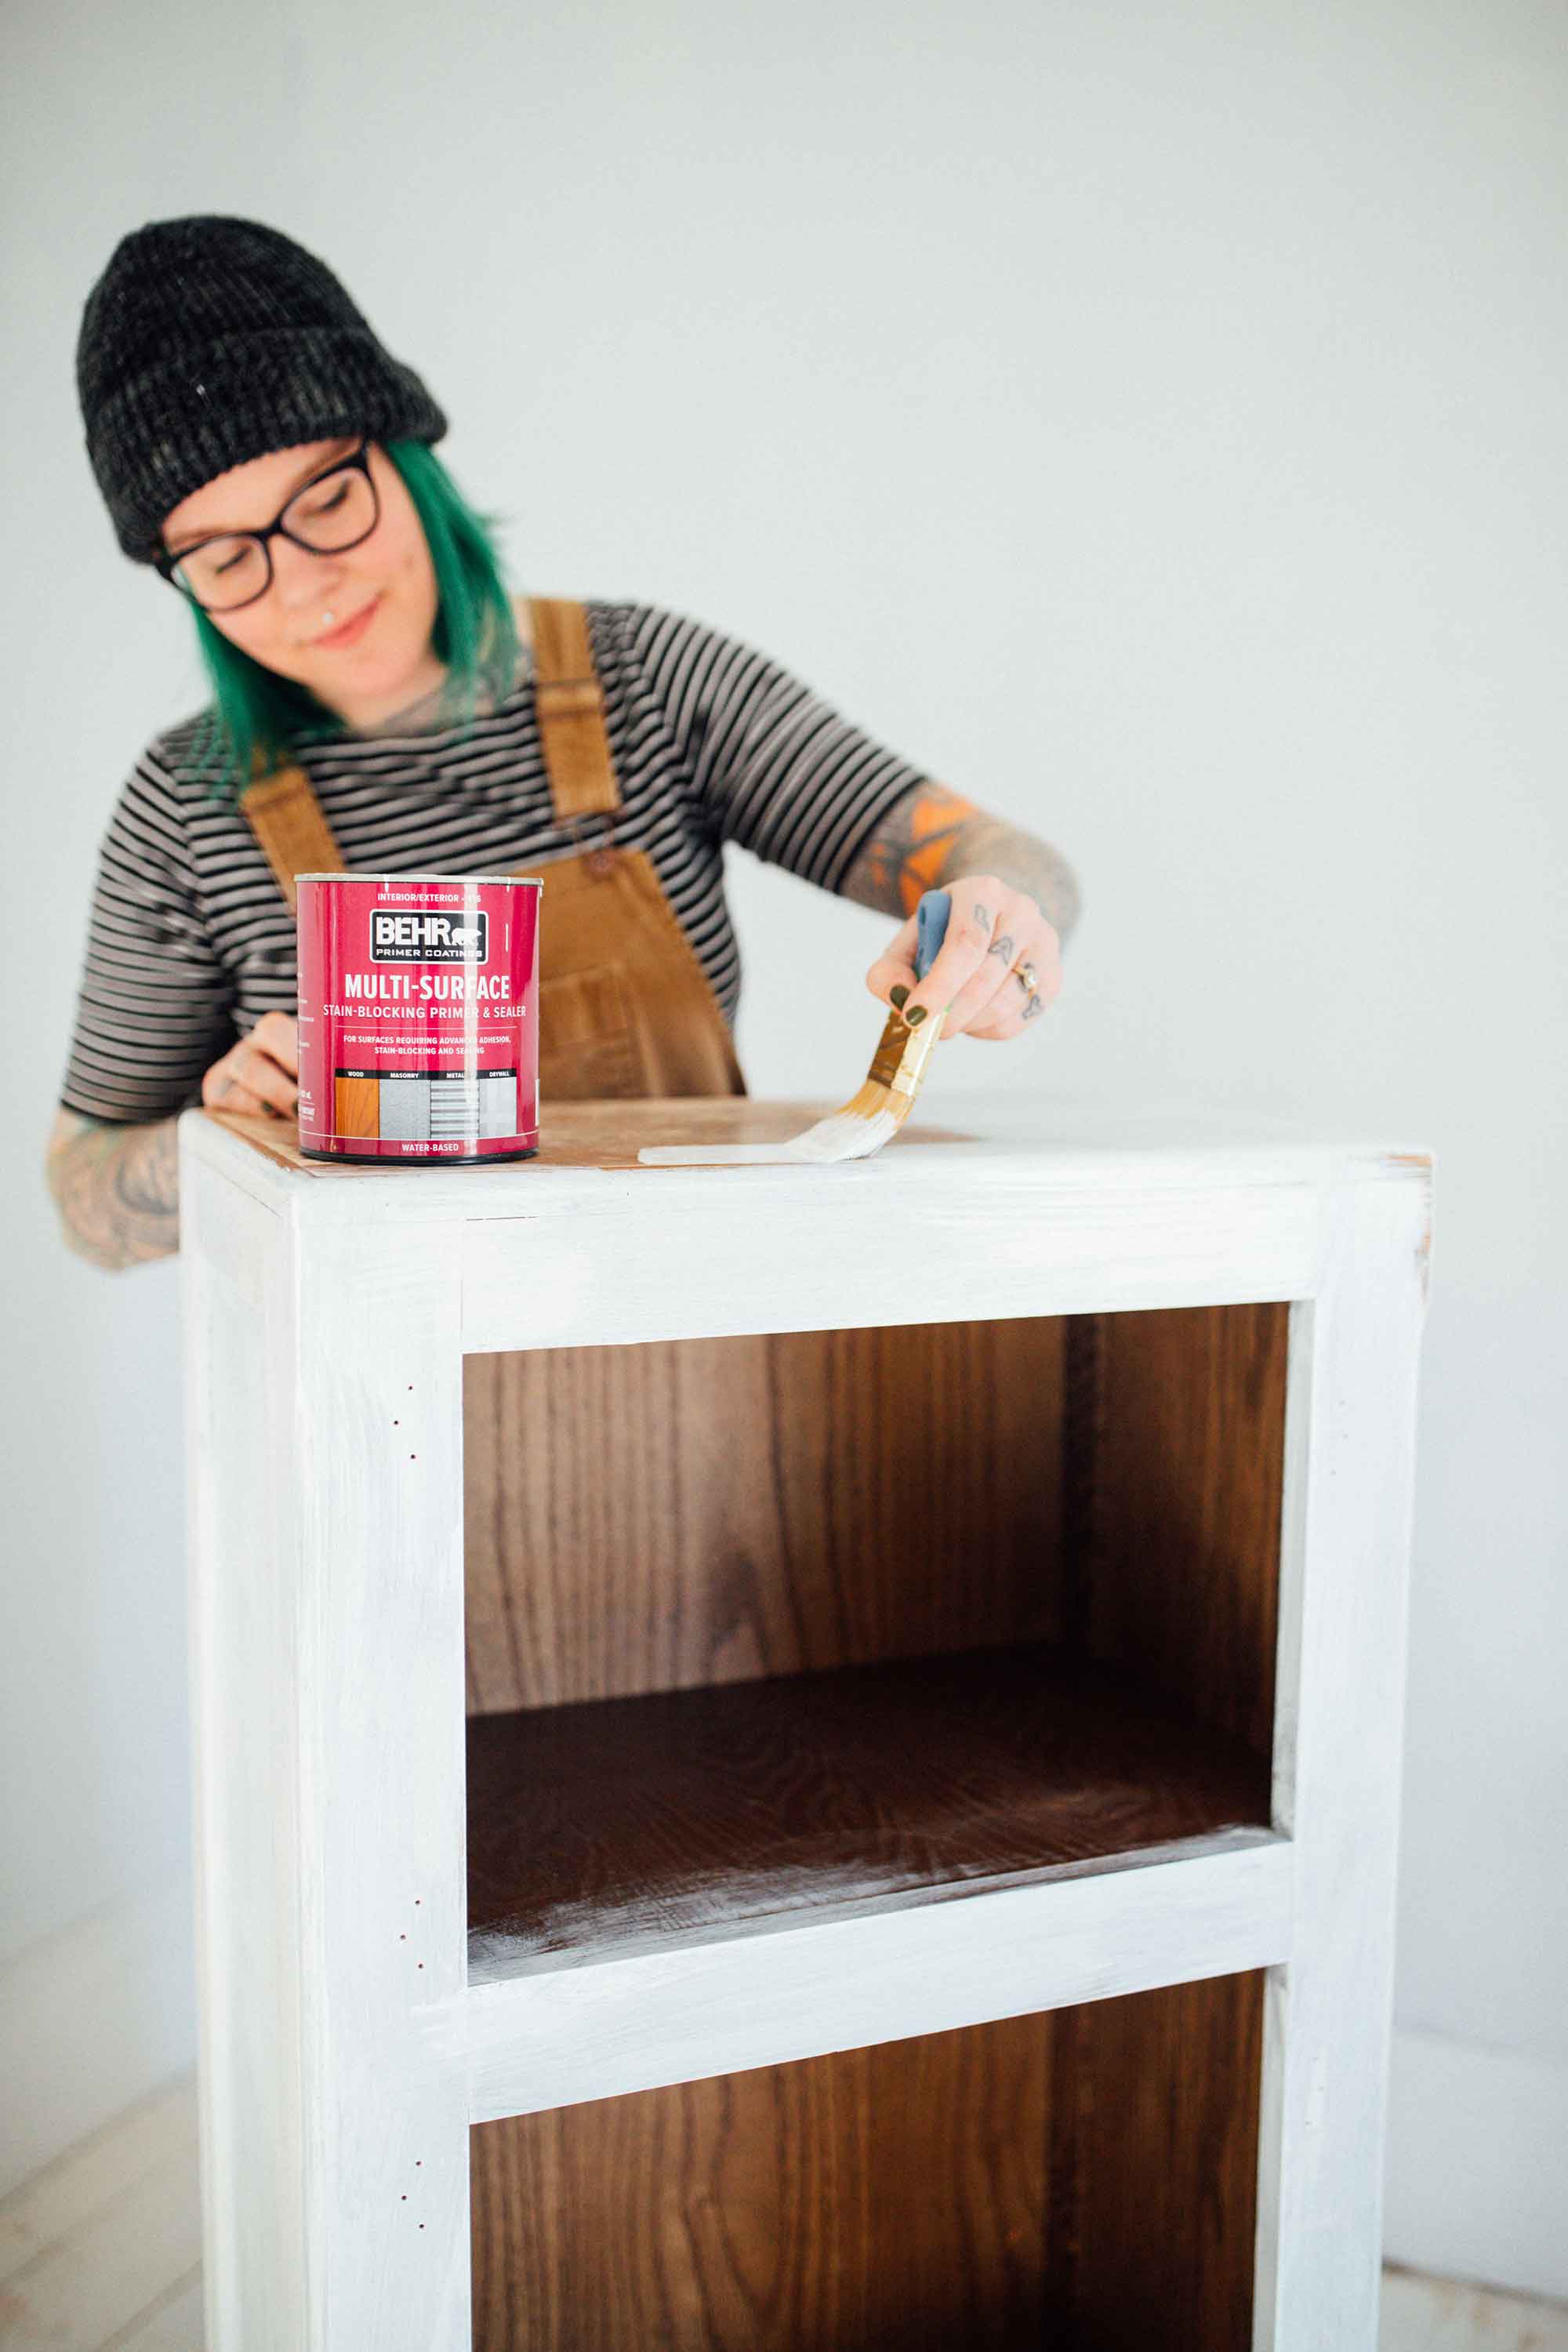
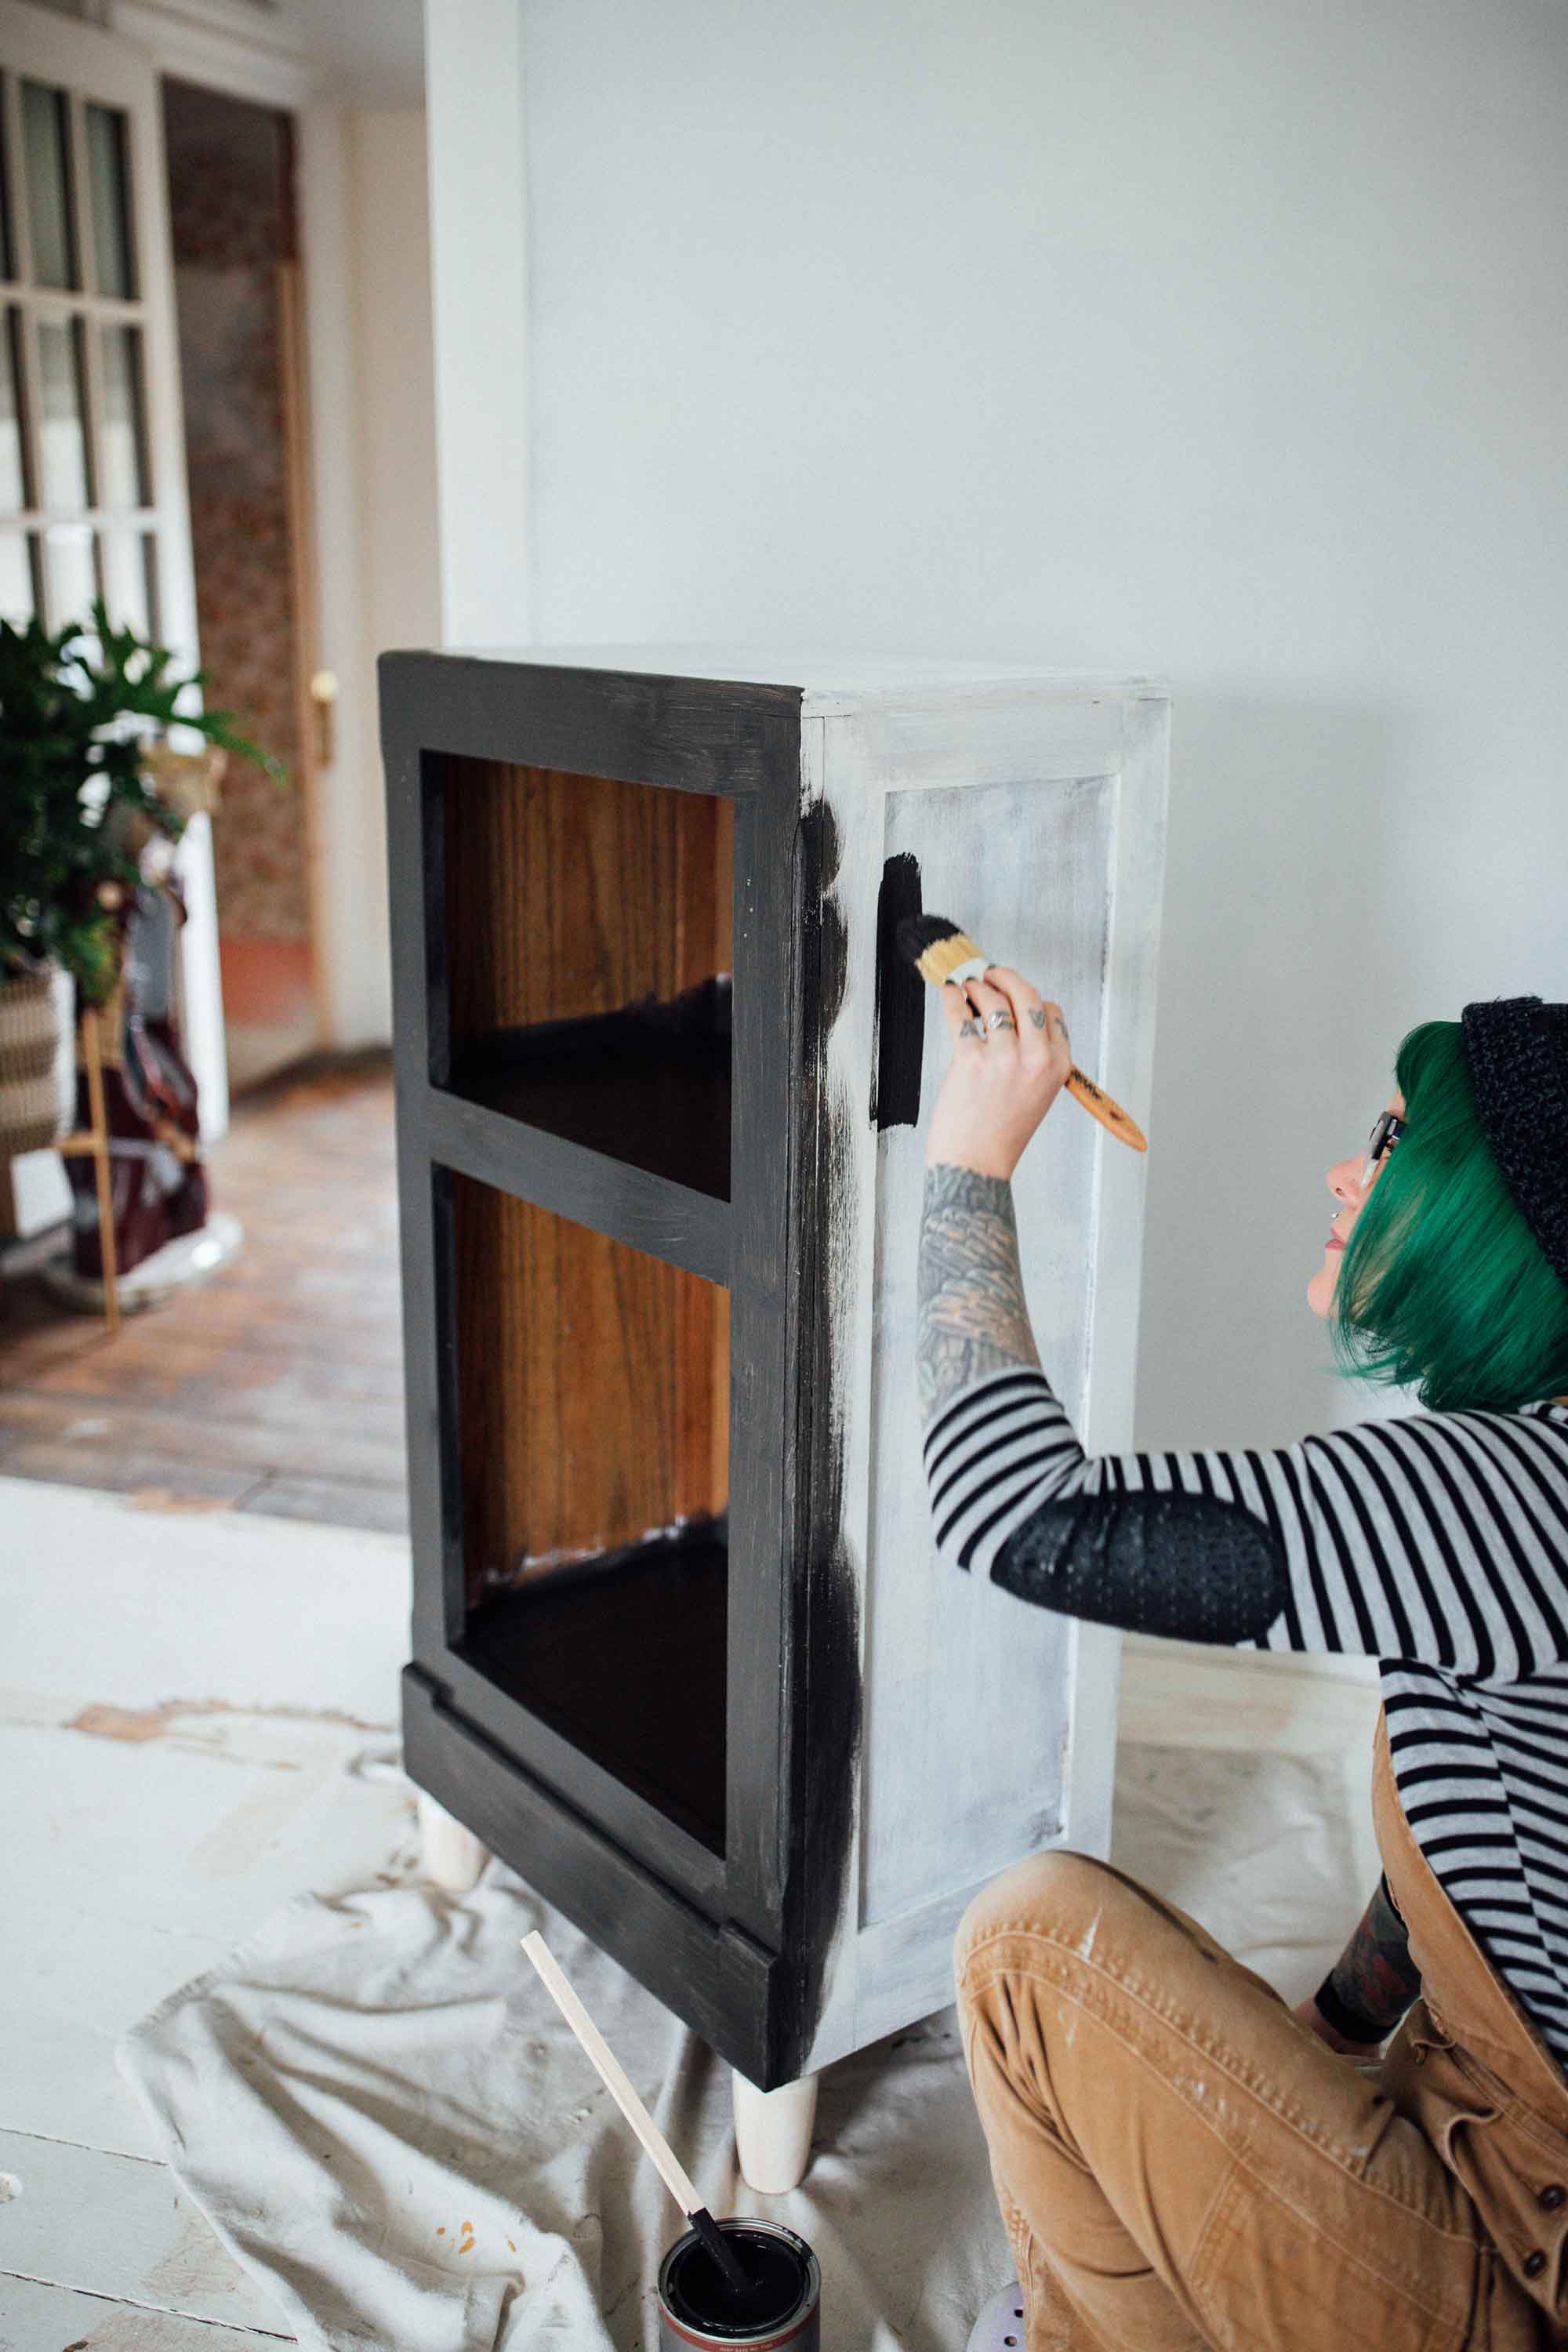
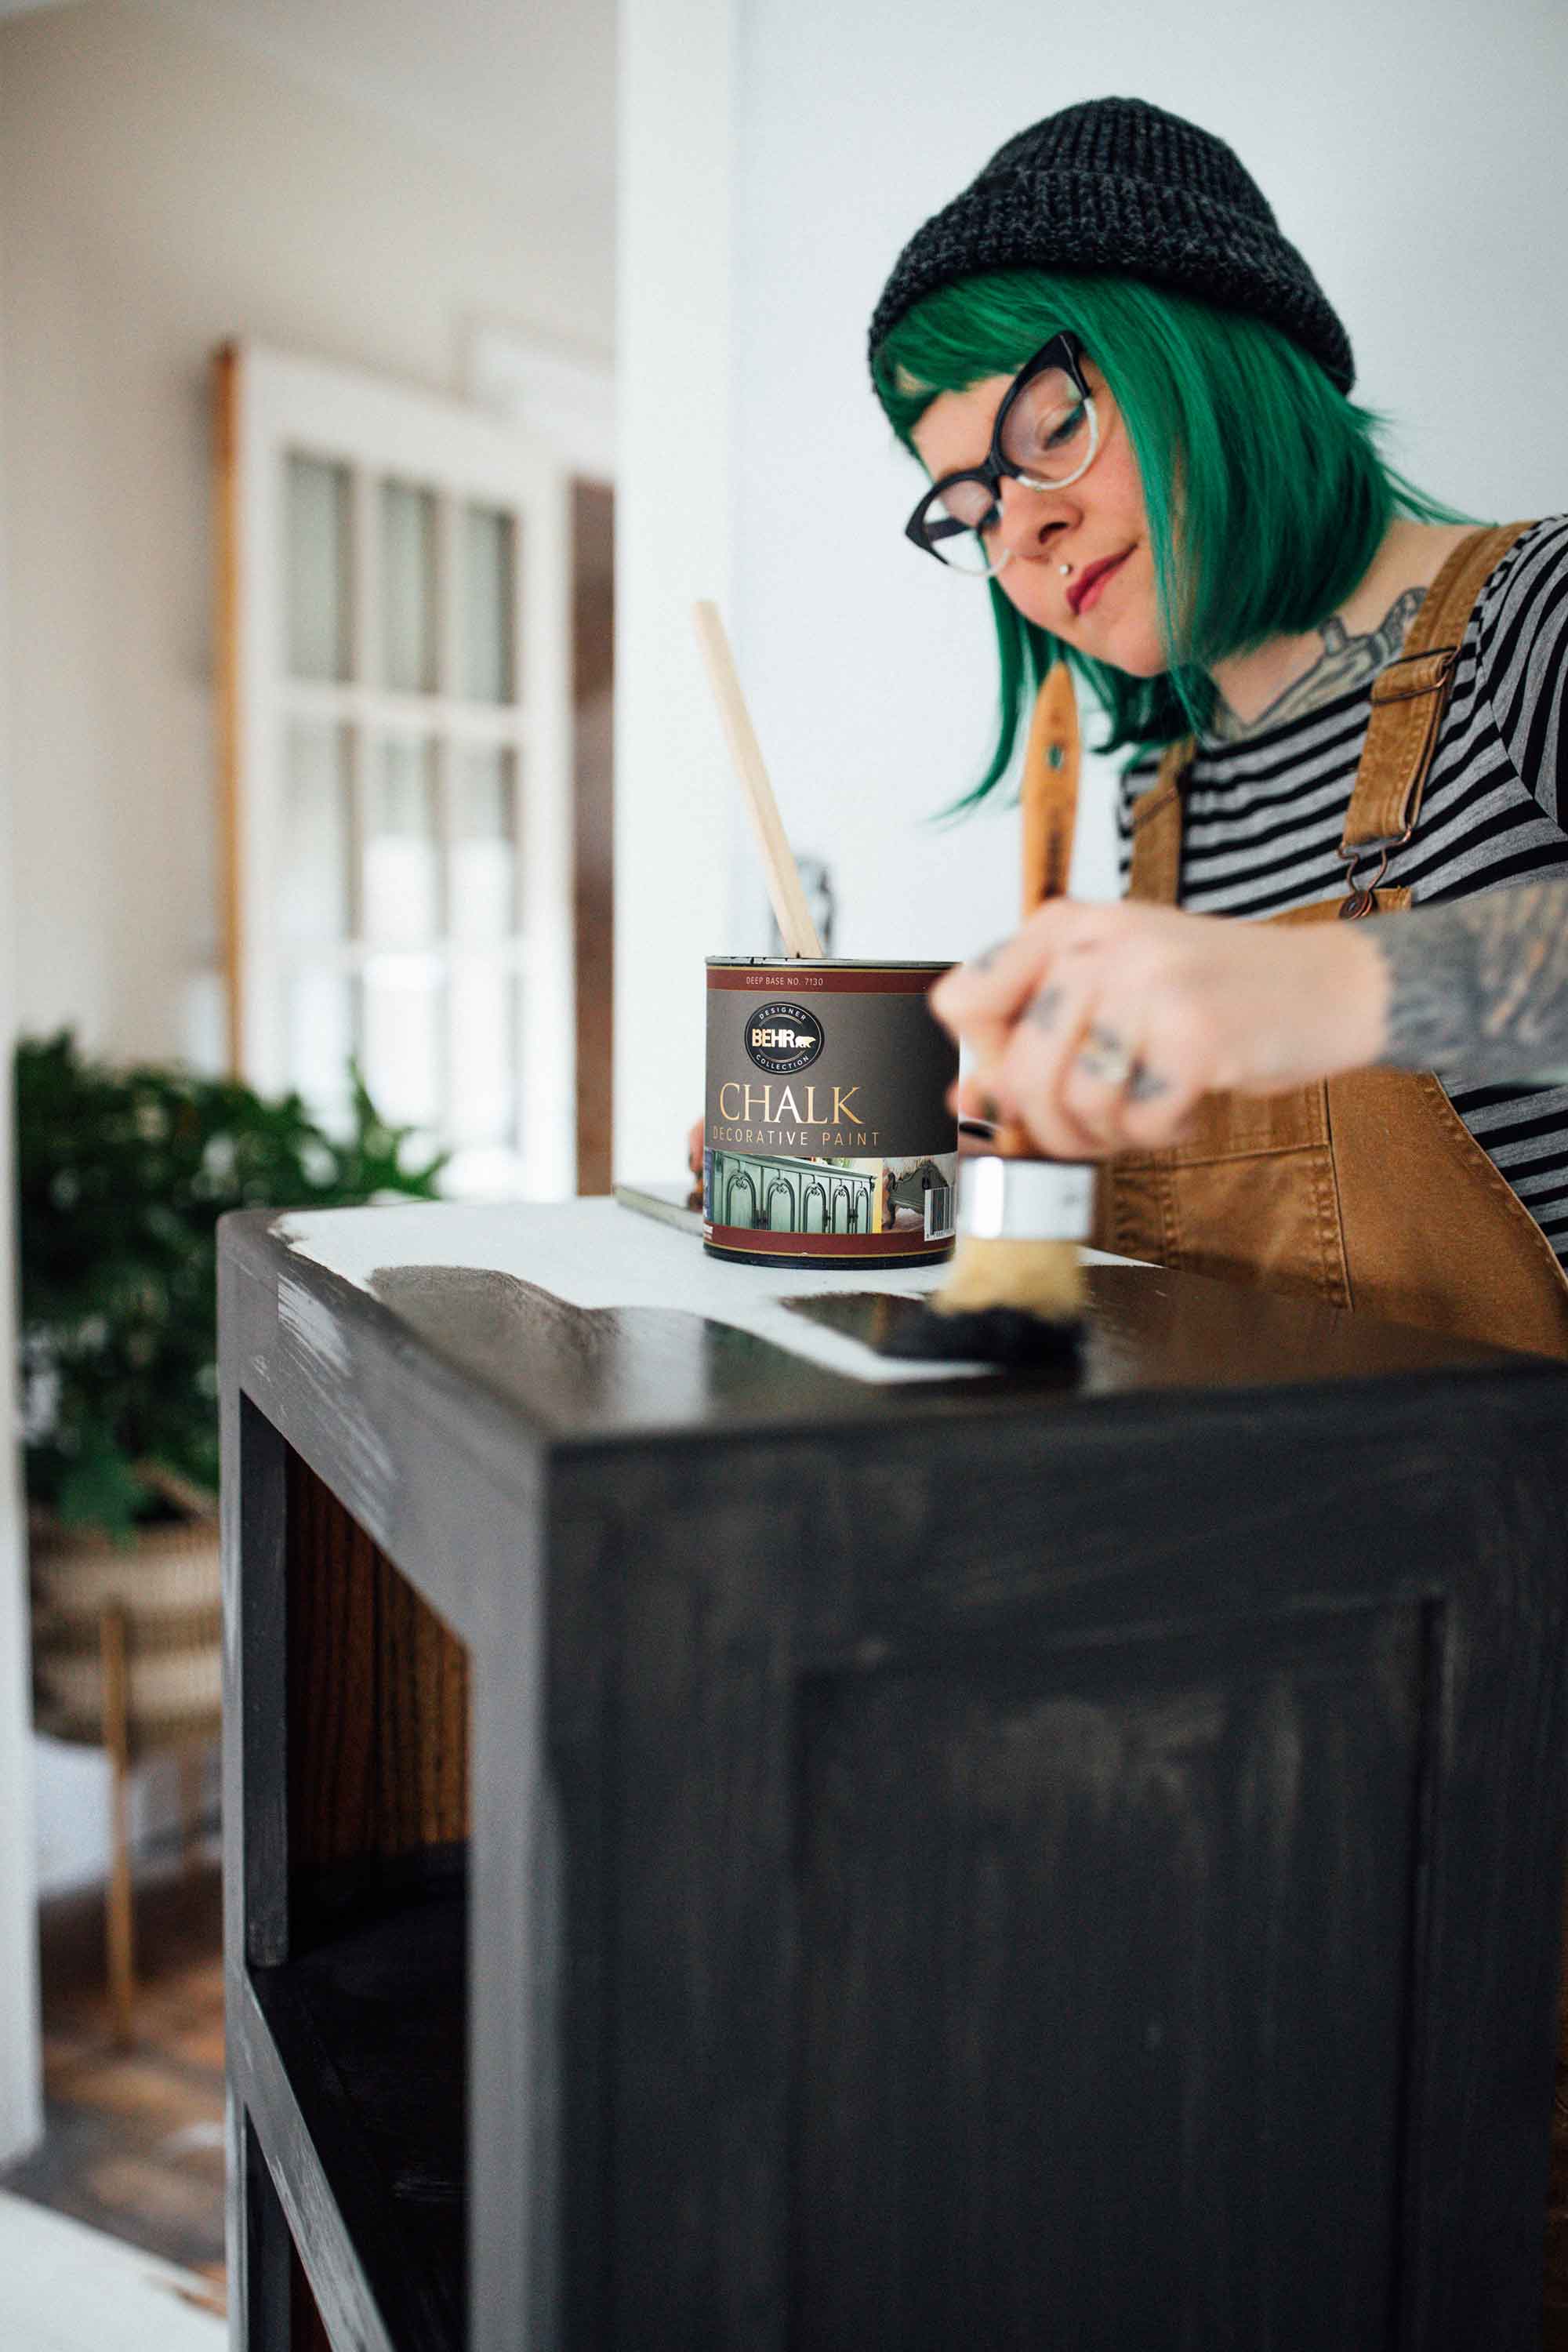
Now for the fun part – priming and painting! I am team always prime. Along with sanding, it’s just another way to set yourself up for success. I used BEHR multi-surface primer. After that dried, I followed with BEHR chalk paint in Black Mocha which I applied with a natural bristle paint brush. Pro tip – run the brush against your palm a few times to remove any loose bristles before starting.
I found that two coats of the chalk paint covered perfectly and left me with exactly the finish I wanted – matte. If matte isn’t your thing though, Behr also sells decorative wax that coordinates with their chalk paint. It’s available in three different finishes!
Step 3: Update the Hardware
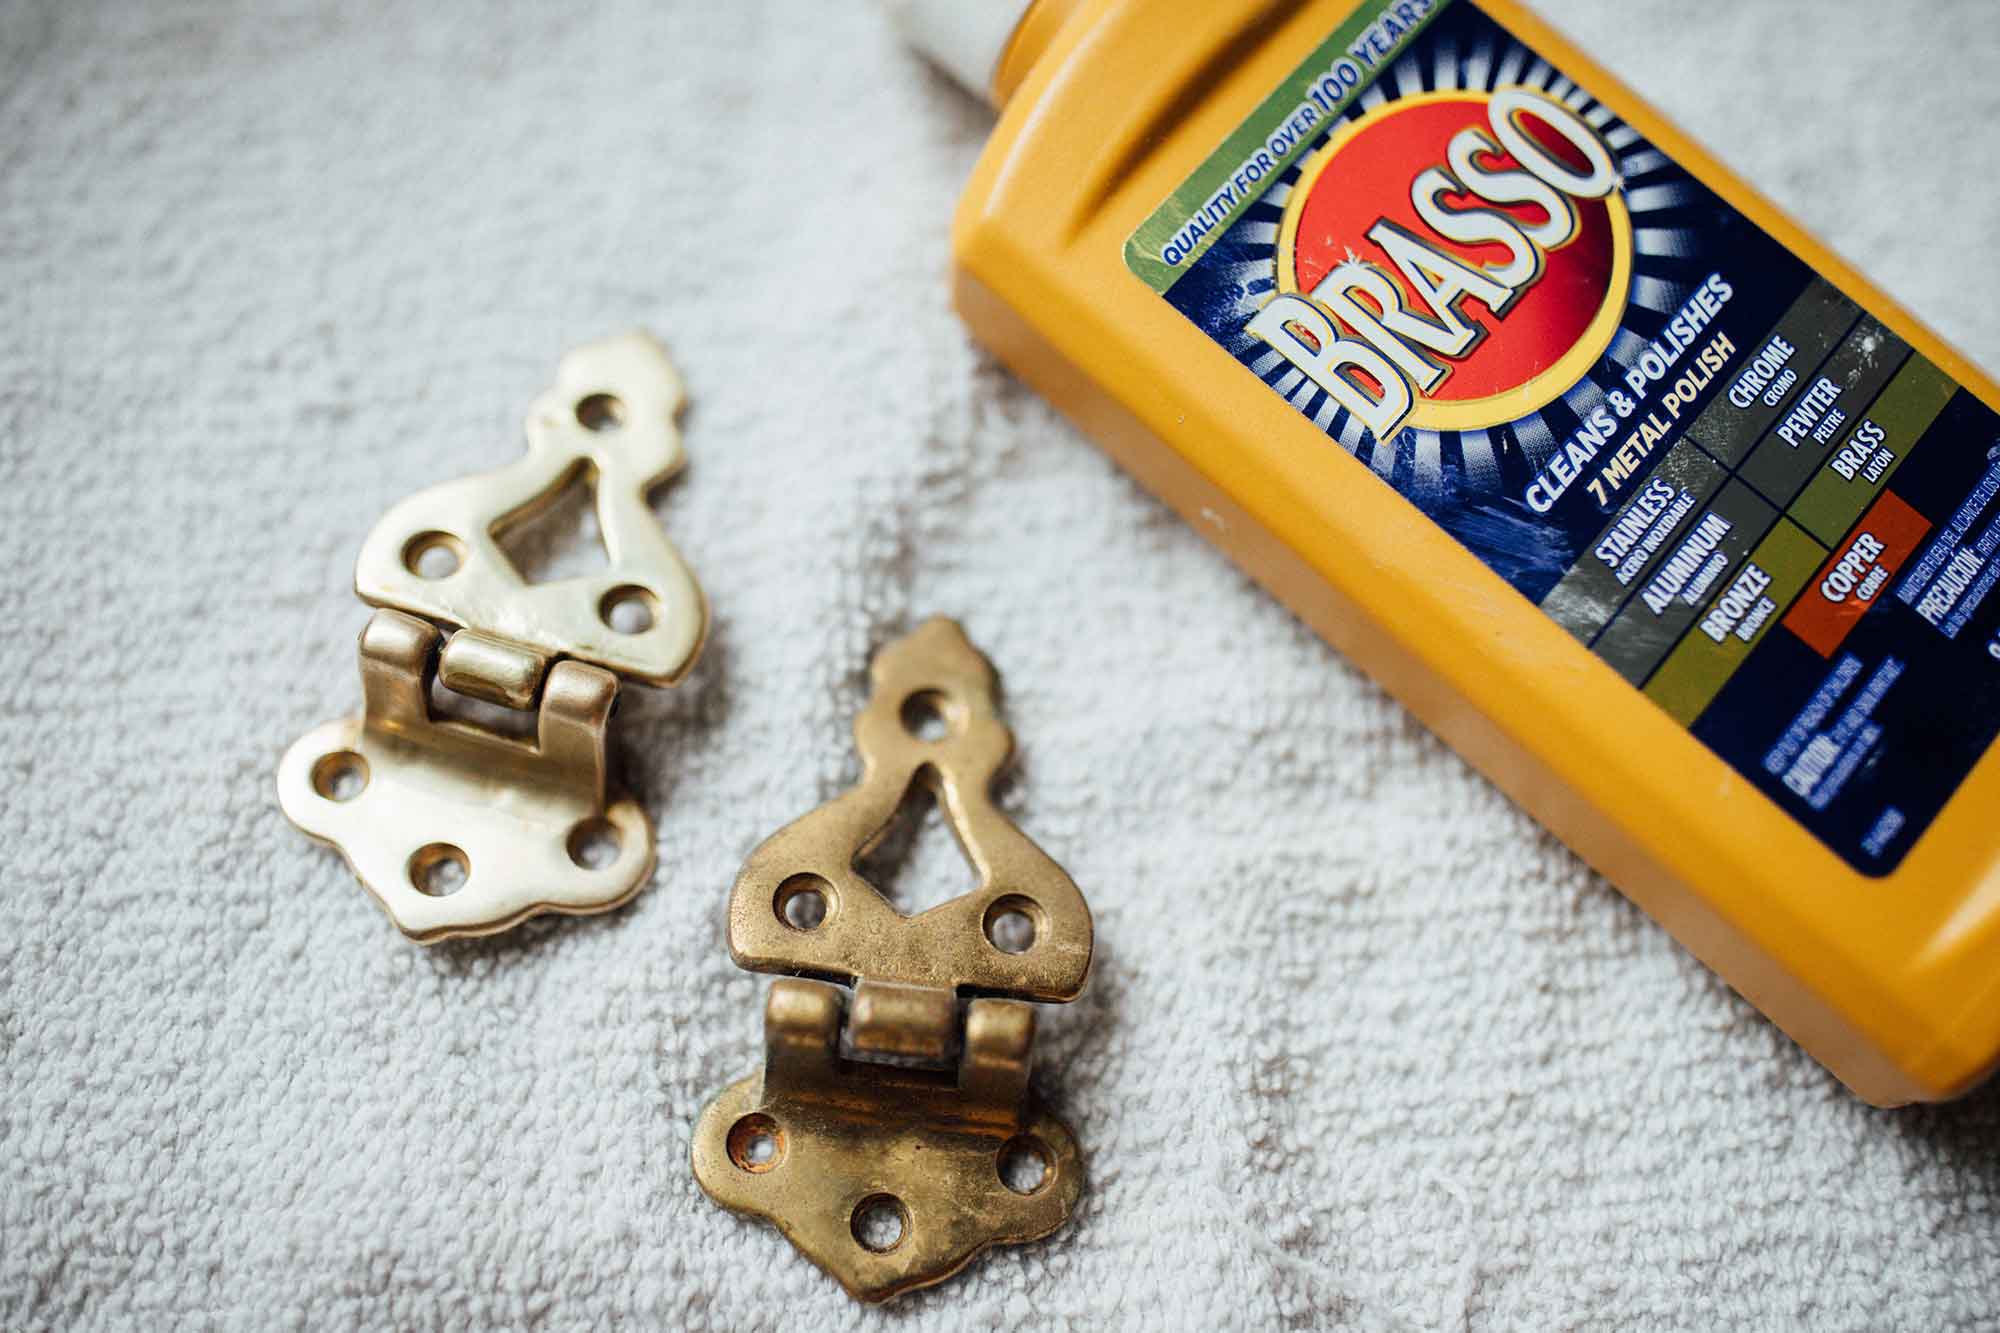
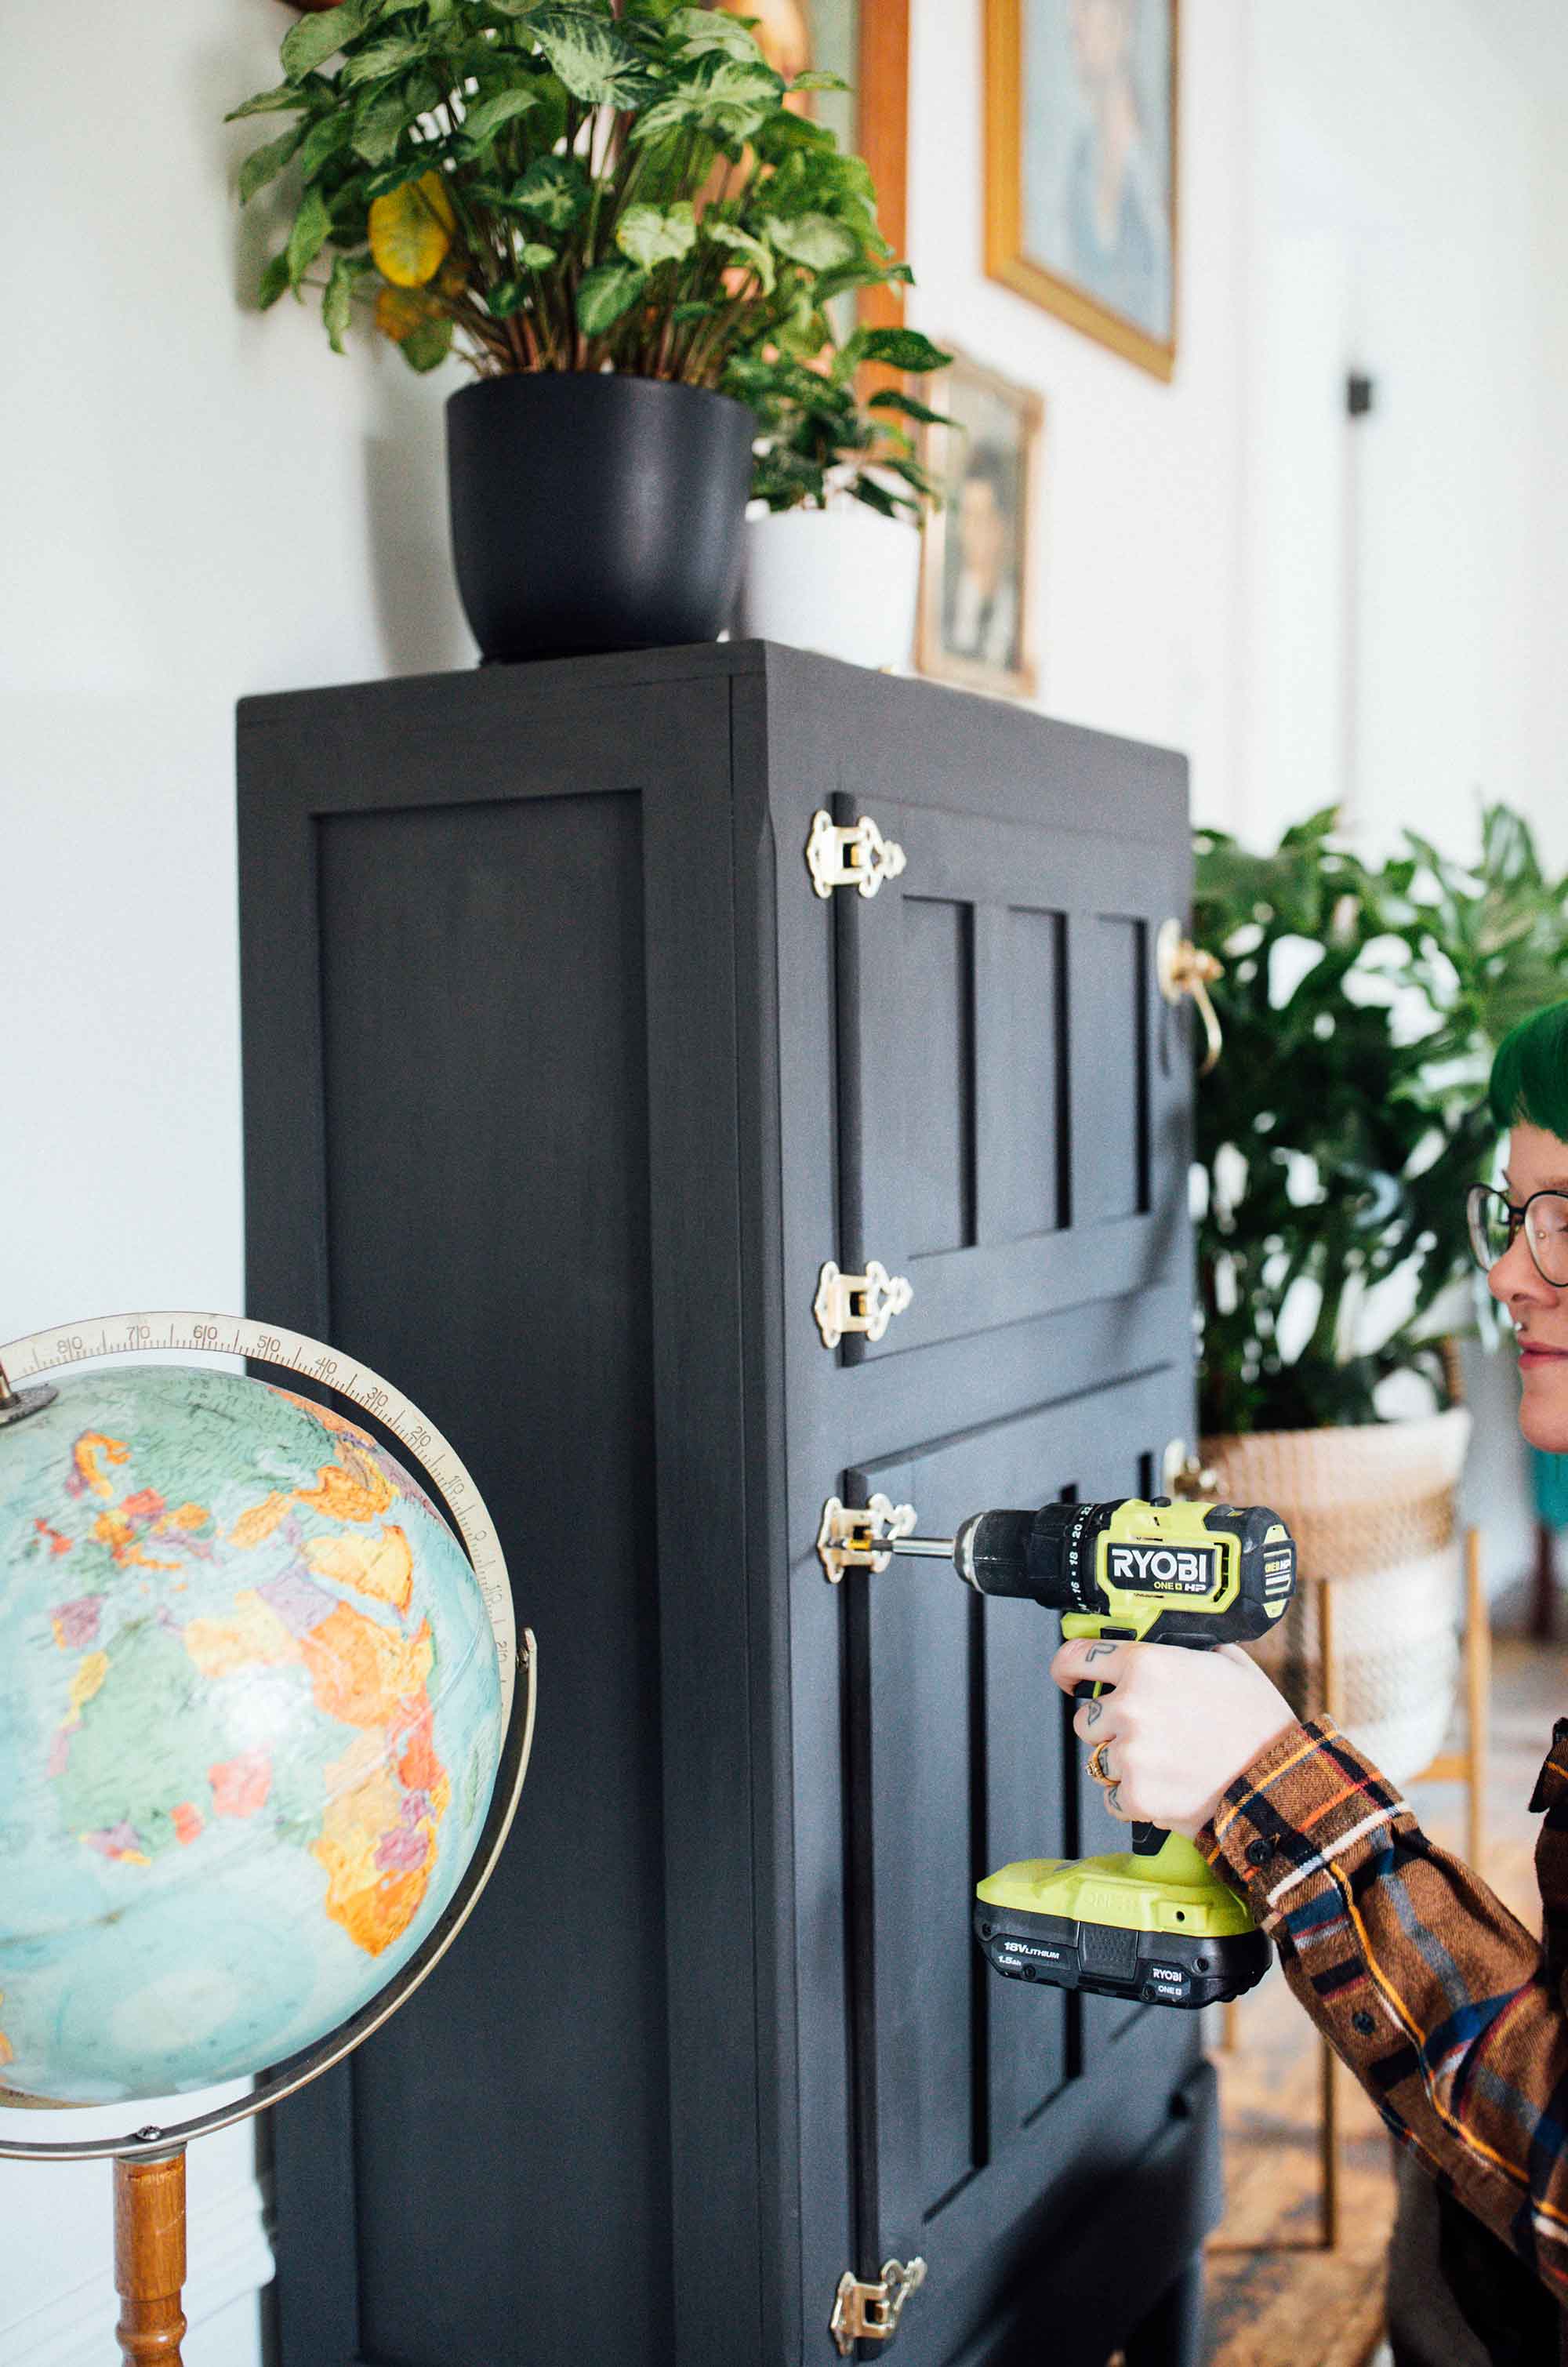
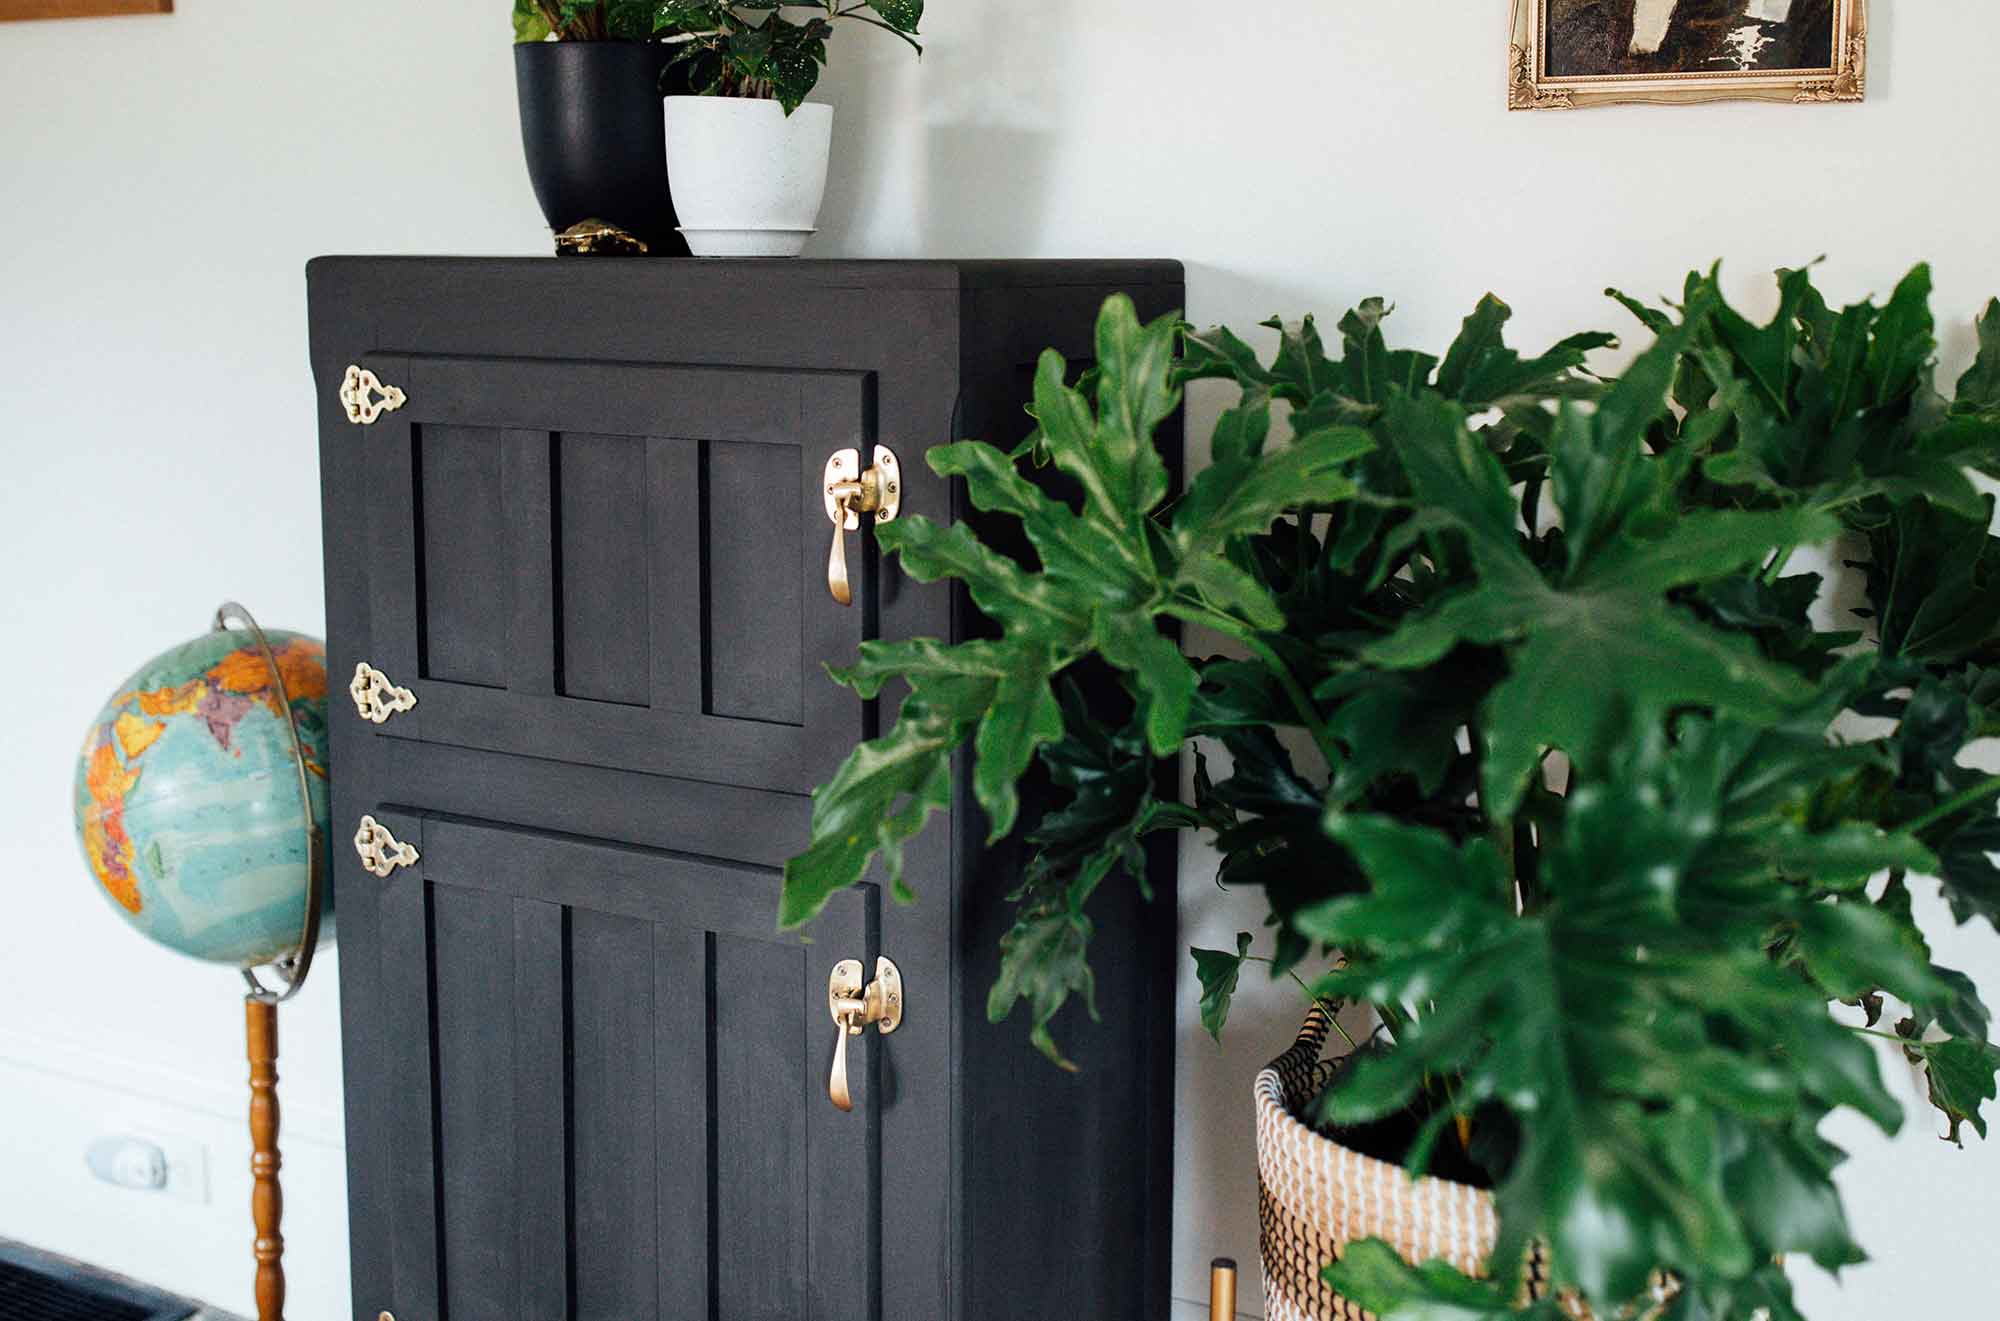
While waiting for my first coat of paint to dry, I tackled the hardware. The Home Depot has an extensive collection of hinges, but I decided to clean up the original ones. I truly did not realize how icky they were until I got to work with Brasso and a clean rag. This takes a bit of elbow grease, but it is absolutely worth it. The hinge on the right is before and the hinge on the left is after.
Step 4: Add Fun Touches
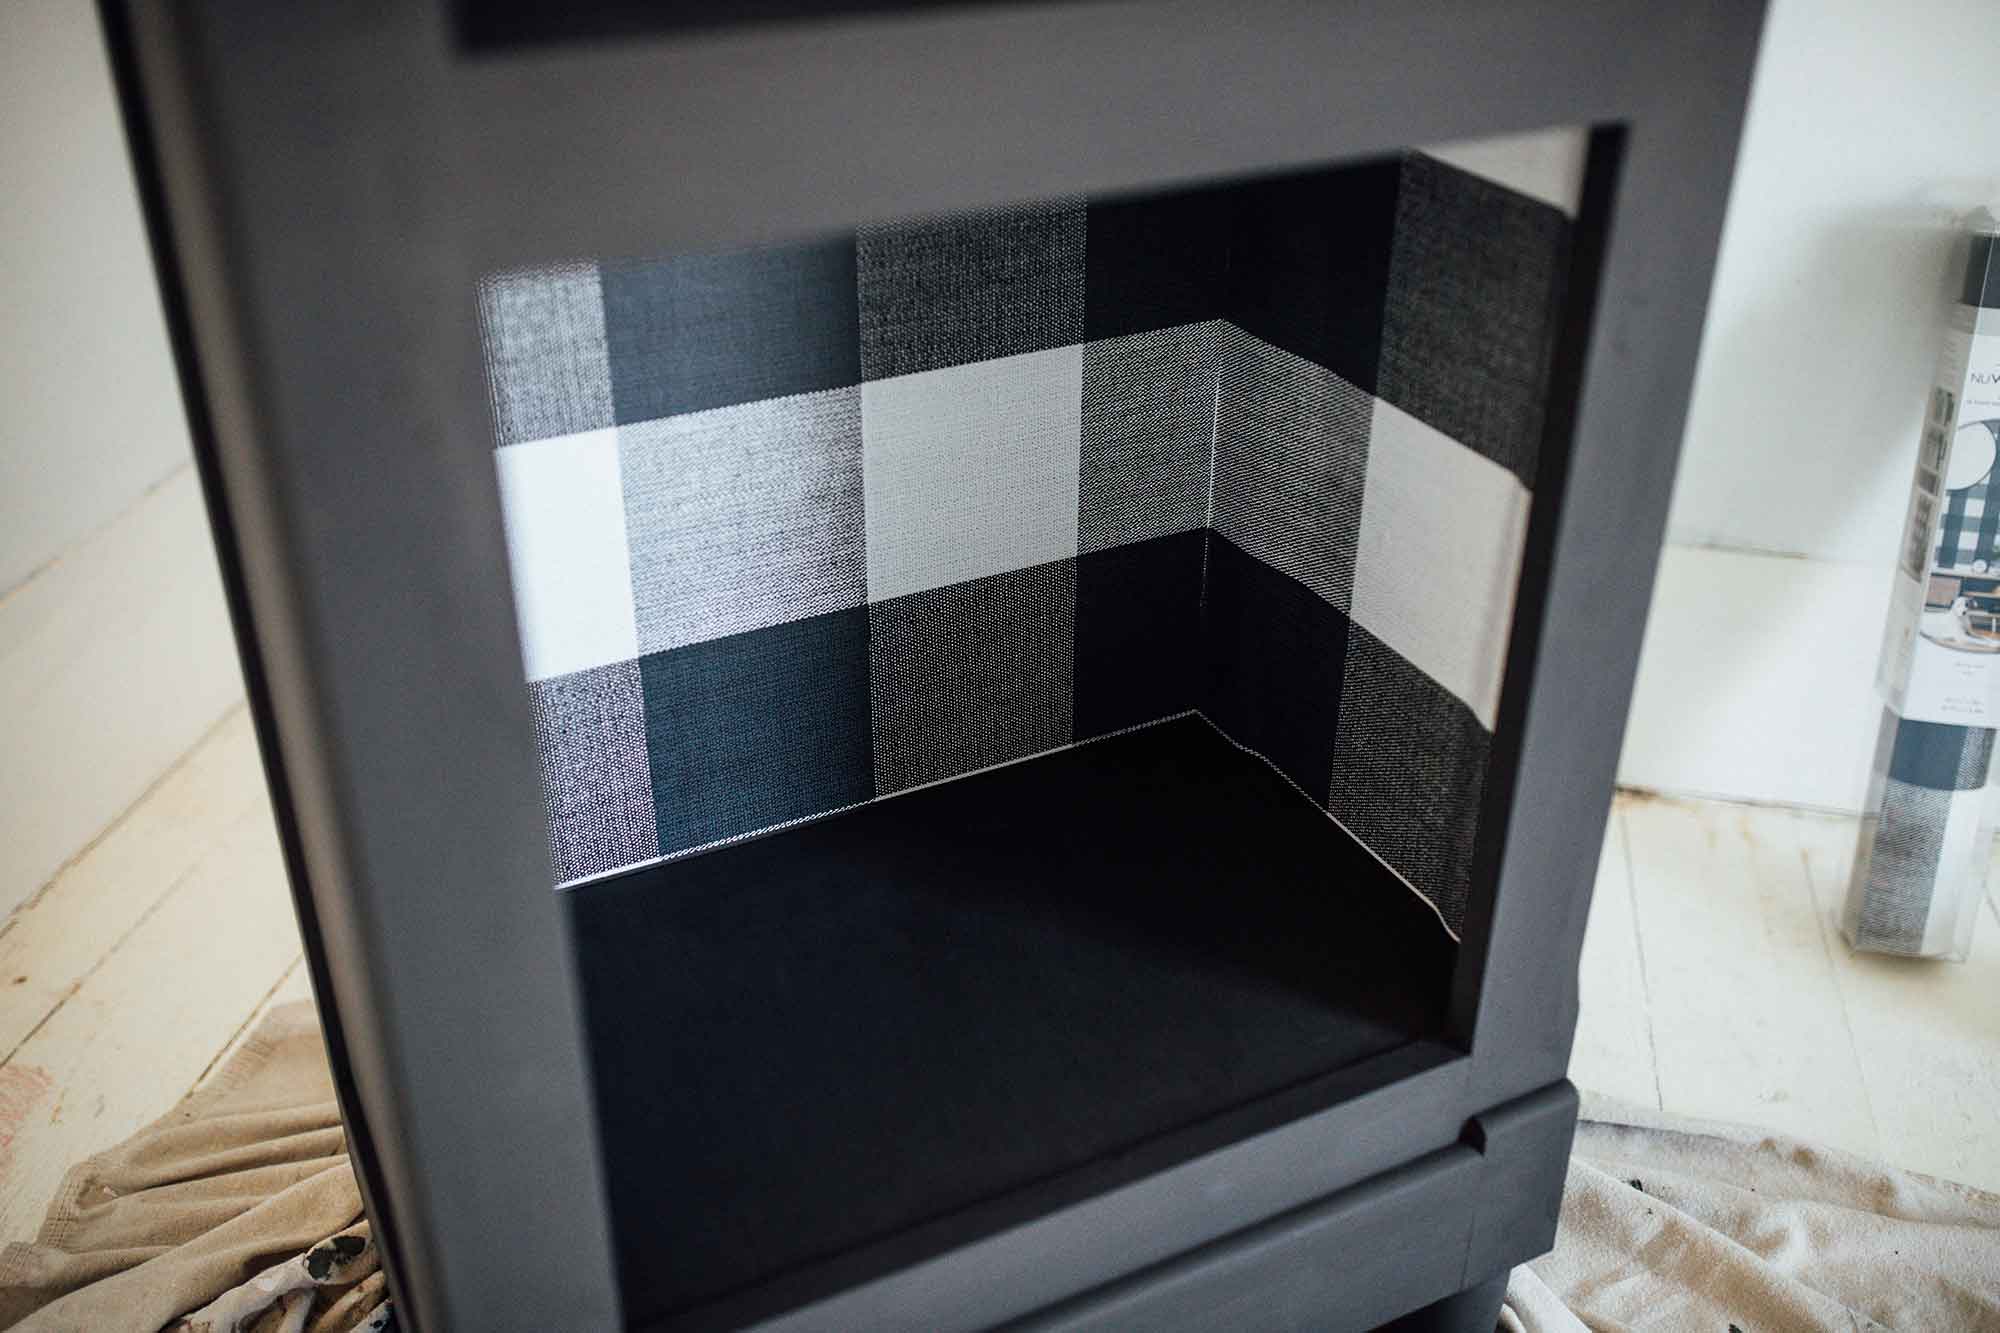
After my final coat of chalk paint, I wanted to do something fun for the interior. I went for some vinyl peel and stick wallpaper! It was a breeze to install. Simply measure the surface you’d like to cover, cut, and apply. It smoothed out easily with just my hand. The roll covers approximately 30 sq. ft. so I have more than enough left over for other projects.
The Final Product
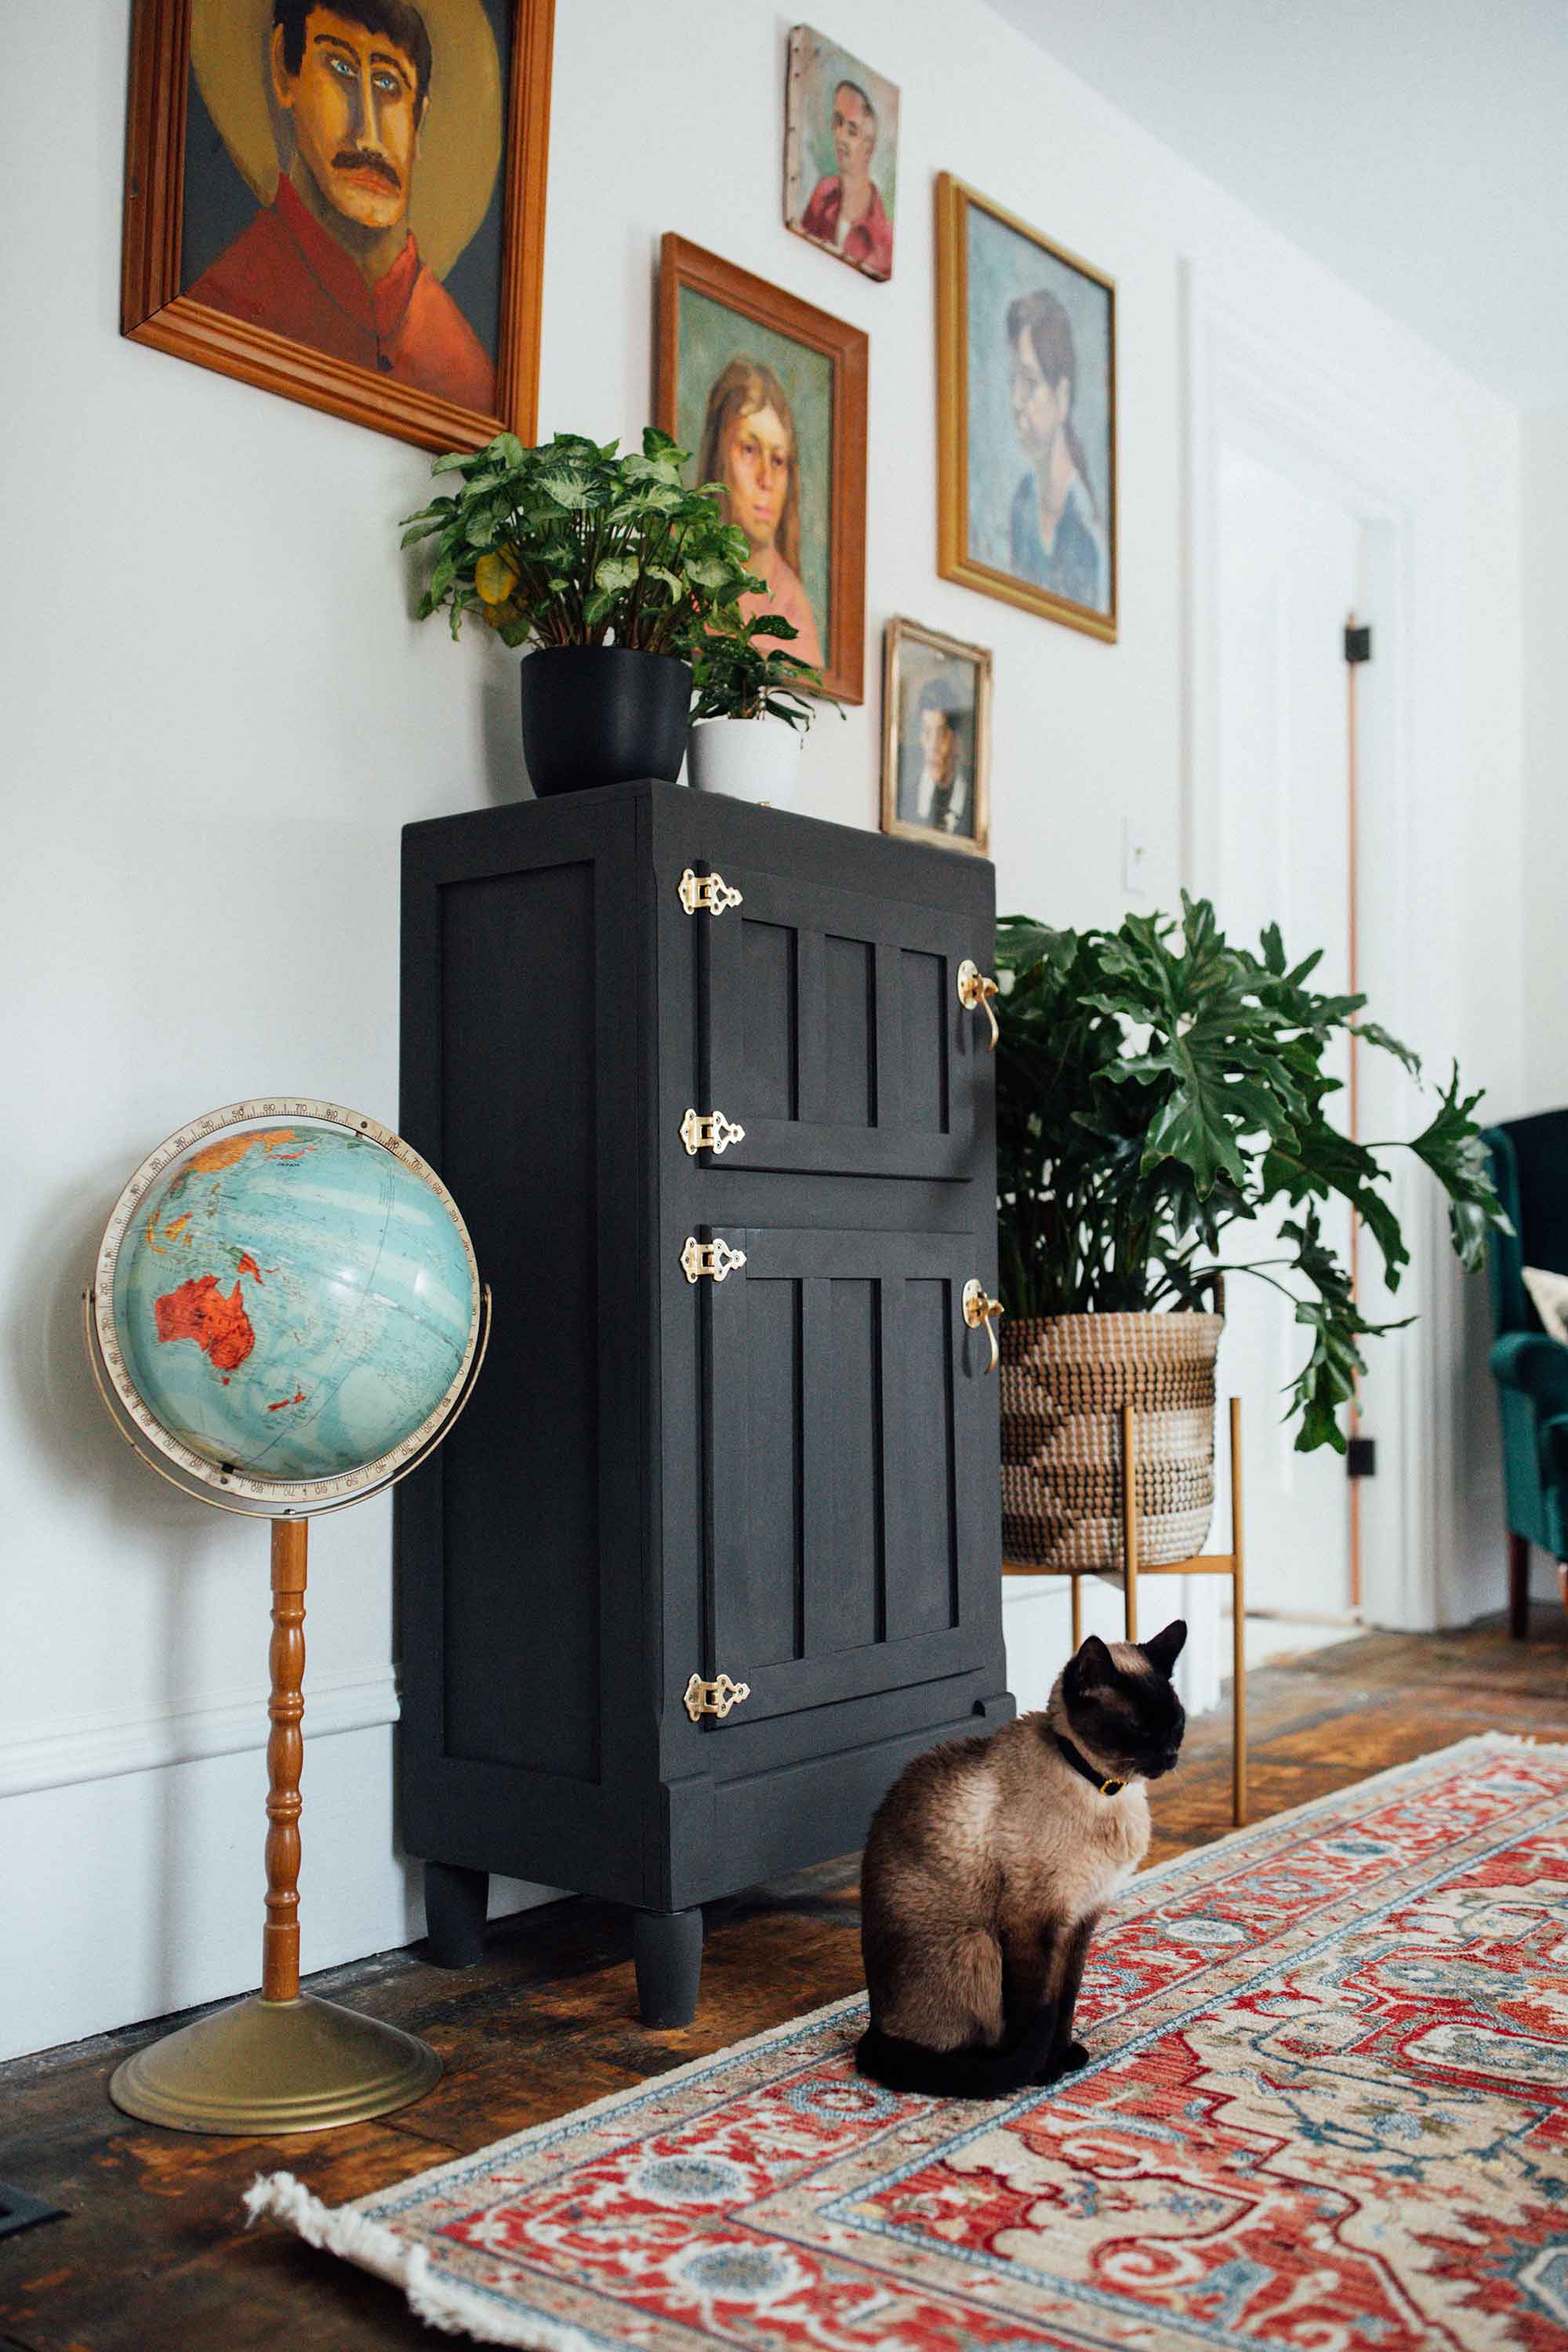
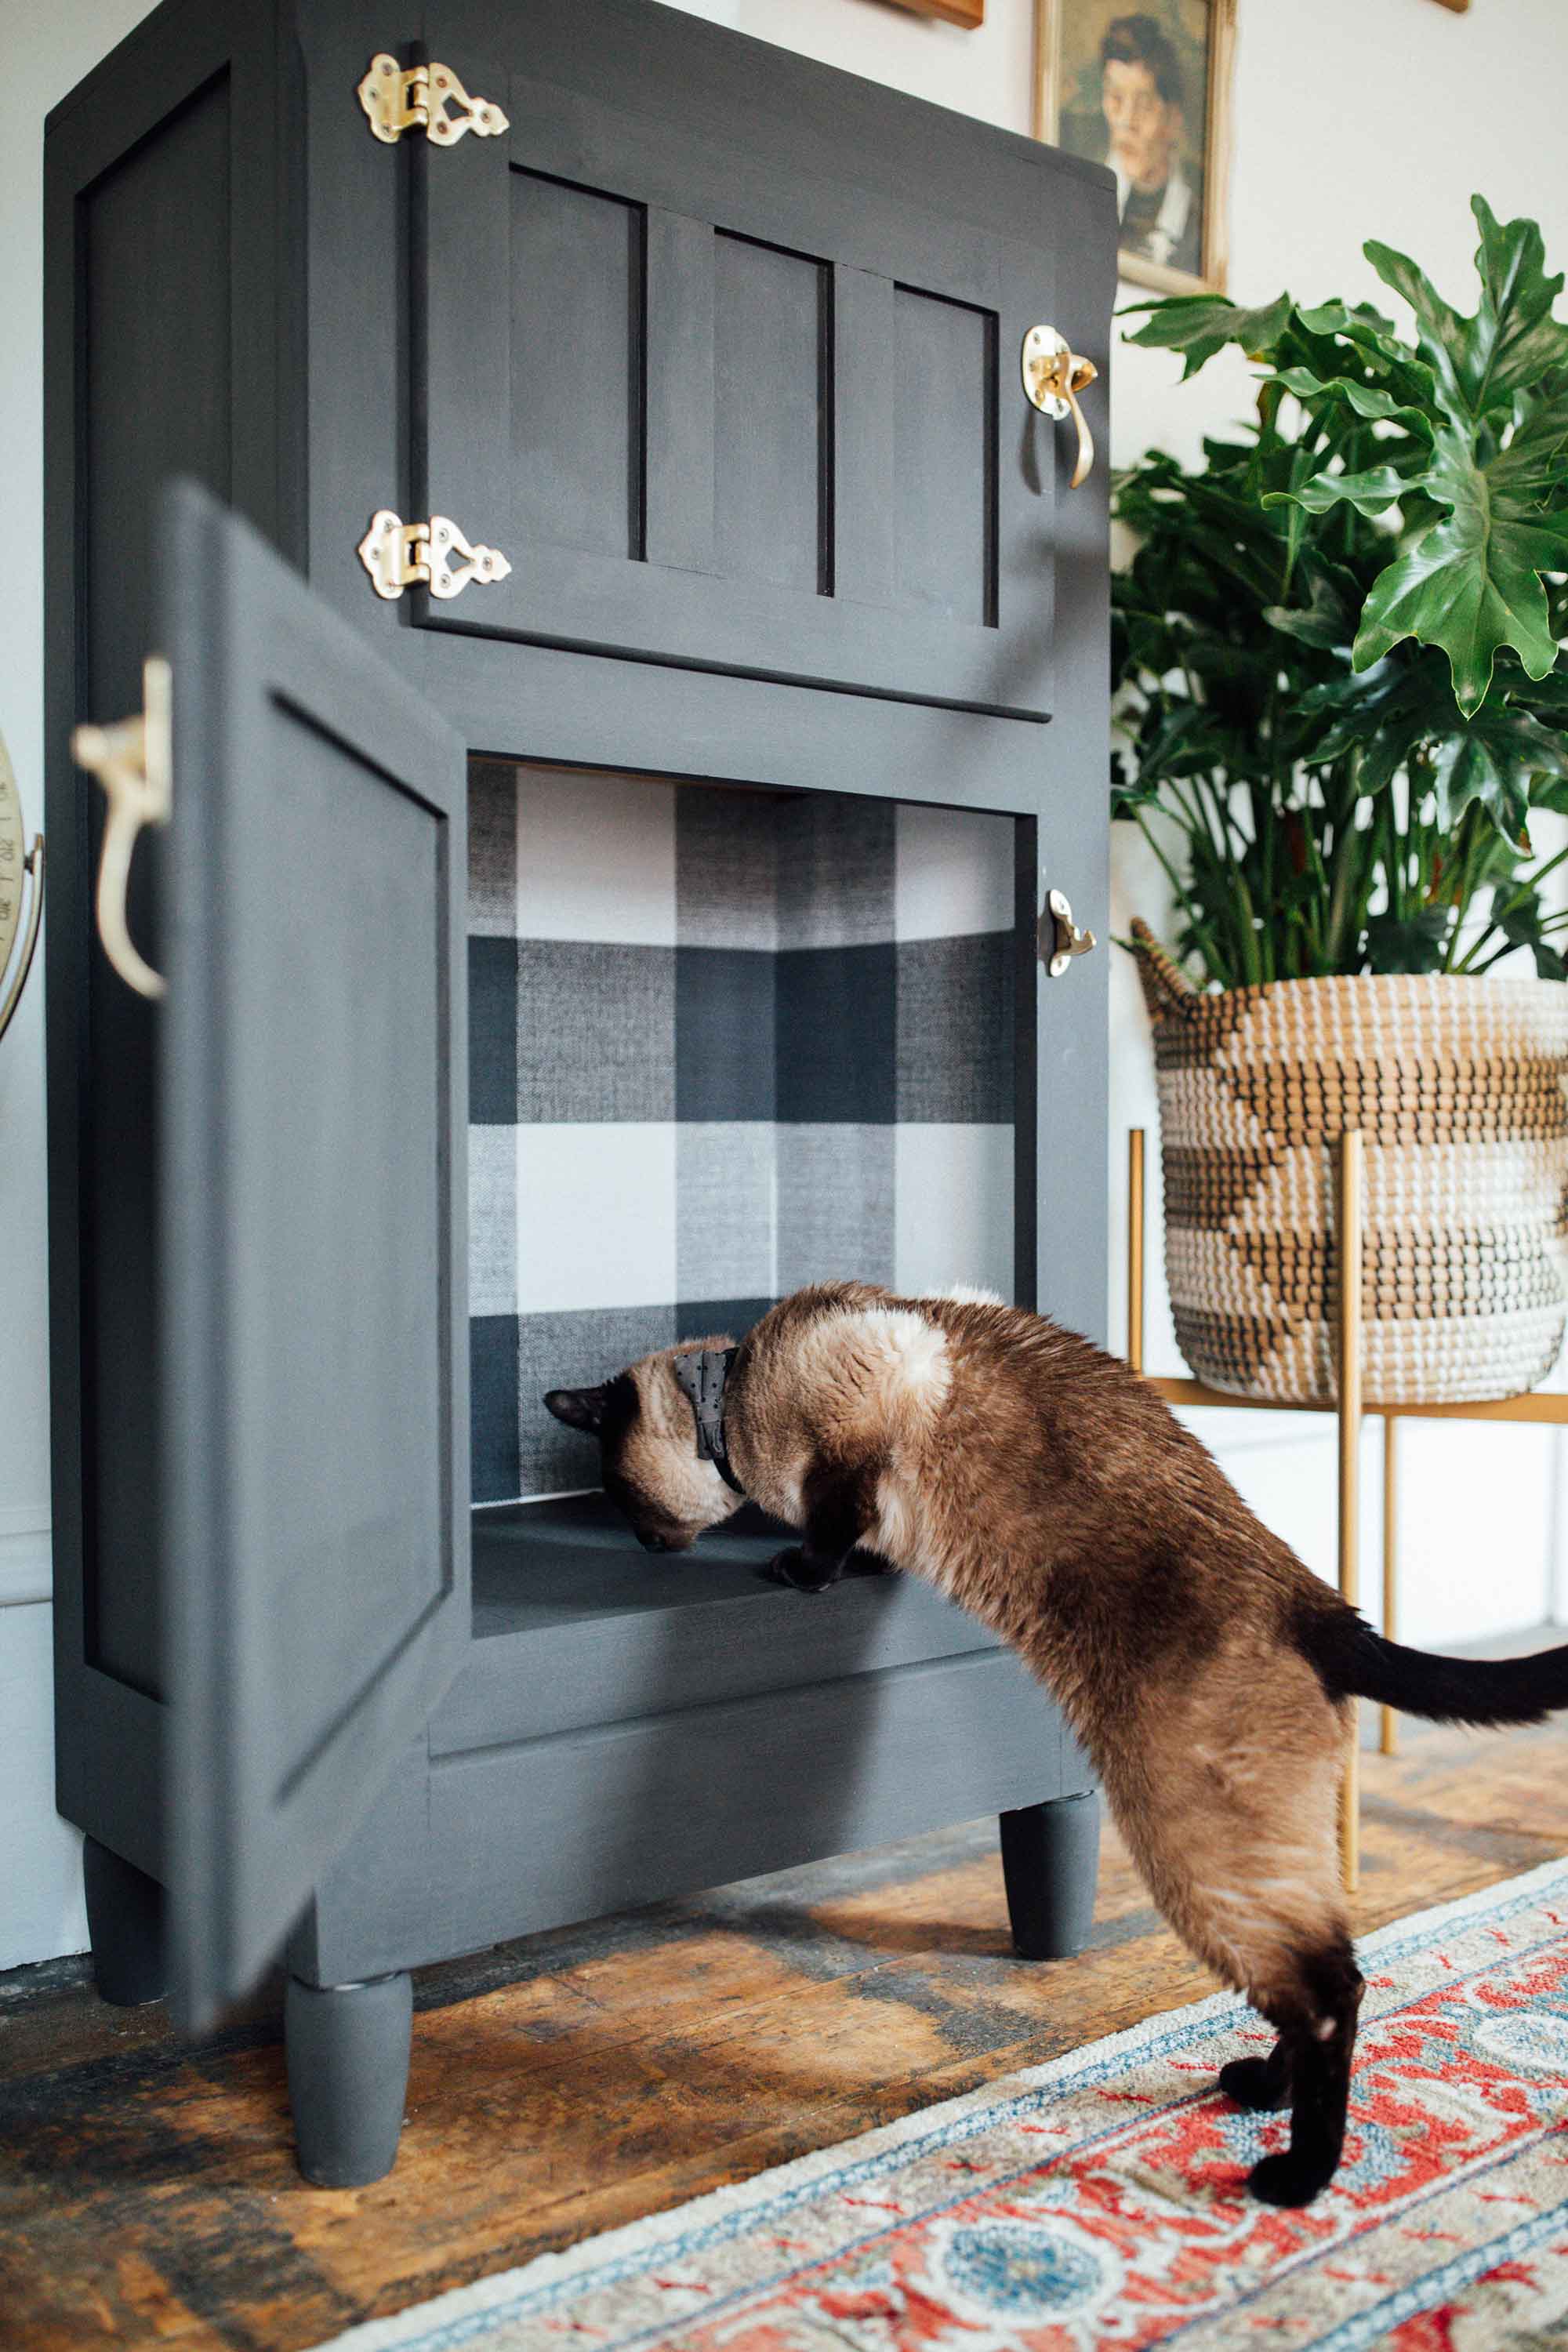
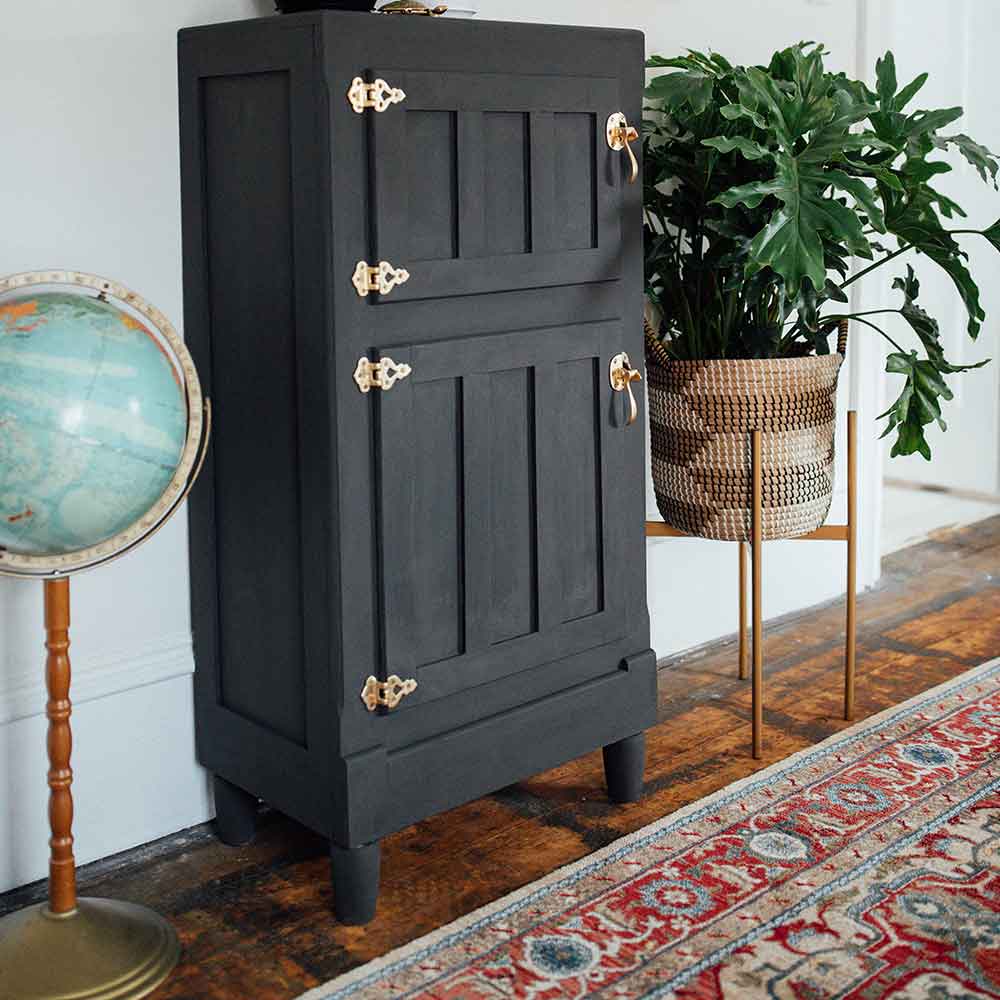
The final product! It’s exactly what I was picturing and so much more my style. Plus, it’s kitten approved; you can’t beat that!
This post was created in partnership with The Home Depot. The author may have received compensation for this article and associated images or video, potentially in the form of products and/or services. All expressed opinions and experiences are the author’s own words.


