How to Fix a Leaky Toilet Flapper
Last updated September 7, 2023
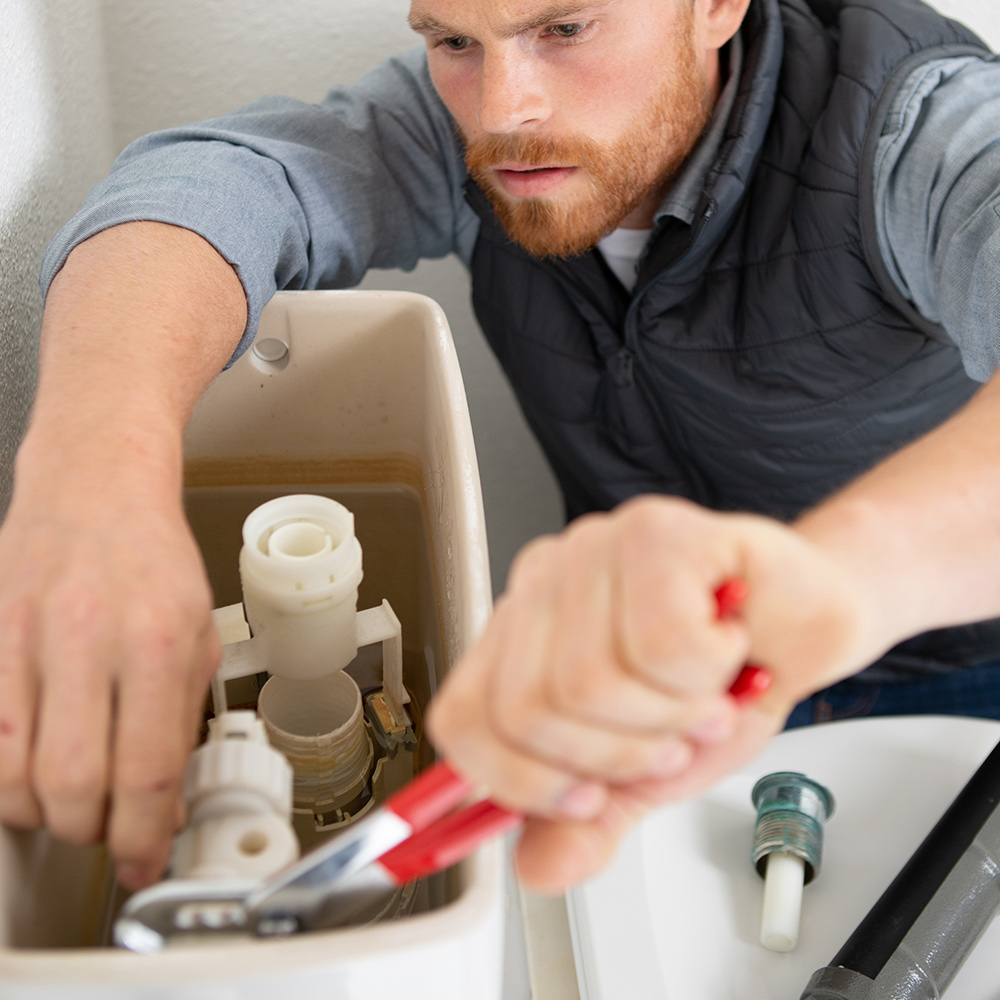
A toilet flapper is the part of your toilet that seals the opening between the tank and the toilet bowl. When the toilet is flushed, a rubber tank ball or flapper lifts out of the way, and water rushes into the bowl. An old, worn tank ball or flapper is prone to leaks. It could also cause excess water use by making your toilet constantly run. The best way to prevent this problem is by replacing the flapper. This guide will teach you how to change your toilet flapper in a few simple steps.
Difficulty:
Beginner
Duration:
Under 2 hours
Table of Contents
Check the Flapper
Turn Off the Water
Adjust the Tank Ball
Remove the Flapper
Install the New Flapper
Turn the Water Back On and Check the Bowl
Check the Flapper
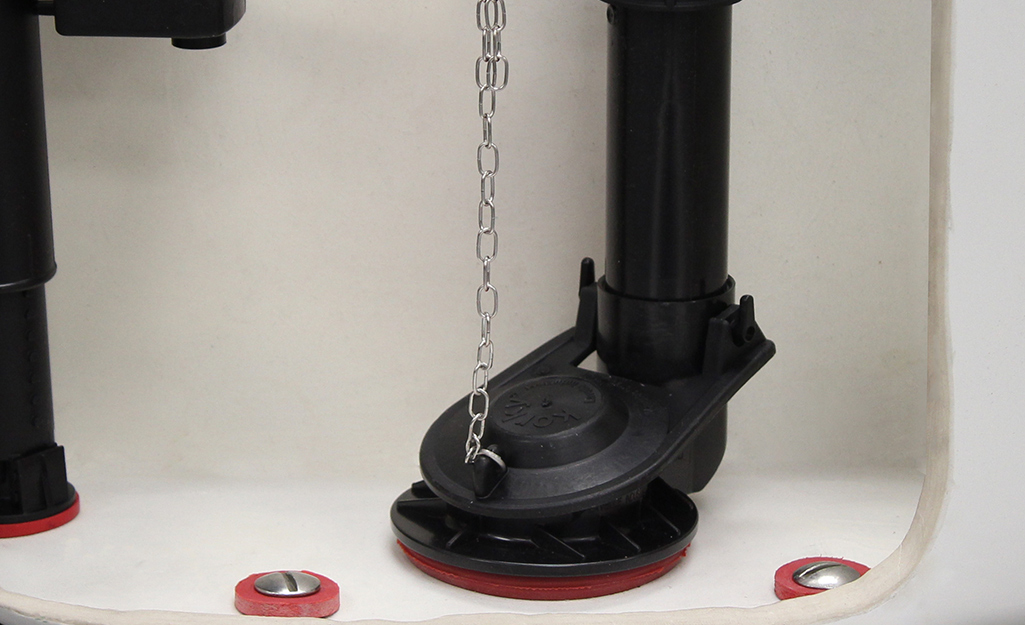
The toilet flapper is located at the bottom of the tank. The flapper seals the opening between the tank and your toilet bowl. When your toilet flushes, the flapper lifts out of the way, allowing water to refill the bowl. It’s a circle-shaped part connected to a long arm called an overflow tube.
To check for a leaky flapper, take the lid off your toilet tank and flush the toilet. Watch the toilet flapper while the toilet flushes. A leaky flapper doesn’t reseal properly after the toilet has been flushed. If your flapper is worn, broken or damaged, replacing the unit should help your toilet function normally.
If the flapper looks to be in good shape, check to see if it is aligned with the opening. The bulb should land in the center of the opening and the flange should seal evenly around the edge. Also see if the pull chain is twisted or catches on something. The chain should be tight enough to lift the flapper into it's "up" position but loose enough to allow it to fall into its "down" position.
Lastly, check the condition of the opening itself. Clean away any build-up of sediment. If it has rusted or is otherwise uneven, this part could be the problem instead of the flapper.
Turn Off the Water
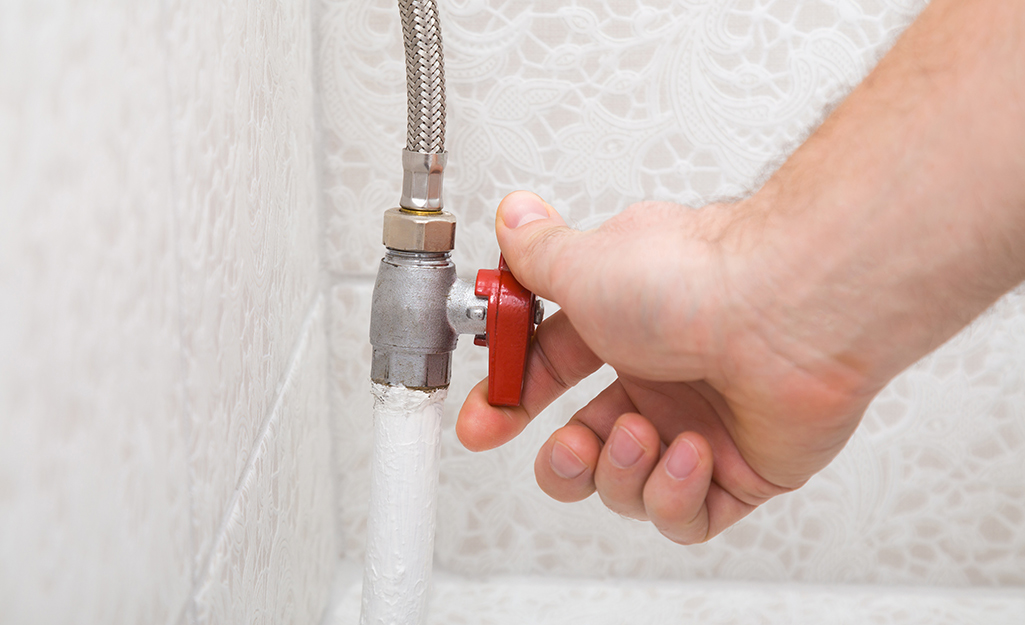
Before beginning any project on your toilet, turn off the water supply. Turning off the water makes it easier to work in the tank. It also prevents the possibility of water flooding the toilet or your bathroom. The water supply valve will be located near the wall behind or next to your toilet.
In some cases, you may need to use a wrench to turn the shut-off valve to stop the water flow. Once the water is off, empty the toilet tank. Hold the flush handle down to let as much water as possible out of the tank.
Adjust the Tank Ball
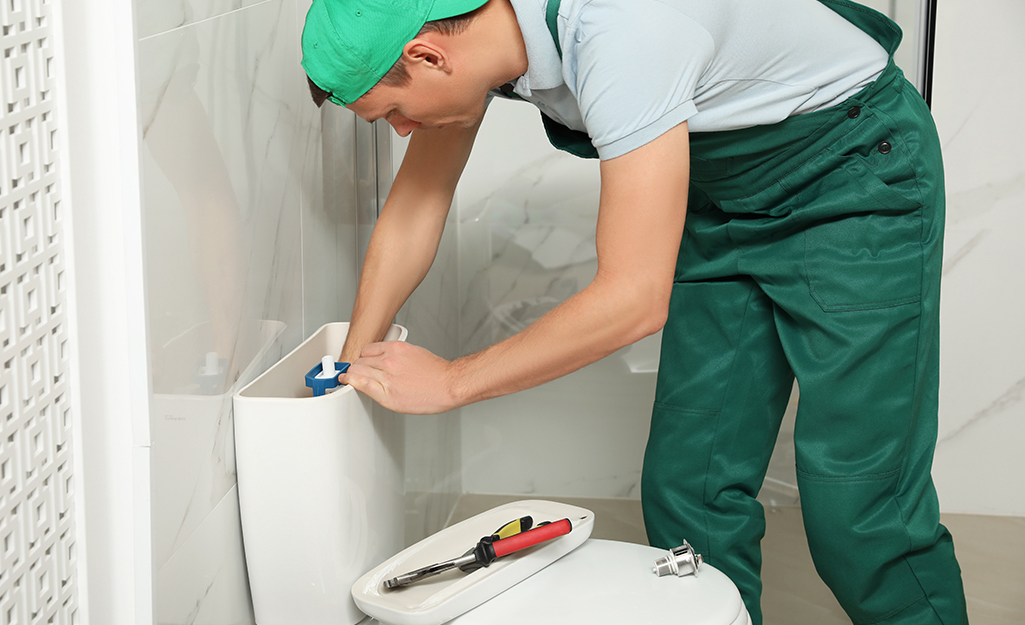
Adjust the tank ball so that it’s directly over the flush valve. The flush valve is a long tube with a wide base that’s part of your toilet’s flushing system. The tank ball measures the amount of water in your tank, which lets it fill to the correct level.
The tank ball has a guide arm that can be loosened with a screwdriver. This allows you to reposition the tank ball. Some tank balls have a guide that helps seat the tank ball into the flush valve. Make sure these parts are lined up and working smoothly.
Remove the Flapper
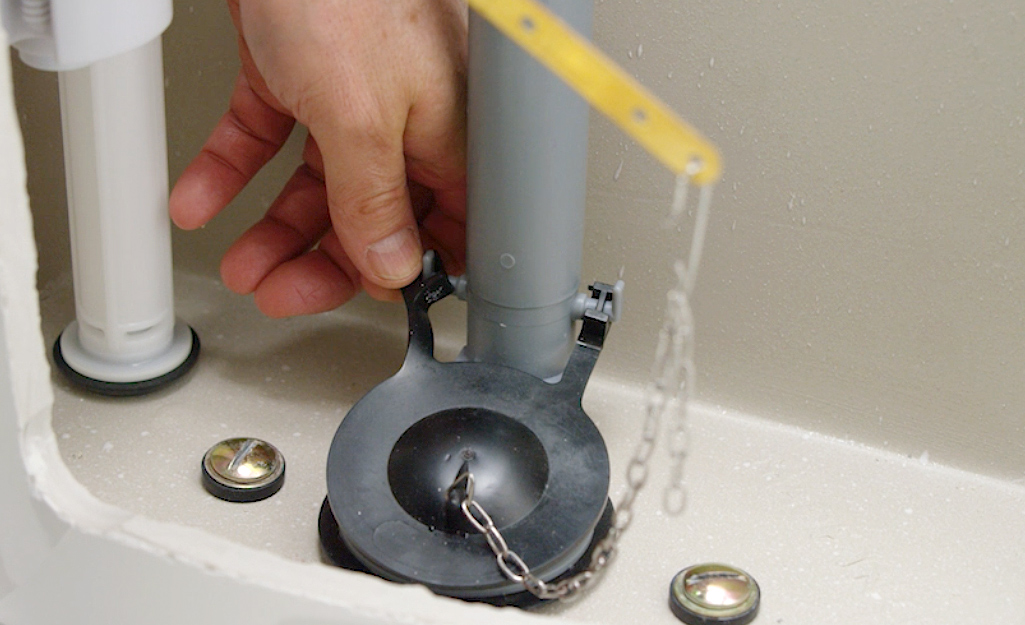
To remove the existing flapper, unhook the flapper chain from the flush handle lever. The flush handle lever is a horizontal bar that runs from the flush handle to a space just above the flapper.
Typically, a small clip connects the flapper chain to the flush handle. The clip is attached to a hole in the flush handle. Unhook the clip and drop the chain.
Slowly pull the flapper unit out of the toilet tank. Make sure it's disconnected from the other parts in the tank as you go.
Tip: Take the old toilet flapper with you when purchasing a new flapper. This will help you make sure you get the correct replacement.
Install the New Flapper
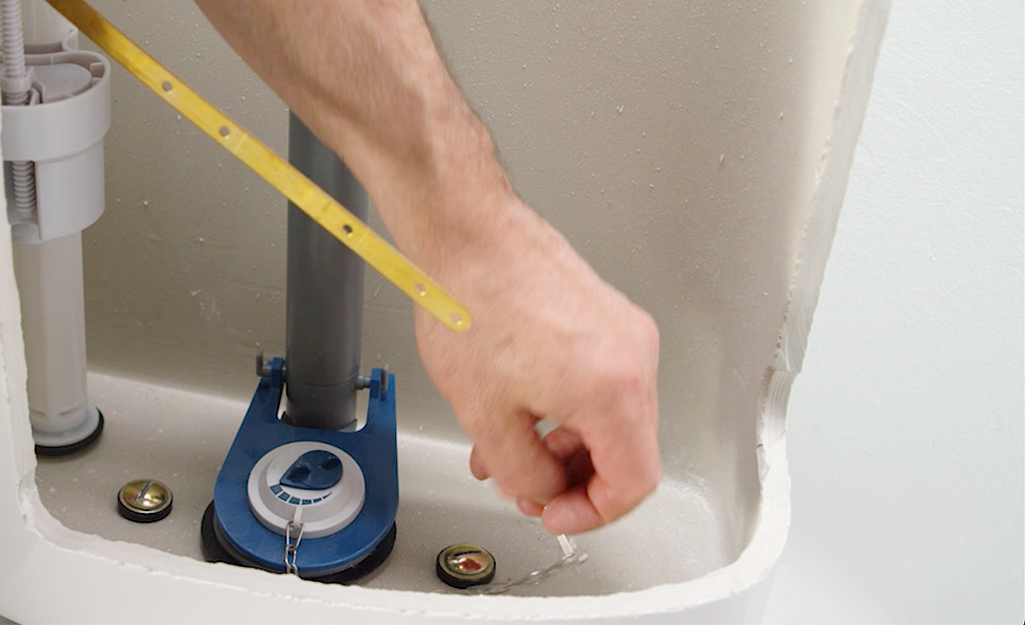
The most common toilet design has the flapper connected to pegs on the sides of the flush valve tube. If your new flapper includes a ring on the back, use a strong pair of scissors to cut it off. You won’t need it for the flapper to install and work correctly.
Leave the ring in place if your flush valve doesn’t have side pegs for the flapper. You can use it to slide the flapper into place over the overflow tube.
Once you’ve prepped your new flapper, slide it into place. Hook each ear of the flapper onto the flush valve pegs. Next, connect the flapper chain to the flush handle lever. Adjust the chain length as needed. The chain should have a little bit of slack, but not be sagging or drooping. If you make the chain too tight, the flapper may not be able to close all the way. If it has too much slack, it can get caught under the flapper. Double check everything is attached and positioned correctly.
Turn the Water Back On and Check the Bowl
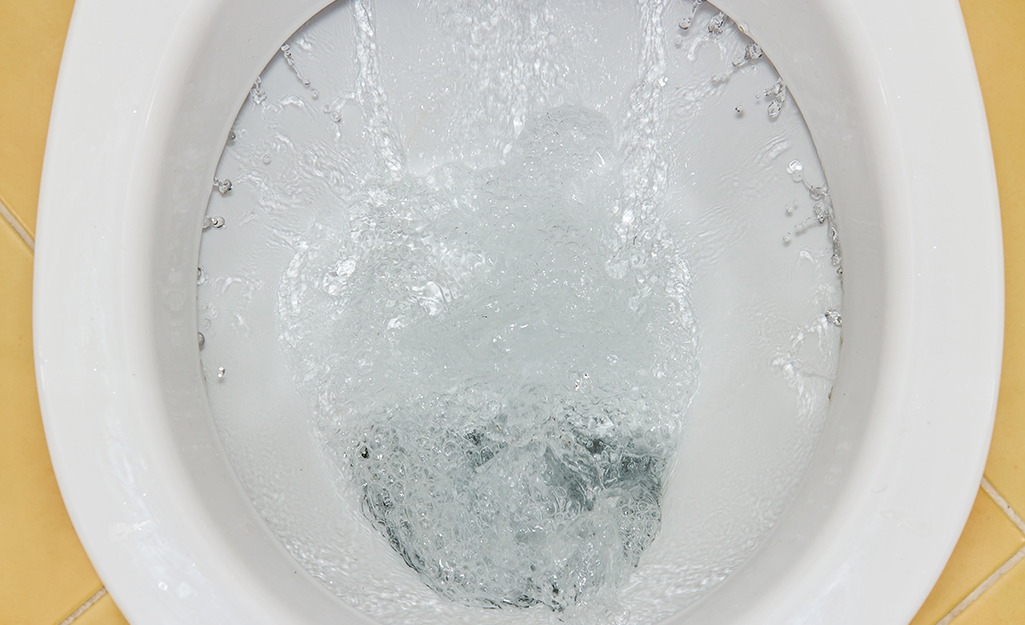
Once everything is connected, turn the water back on. Turn the water shutoff valve counterclockwise all the way. Turn the valve slowly to prevent any high-pressure water and to ensure you’ve installed everything properly. If the water gushes out, starts to overfill or doesn’t fill the tank, turn the valve off again and check your work.
With the water back on, let the tank fill all the way. Once the tank is filled, flush the toilet, leaving the lid of the tank off. Watch the flapper during the flushing process. It should lift when the toilet is flushed and seal once the toilet bowl is filled with fresh water. Make any needed adjustments. Then, place the lid back on the toilet tank.
Once you’ve replaced your toilet flapper, your toilet should stop running water and return to normal working order. This quick process will stop the frustrating sound of running water. It can also save water. With a few basic tools and this quick guide, you can fix your leaky toilet flapper and make your toilet run like new. Use The Home Depot Mobile App to locate products and check inventory. We’ll take you to the exact aisle and bay.


