How to Hang Plates on a Wall
Last updated September 7, 2023
Don’t leave your favorite decorative plates hidden in a cabinet or drawer. Hang them on a wall so you can enjoy seeing them every day. Choose from different kinds of hangers and hanging methods, depending on the weight and whether you want them permanently attached. Some hangers will be visible when the plates are up, but others won’t be.
Use this guide to learn how to hang plates on a wall.
Difficulty:
Beginner
Duration:
Under 2 hours
Table of Contents
How to Hang Plates on a Wall with Adhesive Discs
Make Paper Templates
Tape the Templates to a Wall
Clean the Back of the Plates
Activate the Glue on the Adhesive Discs
Press the Adhesive Discs onto the Backs of the Plates
How to Hang Plates on a Wall with Adhesive Discs
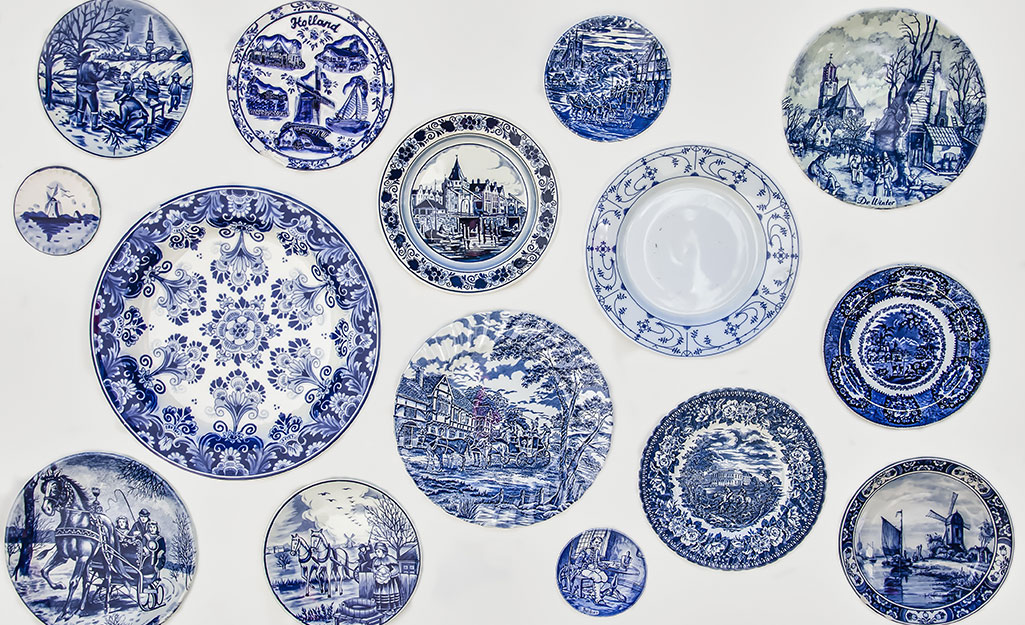
One of the easiest ways to hang plates on a wall is with adhesive discs. The discs come with a glue on the back that is activated when you add a little water. You stick them onto the back of your decorative plates and then hang the hooks attached to the discs on a wall.
Before you start hanging plates on a wall, choose the plates, platters, bowls or other dishes you want to display and find a suitable location for them. Put a large sheet of packing paper or kraft paper on a flat surface, such as a floor or worktable, and put the plates on it. Trace around each plate with a pencil.
Make Paper Templates
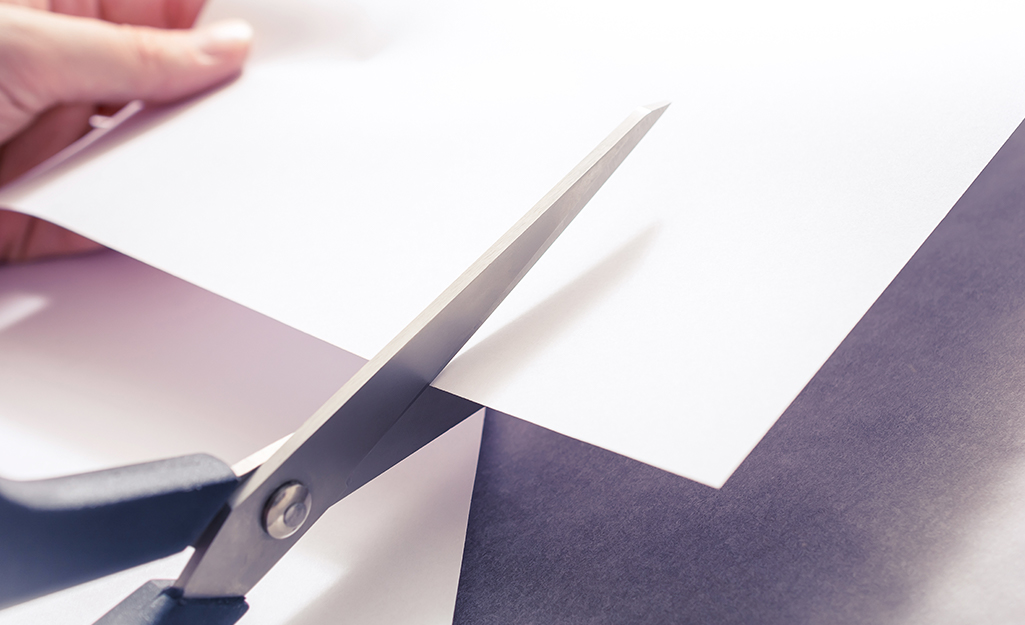
Use scissors to cut out the tracings. Arranage these plate templates in a design you like, still working on a flat surface.
Tape the Templates to a Wall
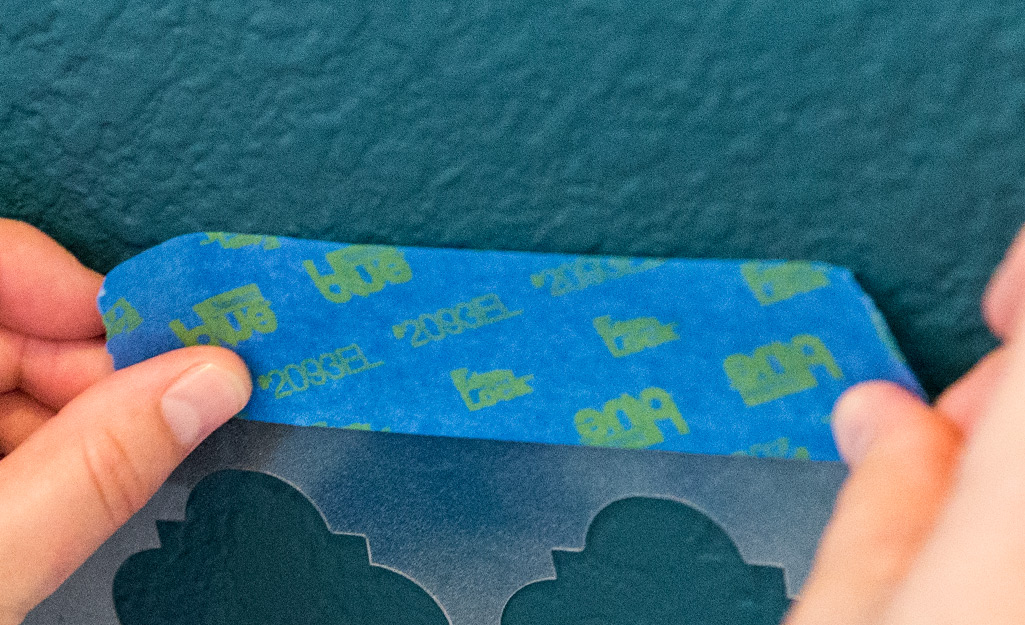
Following your design, tape the templates to the wall with
painter's tape. Use a level to check the placement of any plates that you want to hang in a straight line.
Clean the Back of the Plates
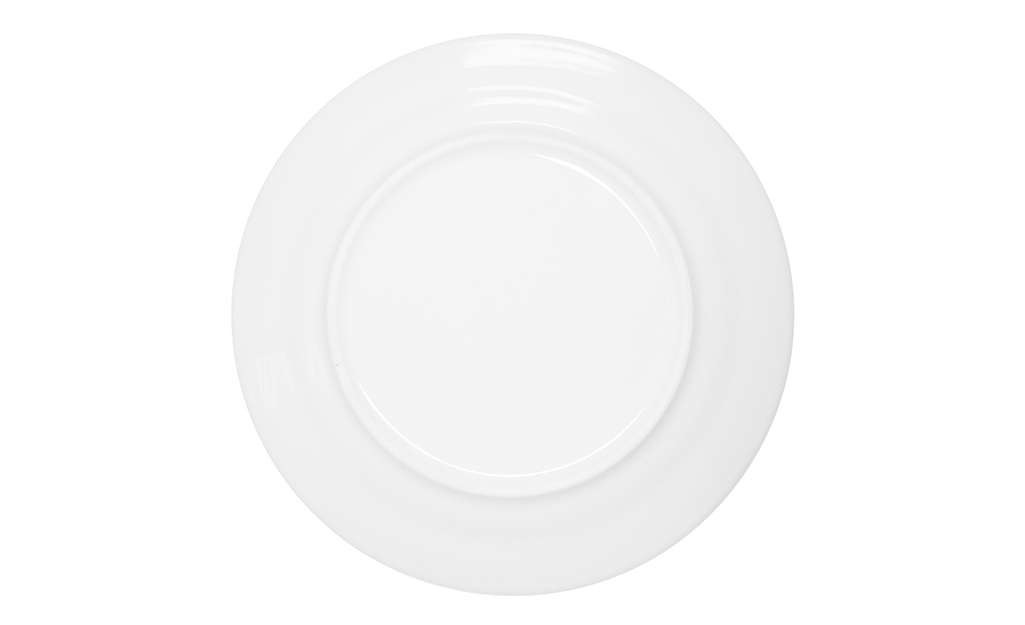
To use adhesive discs to hang your plates, first read the manufacturer’s directions and make sure the discs are recommended for the type of plates you have, such as copper, porcelain or china. Now check the back of each plate to be sure it’s clean and wipe away any dust and lint. The back of the plate should also be smooth. Plates with raised designs on the back won’t work properly with adhesive disc hangers.
Activate the Glue on the Adhesive Discs
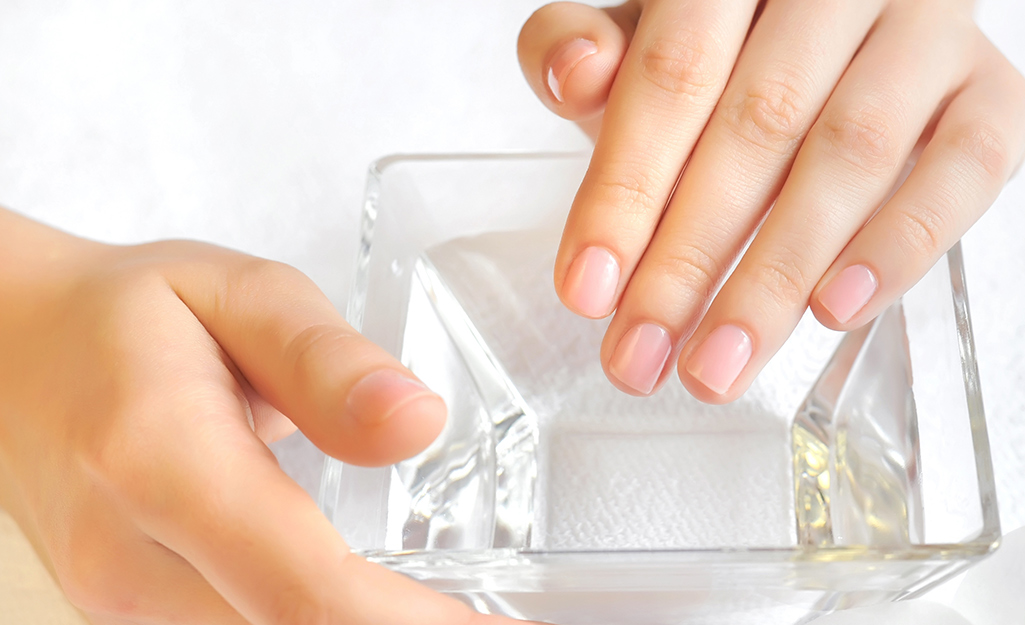
Follow the manufacturer’s directions on how to activate the glue on back of the discs. In general, you’ll use your finger to stir a little water into the adhesive.
Press the Adhesive Discs onto the Backs of the Plates
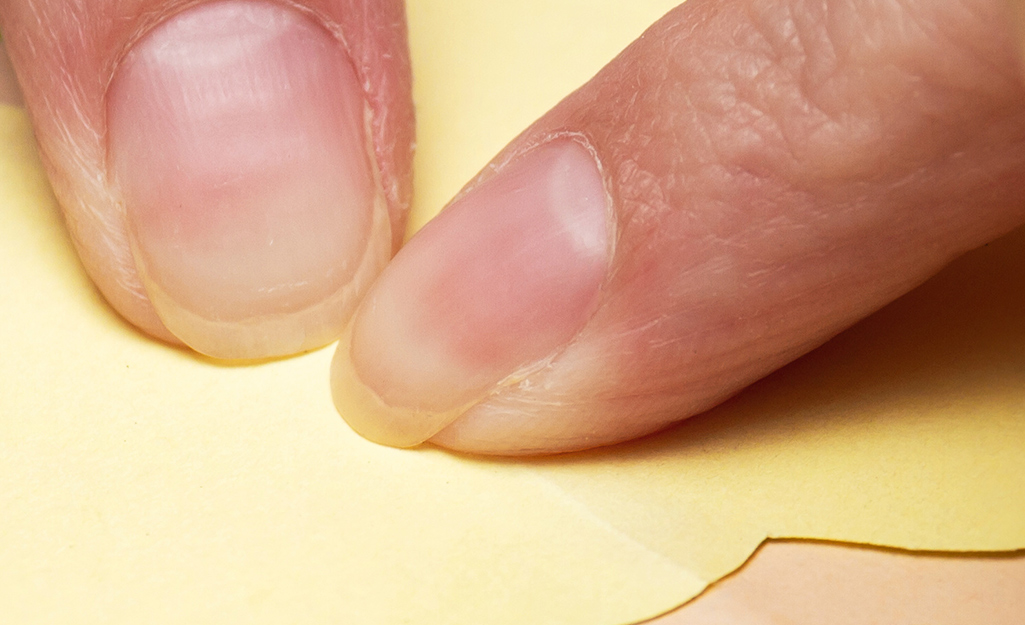
When the glue gets tacky, put the disc on the back of the plate, making sure the hook is in the position for the way you want the plate to hang. Press firmly on the disc and let it sit overnight to dry. Before you hang the plates, test to be sure the discs are securely attached.
Hang the Plates
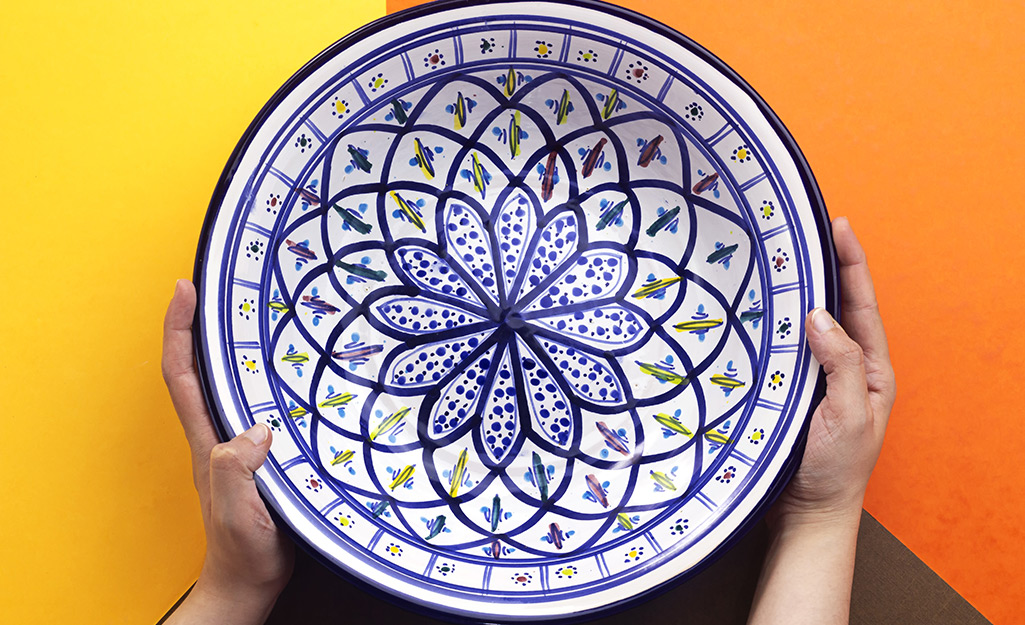
Hang the plates on the wall, removing the paper templates as you go. The adhesive discs won’t be visible when the plates are up.
Use Spring-Style Hangers for Hanging Plates on a Wall
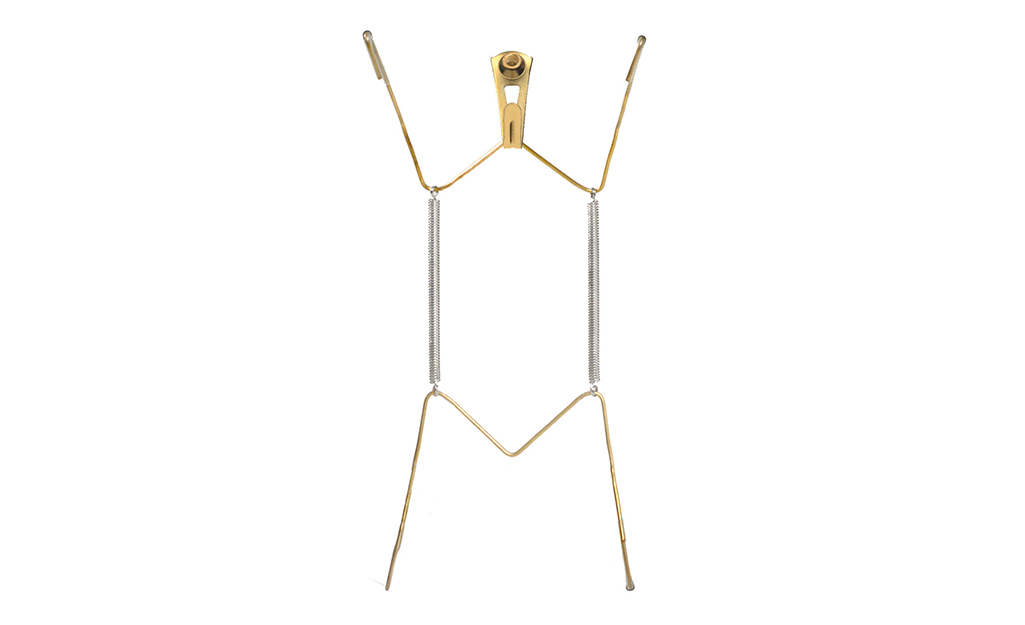
Spring-style plate hangers are also easy to use. Again, start by selecting the plates you want to use and find a place to hang them.
Look for spring-style hangers with plastic-coated grippers. These will slip over the plates to hold them without causing scratches. While spring-style hangers won’t be invisible, you’ll see only the tips of the grippers when the plates are up.
Turn the plates upside down and trace around each one on a sheet of paper. Cut out the templates. Arrange them into a design you like and the tape the templates to the wall with painter’s tape.
Sometimes spring-style hangers will let the plates lean slightly away from the wall. To avoid this, attach a hanger to each plate and put the plate on a flat surface. Bend the back of the hanger very gently, so it just touches the table. You don't want to bend it enough to damage or break it. This step will help the plate rest flush against the wall.
Put nails, picture hanging hooks or other hardware in the wall where you want the plates to go and hang them.
Hang Plates on a Wall in DIY-Style
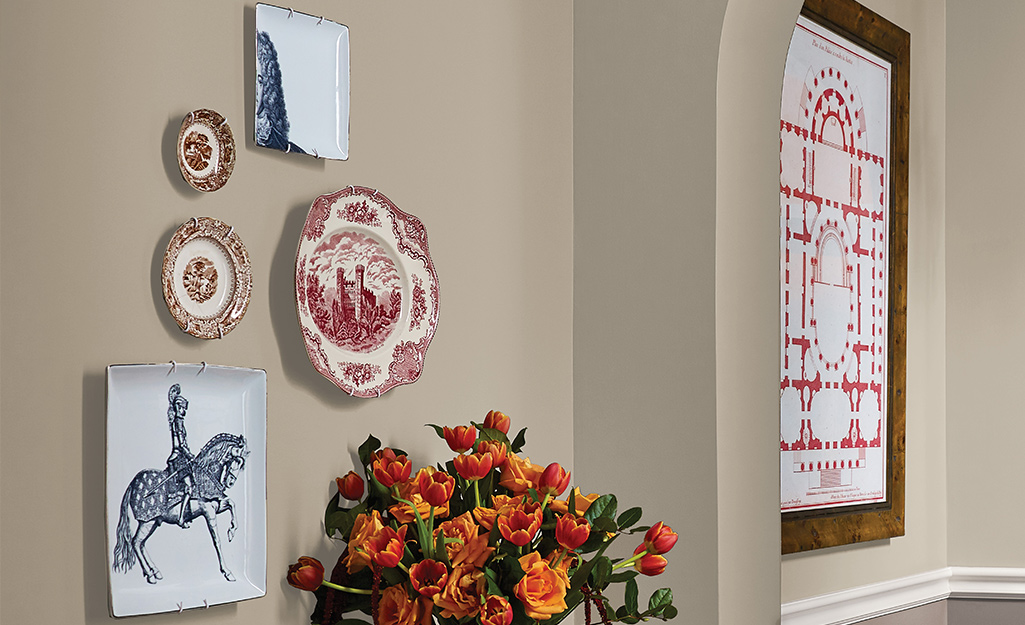
Some people hang plates on the wall with paper clips, but the clips can give way and the plates can fall and shatter.
For a DIY plate hanger, try medium-sized safety pins instead. First, put the safety pin upside down on a scrap of felt. Cut the scrap so it can overlap the pin by ½-inch on each side.
Decide where the pin will go on the plate. Turn the plate over and put a narrow band of hot glue along the back rim. Working fast, while the glue is hot, turn the safety pin upside down and put the lower ½-inch of the pin in the glue. The round part of the pin should point toward the top of the plate.
Use a Glue Gun and Safety Pins to Hang Plates on a Wall
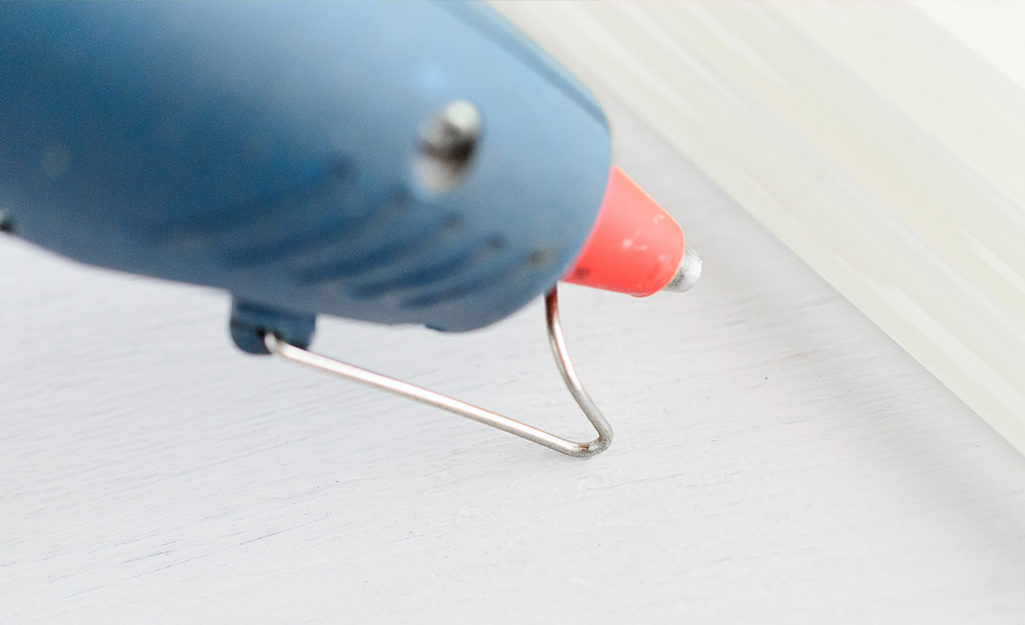
Now put a generous amount of hot glue over and around the lower ½-inch of the pin, extending the glue onto the plate. Again, while the glue is hot, press the felt scrap into the glue, being careful not to get burned.
When the glue dries, test it by pulling on the safety pin. if it comes off, take the glue off the plate and start over. If you want to remove the glue later on, use the hot air from a hair dryer to soften it and pull it off.
When you’re ready to hang the plate, put a nail in the wall. Put the round circle on the pin over the nail. With this method, the safety pin hanger will be slightly visible.
Hot glue can loosen over time, so test the plate regularly and re-glue if necessary. Very strong super glue can substitute for the hot glue, but you may not be able to take it off later without damaging the plate. Hanging wall plates with hot glue and a safety pin will not be visible when you’re standing in front of them.
The Home Depot is your DIY headquarters. Looking for a product to complete your project? We have options to deliver online orders when and where you need them.

