How to Install a Mini Split

Last updated April 30, 2025
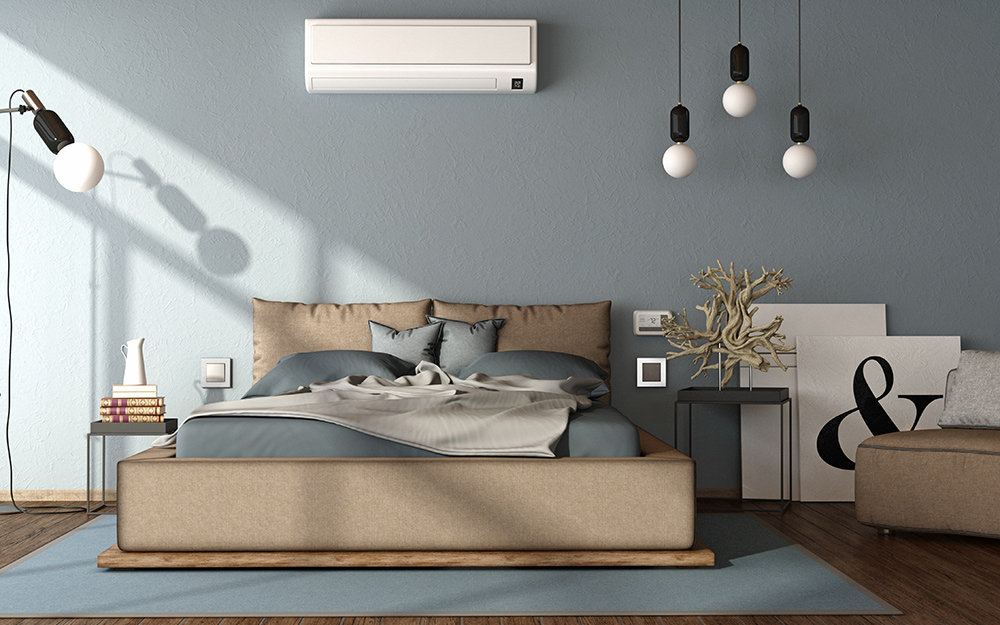
Mini split systems utilize the latest heat pump technology to provide heating and cooling for your home. The most common type of mini split system, called a ductless mini split, can save money over choosing a traditional air conditioning and heating unit that requires ductwork. Ductless mini split systems are a great option for heating and cooling bedrooms, home offices, additions, finished attics and garages. Cooling-only systems, called mini split AC systems, perform exclusively as air conditioners. This guide details how to install a mini split air conditioner in your home.
Safety Tip: Ductless mini split systems require handling refrigerant lines and making high-voltage electrical connections. Some states require these kinds of HVAC services be handled by licensed professionals. Check with your local code official about necessary licensing and permit requirements. Installation instructions may vary across manufacturers, so make sure to read the manual supplied with your unit for more specific details on how to wire a mini split system.
Difficulty:
Advanced
Duration:
Over 1 day
Table of Contents
Choose the Right Mini Split System
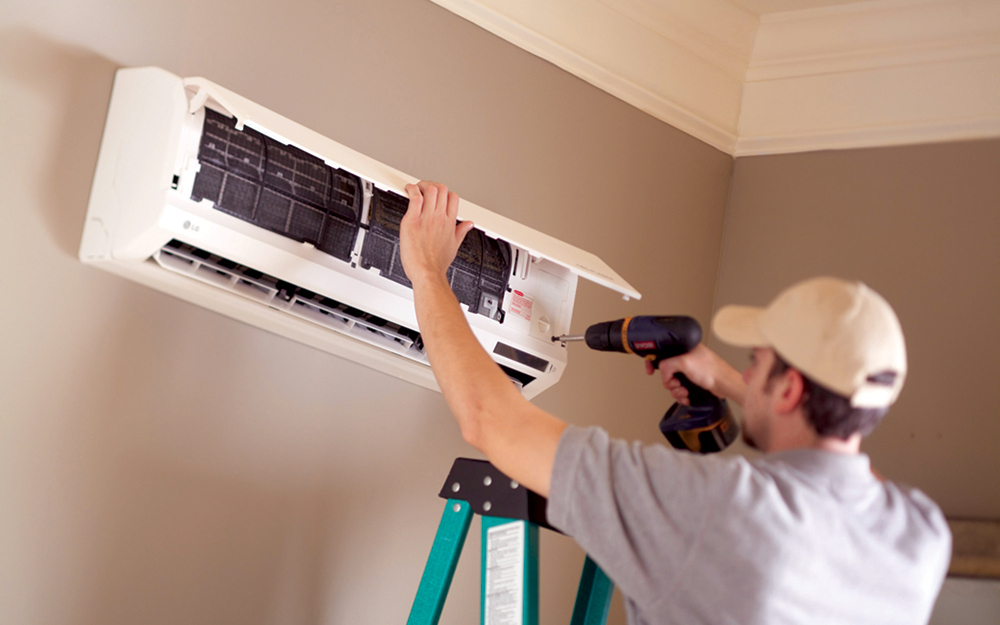
Install the Indoor Unit
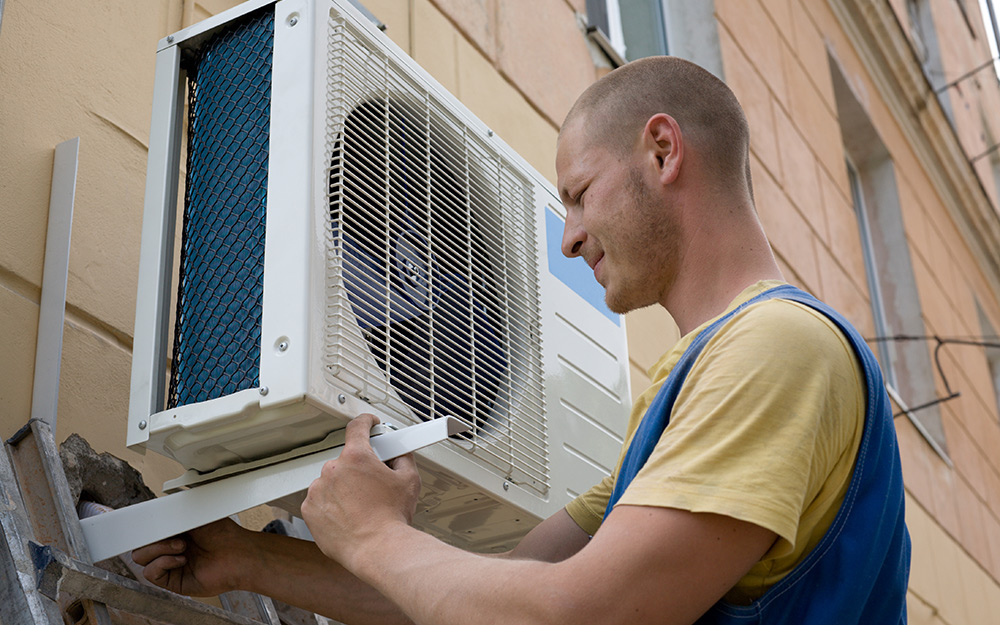
Install the Outdoor Unit
Follow Up with a Professional
Choose the Right Mini Split System

DIY mini split installation requires a condensing unit outside the home, an air handler inside the home, refrigerant lines to connect the units and electrical wire to power the units. Most ductless mini split systems are installed by a professional because the refrigerant line must be cut and then charged. It is possible to install the air handler and condenser unit on your own and bring in a professional to complete the refrigerant line setup.
DIY mini splits come with the refrigerant line already charged and do not require a professional to charge them. These DIY ductless mini split systems are designed to adjust the temperature in just one room, not over a large area of square footage. Use this guide to learn how to install a ductless mini split system in your home or business.
Before you start the installation process, choose a mini split system that works for your space. Here are your options:
- Single-zone ductless mini splits: These are designed to heat or cool one area, like a kitchen, bedroom, addition, attic or garage. The units feature a single air handler and single condenser unit. They are the smallest, simplest systems to install.
- Dual-zone ductless mini splits: Designed to heat or cool two areas, these mini split units feature two air handlers that are powered by a single condenser unit. Dual-zone mini split A/Cs and heat pumps are ideal for a whole home where the temperature needs to be regulated in multiple rooms.
- Multi-zone ductless mini splits: Designed to heat or cool separate areas, multi-zone mini splits have a condenser unit designed to accommodate multiple air handlers. Installation for these systems can be more complex than others, so always refer to manufacturer instructions when determining how to install mini split heat pumps on multi-zone varieties.
You’ll also need to choose the correct size mini split for your space, which will be based on the system’s British Thermal Unit (BTU) output. T2 ton mini splits and f4 ton mini split systems are common choices that can provide proper temperature control for a variety of big and small spaces. Before you buy, measure your space and get square footage calculations. This will help you choose a properly sized mini split that provides sufficient BTUs for the space. Manufacturers provide sizing guidance relative to BTU in their product manuals.
Install the Indoor Unit

- Choose a wall in the room to be heated and/or cooled that leads to the outside. Look for an area on the wall large enough to house the air handler, where it won’t be blocked by furniture like shelving or lighting fixtures. The air handler is typically installed at least six feet from the floor to the bottom of the unit. It’s best not to install the unit in direct sunlight or near other heat sources. This will impact the mini split’s ability to monitor indoor temperatures and perform efficiently. Be sure to maintain the manufacturer’s suggested clearance between the air handler and the ceiling. You’ll be running refrigerant lines from the indoor unit to the outdoor unit through this wall, so the exterior of the wall should be free from obstructions as well.
- Locate the studs. It’s best to mount the plate directly to the studs, though keep in mind that you will need to drill a large hole (approximately 3-inches) through the wall to the outside. Assess the mounting hole locations on the mounting bracket. They should align with typical stud layout (16-inch o/c or 12-inch o/c) and account for the hole location so that it avoids the stud. Use a stud finder to locate the studs in the area where you want to mount the air handler. They detect studs and other hidden objects behind the wall. Make sure there are no wires, pipes, ducts or other potential obstructions inside the wall.
- Place the bracket designed to hold your wall unit in place. Use a level to make sure the bracket is properly aligned. This is an important step not only for aesthetic reasons but also for functionality. An air handler that is mounted out of level will not drain properly and therefore will not work as intended. Mark the mounting holes on the wall with a pencil.
- Drill pilot holes using a bit that is just a little smaller than the shaft of the screws you’ll be using. If you are unable to hit a stud, use hollow drywall anchorshollow wall anchors to firmly secure the wall bracket in place. Ensure that the wall anchors are rated for the weight of the wall unit.
- Drill a hole in the wall for the refrigerant lines, drain tubing and control lines. Locate this hole based on the mounting bracket, typically in the lower left or lower right-hand corner. Some air handlers allow you to choose which side the lines will exit the unit. Refer to the manufacturer’s instructions for guidance on how to move them if necessary. A 2- to 3-inch hole is typically used, but this will depend on lines provided with your mini split.
- Drill a hole the size of the hole saw’s pilot bit long enough to exit the exterior of the house, angling it downward slightly. This hole will allow you to align the larger hole you’ll drill using the hole saw. Use a hole saw bit to drill the 2-inch or 3-inch hole. Angle the saw downward slightly for better drainage.
- Connect the control wire to your indoor unit. This process varies by mini split model, but it typically requires you to remove a back plate and attach the control wire by hand. Check your installation manual for exact instructions.
- Unfold the refrigerant pipe so it can be pushed through the hole in the wall you just made. Use electric tape to keep the refrigerant pipe, control wire and drainage tubing together.
- Lift your indoor unit to the mount and put the bundled pipes, wire and tubing through the hole. Secure the indoor unit on the wall mount using the hardware supplied by the manufacturer.
Install the Outdoor Unit

- Choose the location of your outdoor unit. It can be placed on the ground, on your rooftop or on an outside wall using special mounting hardware. If you choose to place it on the ground, it will need to be secured to a pad. You can make one yourself using concrete, or you can buy a pad made for this purpose.
- Once the condenser is mounted, connect the pipes and tubing from your indoor unit to the outside unit - if you are installing lines in a DIY kit that are already pre-charged. Do not cut pre-charged lines, as this is very dangerous. Releasing refrigerant into the atmosphere can severely burn your skin. You’ll need to follow model-specific instructions to connect these properly. Have an adjustable wrench and torque wrench handy before you begin. If you are installing a kit that requires the lines to be cut and then charged, you’ll need to bring in a professional to perform this task.
- Attach the wires and tubing to the exterior wall to keep them securely in place. Use covers for a neater appearance.
- Connect the correct pipe joint to the line set on the back of your outdoor unit. Then connect the multi-conductor wiring that runs from the indoor unit to the outdoor unit. You’ll likely need your torque wrench to complete this job.
Follow Up with a Professional

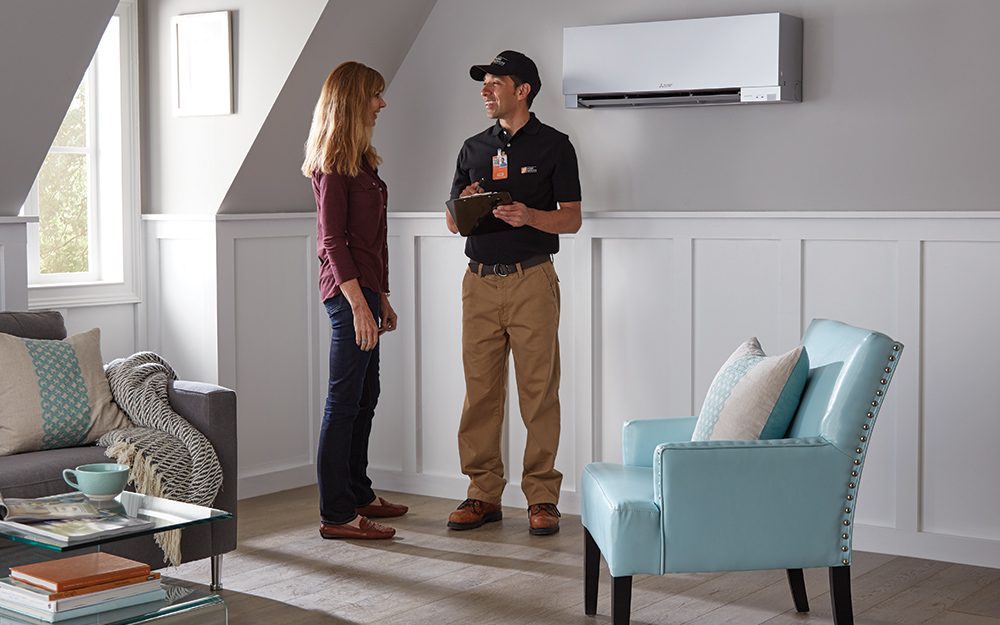
- Once you connect the indoor and outdoor units, we recommend you call a professional A/C and heating provider to tackle the rest of the job. They’ll make sure your connections are secure and will handle dangerous dry nitrogen and refrigerant.
- We also recommended you hire a licensed electrician to power the unit. This part of the project entails running a 220-volt (sometimes 120-volt) line from the breaker panel to a disconnect switch, and then from the switch to the unit.
Installing a mini split system can be a tough job. Tread carefully and take your time, even if you’re experienced. Also consider a wall-mounted ductless air conditioner for your cooling needs in smaller rooms. Consider our mini split installation services if you need assistance, especially if you're interested in installing a mini split heat pump. Need supplies fast? The Home Depot delivers online orders when and where you need them.
Related Products
Related Guides
Leave Your Next Project to Us
Professional Mini Split Installation
- Expert Mini Split Installers Do It For You
We hand-select licensed and insured HVAC contractors in your area who are known for their experience, knowledge, and superior service.
- How Our Mini Split Installation Service Works
Start with a free in-home consultation. Next, you’ll review product options with a local HVAC pro vetted by The Home Depot. After your purchase, you can sit back and relax while you enjoy full-service installation of your new mini split.


