How to Install a Thermostat
Published March 17, 2025
There are few home improvement projects that offer yearly energy savings like replacing a thermostat. Learning how to install a thermostat with a new programmable one makes a big difference in your energy bills, especially as seasons change. Use this guide to find out how to replace a thermostat and the tools you’ll need for the job. Read on for the steps for measuring, wiring and adjusting the thermostat so its properly aligned working well.
Difficulty:
Beginner
Duration:
Under 2 hours
Table of Contents
Tools & Materials
Turn Off Power to the HVAC System
Remove Existing Thermostat
Separate & Label Wires
Install a C-Wire if Needed
Install the New Thermostat Base and Wire
Tools & Materials
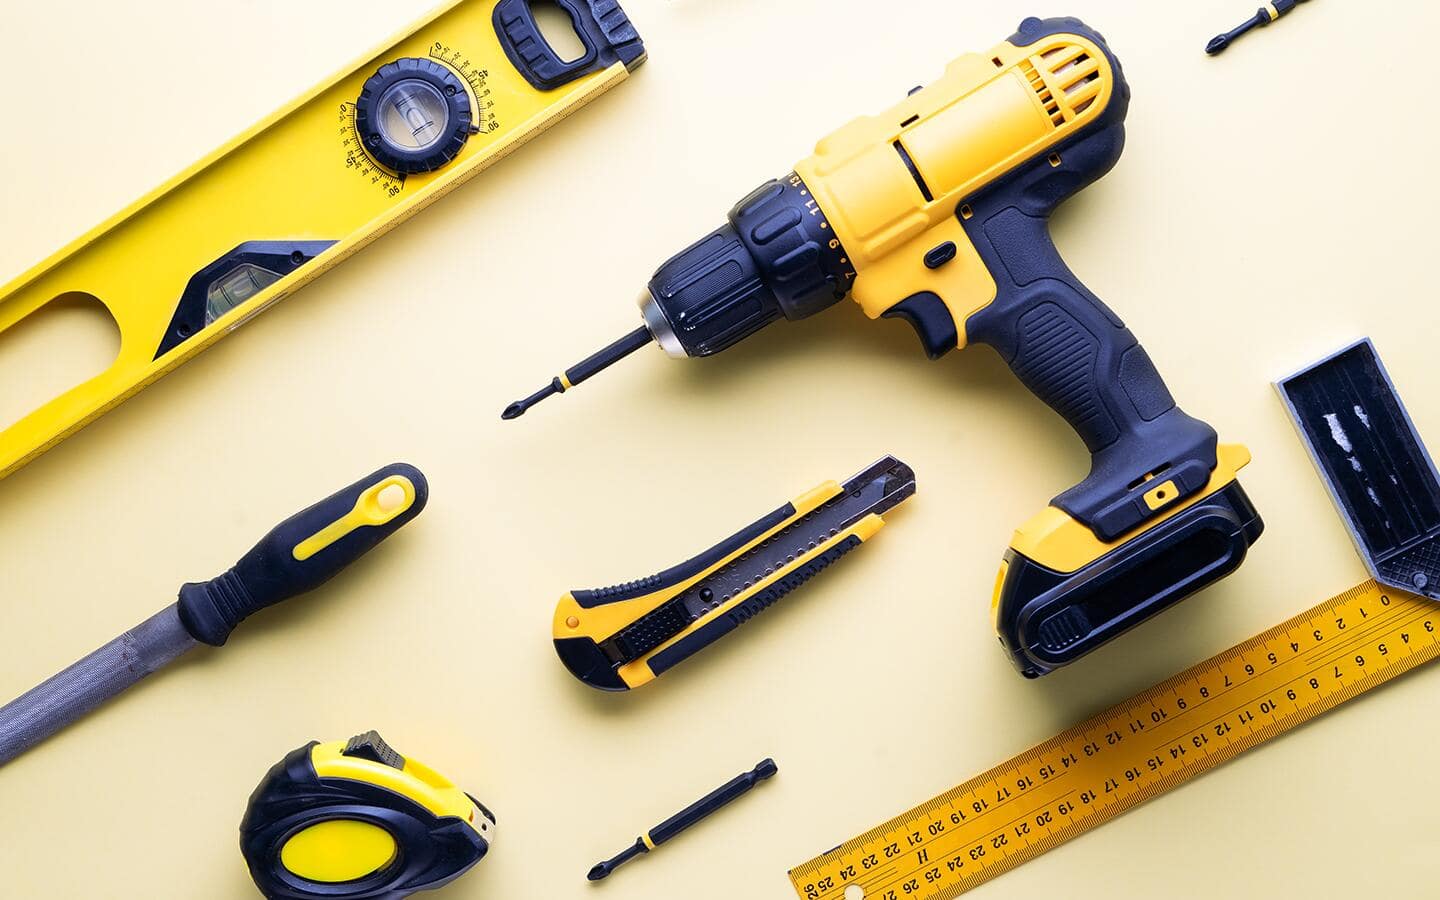
Replacing an analog or digital thermostat is one of those DIY projects you can do yourself. Analog thermostats are easier to install but digital ones offer more advanced features, such as programmable settings. After you’ve decided which type of thermostat you want, make sure you have the following tools on hand:
- Screwdriver: Choose one with multiple heads. Different types of thermostat brands can use different screw styles.
- Voltage tester
- Level
- Wire stripper
- Pliers
- Stripping pliers
- Putty knife
- Electrical tape
- Hammer
- Pencil
Check the instructions in the thermostat package for specific directions and tools.
Tip: If you’re considering installing a smart thermostat or WiFi thermostat, consider getting professional help.
Turn Off Power to the HVAC System
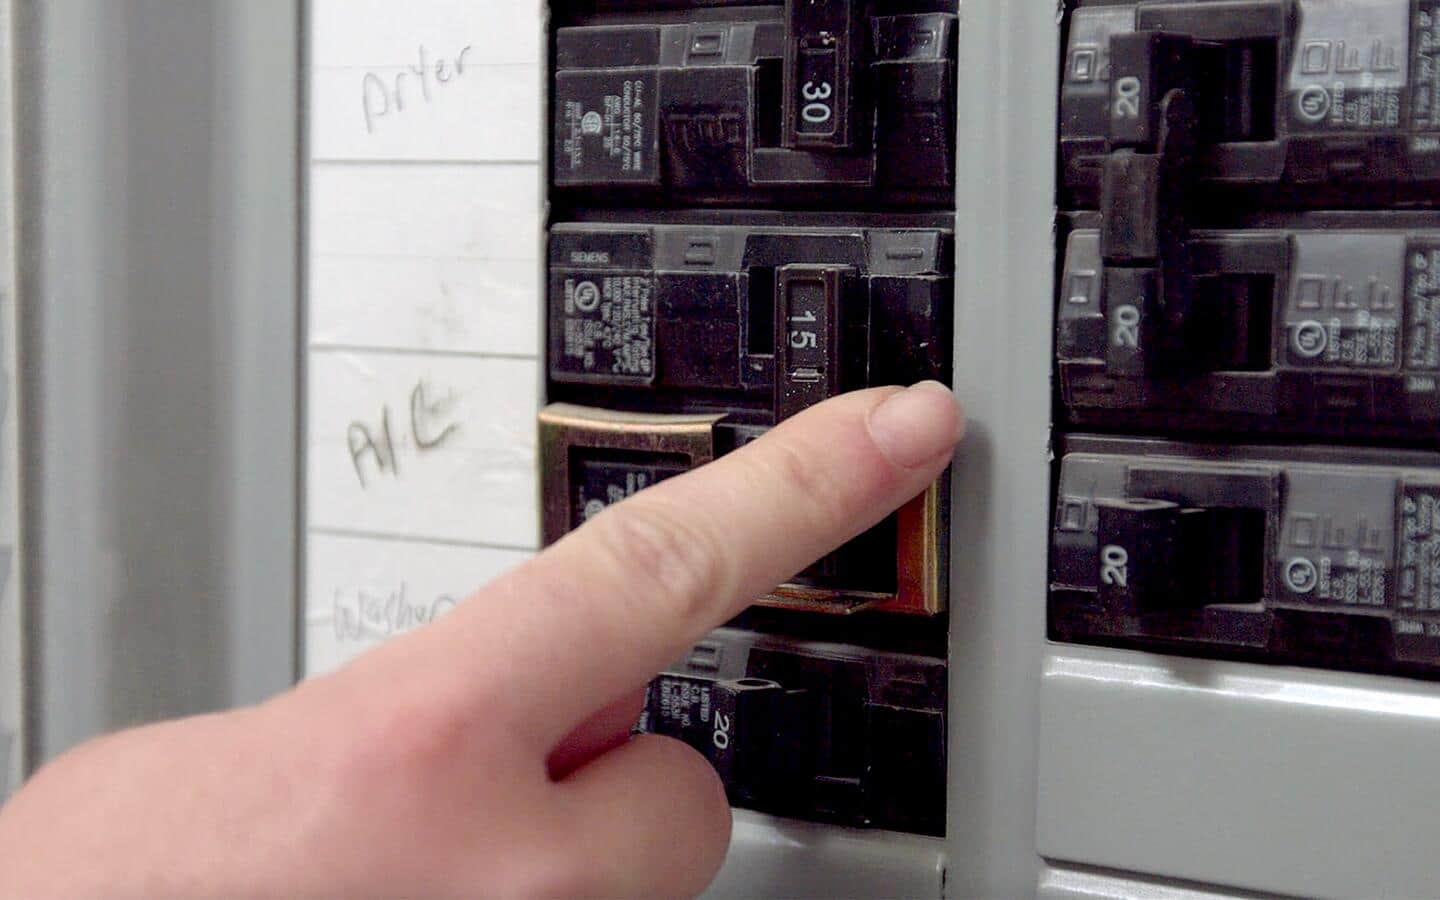
The first step in how to install a thermostat is making sure the power is turned off to your existing thermostat.
Turn off the power for your heating, ventilation and air conditioning (HVAC) system at the main service panel. Its circuit breaker should be clearly labeled.
Safety Tip: Make sure you don't install a new thermostat on circuits exceeding manufacturer-specified voltage. Higher voltage thermostat wiring will damage the controls and may cause shock or become a fire hazard. Additionally, short or incorrect thermostat wiring will damage the unit and may cause personal injury and/or property damage.
Remove Existing Thermostat
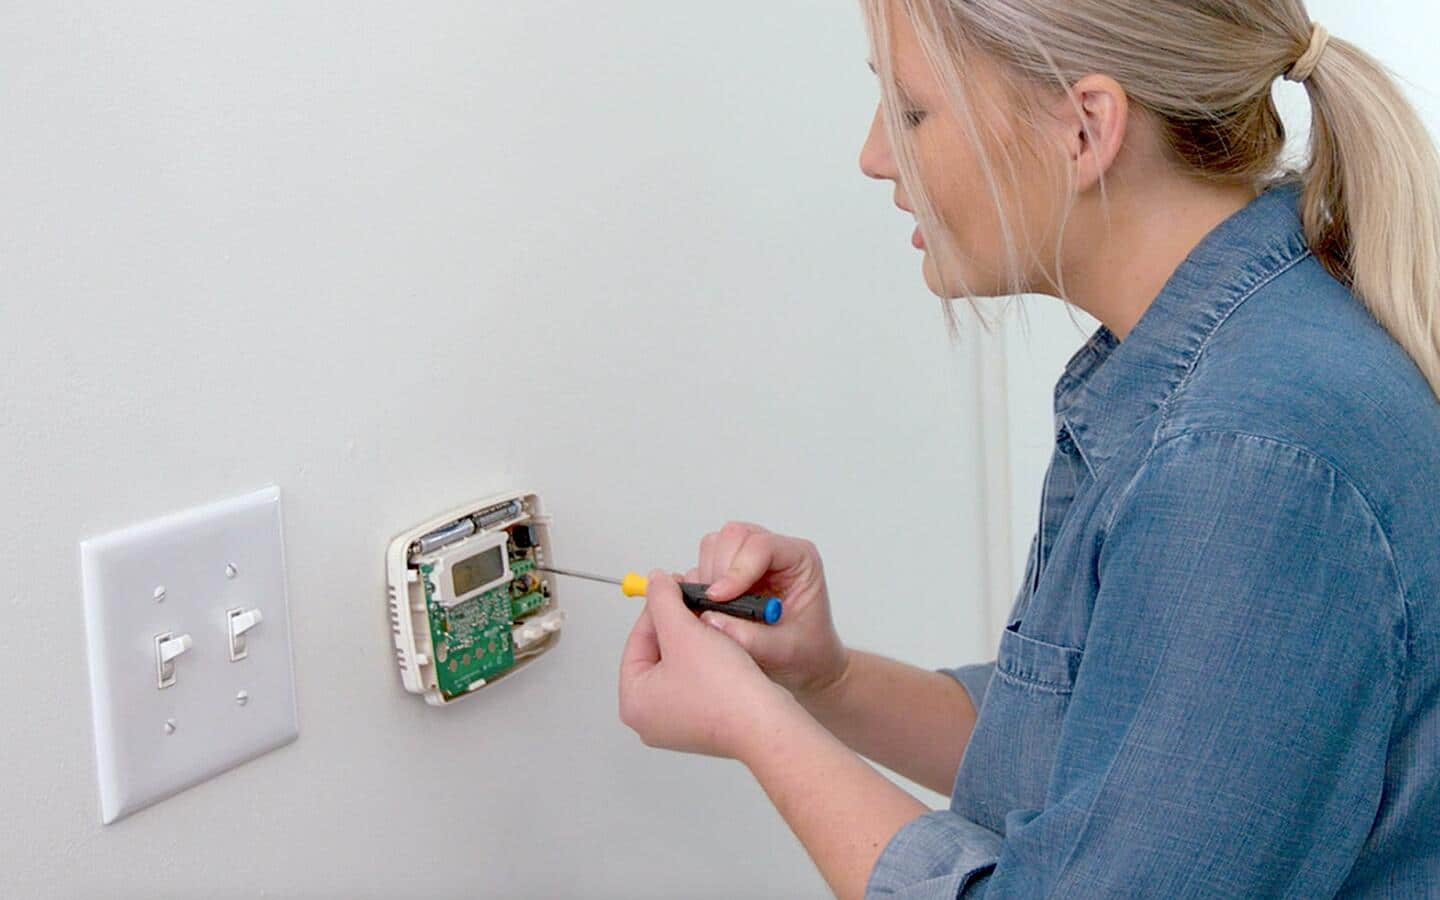
- Remove the old thermostat cover plate with a screwdriver.
- Use a voltage meter to make sure there are no live wires in the thermostat before you begin working.
- Unscrew the thermostat mounting screws and remove the thermostat body.
Separate & Label Wires
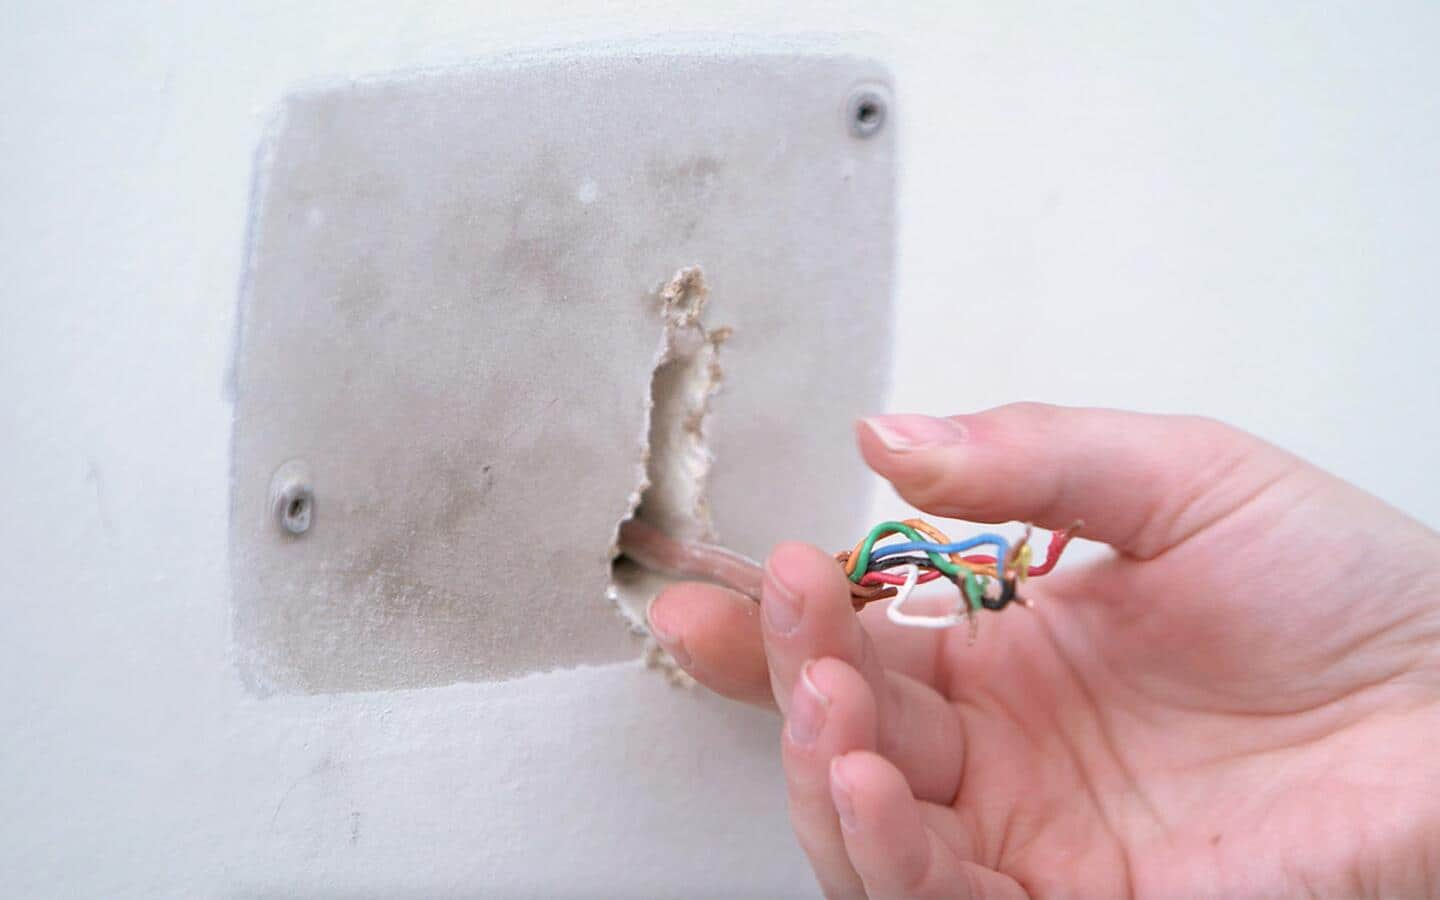
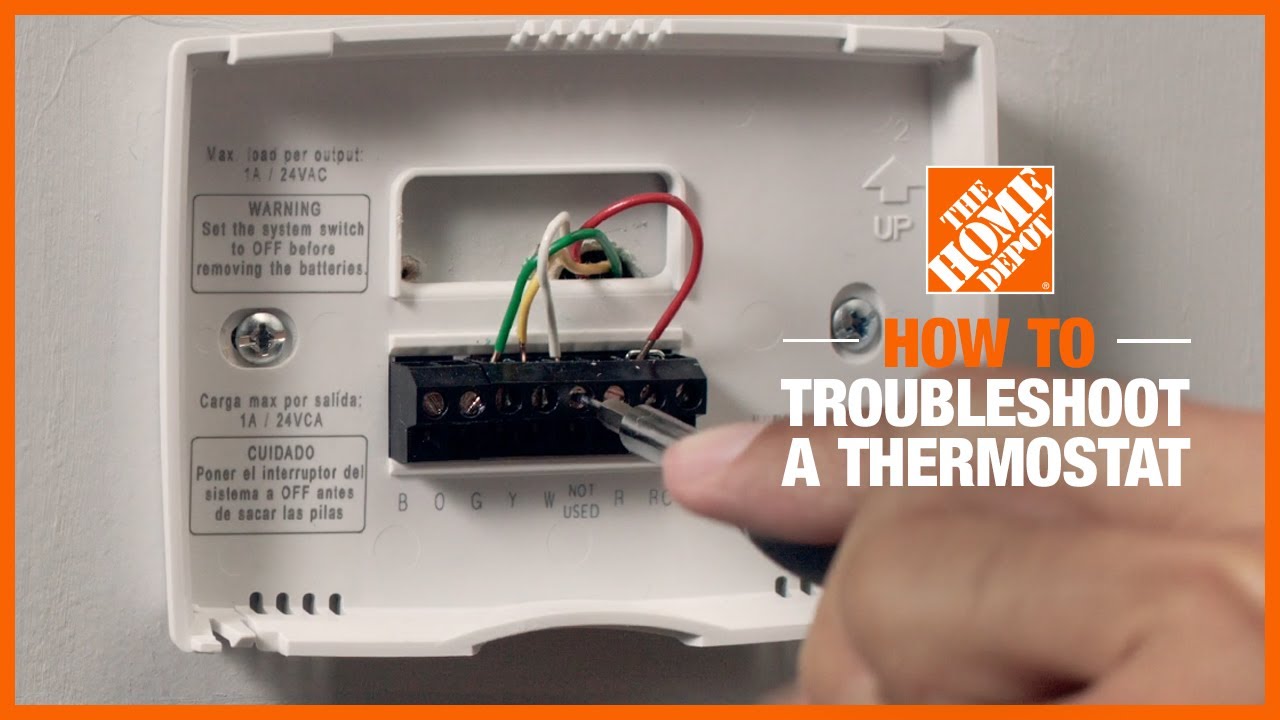
- Label the wires using masking tape so you can remember their screw-terminal locations. There is no standard color code, so write letter codes on the tape to make the wires easy to identify.
- Disconnect the wires.
- Tape the wires to the wall or wrap them around a pencil to prevent them from slipping into the wall cavity.
Install a C-Wire if Needed
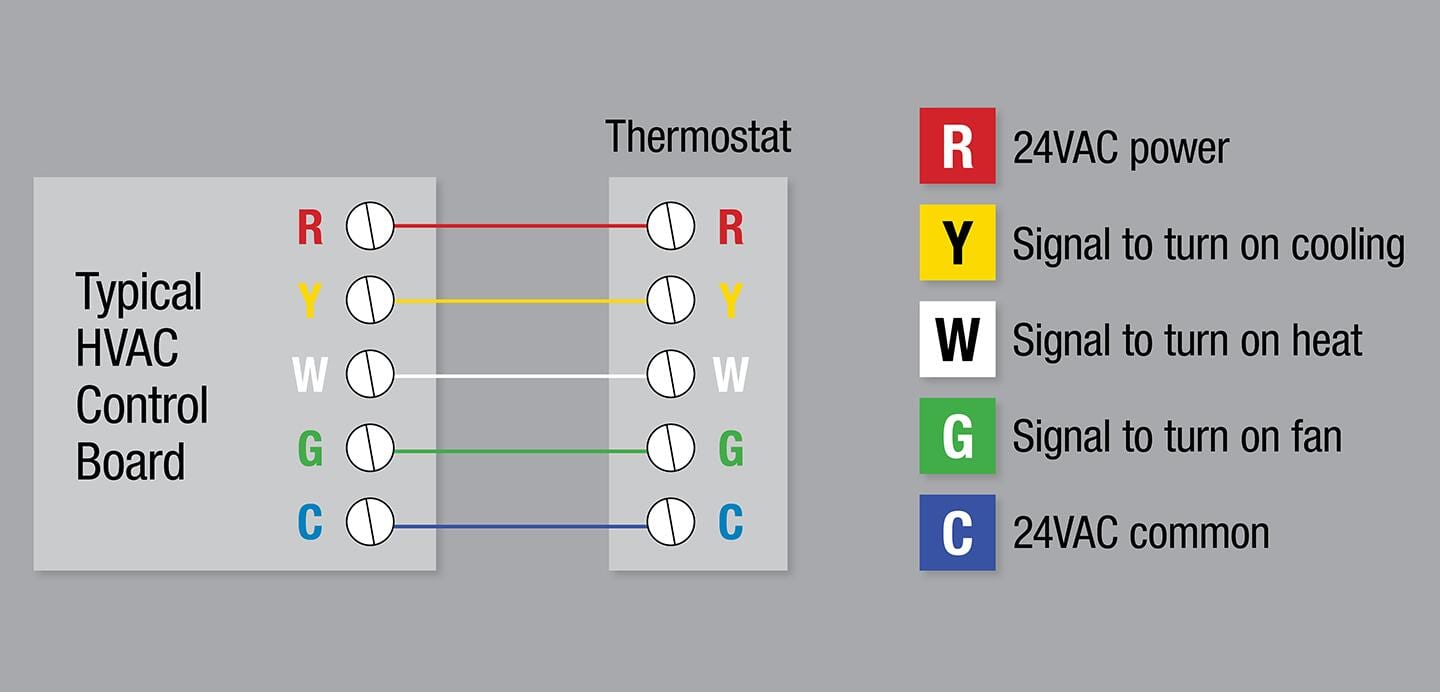
Knowing how to install a thermostat may include understanding some wiring basics such as installing a c-wire. Smart thermostats can have up to five thermostat wires that always include a “common wire” or C-wire. The C-wire provides a continuous flow of power to the thermostat without necessarily turning your other appliances (such as the fan or cooling) on or off.
If you’re replacing a smart thermostat with another smart thermostat, you’ll already have a C-wire connected to the C terminal. If you’re upgrading to a smart thermostat, you’ll need to find and identify the C-wire or install a new C-wire.
Even if your old thermostat was not using a C-wire, an unused C-wire may be stuffed in the wall behind the thermostat’s backplate. Check your HVAC control board to see if it has a wire connected to its C terminal.
The HVAC control board is usually located near the heating and air conditioning system or inside of a furnace access panel. If it has a C-wire, the other end of the wire should be in the wall, and you can use it for your new smart thermostat.
If there is no C-wire, one option is to use an “add-a-wire" kit or a power extender kit. Some smart thermostat models may come with this kit and other thermostat parts included. Follow the manufacturer's instructions for installing this kit at the HVAC control board.
Another option is to use a 24-volt adapter that provides a C-wire and plugs into a nearby outlet to power your thermostat.
If your HVAC control board has an empty C terminal, you can also install a C-wire yourself and run it through the walls to your thermostat.
Tip: If you’re not sure about doing the job yourself, call an electrician to add a C-wire for you.
Install the New Thermostat Base and Wire
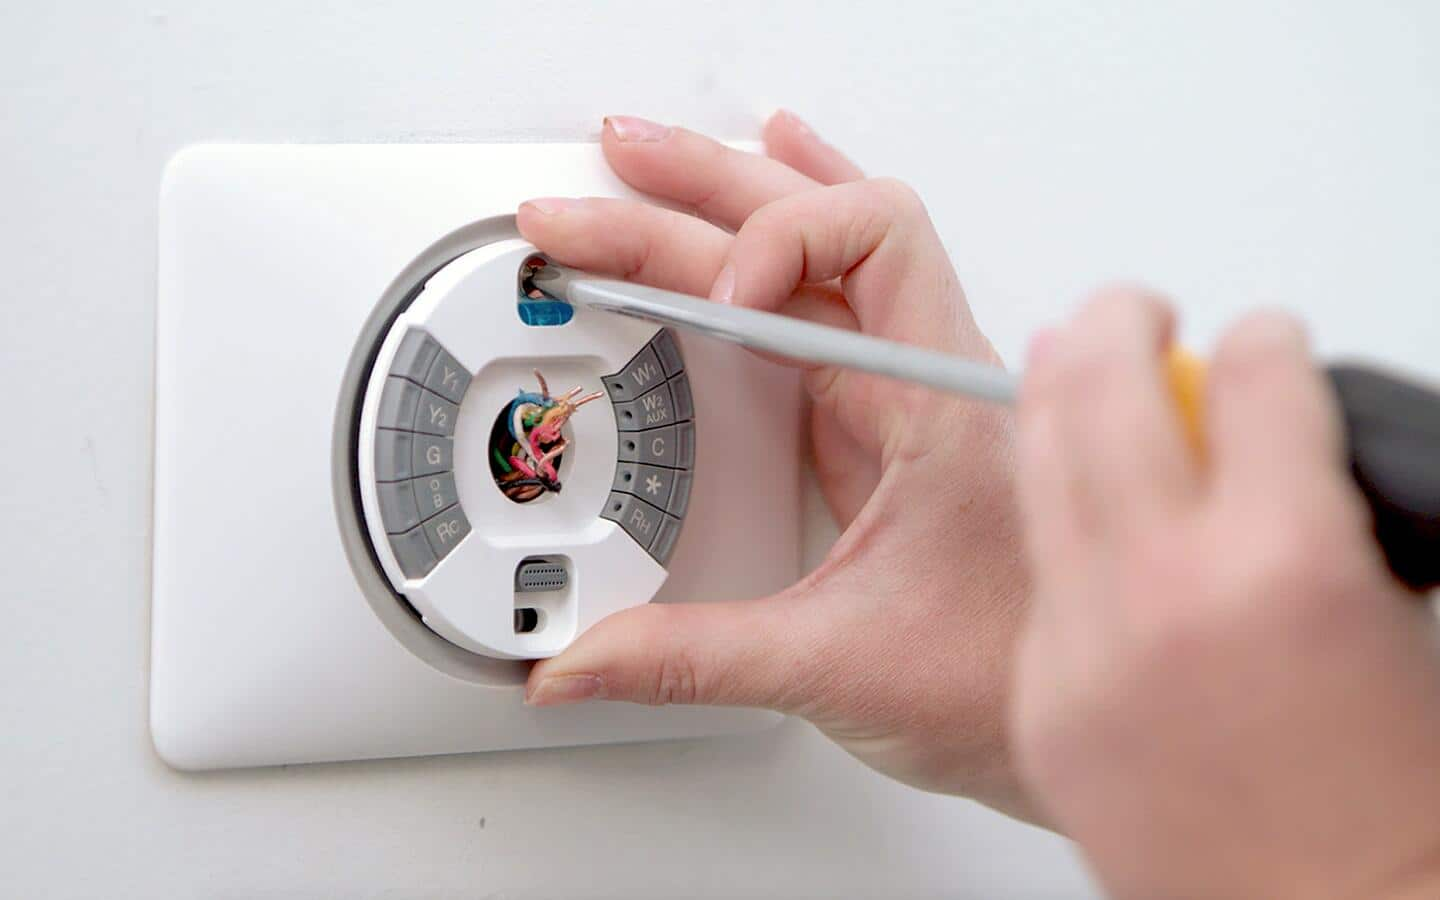
Whether you're learning how to install a basic non-programmable thermostat or learning how to install a smart thermostat, the next step is generally the same. Of course, it's always important to follow manufacturer instructions for any small differences that exist from one unit to another.
- Remove the existing thermostat base by loosening the mounting screws.
- Separate the front of the new thermostat from the base. Begin by installing the base first.
- Thread the low-voltage wires through the specified opening of the new thermostat base.
- If your new thermostat is not self-leveling, use a small level to make sure it's properly aligned.
- Mount the thermostat base on the wall using the screws included with the thermostat.
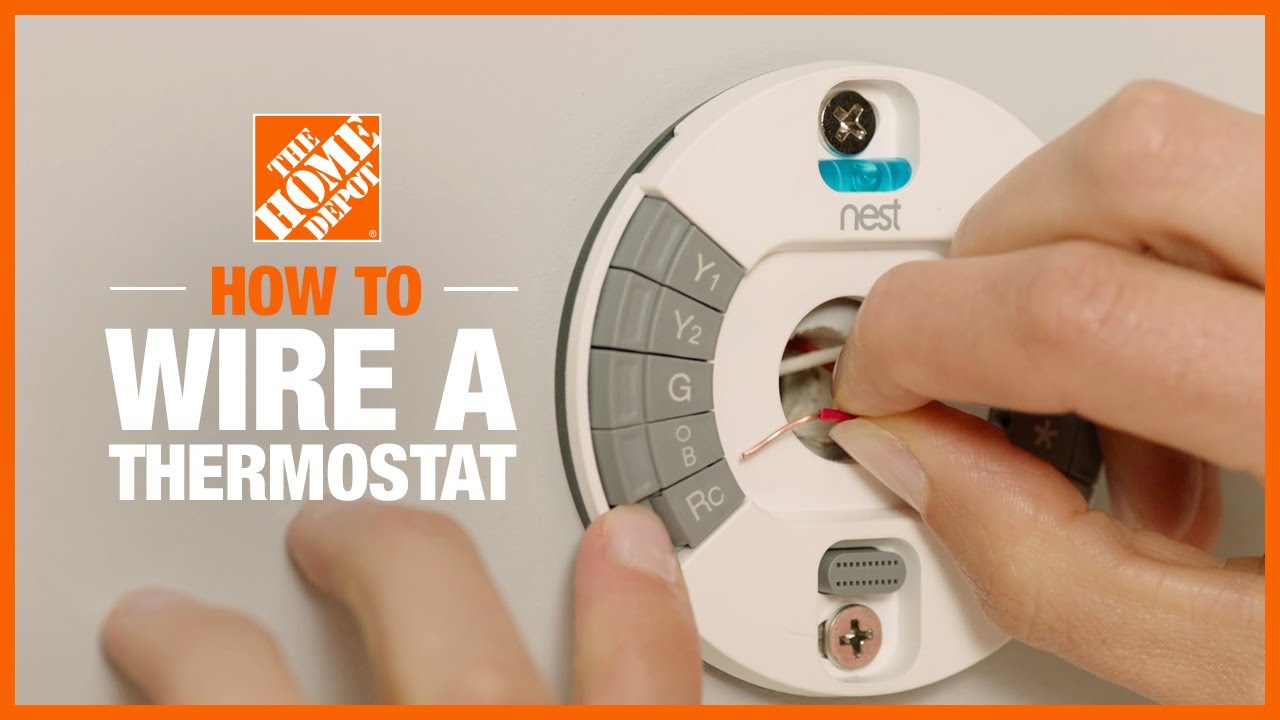
- Connect the low-voltage wires to the appropriate screw terminals on the new thermostat base.
- If your connections do not match, consult the installation diagram in the new thermostat's owner's manual.
- Tighten any loose wire connections and make sure the wires and sheathing are in good condition.
- Install the battery or batteries in the thermostat body (if applicable). Make sure the battery size and polarity are both correct.
Tip: When shopping for your home thermostat replacement, check the package to ensure it is compatible with your home's system.
Mount Thermostat and Restore Power
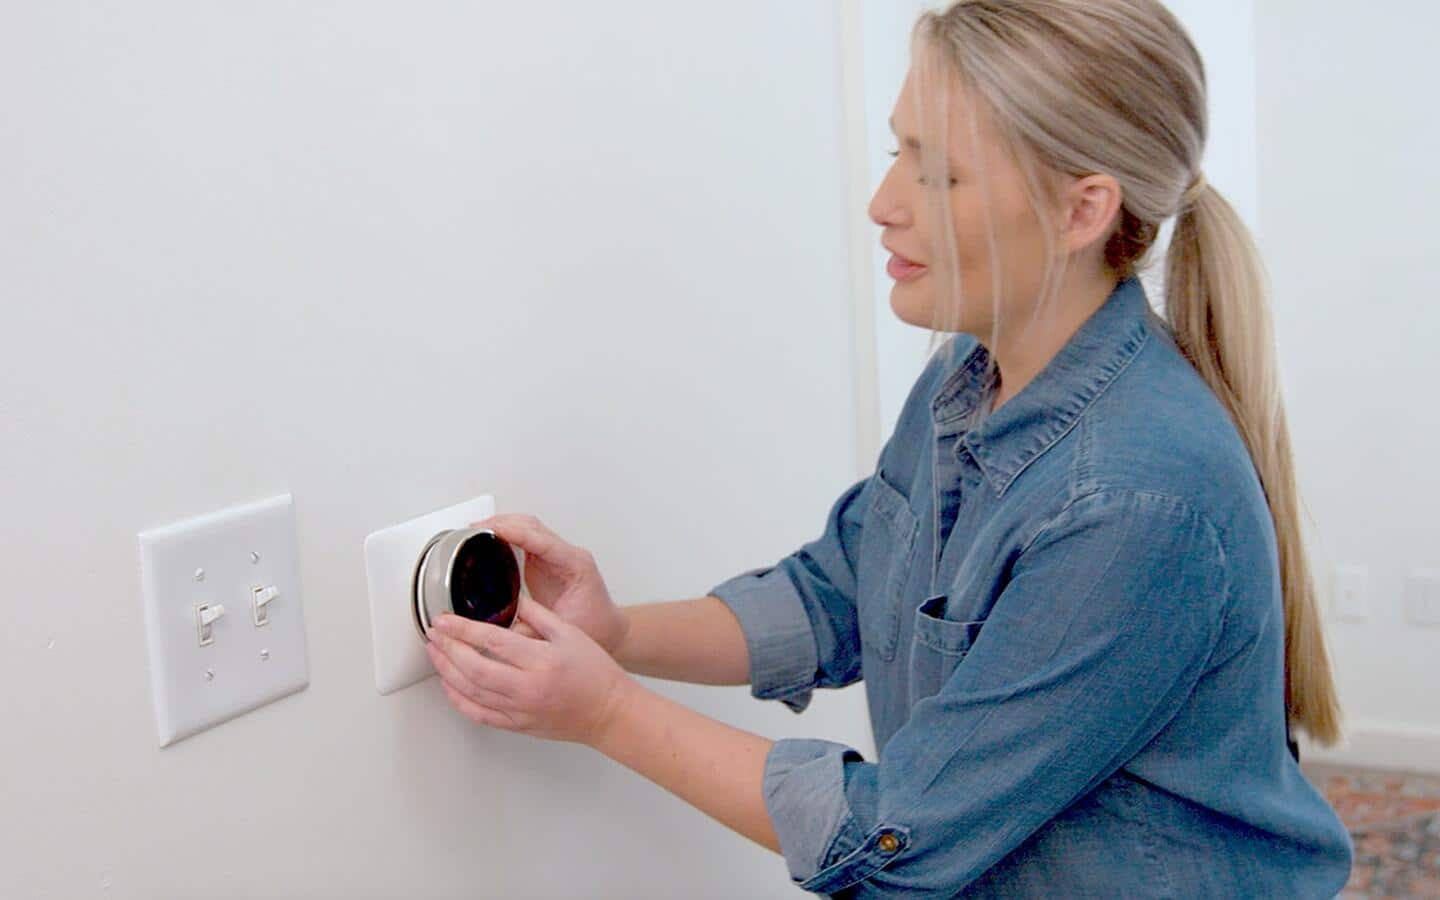
- Mount the thermostat base by gently pushing the excess wire back into the wall opening and plugging the hole with a fire-resistant material. Fiberglass insulation is great for preventing drafts from affecting thermostat operation.
- Mount the control unit to the base using the screws included with your thermostat. Tighten the screws securely.
- Restore power to your heating/cooling system, then press the reset button to clear the program memory.
- Program the thermostat according to the manufacturer's instructions.
- Test the unit to make sure both the furnace and air conditioning unit are cycling properly.
Thermostat Wiring Tips
- Installation varies for two-wire systems (heating only or cooling only). If you have a two-wire system, refer to the instruction manual provided by the manufacturer for a more detailed installation guide.
- Tighten any unused terminals securely.
- If your system has more than two wires, follow the manufacturer installation diagram to determine correct wire connections.
- Heating and cooling needs vary from season to season, so adjust the programming as needed to accommodate your lifestyle.
- If you have more than one heating or cooling system, placing an adjustable thermostat on each one will ensure greater energy efficiency.
Knowing how to install a thermostat can be a budget-friendly DIY project. All you need are a few tools such as screwdriver and voltage meter. You can choose to install an analog, digital or smart thermostat. Although it can require a higher upfront investment, it’s worth your time to find out how to replace a thermostat with a programmable digital option. These types of thermostats can save you money in the long run.
Thinking about replacing your thermostat? Find products fast with image search in The Home Depot Mobile App. Snap a picture of an item you like, and we'll show you similar products.