How to Make a Tree Charcuterie Board

Last updated November 8, 2023
Presented by Jaime Costiglio of jaimecostiglio.com
Make a fun tree-shaped charcuterie board complete with trim to contain all those yummy holiday snacks. Bonus: The materials for this project allow you to make two boards, give one as a gift and keep one for yourself. This guide will give you step-by-step instructions so you can create a one-of-a-kind charcuterie board all your own.
Difficulty:
Intermediate
Duration:
Over 1 day
Table of Contents
Measure & Cut Boards
Draw Tree Pattern
Cut Out Tree Shape
Trace the Design
Carve Out Design
Sand Board
Measure & Cut Boards
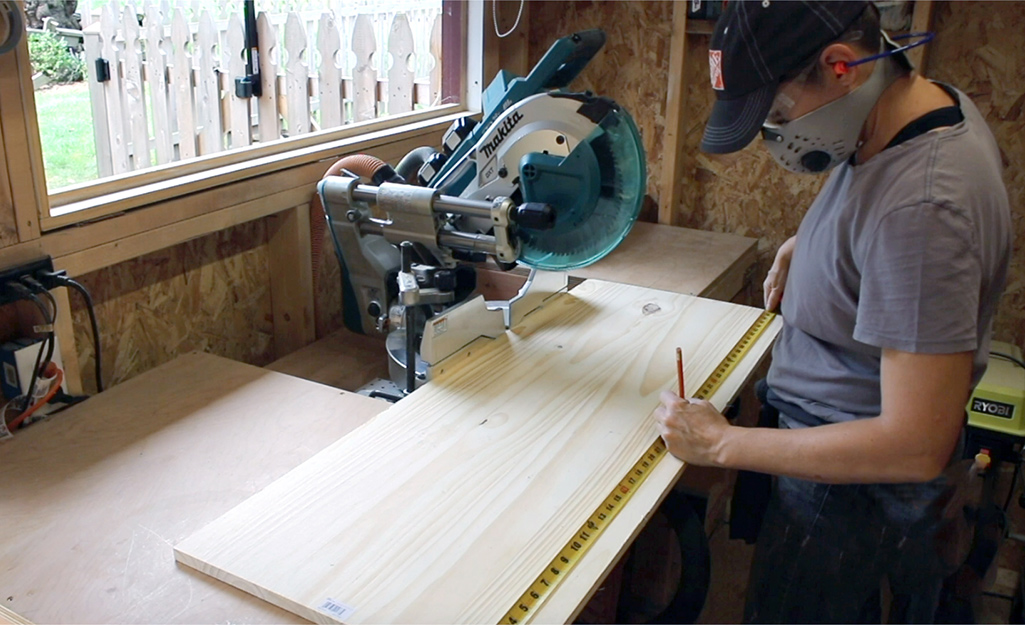
For this project, you'll need:
- One 1 x 18-inch x 4-foot pine panel
- One 1 x 2-inch x 8-foot common pine board
How to cut:
- Using your miter saw, cut the 18-inch x 4-foot board into two pieces, each piece 24 inches long.
- Then, use a carpenter square to measure and draw out the tree shape onto the pine board using the dimensions in the pattern above.
Tip: Always wear safety goggles when operating power tools.
Draw Tree Pattern
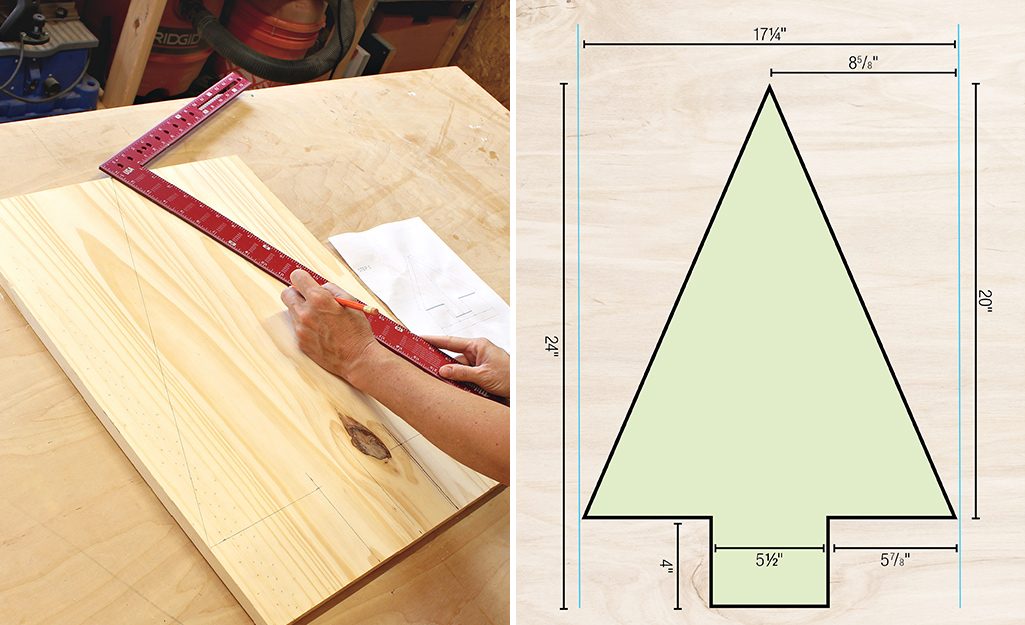
Using your framing ruler, draw the tree shape onto the pine board to match the pattern above.
Cut Out Tree Shape
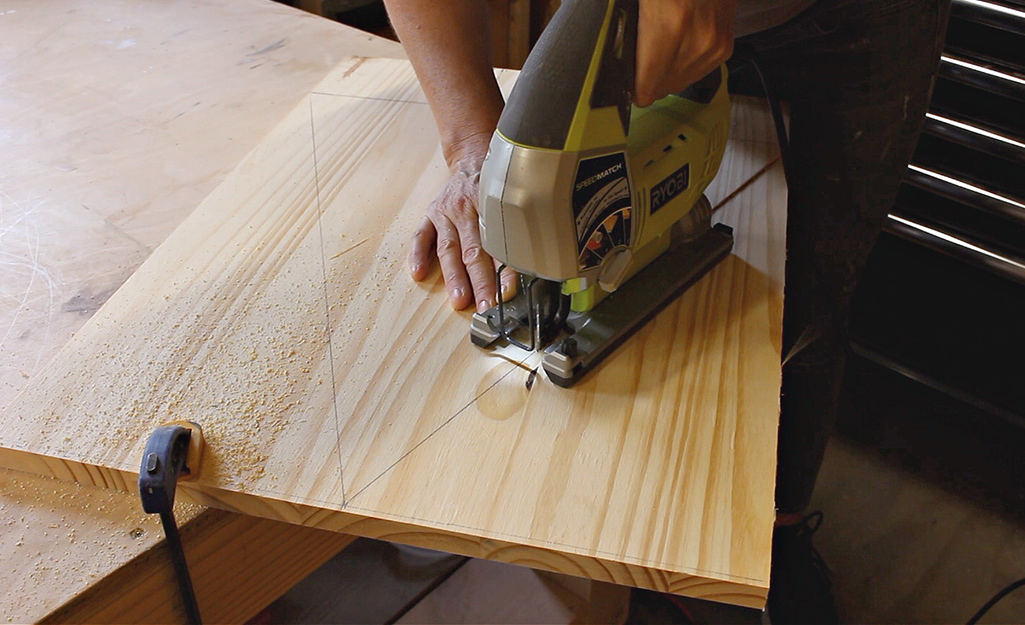
- Using your jigsaw, cut out the tree shape.
- Sand off any rough edges.
Tip: Consider using clamps to hold boards in place while cutting.
Trace the Design
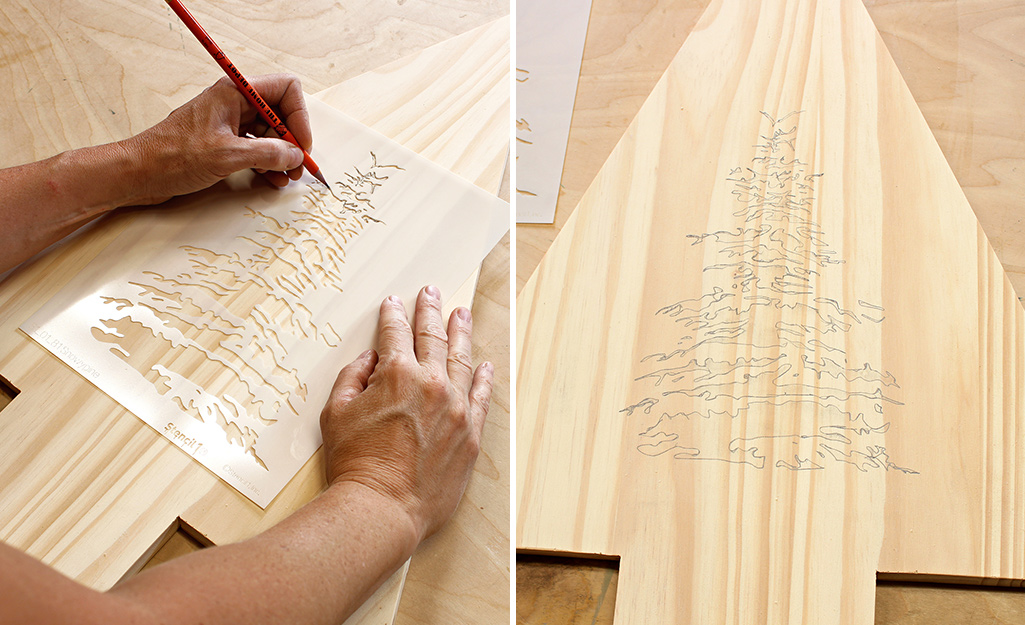
- Now, grab your stencil to create the design on your board.
- Place the stencil onto the board and trace the outline using a pencil.
Carve Out Design
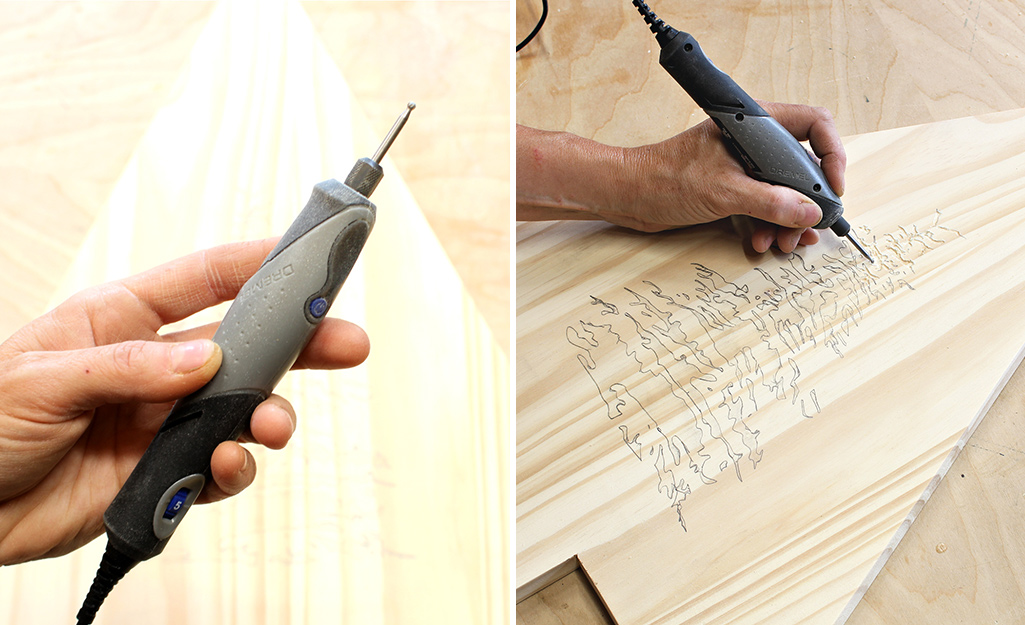
Using the carving bit on your rotary tool, carve away the stenciled area using the pencil lines as your guide.
Sand Board
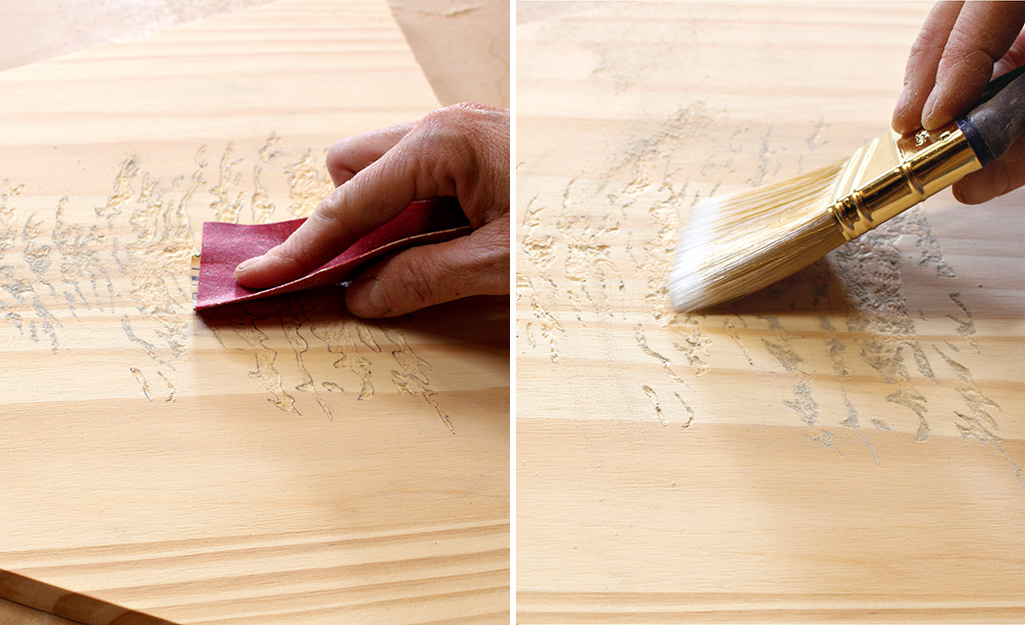
- Sand away any loose wood bits and excess pencil marks.
- Use a paintbrush or small broom to remove the sawdust.
Assemble Bottom of Tree Trim
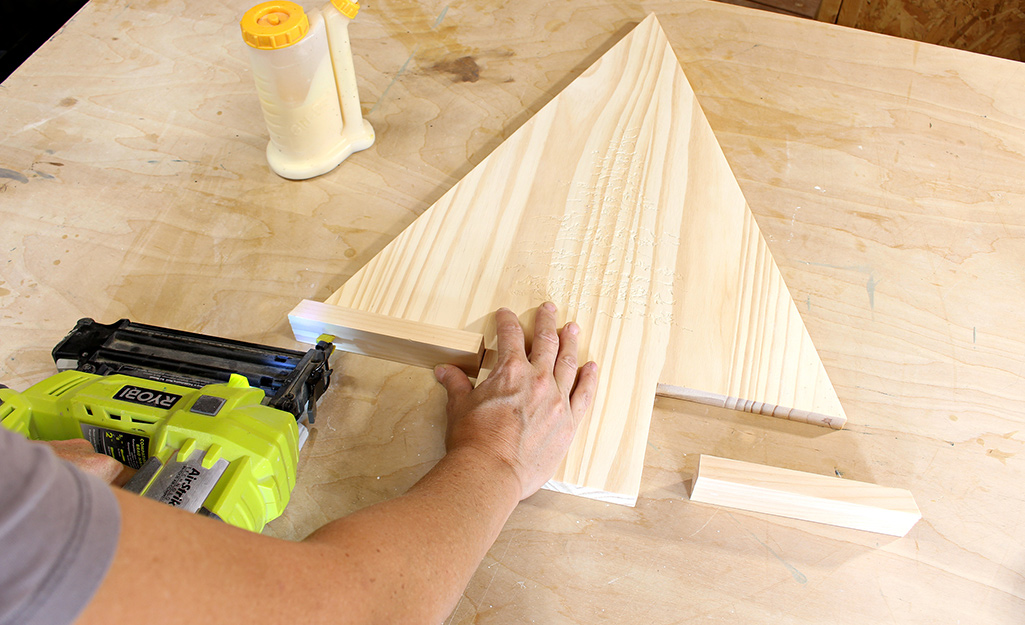
- Be sure to attach all trim using wood glue and 11/4-inch brad nails.
- Along the bottom of the tree, cut two pieces of
1 x 2 at 6 1/4-inches long with a 22 1/2-degree bevel
on one end. Attach to tree using wood glue and 1 1/4-inch brad nails. - For the bottom of the trunk, cut one piece of 1 x 3 at
5 1/2-inches long. - For short sides of the trunk, cut two pieces of 1 x 2 at 6-inches long.
Complete Trim
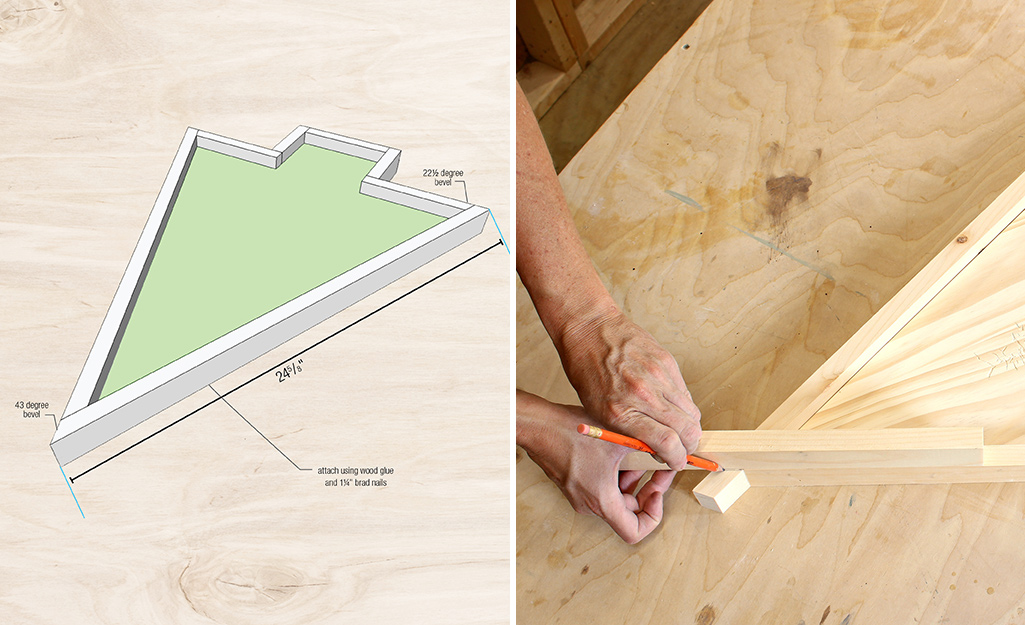
- For longer sides of the tree, begin with 22 1/2-degree bevel at the bottom. Place board in position.
- Now, using a piece of scrap wood, mark the angle.
- Use a miter saw to cut a 43-degree bevel. Attach using wood glue and 1 1/4-inch brad nails.
Apply Stain
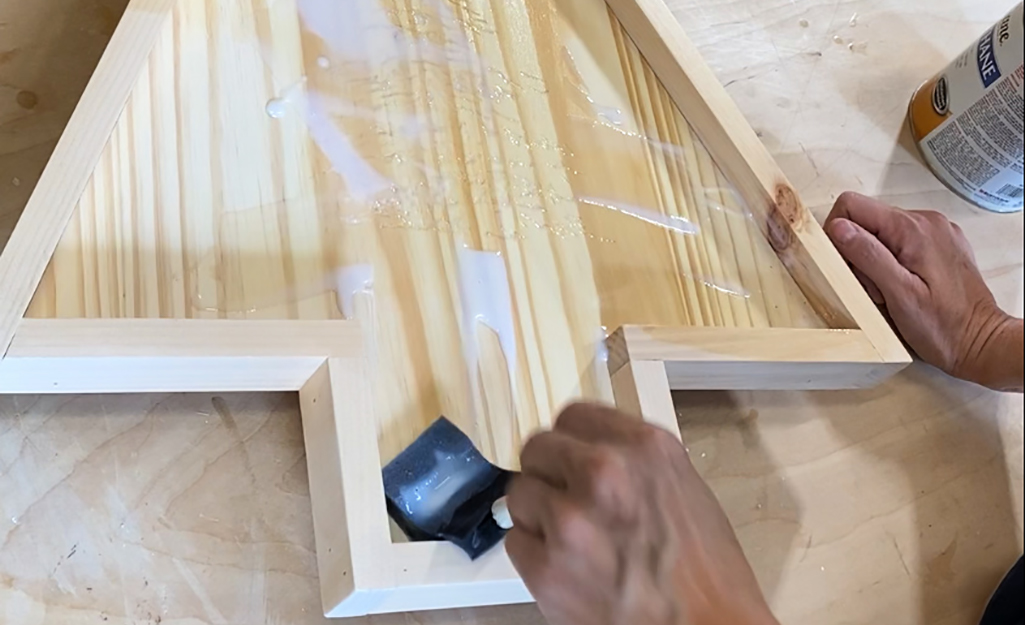
- Using a foam brush, apply the clean satin polyurethane.
- Let it dry completely.
Add Color
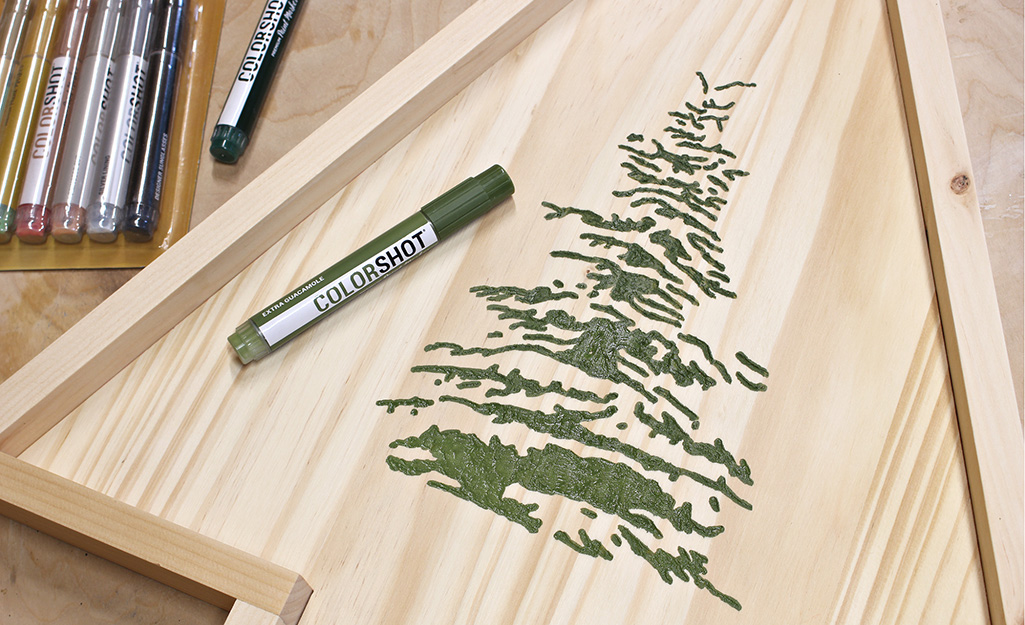
- Use your paint pens to apply color to the carved area of the board.
- Let dry.
Sand Excess Paint
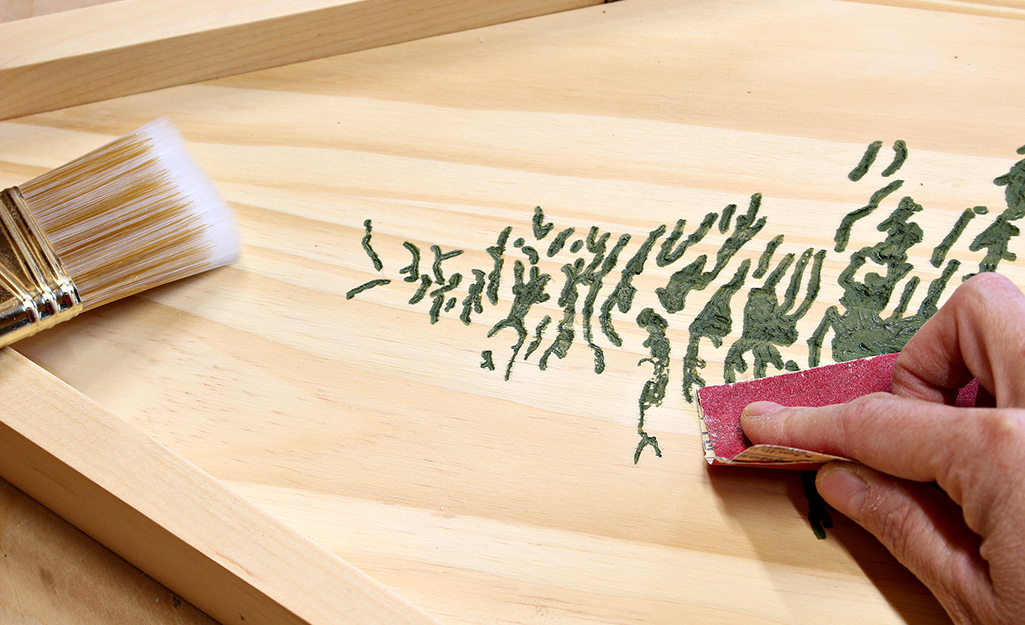
- Remove any excess paint on the board surface using sandpaper.
- Use a paintbrush or small broom to remove the sawdust.
Seal Once More
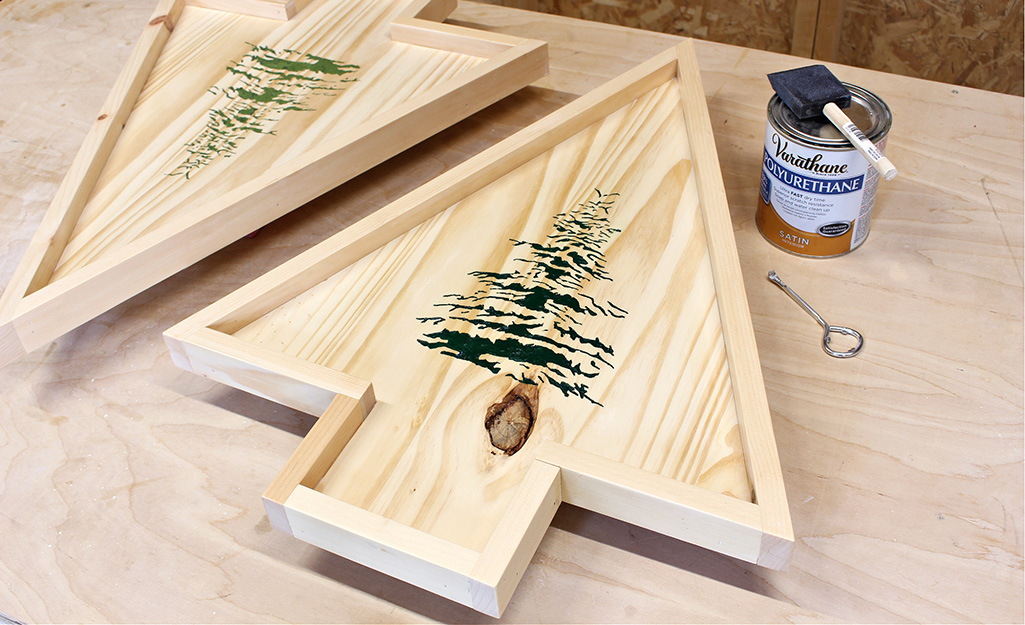
- Finally, seal the paint and board using clear satin polyurethane and a foam brush.
- Let dry and cure completely.
Enjoy!
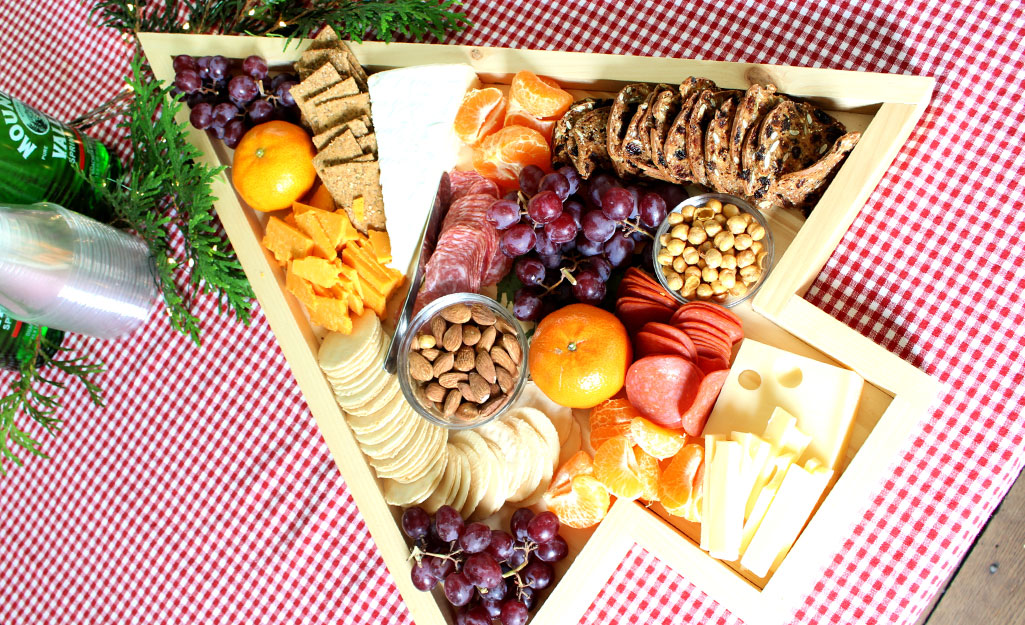
Now, you're ready to enjoy snacks on your DIY board. From fruit and cheese to cookies and treats, your board is sure to make the holidays merry.
The Home Depot is your DIY headquarters. Looking for a product to complete your project? We have options to deliver online orders when and where you need them.
