Entry Mudroom Bench Unit
Last updated August 21, 2024

Bryan Fiveash of DIY Dad Blog is a full-time blogger and parent of four. Having worked as a Social Manager, Community Manager, and Content Creator for Haven Conference and the Workbench Conference, Bryan enjoys the ends and outs of DIY and great partnerships!
A Note From The Home Depot
Don’t let the rainy and snowy weather invade your home. Stop the mess right at the door. Bryan Fiveash of DIY Dad Blog, walks us through the step by step process of how he created a Mudroom Bench for his family with the help of The Home Depot. Check it out down below.
Table of Contents
Bench Unit Prep
Step One: Building The Bench
Step Two: Attaching the Sides and Ceiling Braces
Step Three: Building the Top Storage Compartments
Step Four: Installing Pallet Wood Planks
Step Five: Trim and Paint
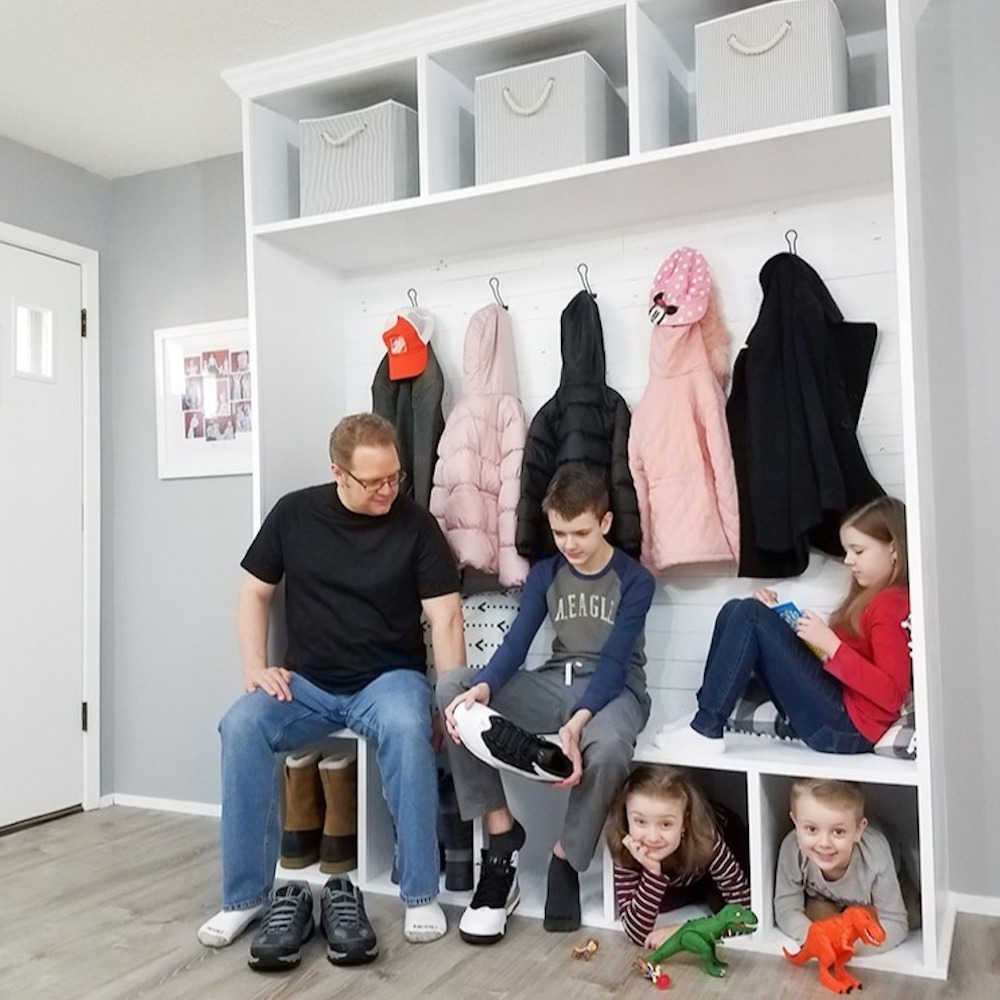
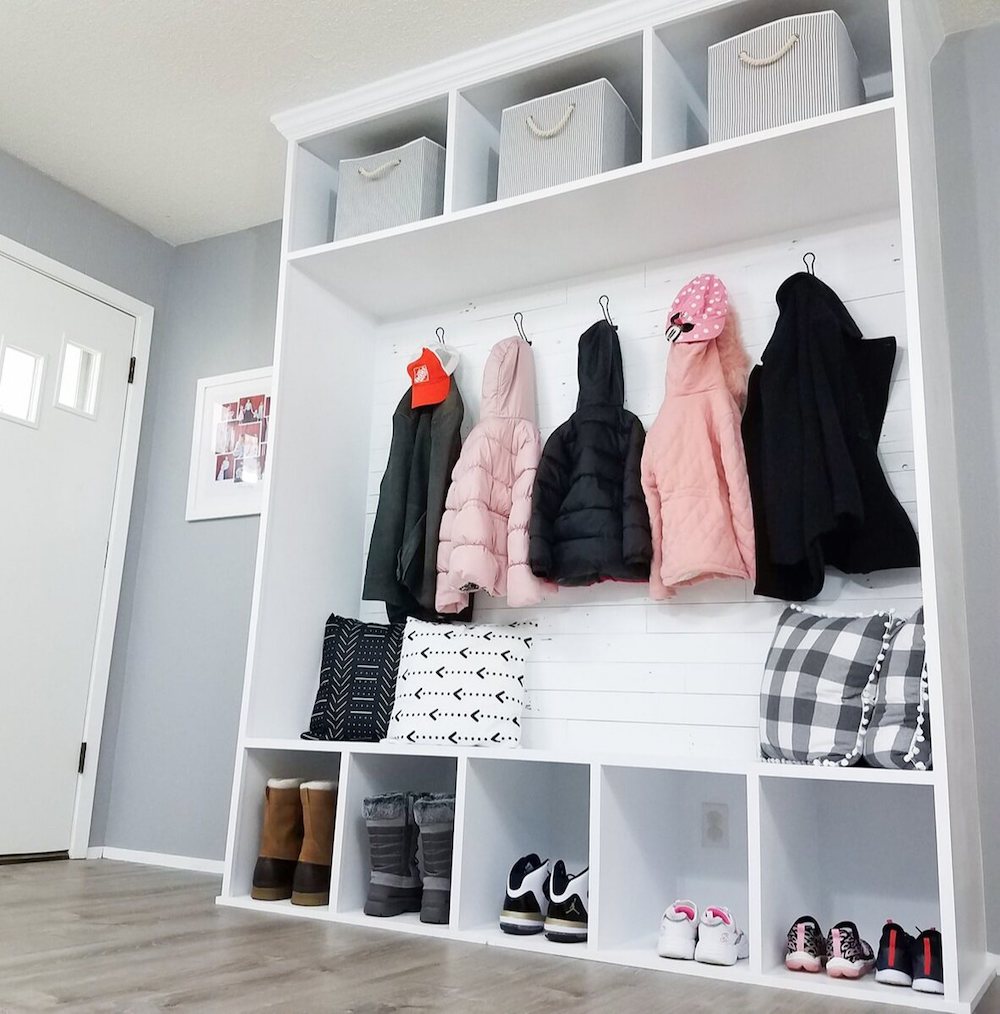
If you’re looking for a front entry storage solution for coats and shoes, why not build a mudroom style bench? In this article, I’ll share my DIY build that stores, organizes, and provides a great looking “welcome” for your family and guests.
If your family is like mine, then you know the struggle of dealing with coats and shoes that pile up at the front door. My wife and I have four kids, and it can be a challenge at times to keep the front entry neat and clean. I decided it was time to both solve our particular issue and to introduce a nice piece of custom-made furniture with this mudroom bench unit.
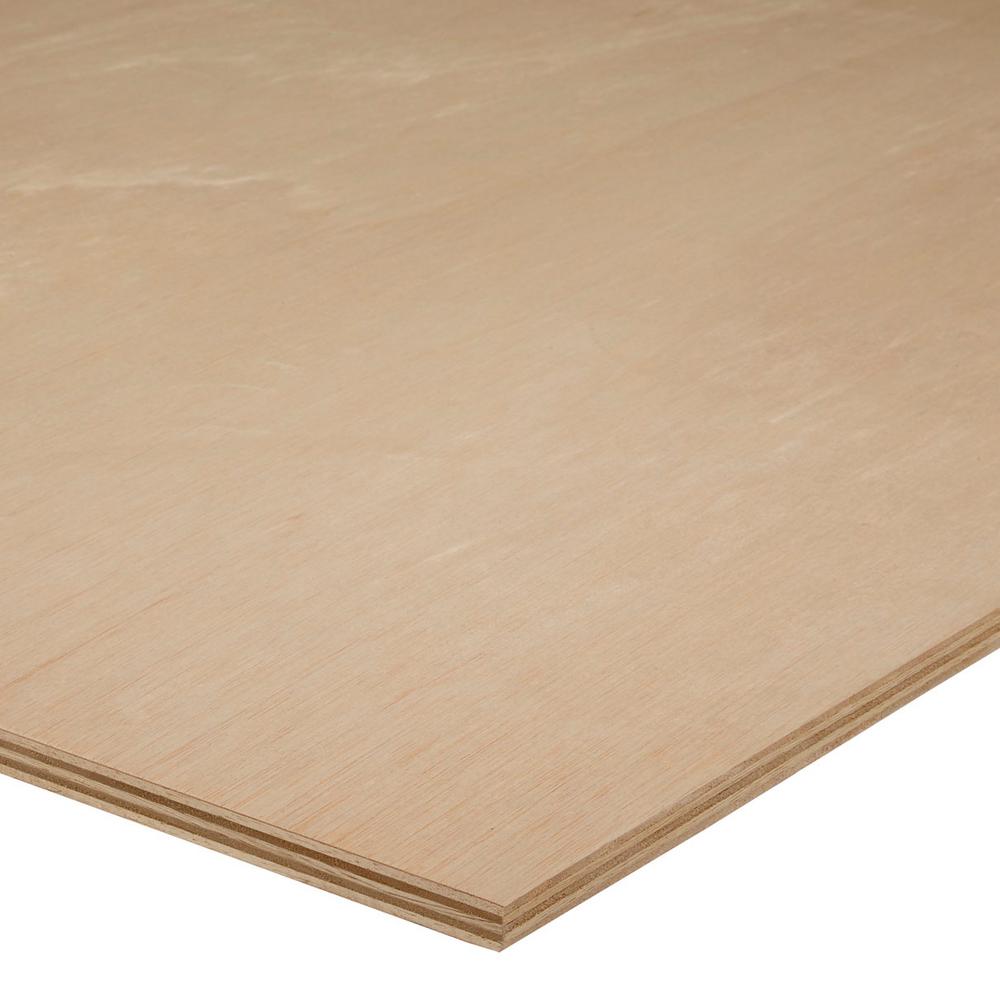
This unit is built primarily with sande plywood, which is commonly used in cabinetry, boatbuilding, and marine applications. Sande plywood is also very durable and holds up well from impact and wear and tear. Durability and water resistance are important attributes to have for a piece of furniture that will no doubt deal with daily use and exposure to wet coats and shoes.
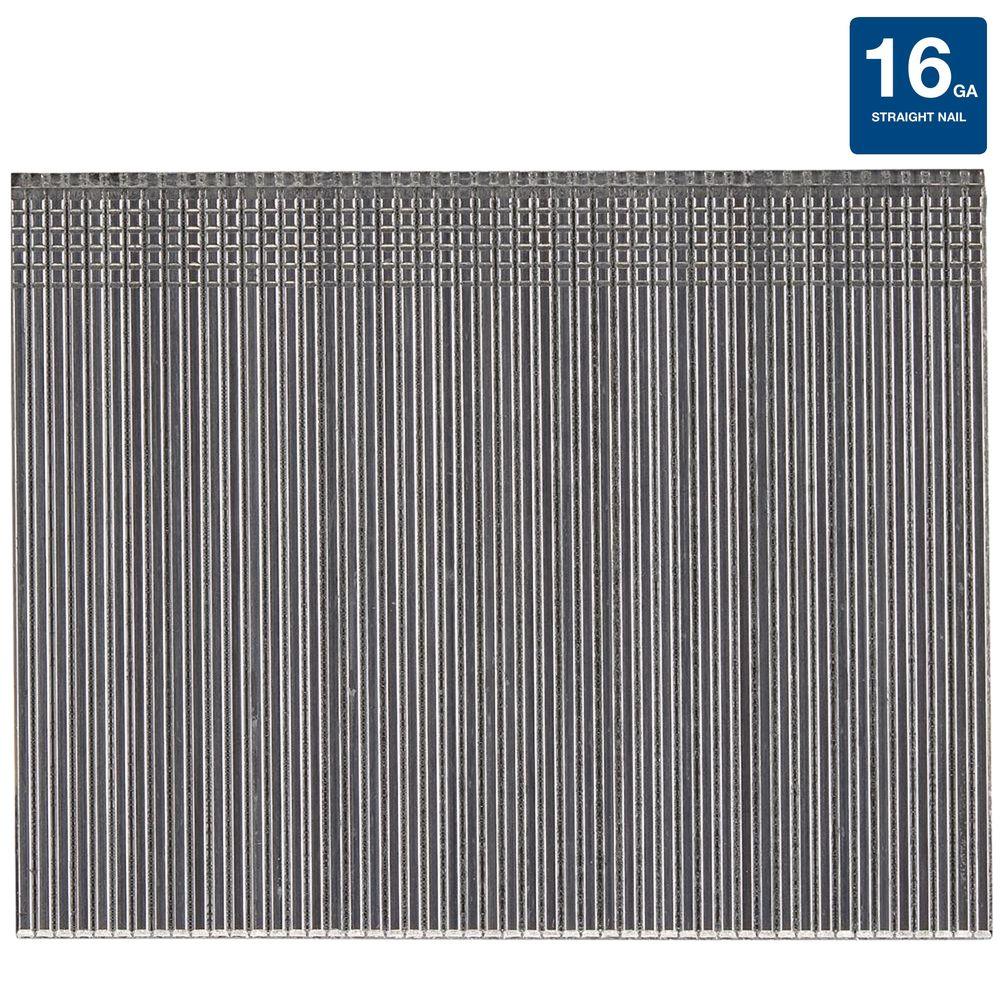
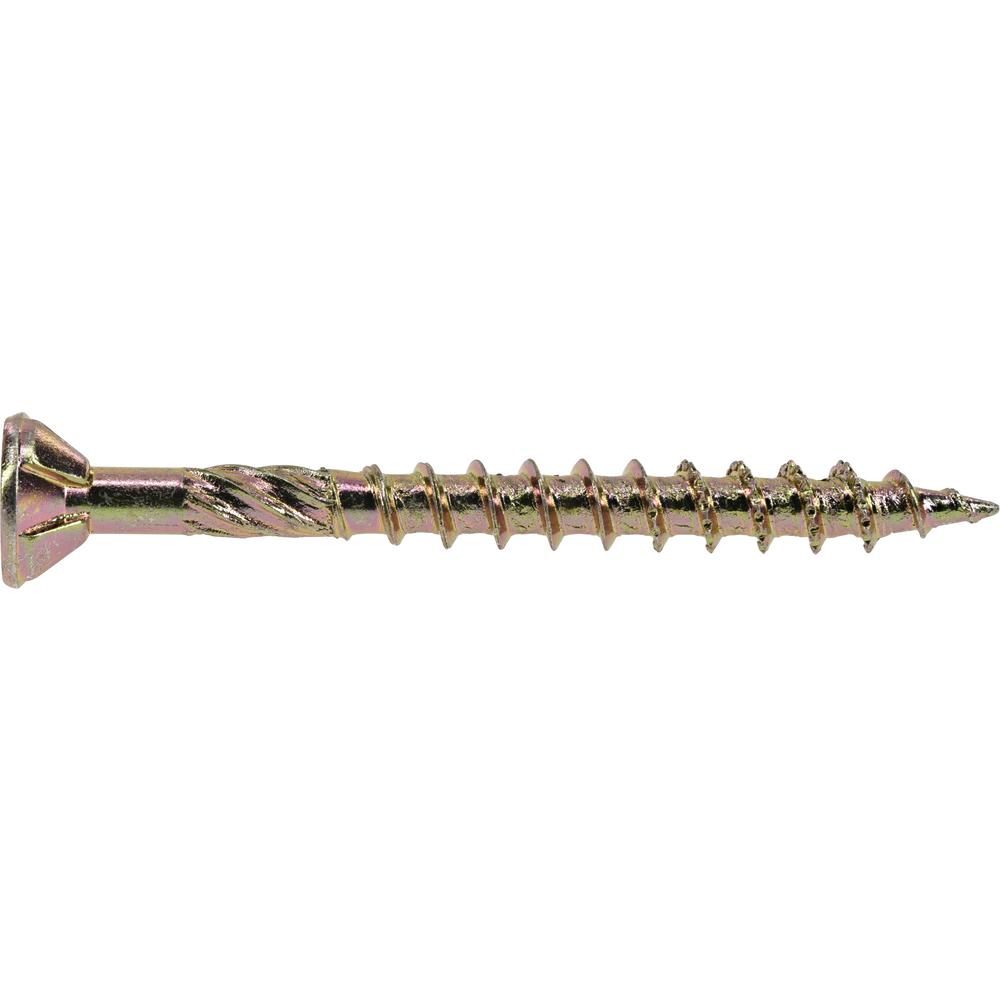
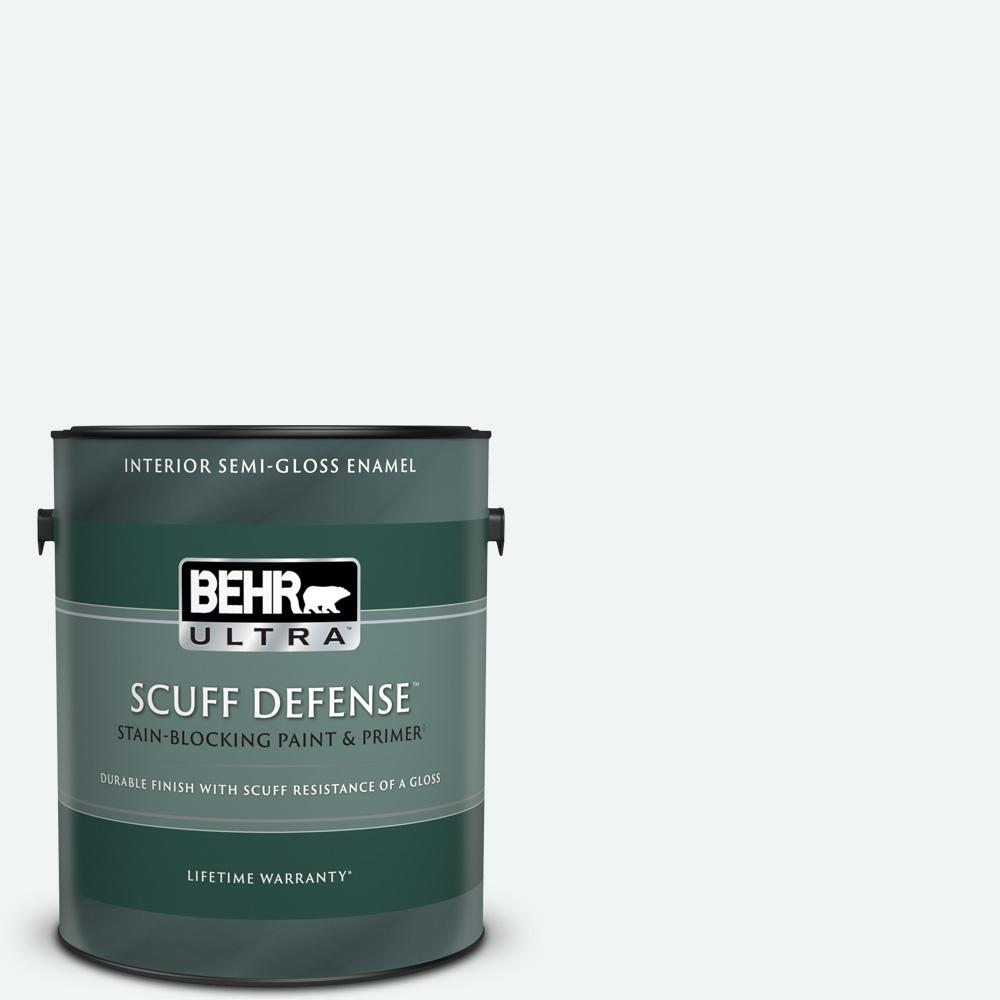
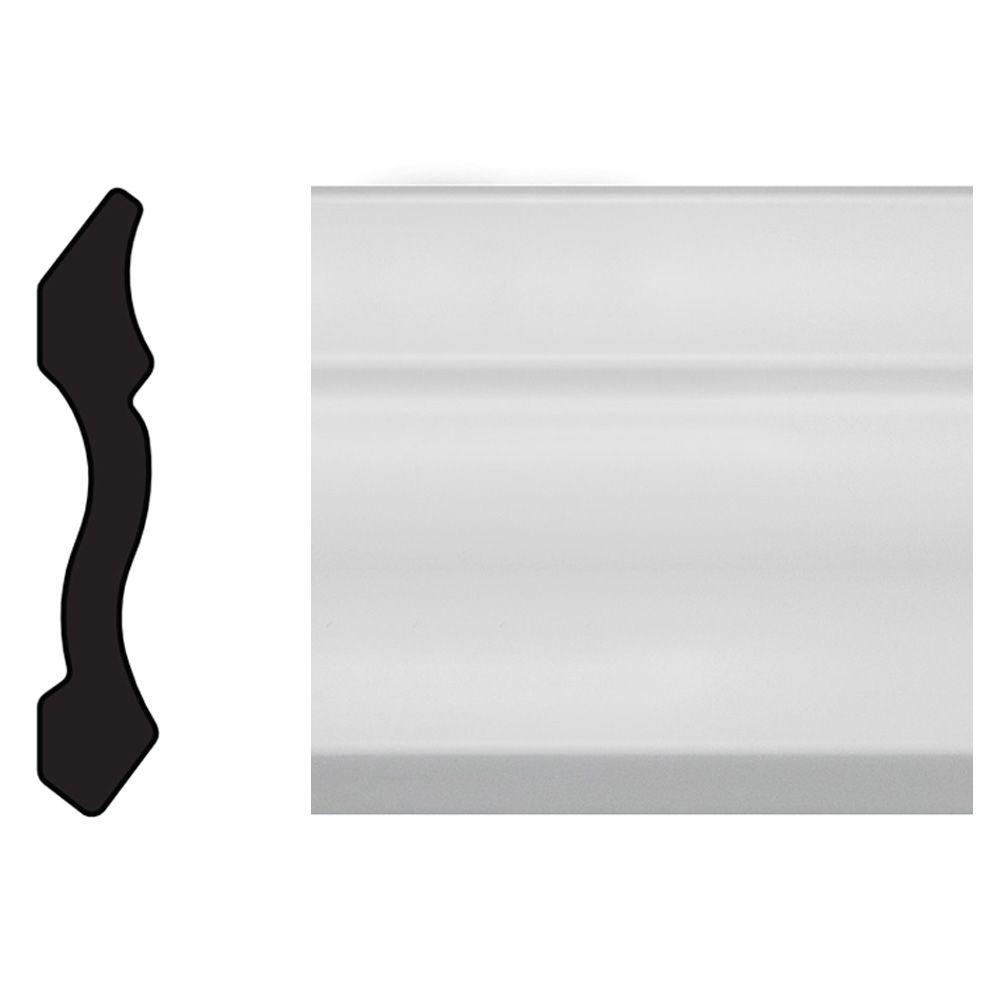
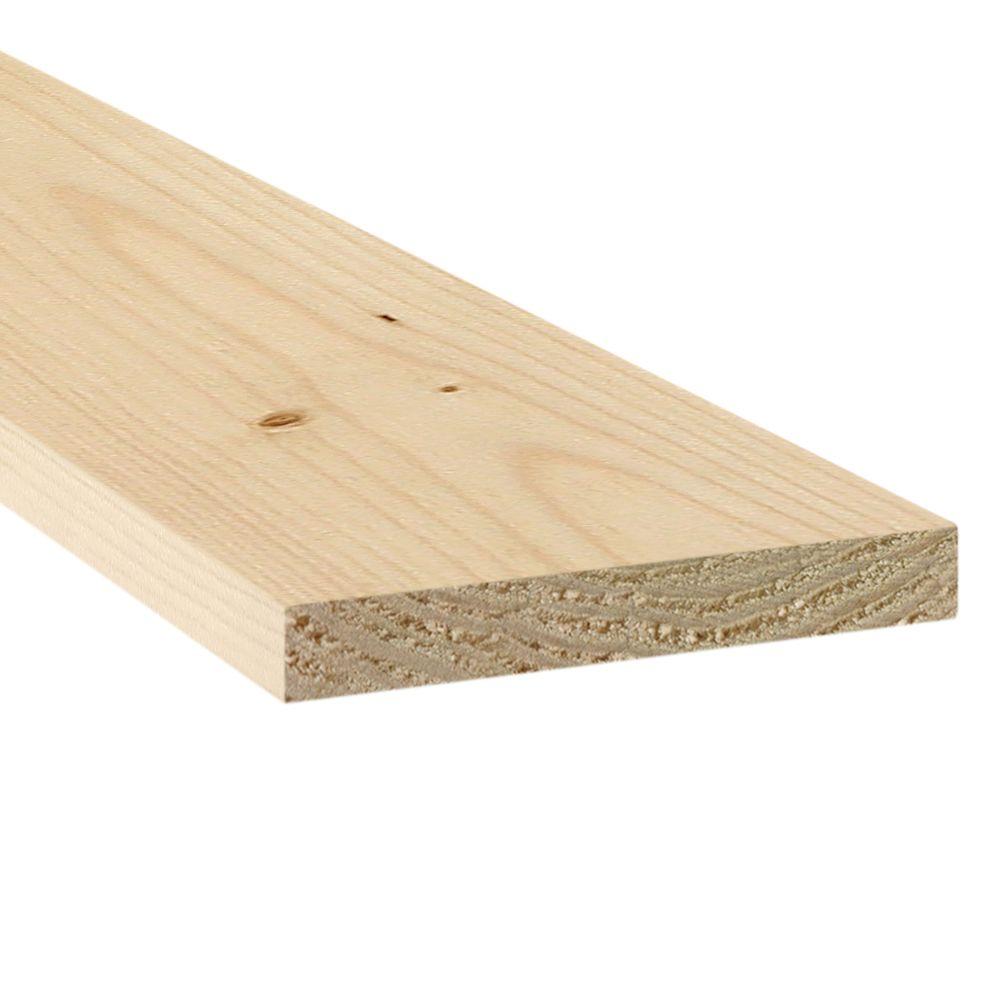
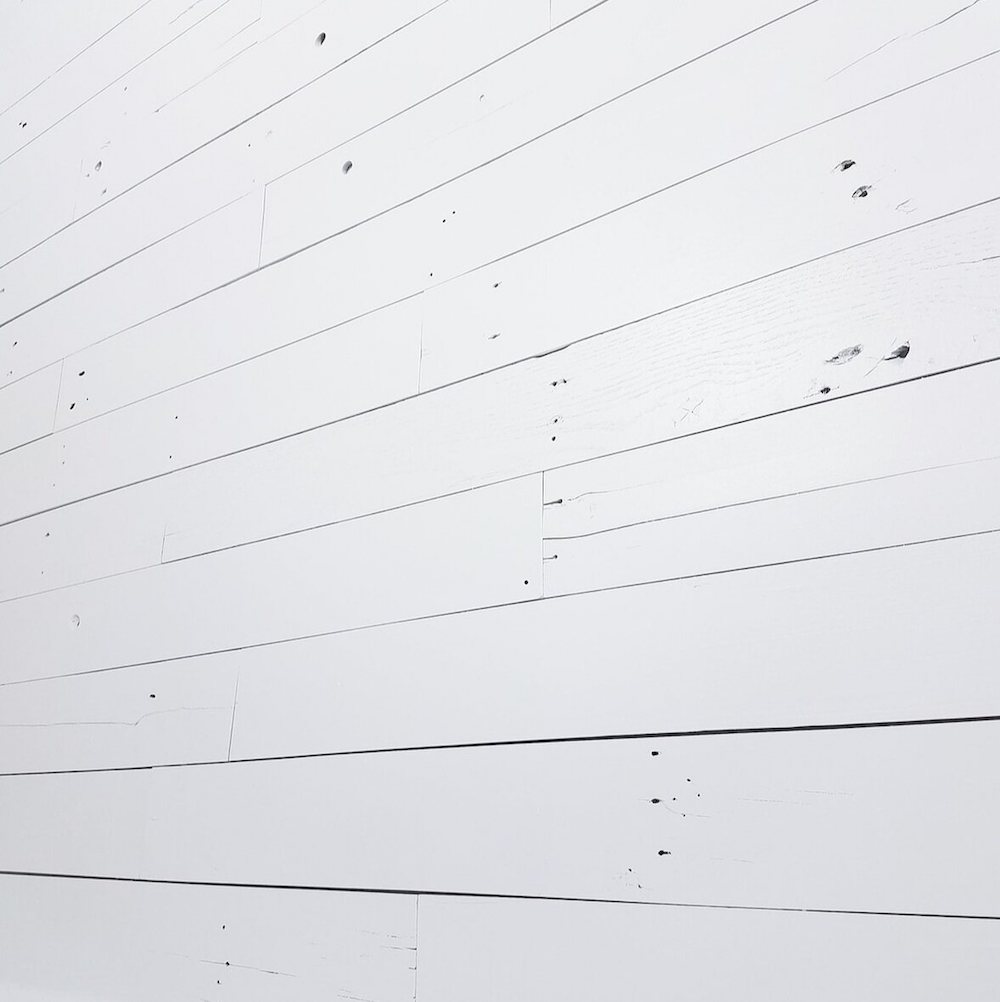
The bench unit backing is made with reclaimed pallet wood planks. Finally, I trimmed out the unit with ripped down strips of spruce, white polystyrene crown moulding, and two coats of BEHR ULTRA Scuff Defenseprimer/paint. To attach the pieces together, I used an impact drilland Power Pro screws for the main boards, finish nails for the trim, and Gorilla wood glue.
Here’s a closer look at my mudroom bench unit build.
Bench Unit Prep
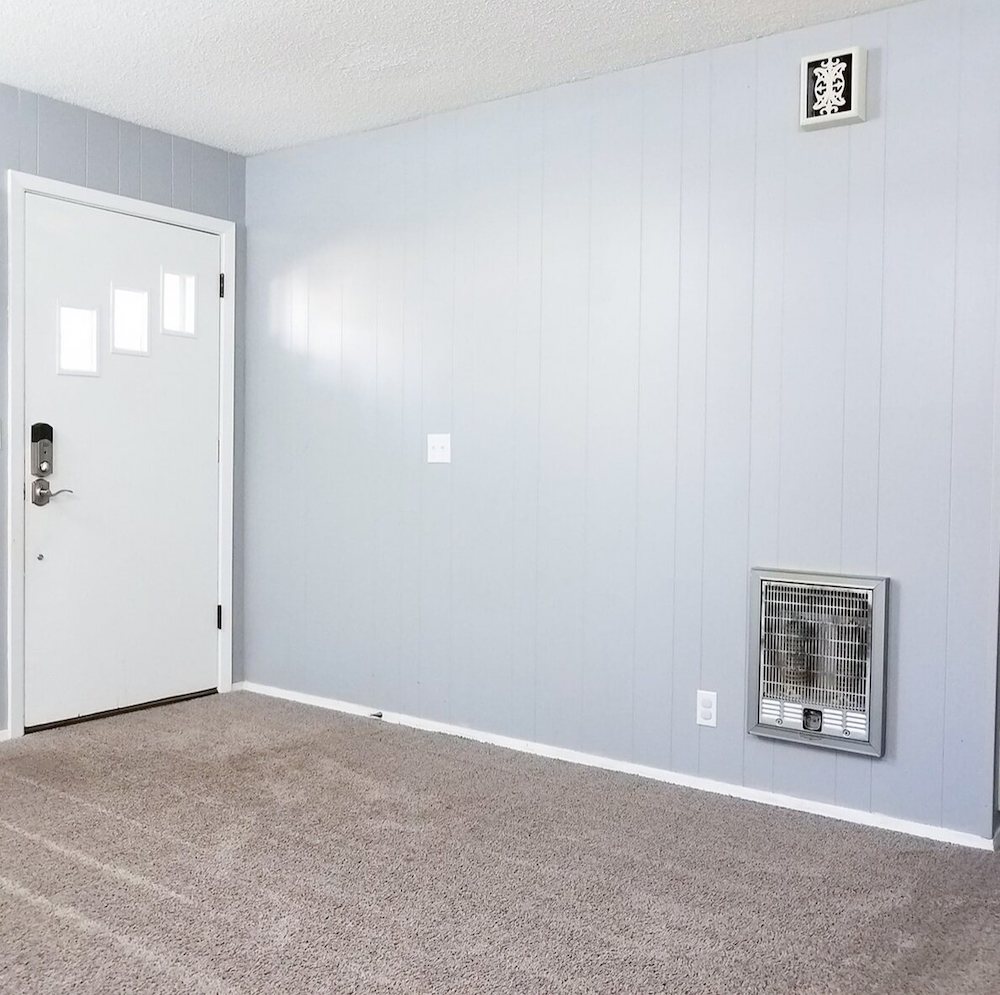
My first step was to remove a large section of carpet so I could eventually install Lifeproof luxury vinyl plank flooring. This flooring is very durable and 100% waterproof which is perfect for our front entry. I installed this flooring in my kitchen and dining roomover a year ago and it still looks like new. That’s pretty amazing considering the daily spills and wear and tear from this large family of 6.
I built the bench unit first and installed the flooring around it. This is a floating floor and should be allowed to expand and contract freely. Thus, a heavy unit like this mudroom bench shouldn’t be built on top of it.
A couple of extra steps I had to take that you likely won’t have to do were removing a wall heater and wood paneling, installing and finishing new drywall, and repainting the wall.

Step One: Building The Bench
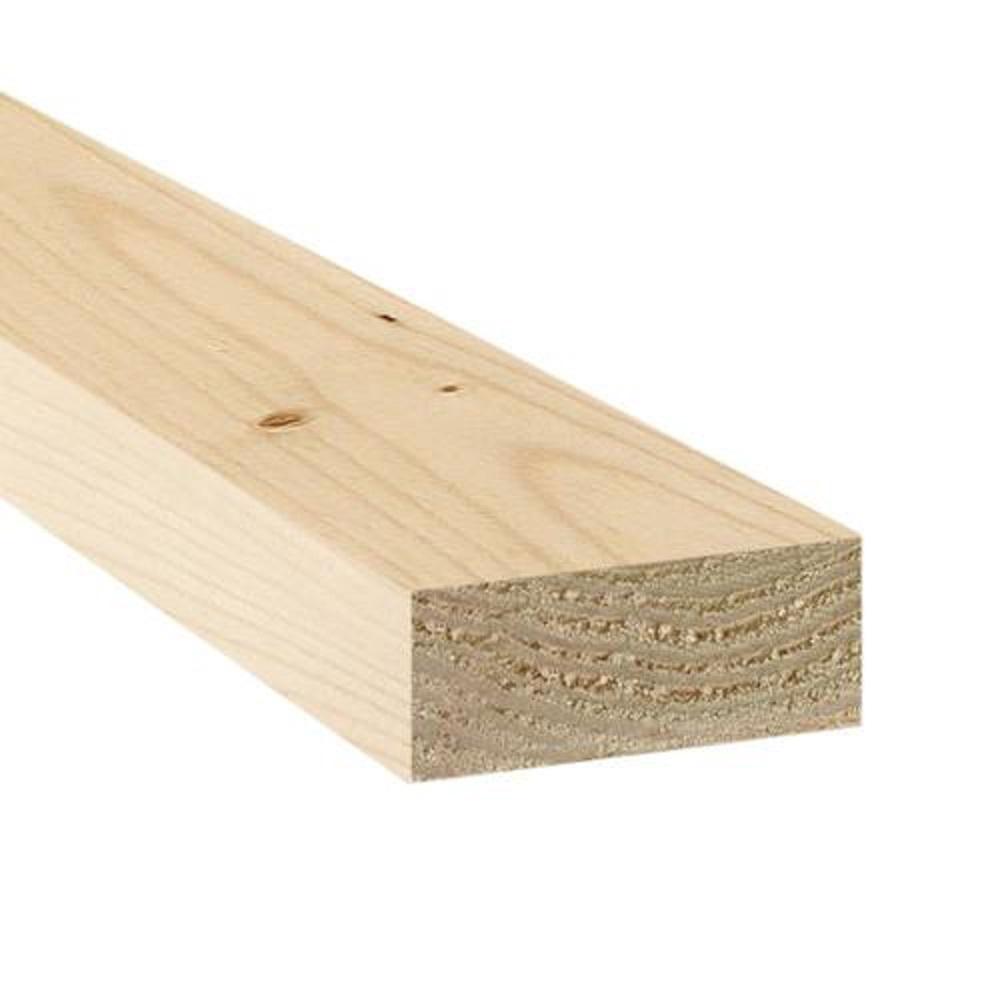
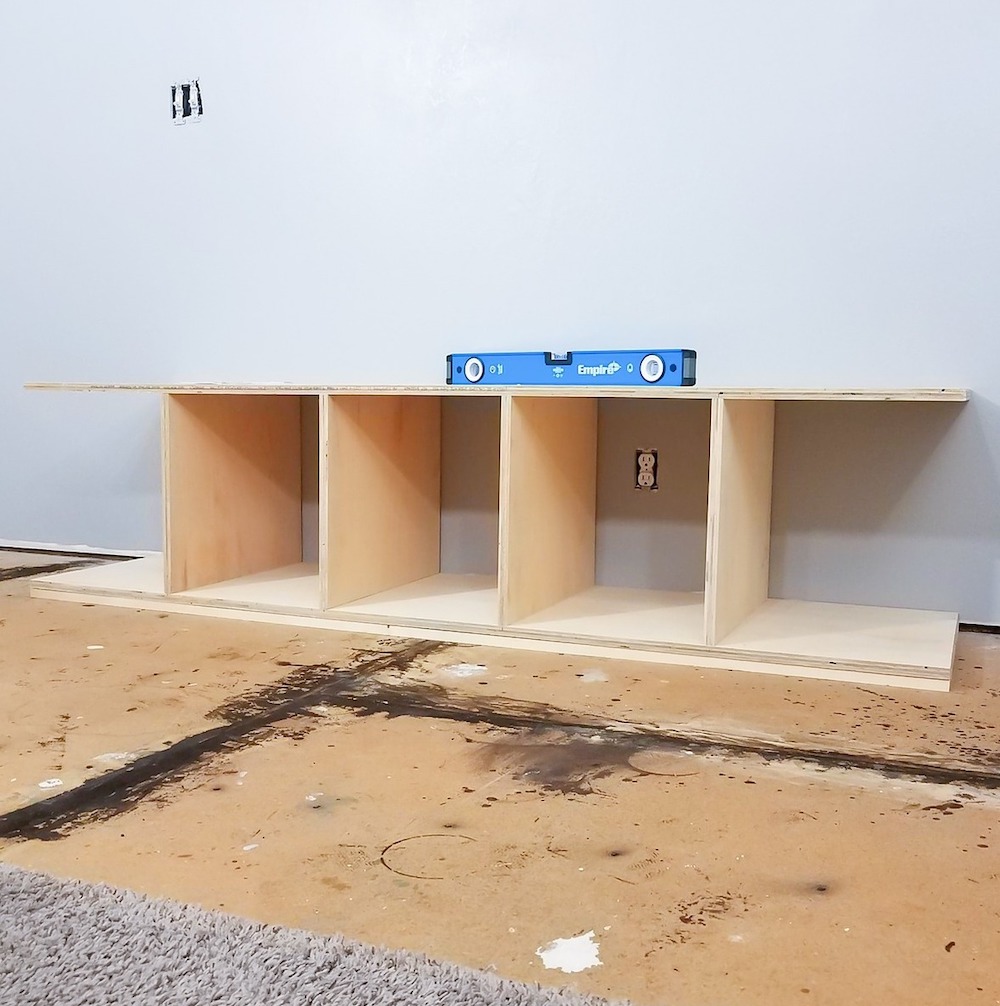
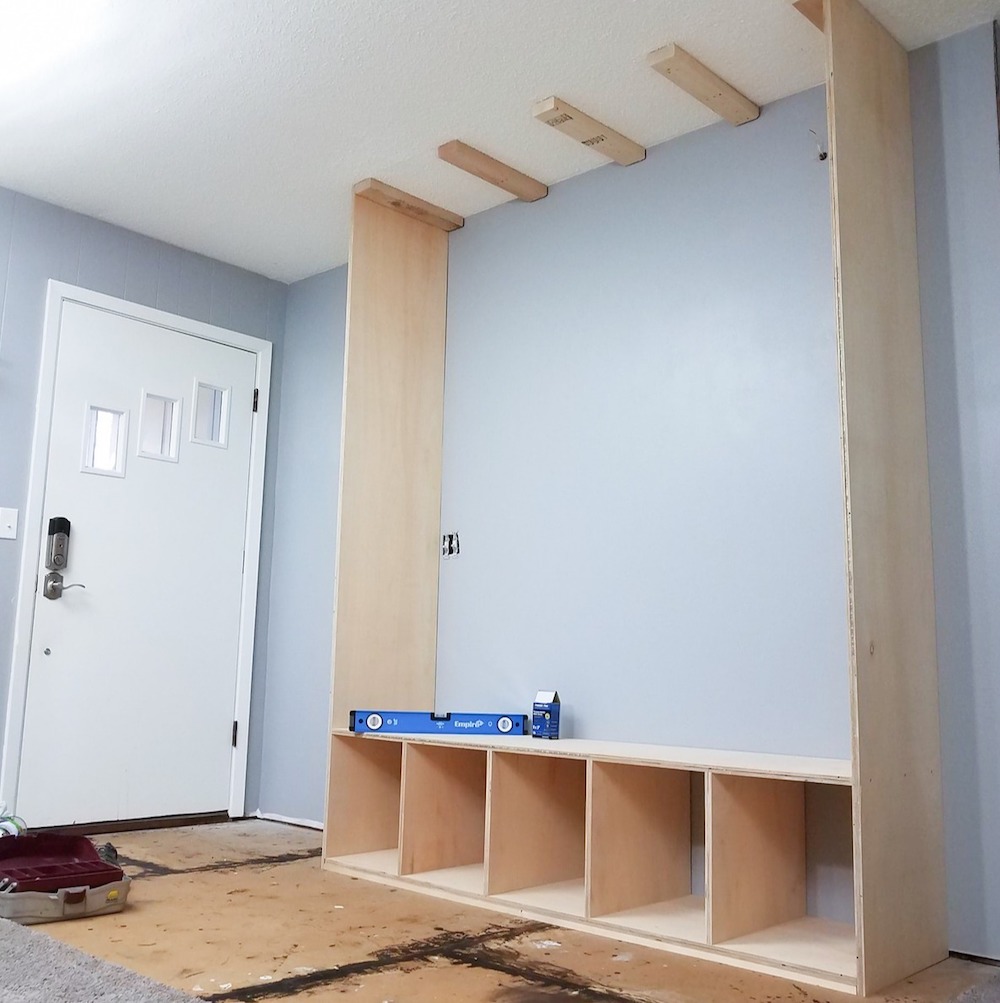
It’s easier to plan this unit when looking at it in sections. The first section to build is the bench. First, I attached three 1x4’s (72 ½” L) to the subfloor to increase the height of the bench floor, added shims where needed to make it level, then attached the bench on top of them. The bench itself is made up of two long sande plywood boards, measuring 19 ¼” D x 72 ½” L. Sande plywood dividers make up the shoe compartments. The dividers are 16” H x 19 ¼ ” D and are equally spaced at 14 ½” centers.
I used a circular saw and a Kreg Rip-Cut circular saw guide to make accurate cuts in this high-end plywood.
Step Two: Attaching the Sides and Ceiling Braces
I didn’t plan for this unit to be moved, so I built it to be attached to the ceiling for a few reasons. One, attaching to the ceiling will help prevent the top shelves from sagging in the middle over time. And two, being attached to the floor and the ceiling eliminates the possibility of tip over.
This next section consists of the two side pieces and 2x4 braces that are mounted to the ceiling joists. My two sides are 19 ¼” W x 95 ½” L. The length of your side boards may differ due to varying ceiling heights. To install the side boards, after pre-glue, I placed each one upright against the bench sides and screwed them to the bench. Afterward, I leveled out the sides and marked on the ceiling where the two end ceiling braces were to be mounted. Once those are mounted, you can screw the side boards to them. Then, attach the three inner 2x4 ceiling braces, equally spaced.
I added a line on the ceiling from side to side that represented the front of the bench unit, so my 2x4 braces didn’t stick out. You could simply use 19 ¼” long braces and position them against the back wall, but some walls may bow out in places like mine does. Drawing a line and cutting the braces to the appropriate length will avoid copying a wall bow into the front of your unit.
My ceiling joists didn’t line up to where I needed them to be to mount my 2x4 braces. I had to get up in my attic and install bracing that my 2x4’s could attach to.
Step Three: Building the Top Storage Compartments
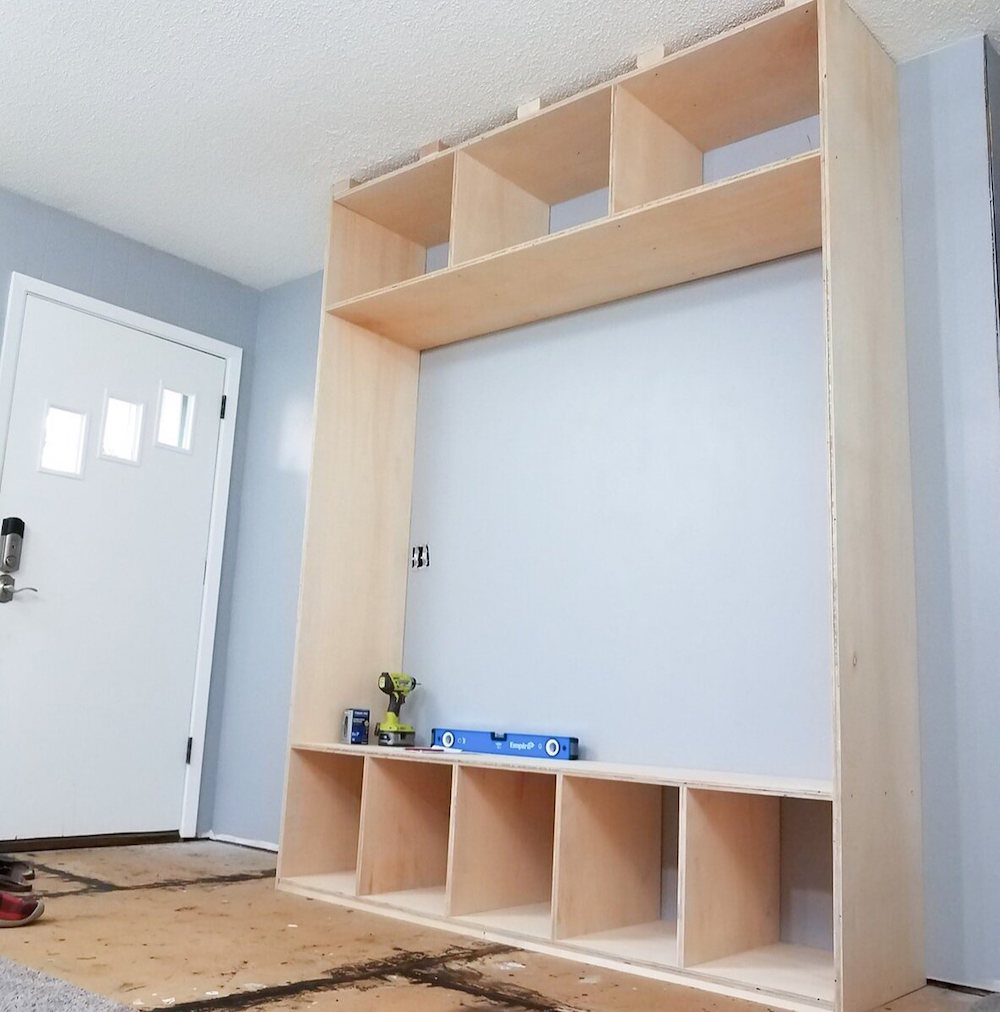
The top storage compartments are installed in two sections, and it really helps to have a helper or two for these steps. First, because of imperfections in the ceiling, you want to level out the top before you install the top board. Basically, I measured from the top of the bench to the 2x4 braces in several spots. I determined what the lowest point is and adjusted every other point down to it to match. You can make any needed adjustments by attaching shims to the 2x4 braces.
Next, attach the two divider boards to the top storage compartment board. The two divider boards are 16” H x 19 ¼” D and are equally spaced at 24 ¼” centers. The top storage compartment board is 19 ¼” D x 72 ½” L. Now slide this section into place and mount it to the 2x4 ceiling braces. Afterward, attach the bottom storage compartment board, which is also 19 ¼” D x 72 ½” L, to the divider board bottoms and to the two sideboards. Make sure the divider board bottoms match up to the 24 ½” centers at the top.
Step Four: Installing Pallet Wood Planks
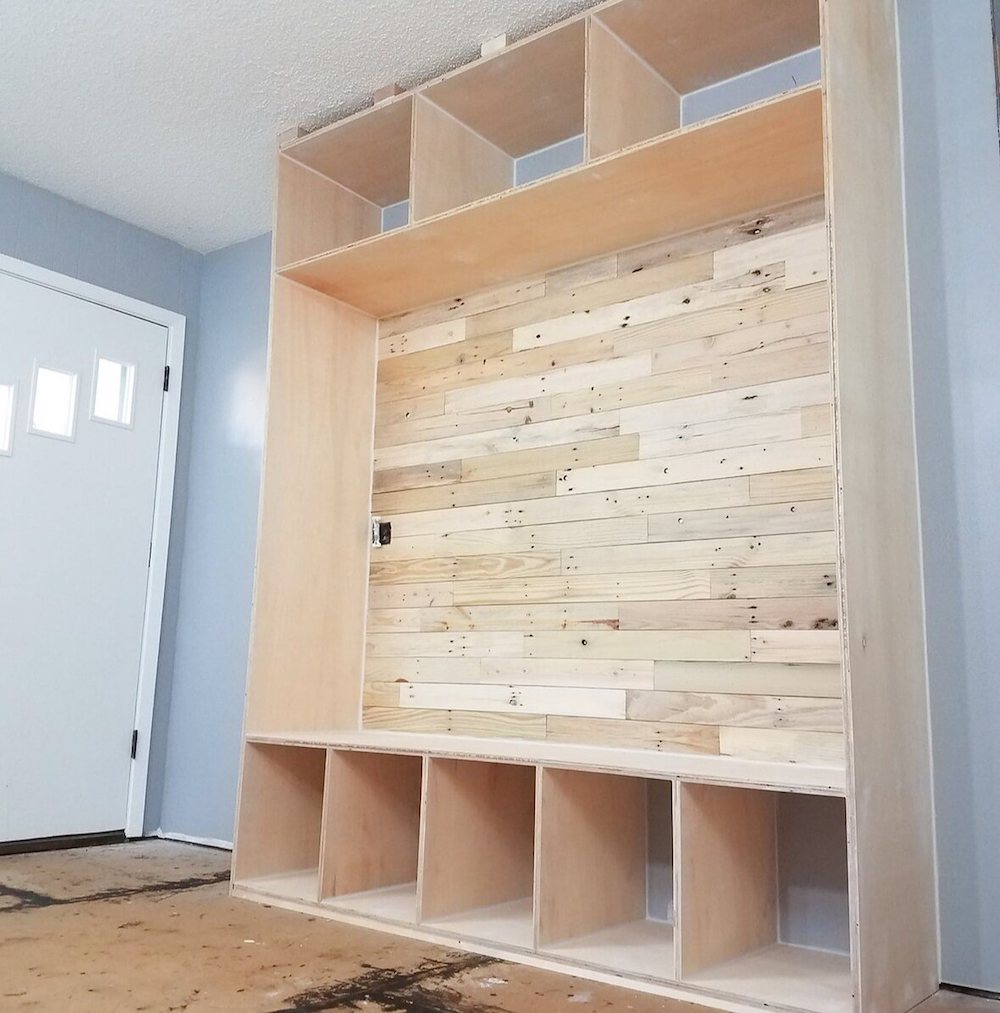
I wanted my bench unit backing to be of the same thickness. Because of the varying thickness and width of my pallet wood planks, I used a jointer to square them up, a planer to plane them down to the same thickness, and a table saw to rip them down to the same width. Stagger and attach the planks to the wall studs with a nail gun.
Step Five: Trim and Paint
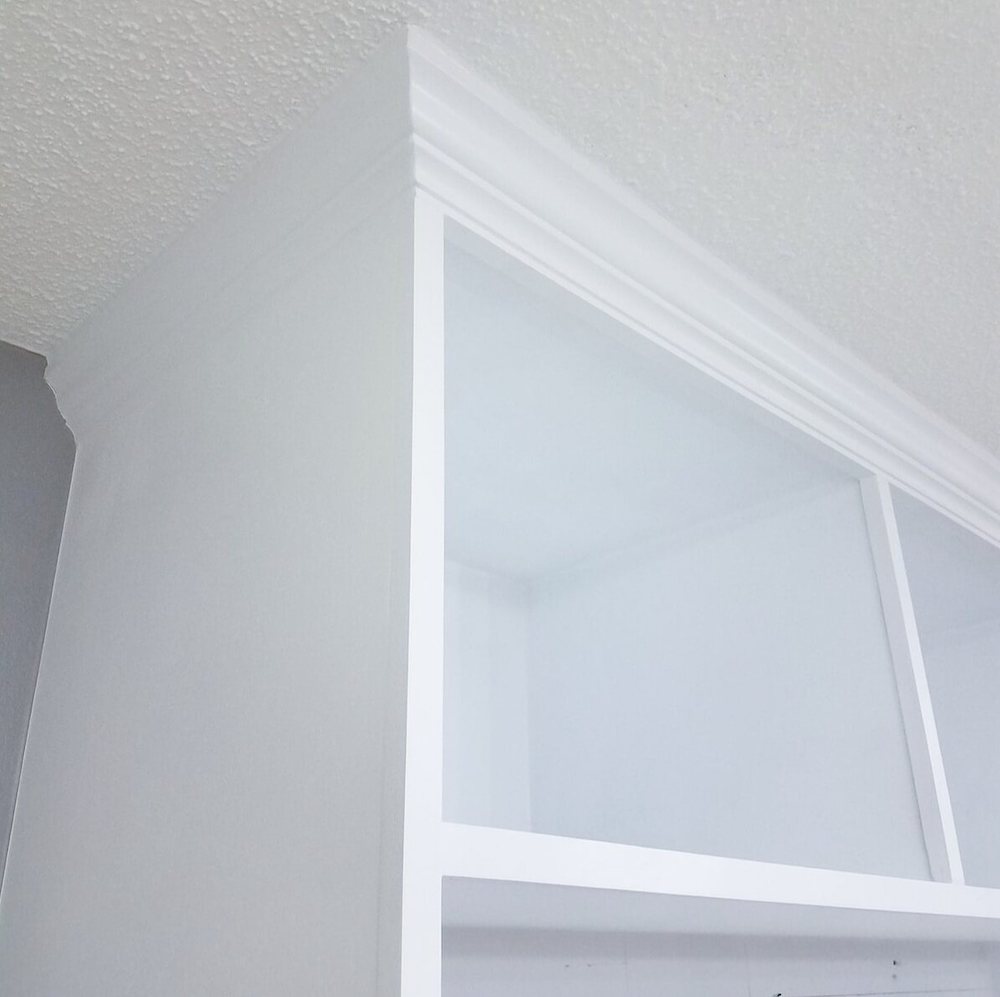
I trimmed out the front of the unit by ripping down and installing 1” W x ¾” thick strips of spruce. The ¾” thick strips will add to the 19 ¼” boards for an overall unit depth of 20”. Pre-glue and use your nail gun to attach the trim to the unit. Finally, nail on the crown molding at the top.
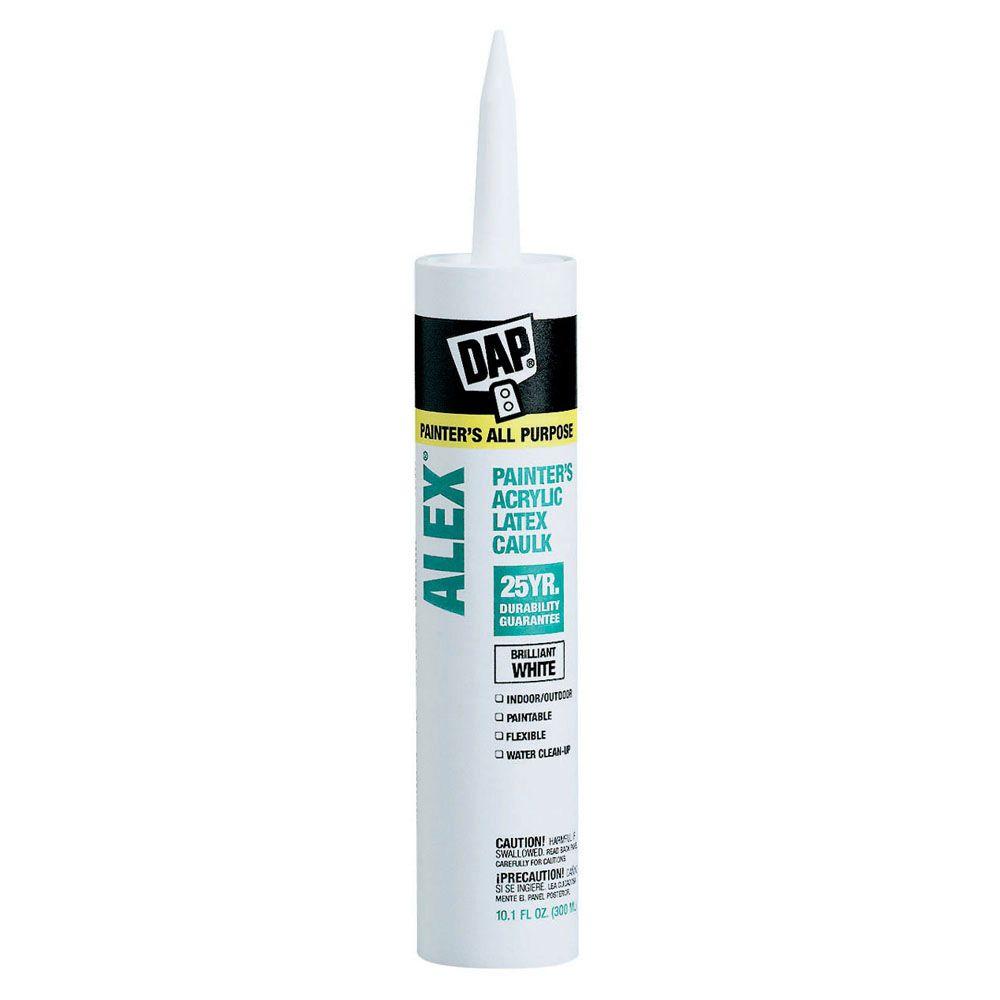
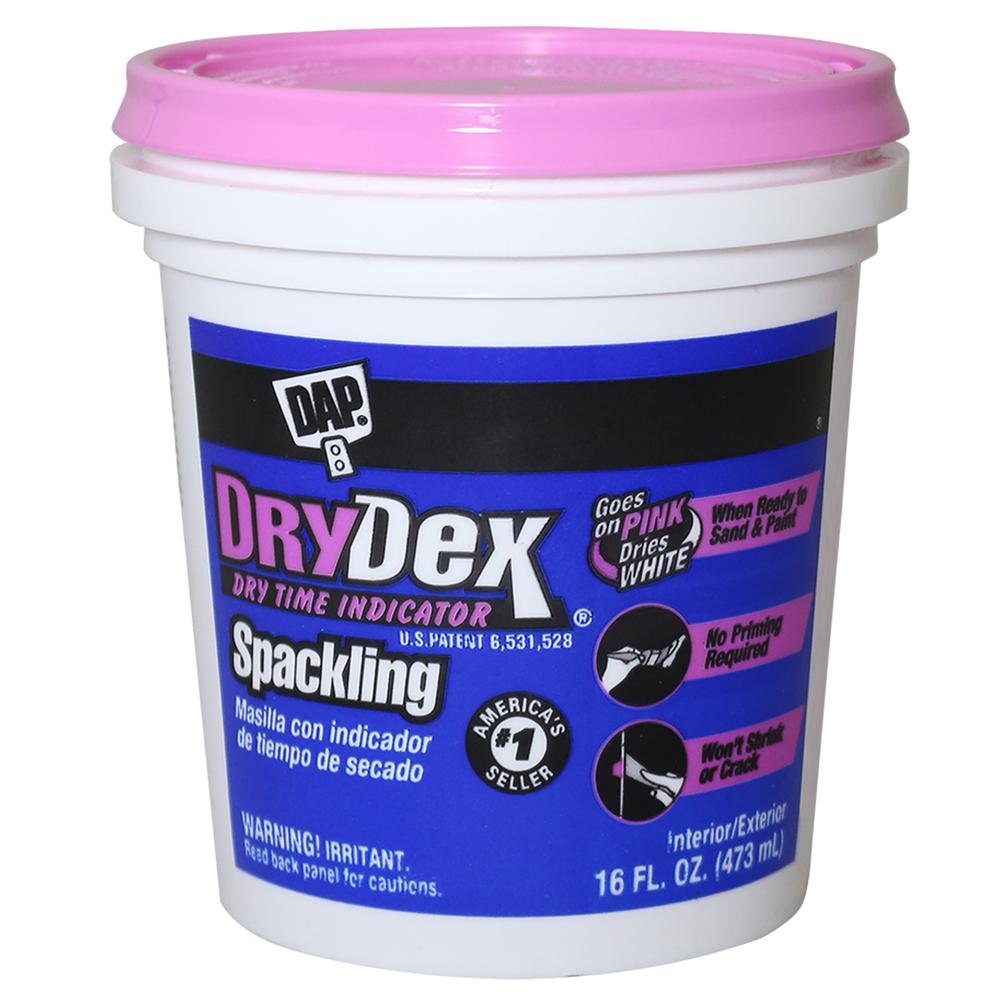
Once assembly is complete, fill all nail holes with spacklingand all seams with paintable caulk. Once dry, sand the unit with 220 grit sandpaper for a smooth finish. Then, add a layer of KILZ 2 primer, sand the unit one more time, then add two coats of BEHR ULTRA Scuff Defenseprimer/paint. I used my Wagner FLEXiO 5000 paint sprayerfor an even finish.
Step Six: Installing Liberty Hardware Hooks
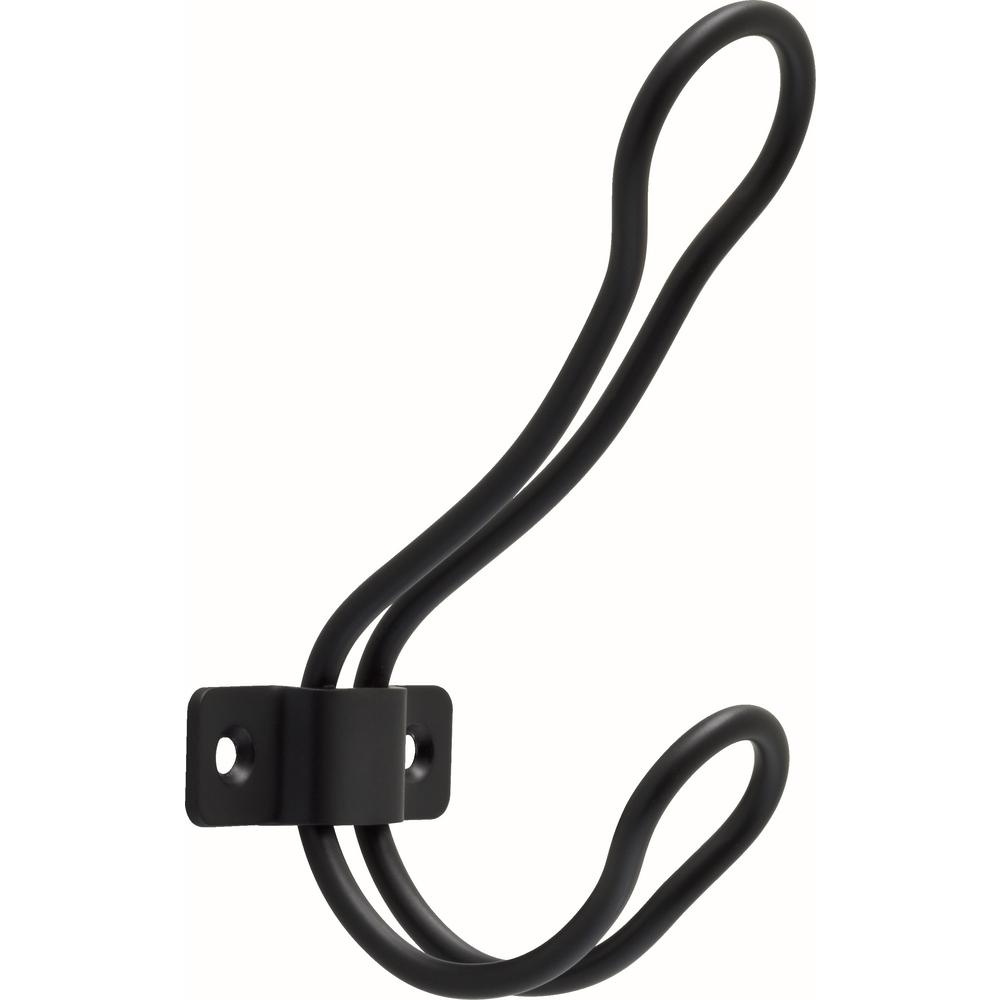
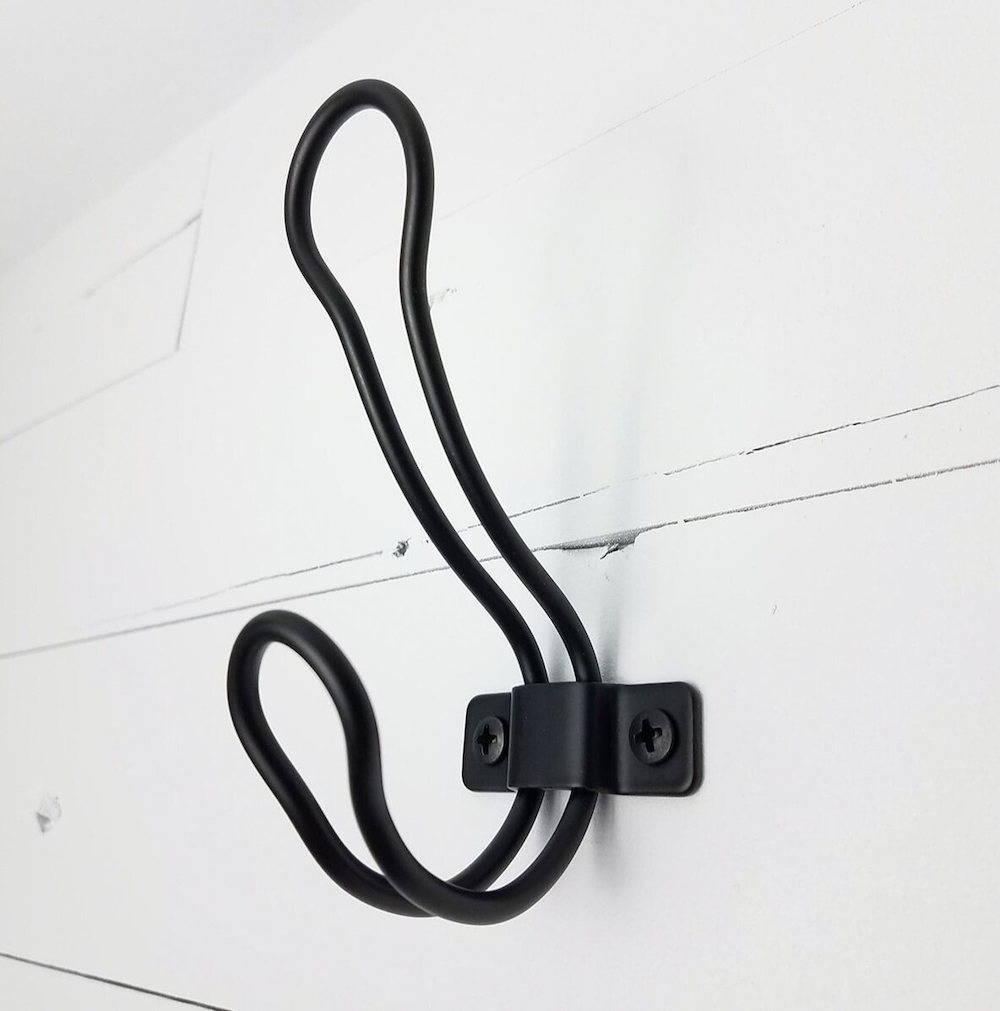
The Home Depot has a great selection of Liberty Hardware hooks. I chose the matte black rustic wire coat hook for my mudroom bench unit. Installation is as simple as it looks. Determine hook placement, mark the screw holes with a pencil, drill pilot holes into the pallet wood, then install your hooks.
Optional: Installing LifeProof Flooring
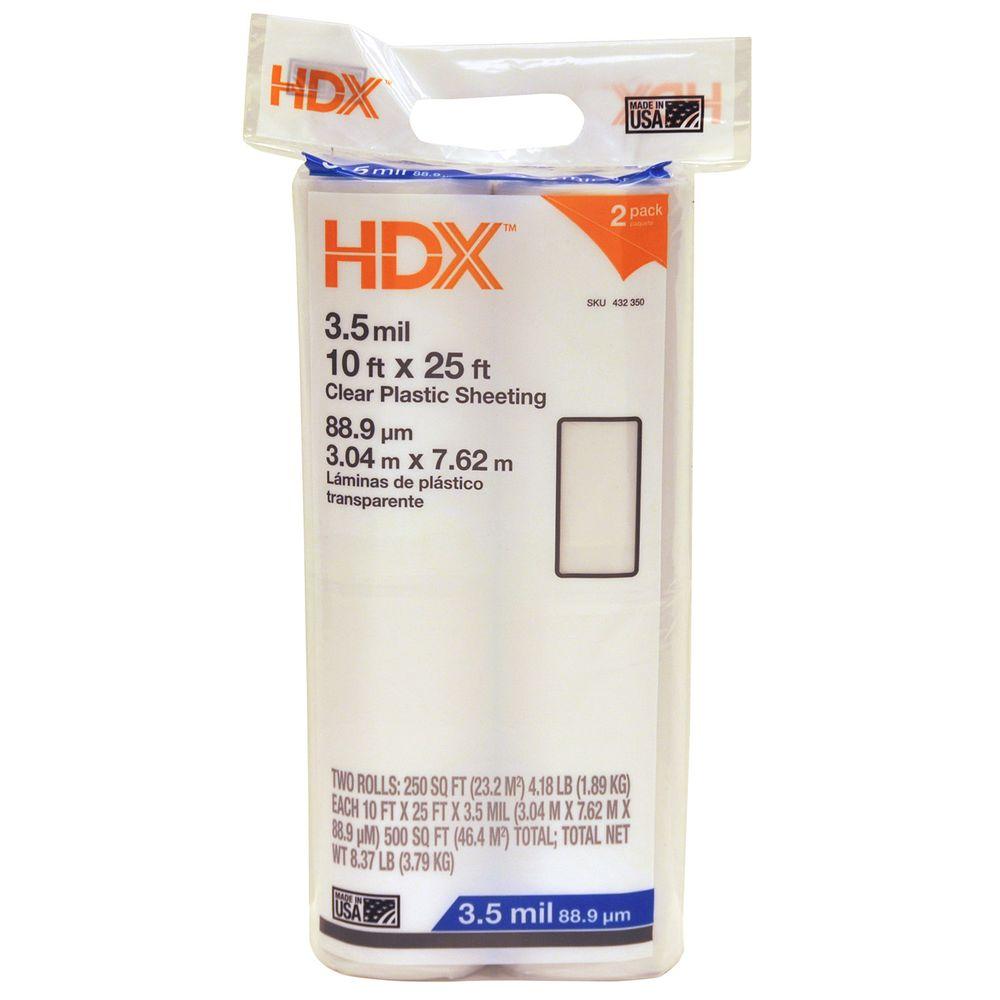
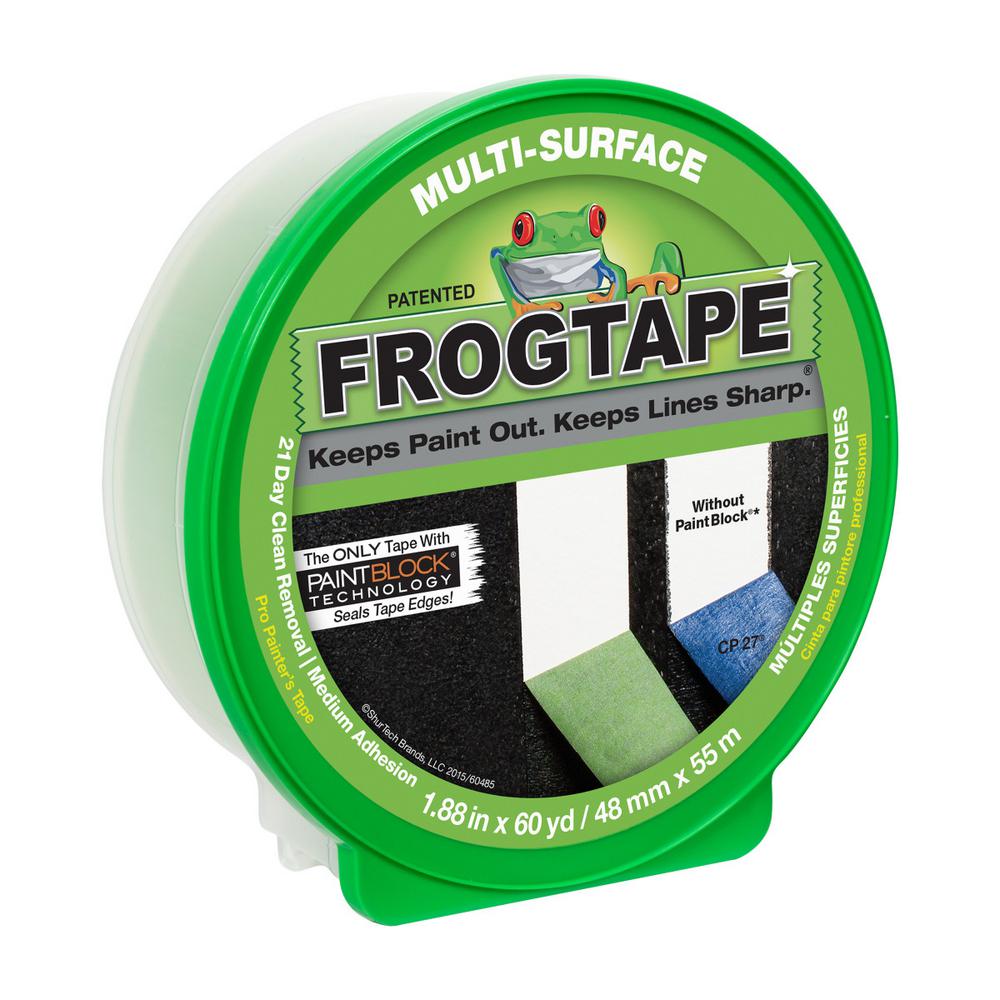
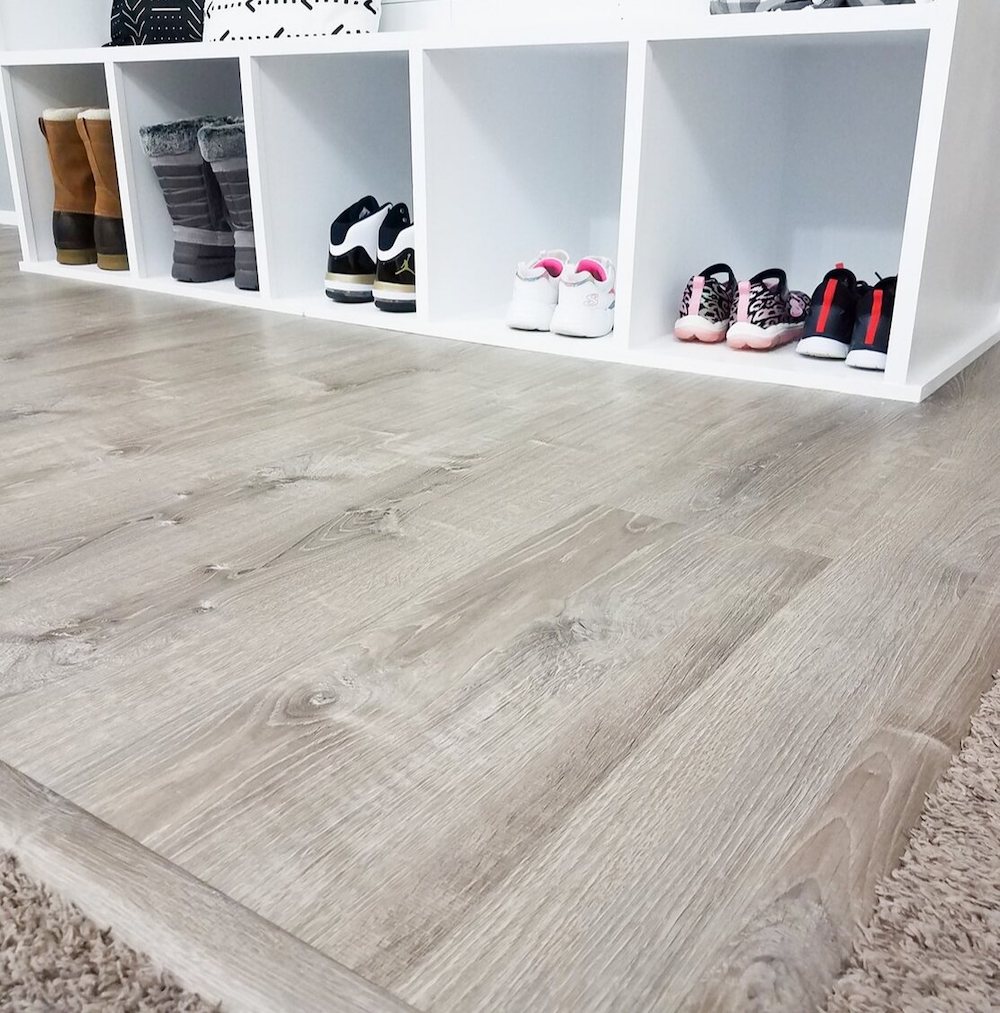
I installed my LifeProof luxury vinyl plank flooring before I painted my unit. After the flooring was down, I installed a final bit of wood trim to cover the ¼” gap between the flooring and the bench unit, then painted it. Of course, I put down plastic sheetingand FrogTape to block overspray from my paint sprayer.
See my article herefor a closer look at installing LifeProof luxury vinyl plank flooring.
There you have it! This mudroom bench unit build is a very doable project that completely transforms the look and feel of our home. We now have a place to keep our coats and shoes that is both attractive and functional.

This post was created in partnership with The Home Depot. The author may have received compensation for this article and associated images or video, potentially in the form of products and/or services. All expressed opinions and experiences are the author’s own words.
