How to Build a Hexagonal Wooden Planter with Inset Dowel Detail
Last updated August 21, 2024

Charlotte Smith shares her chaotic and color-loving adventures in DIY and design on her blog, At Charlotte’s House. Charlotte writes about fixing up her 1850’s historic home, her five small children, and bringing flea market and vintage décor into a modern home. Her design style is fun, personal, and… sturdy! Charlotte has appeared in print and online in Better Homes and Gardens, Fairfield Magazine, Houzz, Good Housekeeping and more. Each month you can catch her on News 8’s CT Style and on WWLPs Mass Appeal. Other on-camera appearances include Rachael Ray, Flea Market Flip and the Hallmark Channel’s Home and Family show.
A Note From The Home Depot
Indulge your DIY side as well as your green thumb with this easy starter woodworking project. Grab the kids and follow along as Charlotte Smith of At Charlotte's Housecreates stylish, fun DIY succulent plantersfor her kid's rooms. Then, visit your local Home Depot and snag supplies to make your own.
Table of Contents
How to Build a Hexagonal Wooden Planter with Inset Dowel Detail
Materials for Wooden Hex Planter
Prepping the Planter Boards
Drill Holes
Cut and Decorate Your Dowels
Assembling the Hex Planters
How to Build a Hexagonal Wooden Planter with Inset Dowel Detail
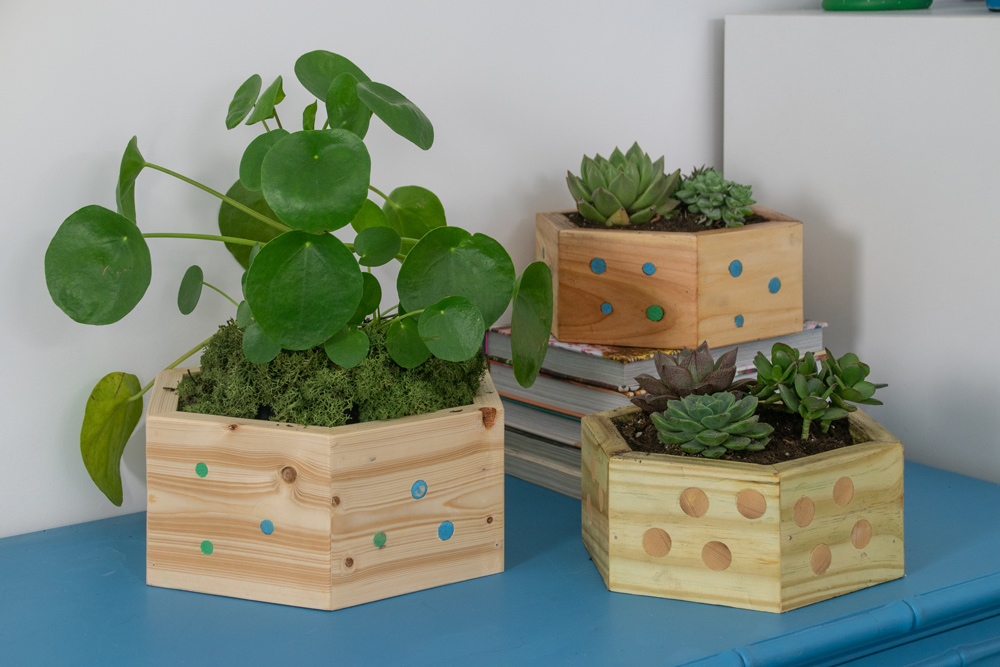
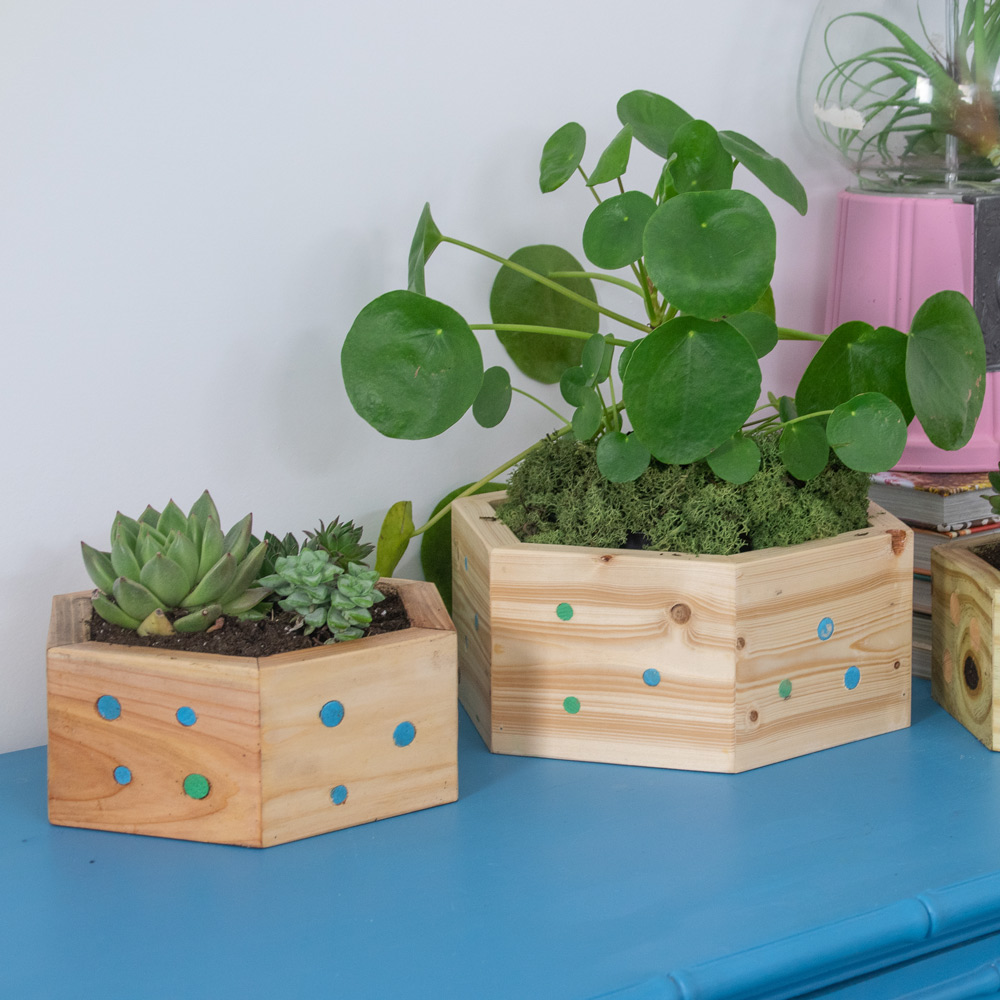
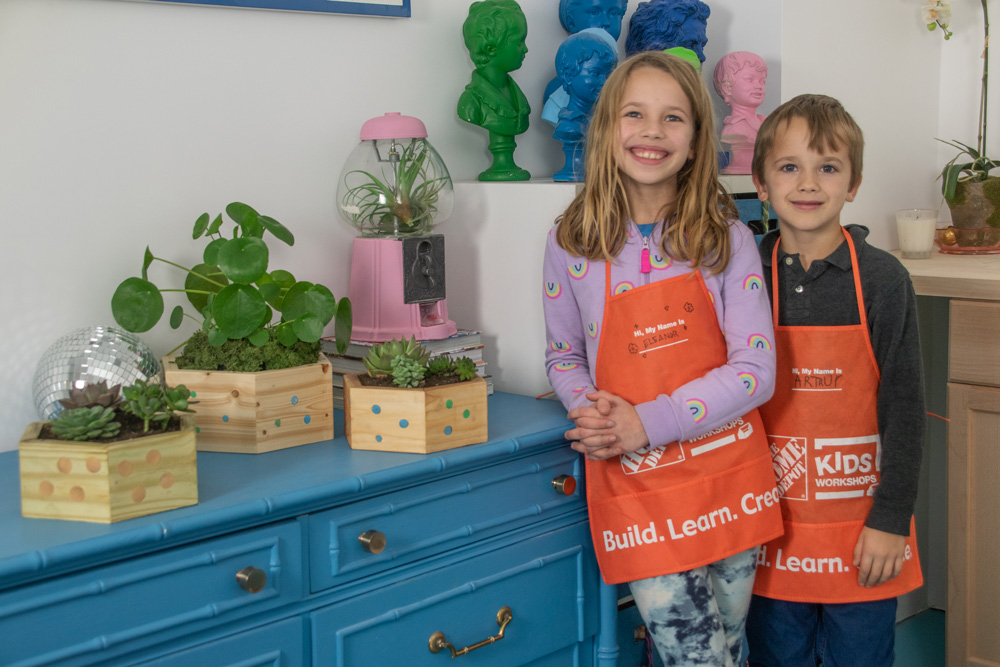
These wooden hexagonal planters are a super easy beginner woodworking project, which makes it a great activity to do with kids! We decided to add an inlay dowel detail, but you can easily skip that step and still have chic DIY planters.
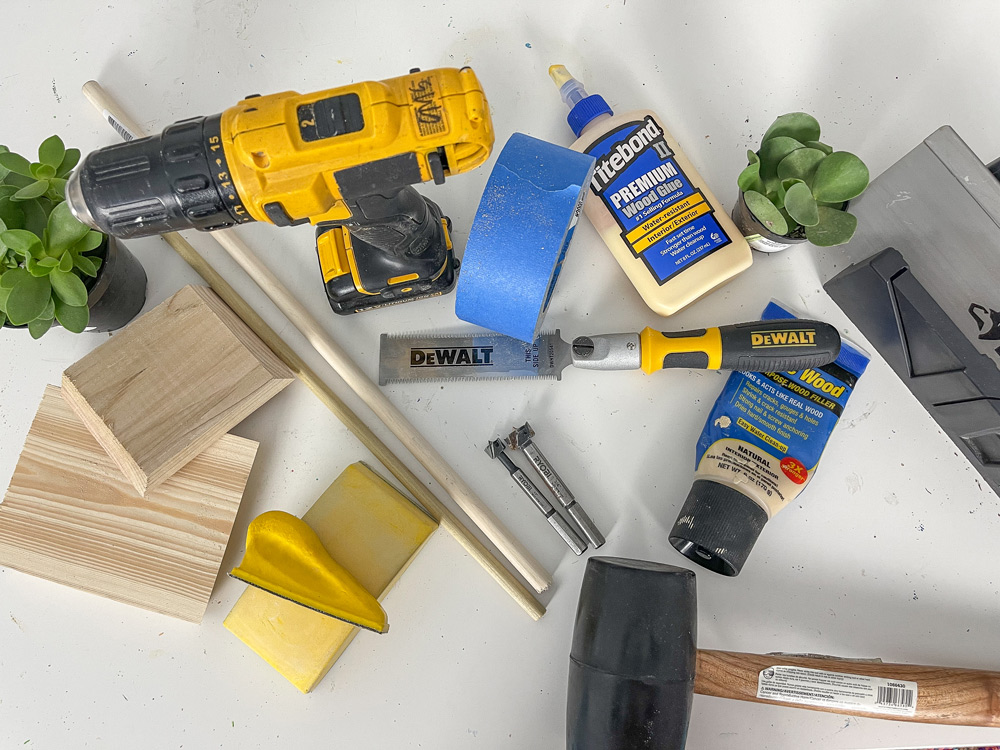
Materials for Wooden Hex Planter
Prepping the Planter Boards
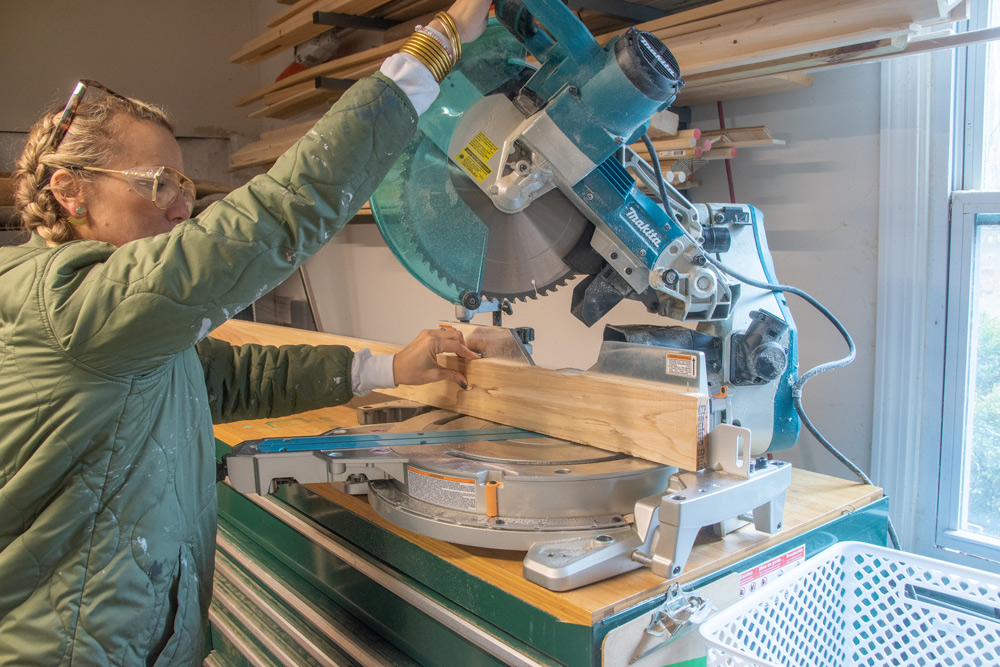
Using a miter saw or a table saw, cut each board at 30 degrees to make the sides of the hexagon.
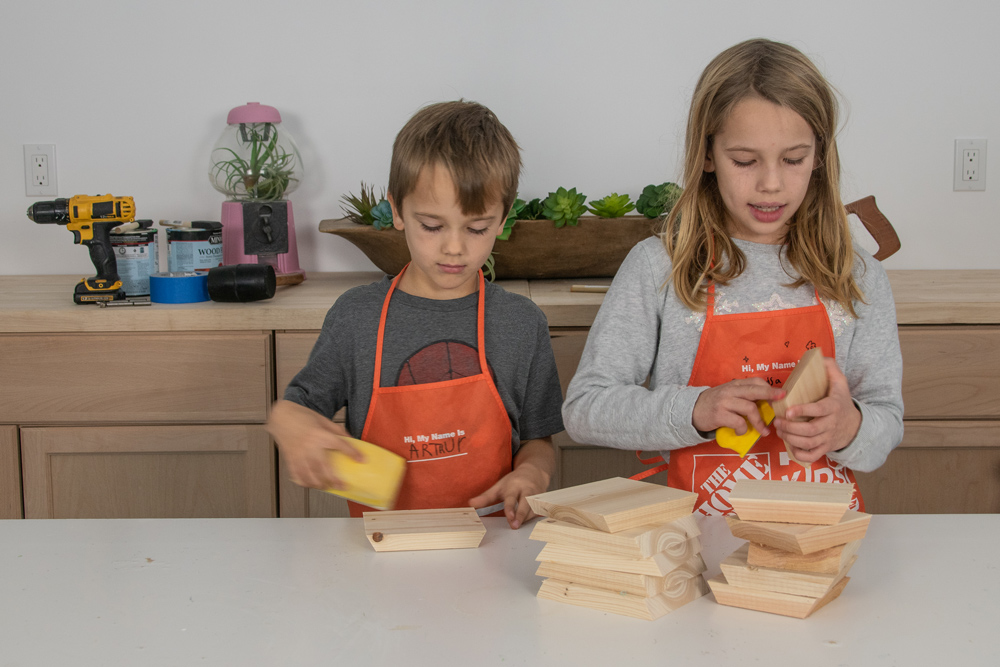
With a medium-grit sandpaper, sand the edges of the planter.
Drill Holes
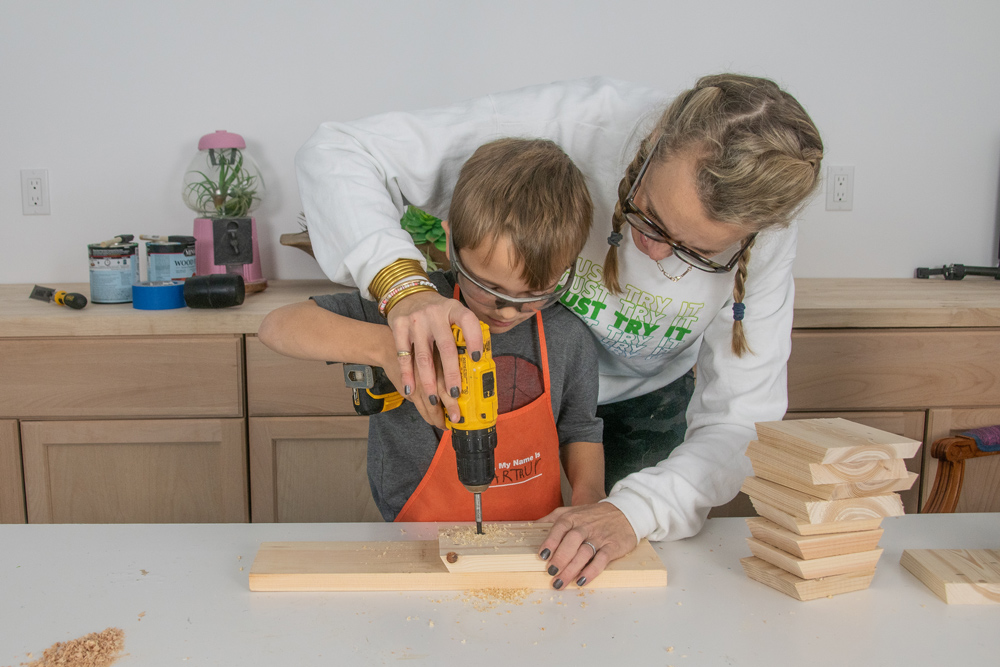
When the boards are smooth, mark a few places with a pencil where you wanted to drill for the dowels. For these first planters, we’re adding painted dowels to bring in some color. Because of this, we needed to drill holes all the way through the boards. With a forstner bit, drill holes straight through each board wherever you want a dowel polka dot. A drill is a great power tool to use with kids early because it’s super safe for them to handle, but still gives them the sense that they’re using something important.
Cut and Decorate Your Dowels
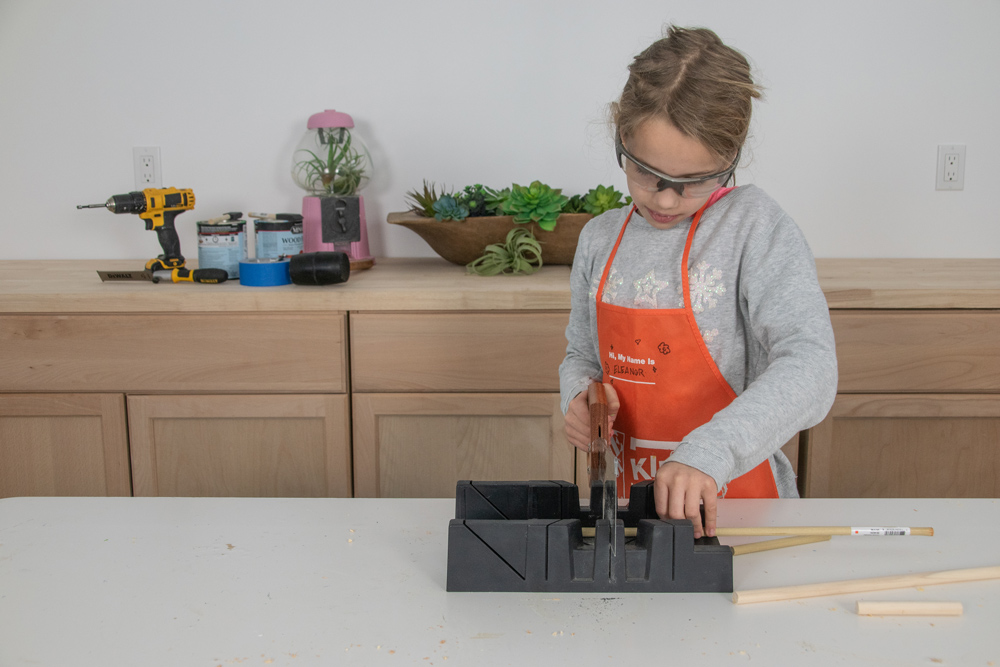
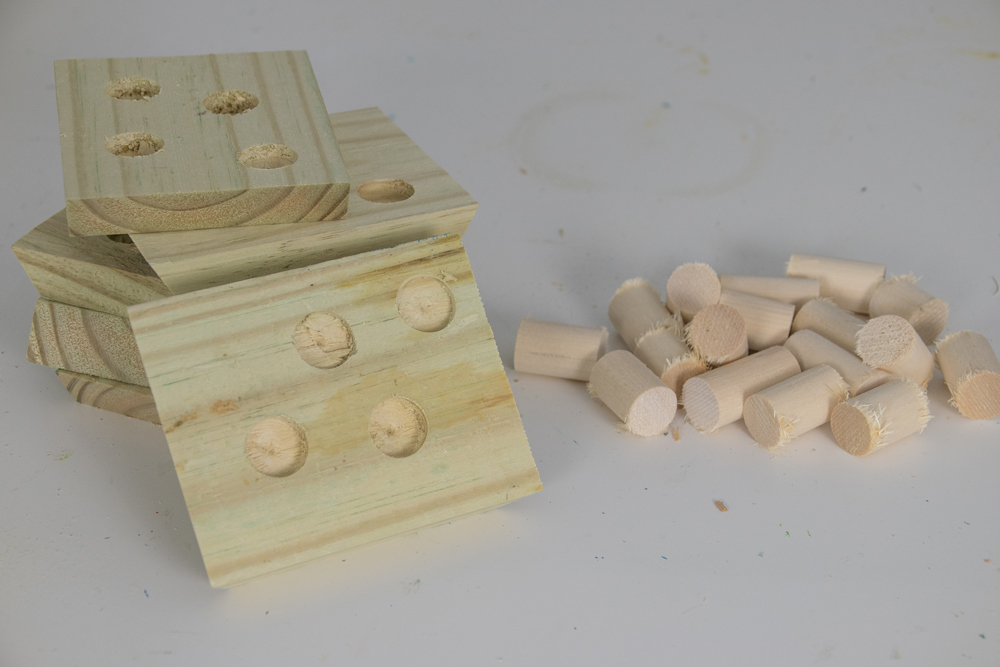
It’s much easier to cut the dowels on the miter saw, but you can also use a miter box and hand saw if you want the kids to help out. Sand the ends of the dowels.
I let the kids paint the end of each dowel with a water based stain; however, watered down craft paint would work just as well.
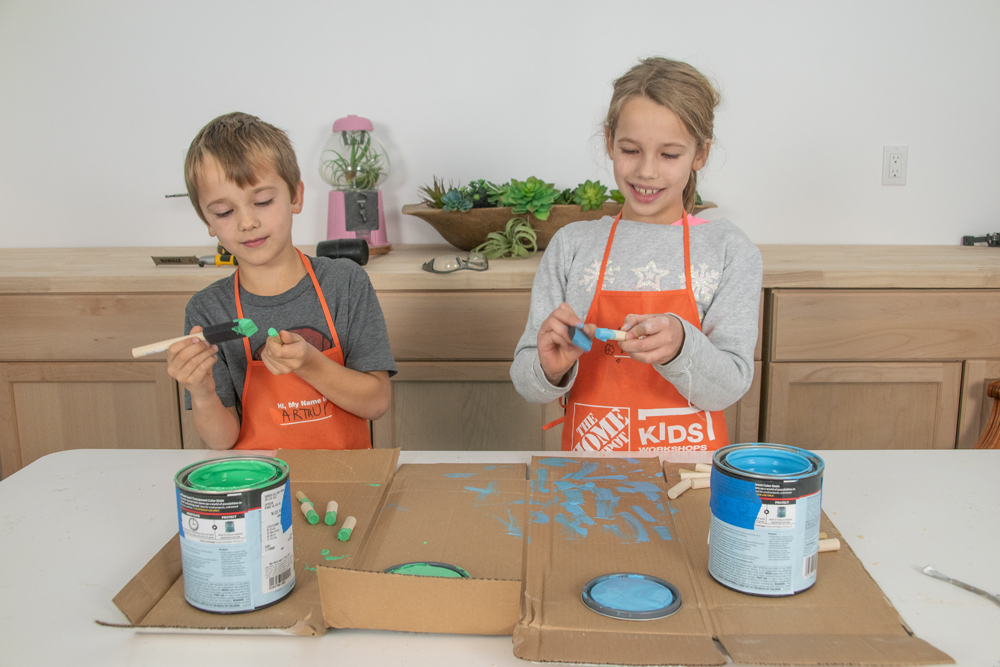
Once the paint dries, hammer the painted side of the dowels through the board from the back so the painted end is flush with the outside edge of the board. The dowels fit pretty tight, so we didn’t bother with wood glue, but if your dowels are loose then you can add a bit of wood glue to the outside before hammering them in place.
I also experimented with a slightly different version that didn’t involve color. For this one, I only drilled a few millimeters into each board and then hammered in my dowels. (I needed wood glue here because the dowels weren’t going all the way through the board.) Because you’re not drilling all the way through the board, this is a slightly easier method, but the wood is obviously unpainted in this version.
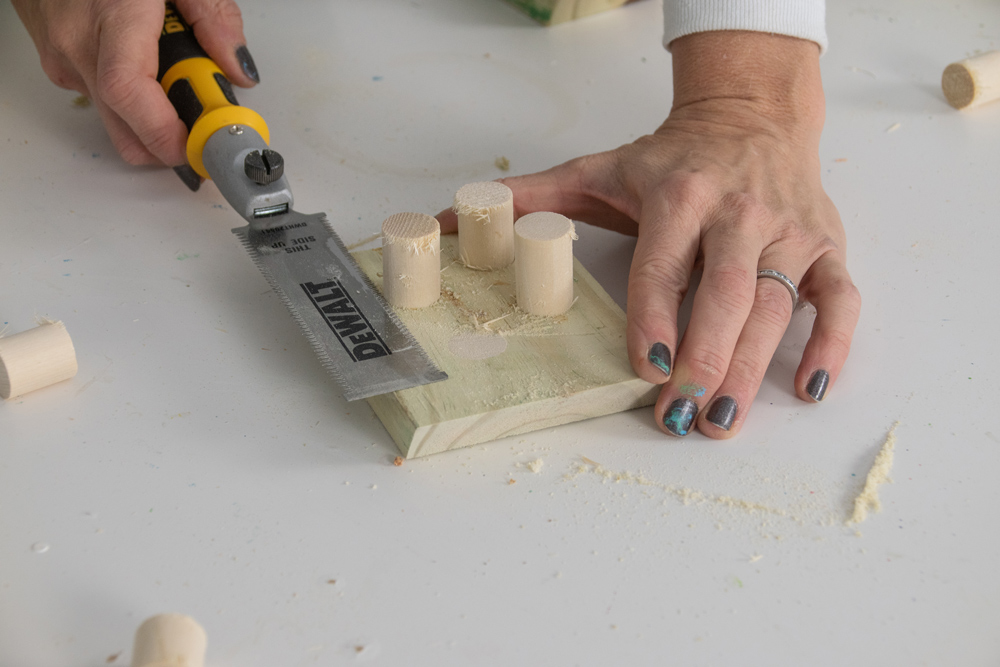
To cut the dowels flush with the planter, I’m using a pull saw. You can also use a multi-tool like the Dremel multi max, but I found that I was cutting the boards a bit so I had to go back and sand to smooth it all out with a sanding block.
Too much sanding would remove the color from the painted dowels, so I was happy I stuck with the pull saw for the first two planters.
Assembling the Hex Planters
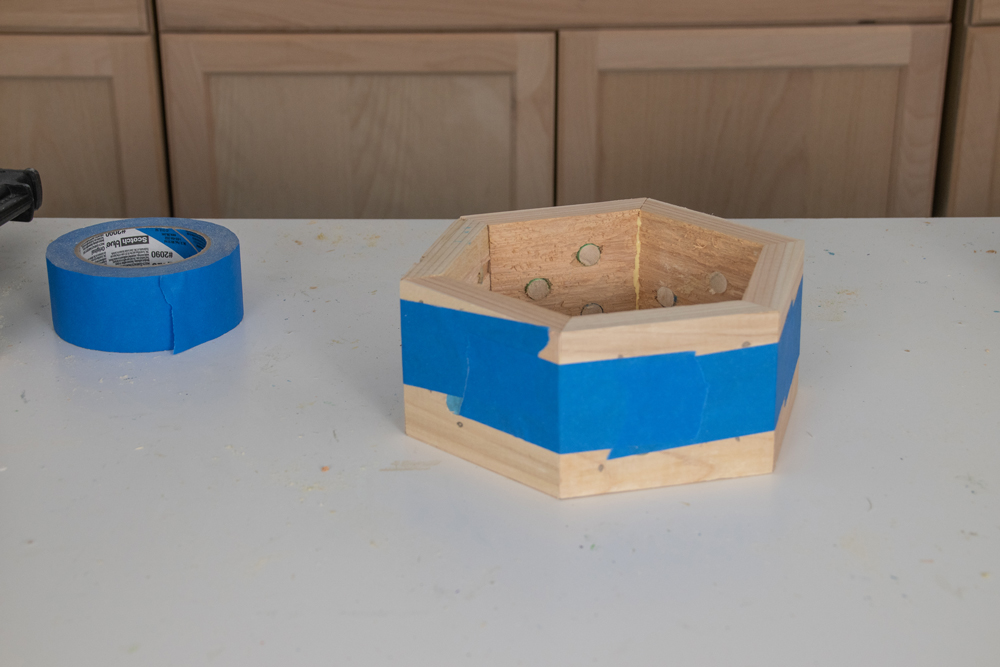
To assemble, glue the edges and then clamp them together with painter's tape. I experimented with brad nails to help hold the boards together but the angle of the corners made this tricky.
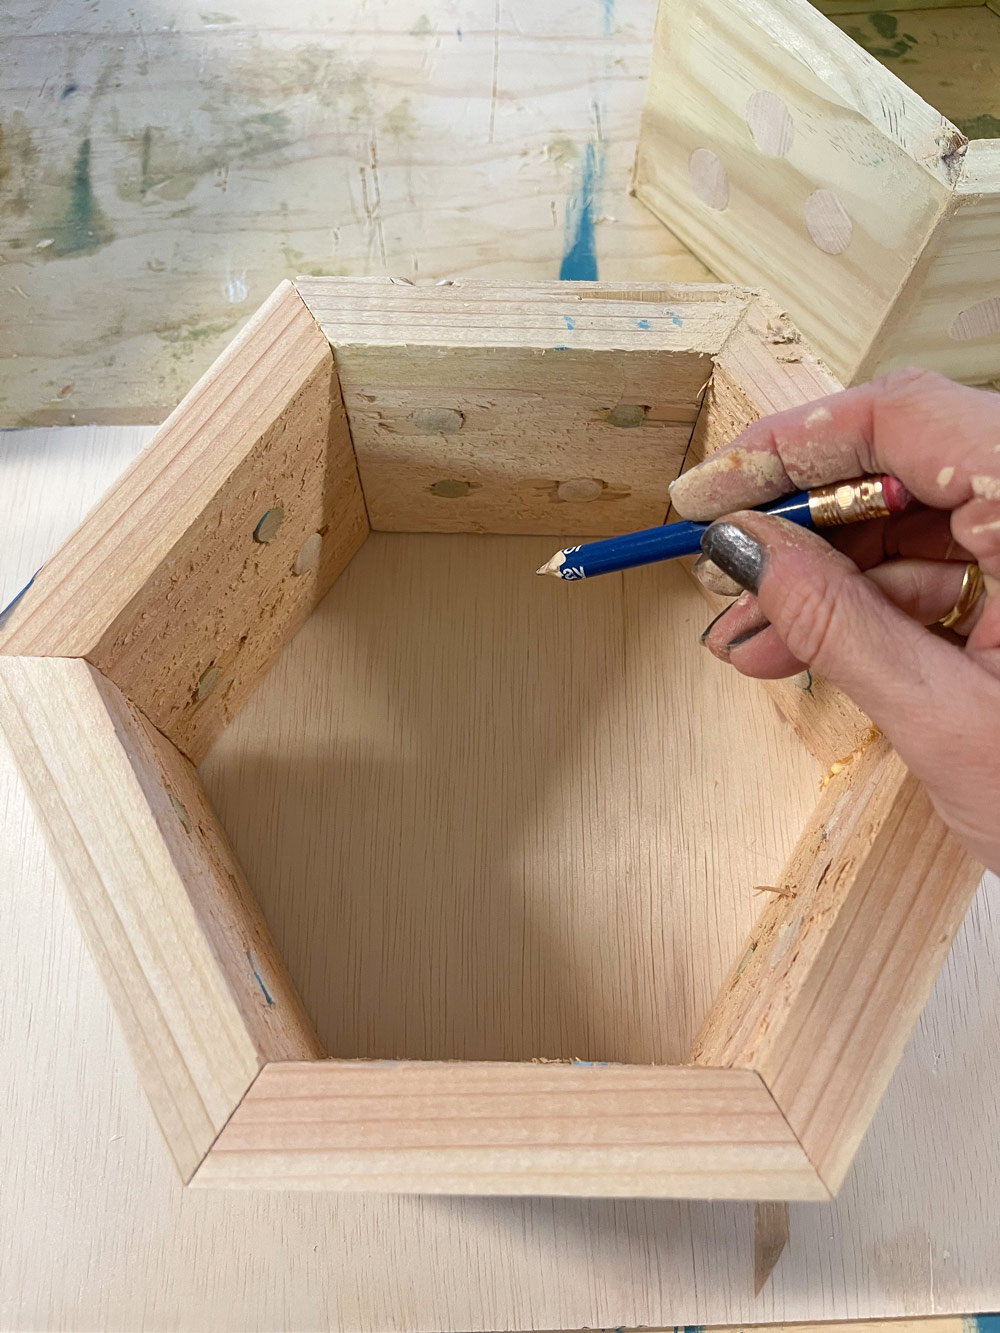
Technically you don’t need a base to these planters if you’re simply putting a potted plant inside. We had smaller succulents that we were planning to repot so our two smaller planters needed a base. We used a piece of scrap wood and traced the inside of each planter before using a miter saw to cut it down to size. This pot is for succulents that don’t get too much water so I didn’t bother drilling a drainage hole, but that can never hurt. I used a combination of wood glue and super glue to attach the bottom inset with the sides.
Sealing the Planters
Wood and water aren’t the best combination so plan to seal these planters a bit. We used furniture wax on the cedar planter and scrap wood planter and a few coats of water based polyurethane on the pine planter.
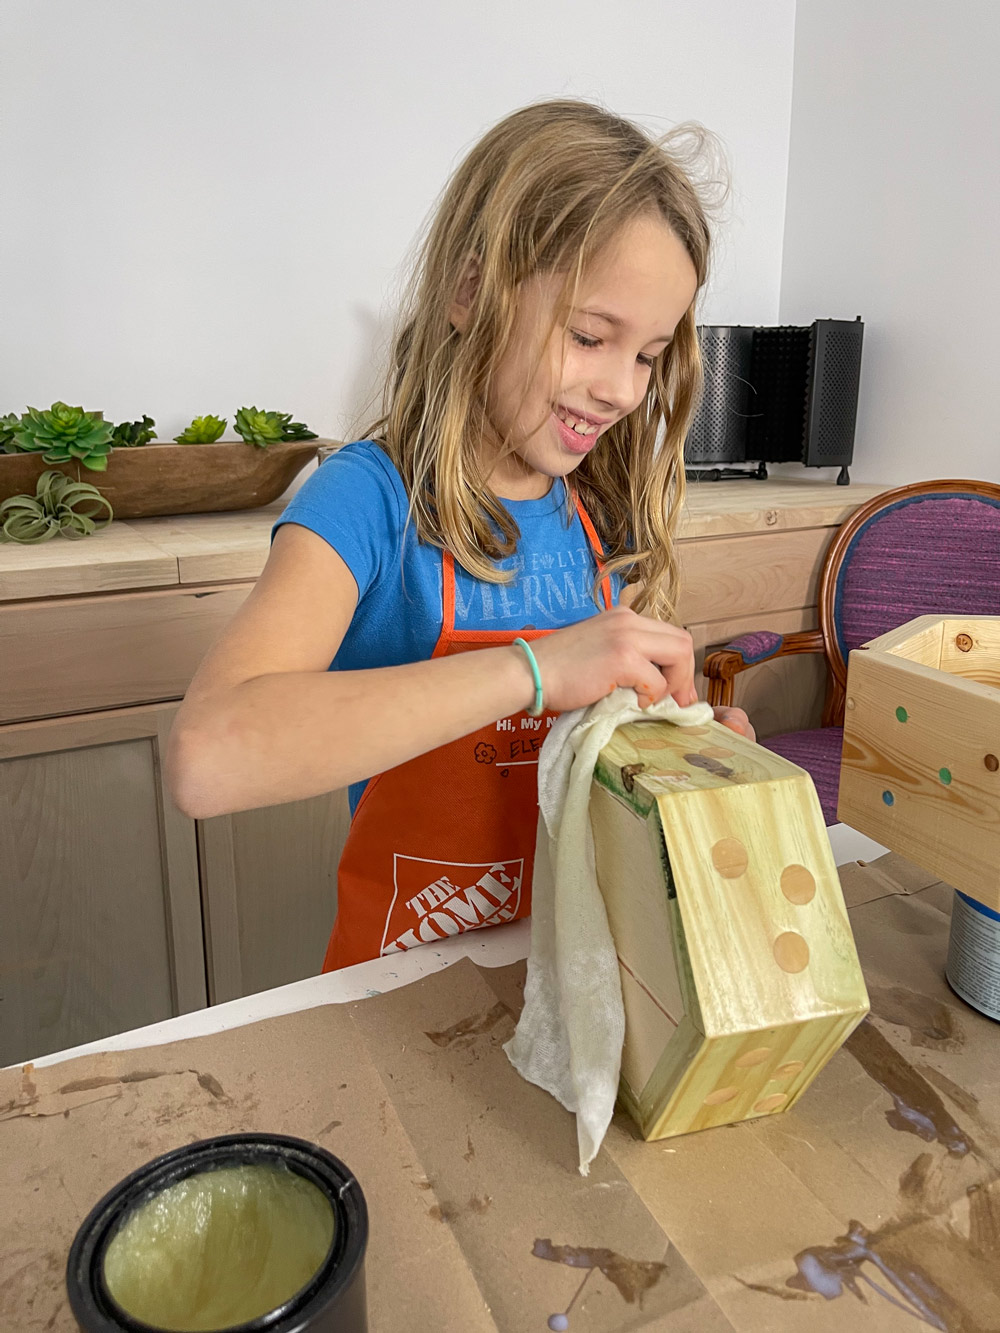
Last Step: Planting the Hex Planters
Last step — planting. Add a few scoops of gravel to ensure the soil has somewhere to drain. Then scoop in potting soil ours is a special soil intended for succulents.
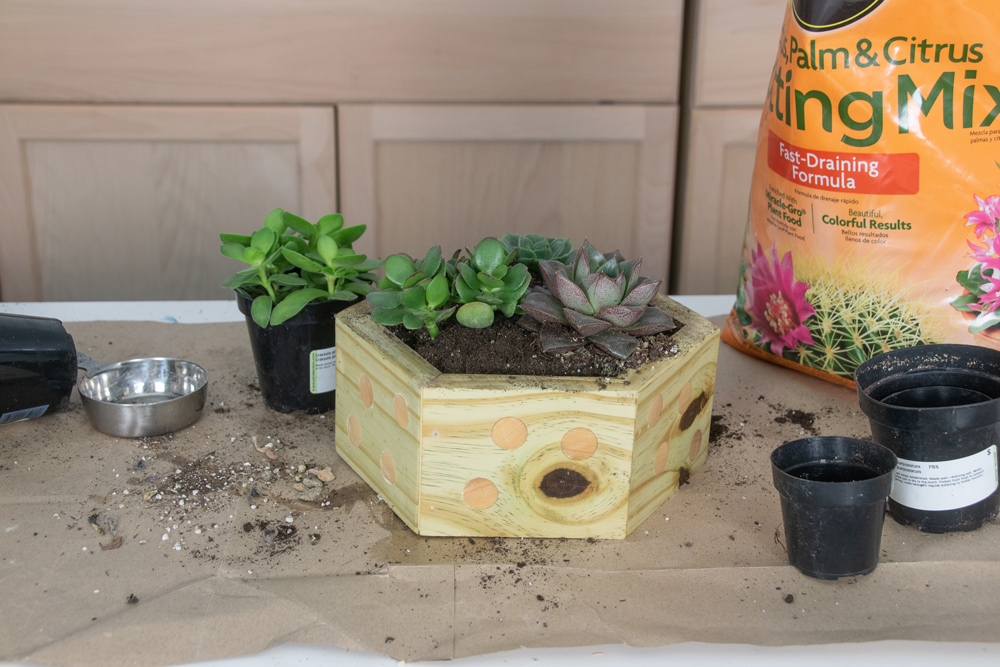
These pots will only live indoors so if you plan to keep yours outdoors, I’d probably seal them a bit more and might add a few more brad nails to strengthen each corner.
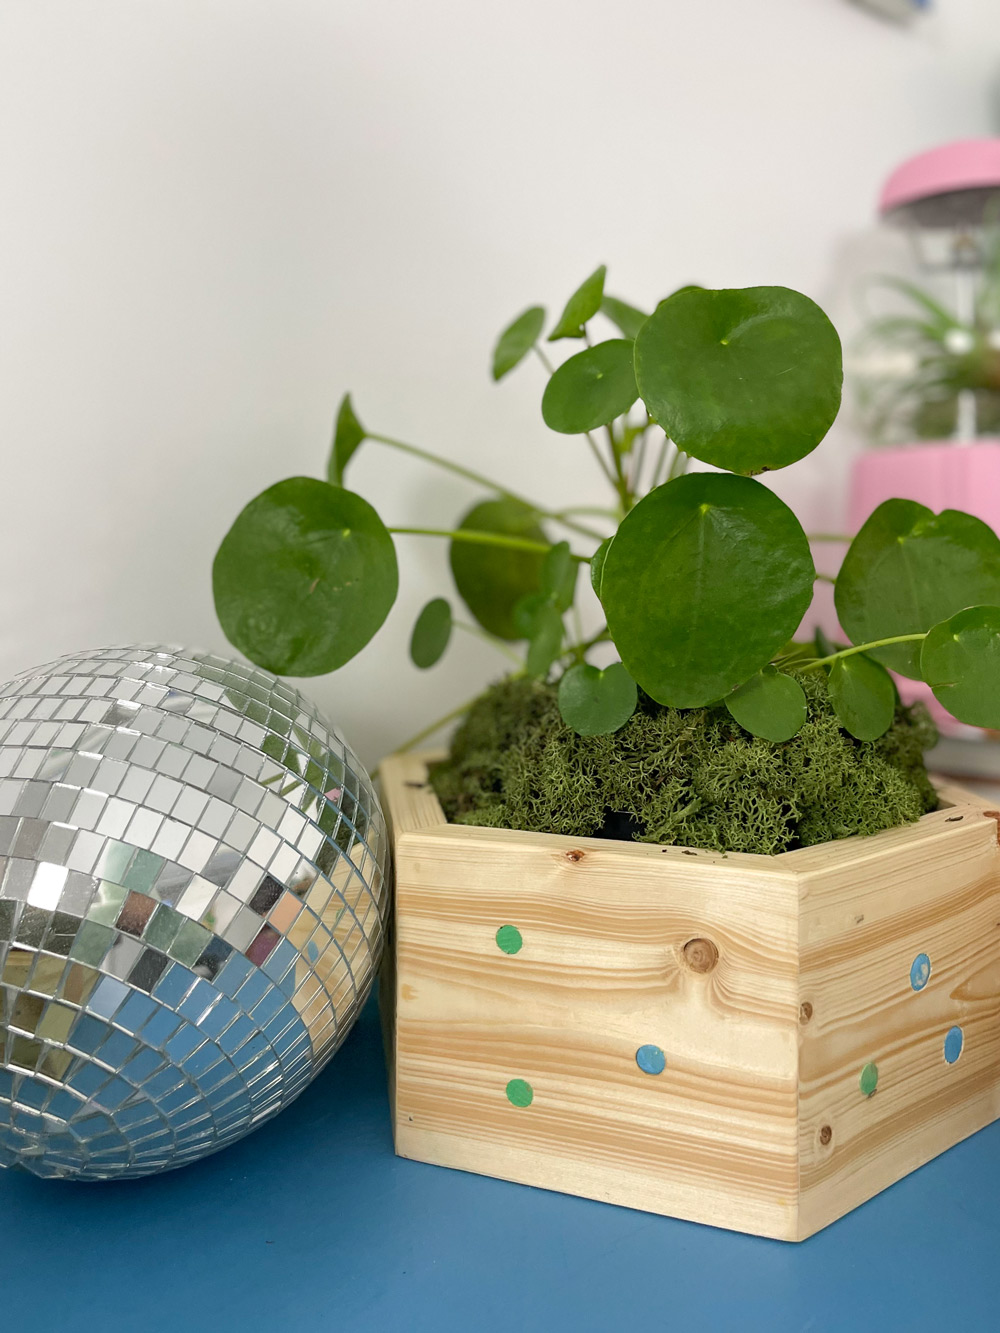
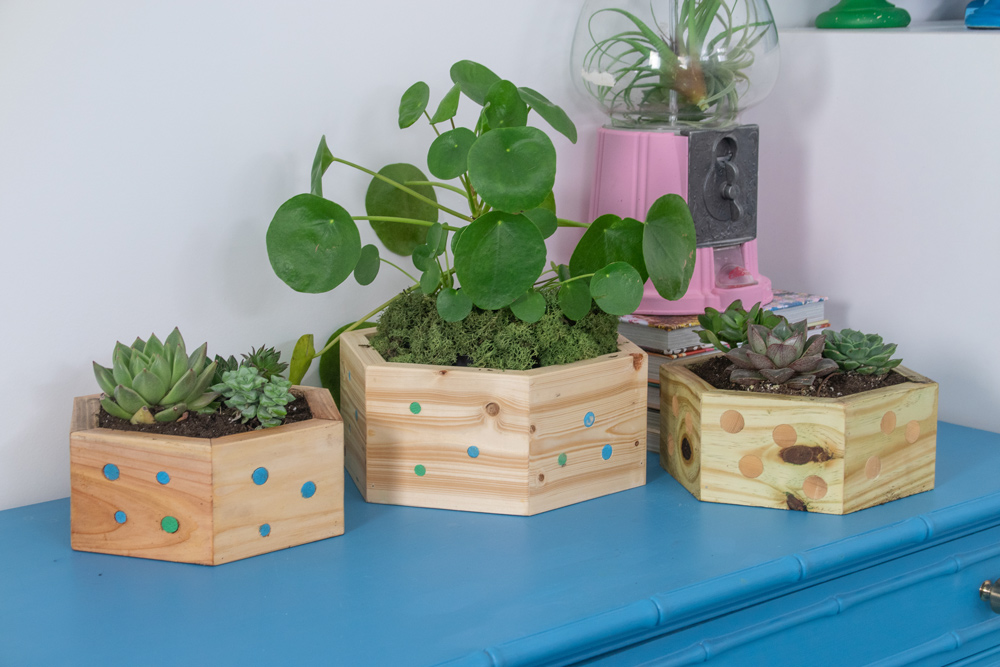
My favorite part about these projects with the kids, aside from the skills they’re learning and the confidence they’re gaining with tools and techniques, is the banter and laughter that happens while they work. The giggles, the jokes, the conversations. The simplest projects are always worth it if only for the time we get to spend together making something!
You can find more Kids Activities like this at homedepot.com/kids.
This post was created in partnership with The Home Depot. The author may have received compensation for this article and associated images or video, potentially in the form of products and/or services. All expressed opinions and experiences are the author’s own words.


