Modern Bathroom Ideas
Last updated August 21, 2024

Mike is a designer, builder, and full-time content creator. Accessibility is his focus with his blog, Modern Builds, not simply accessibility of designs, but accessibility in materials, information, and projects themselves. He focuses on creating and designing projects that are simple enough that any beginner maker can create, yet interesting enough that any expert might be inspired.
A Note From The Home Depot
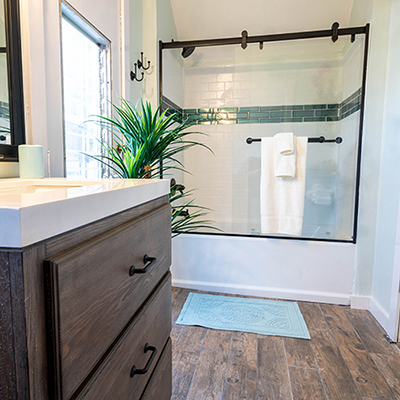
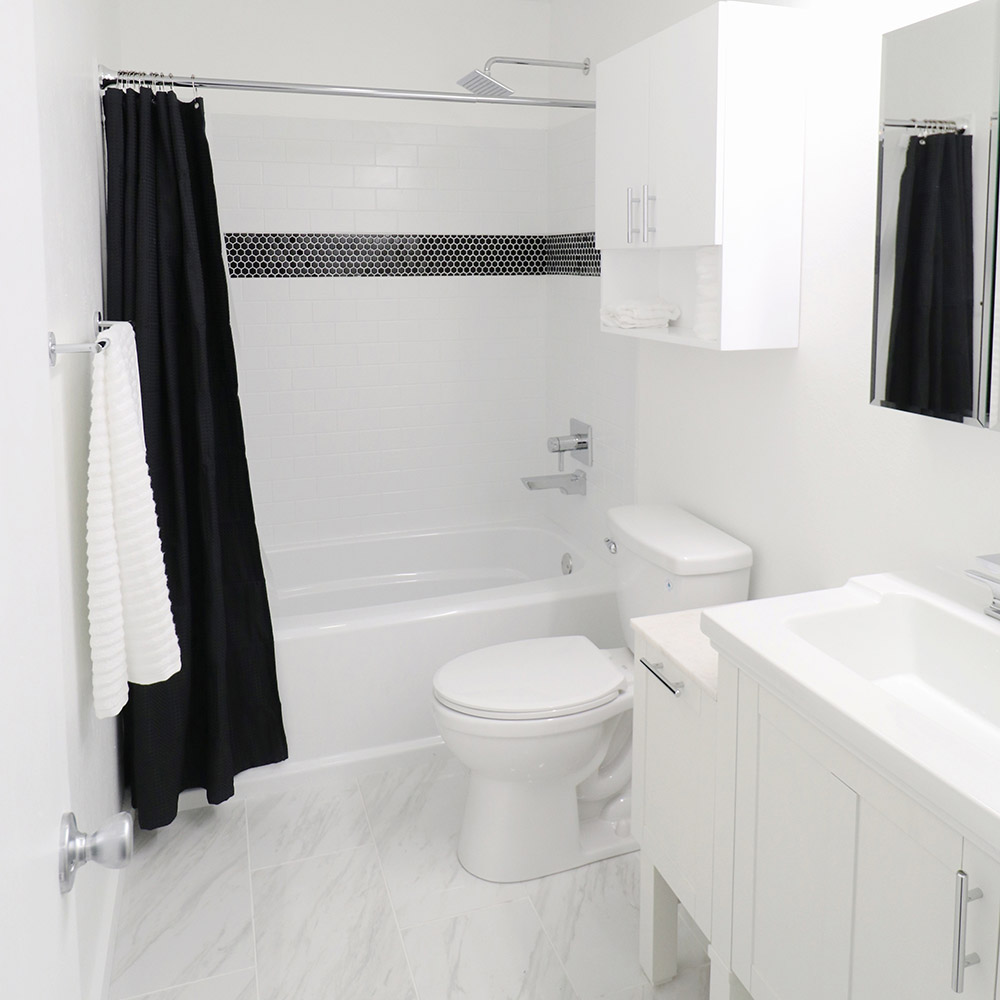
Mike Montgomery of Modern Builds wanted a new bathroom that was modern, yet functional. With a complete overhaul, his dark and dated guest bathroom became a bright and inviting space to be proud of.
Table of Contents
Modern Bathroom Renovation
The Bathroom Before the Remodel
Making a Mood Board
Destroy, Destroy, Destroy
Installing the Delta Upstile Tub and Shower Surround
Tiling the Floor
Modern Bathroom Renovation
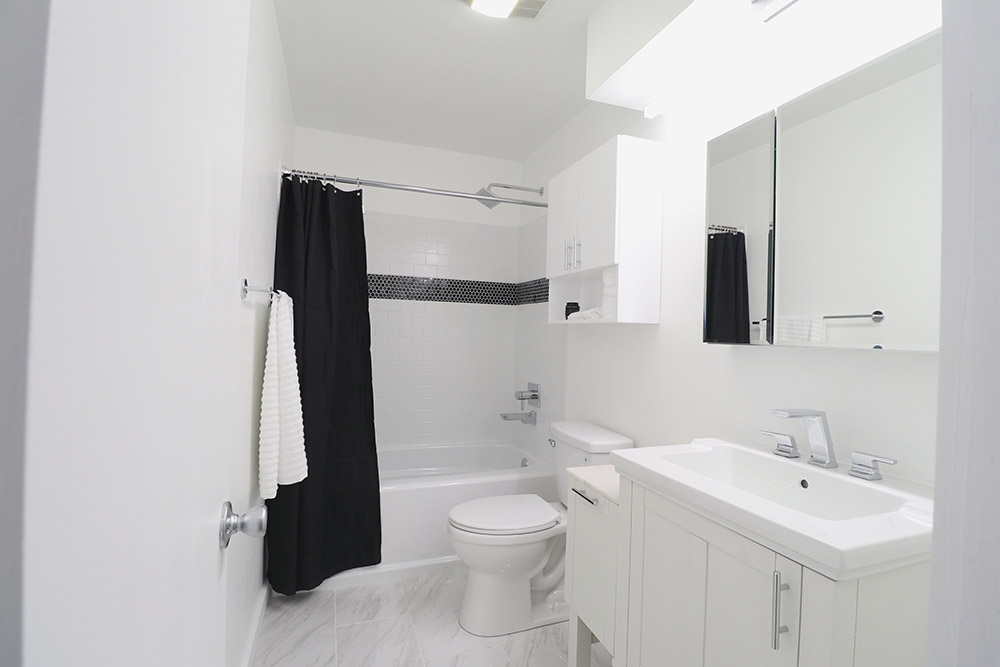
A hall bath has a lot on its plate. On top of often needing to function as the main bath for anyone living in the non-master bedrooms. It’s also one of the first places a guest will spend alone time quietly critiquing your design choices. I wanted the space to feel clean and inviting for those who are visiting, but rugged and functional enough to take the day to day stresses of a young person’s grooming and daily care.
The Bathroom Before the Remodel
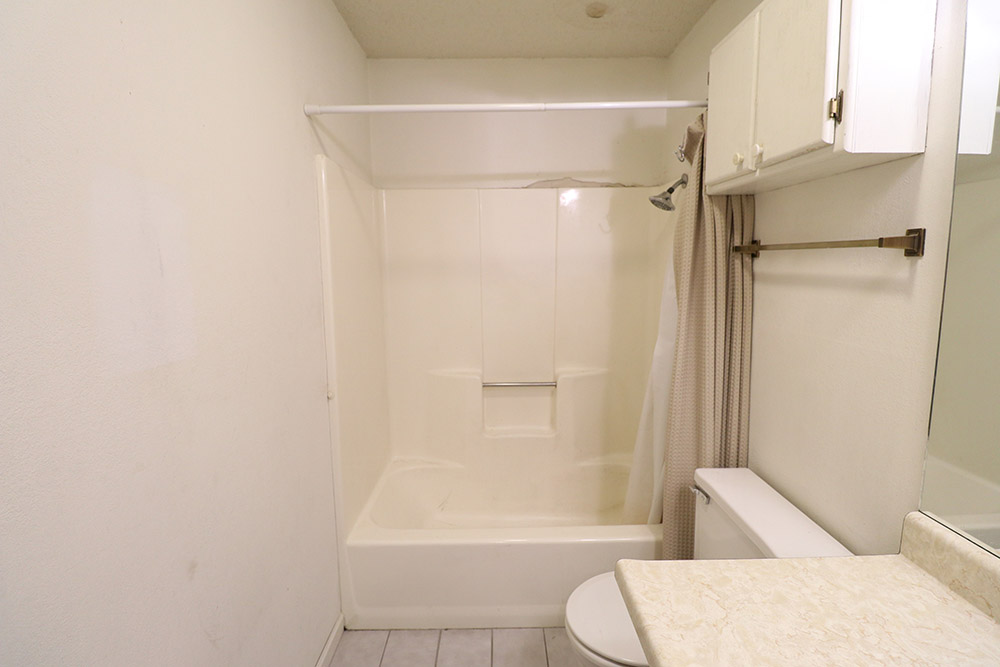
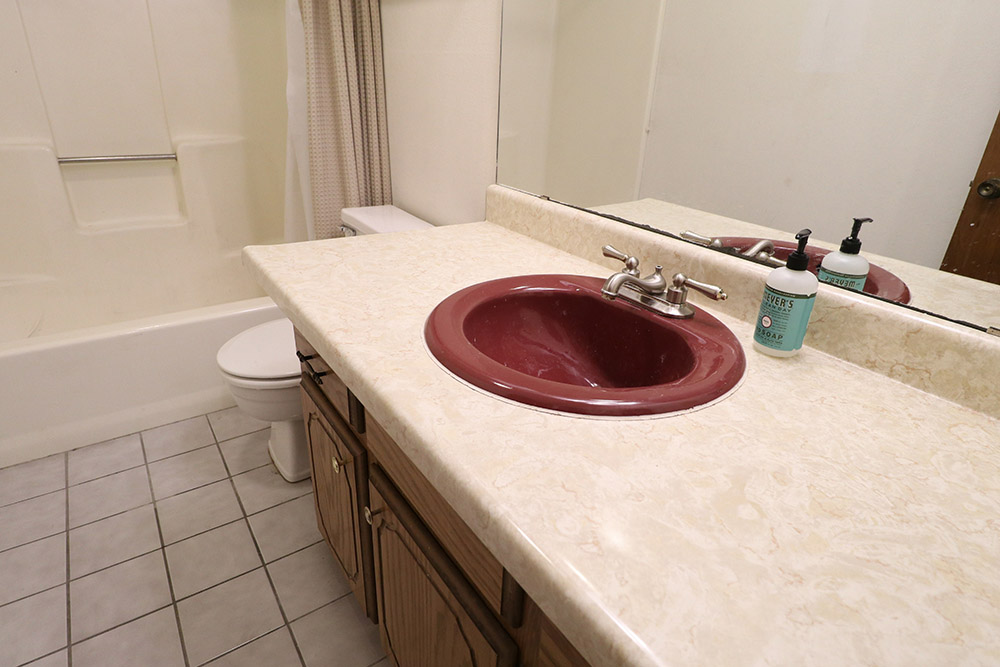
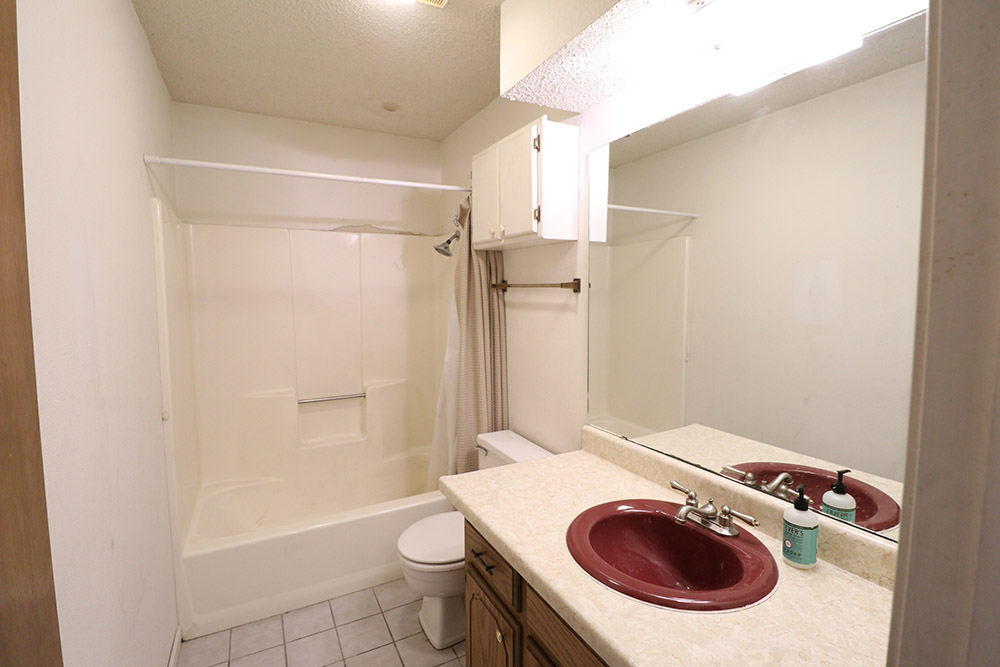
The bathroom hadn’t been updated since it was built in the late 70’s and it really showed. It was dark, dated and begging for a face lift. The good thing about the original bathroom was that its layout didn’t need adjusting at all. This allowed me to update all of the outdated fixtures, golden oak vanity and old fiberglass shower/tub insert without having to worry about relocating any complicated electrical or plumbing.
When brainstorming for the space, I looked at the major points of failure in the original bathroom as to not repeat the same mistakes. From a functional standpoint, storage was a major concern. There was an oversized vanity cabinet in the old bathroom, but all the storage was at floor level and inconvenient to access. This meant the countertop would often be cluttered with things that got used on a daily basis.
Another aspect of the bathroom I knew I wanted to change was the height of the shower head. Being a 6’1” guy, there’s nothing worse than hopping into a shower to find the shower head is a foot shorter than you are. The last of my major concerns was the poor lighting in the original bathroom. Getting ready under a low wattage incandescent bulb won’t make anyone feel great about how they look. Knowing this, I knew I wanted a bright, LED fixture with a daylight color balance to fill the room with light.
Making a Mood Board
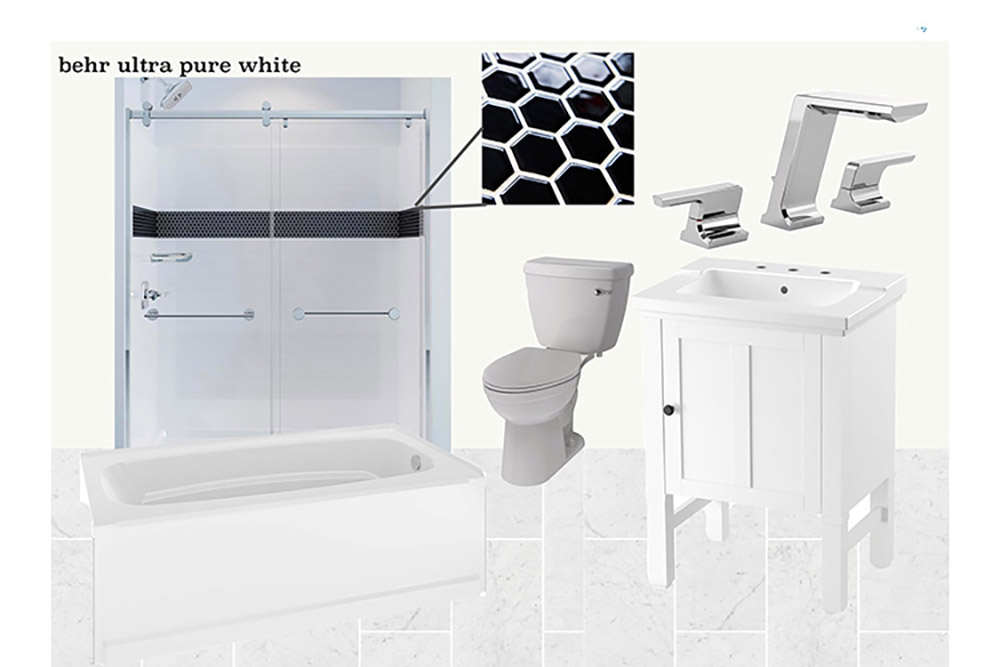
I’m not a trained interior designer, but one tool of the trade that has helped me immensely with envisioning a space is creating a ‘Mood Board’. It’s easy for me to picture how a single piece of furniture or single fixture will look in a space, but I was planning on updating or replacing just about every finish and fixture within the room. Creating a board with the products and materials I planned on working with helped confirm the products that worked perfectly and showed just how poorly other fixtures looked.
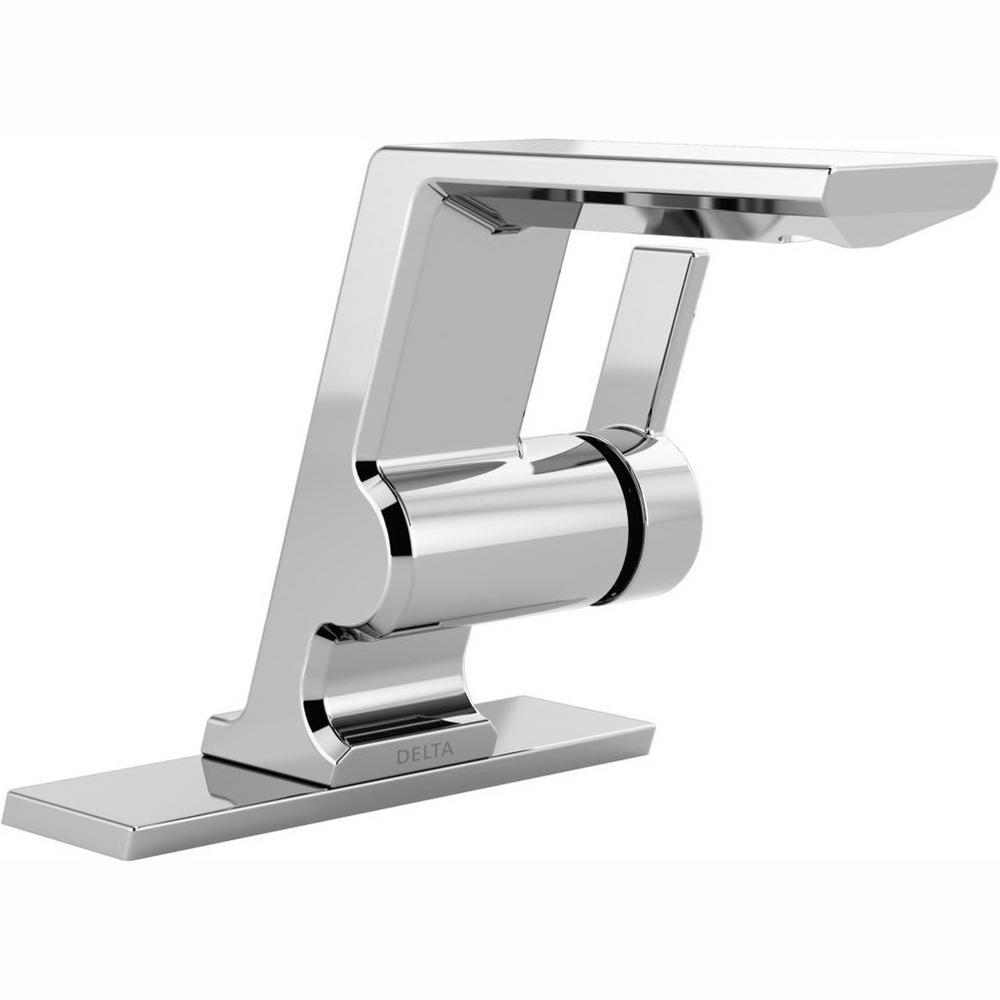
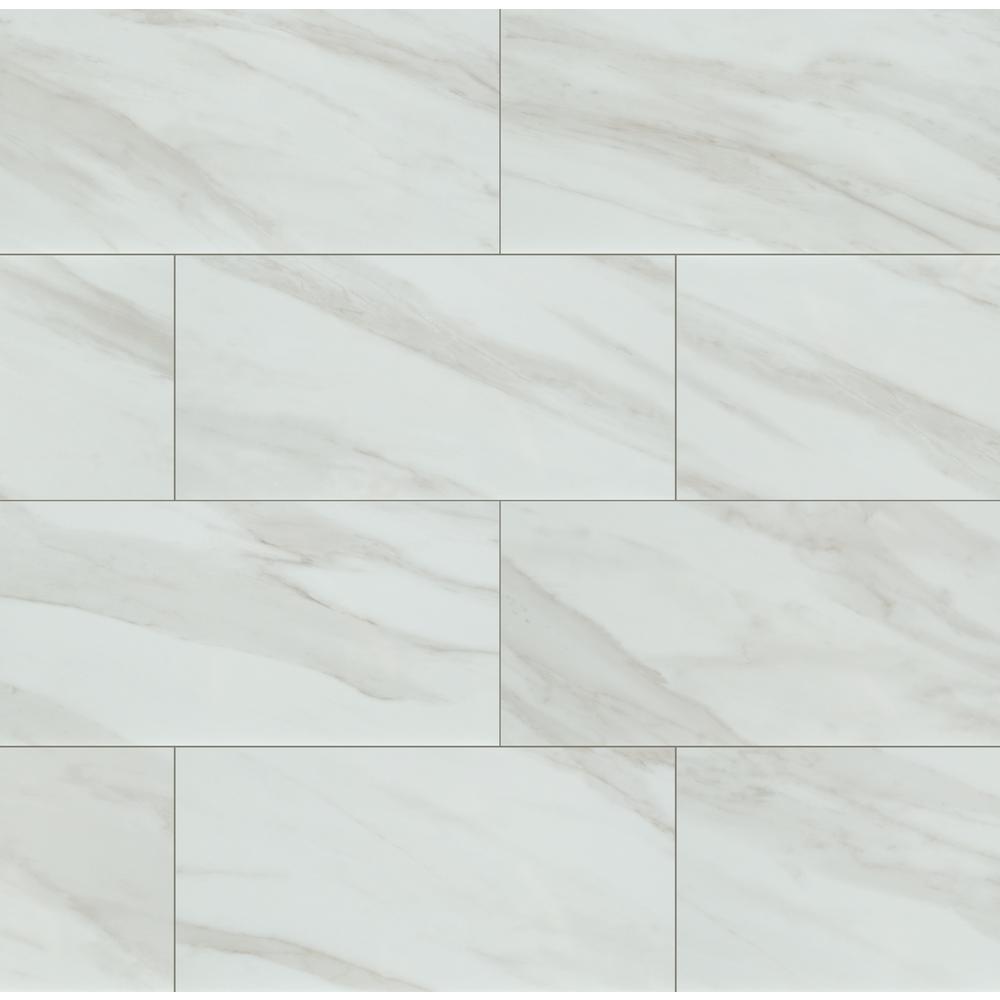
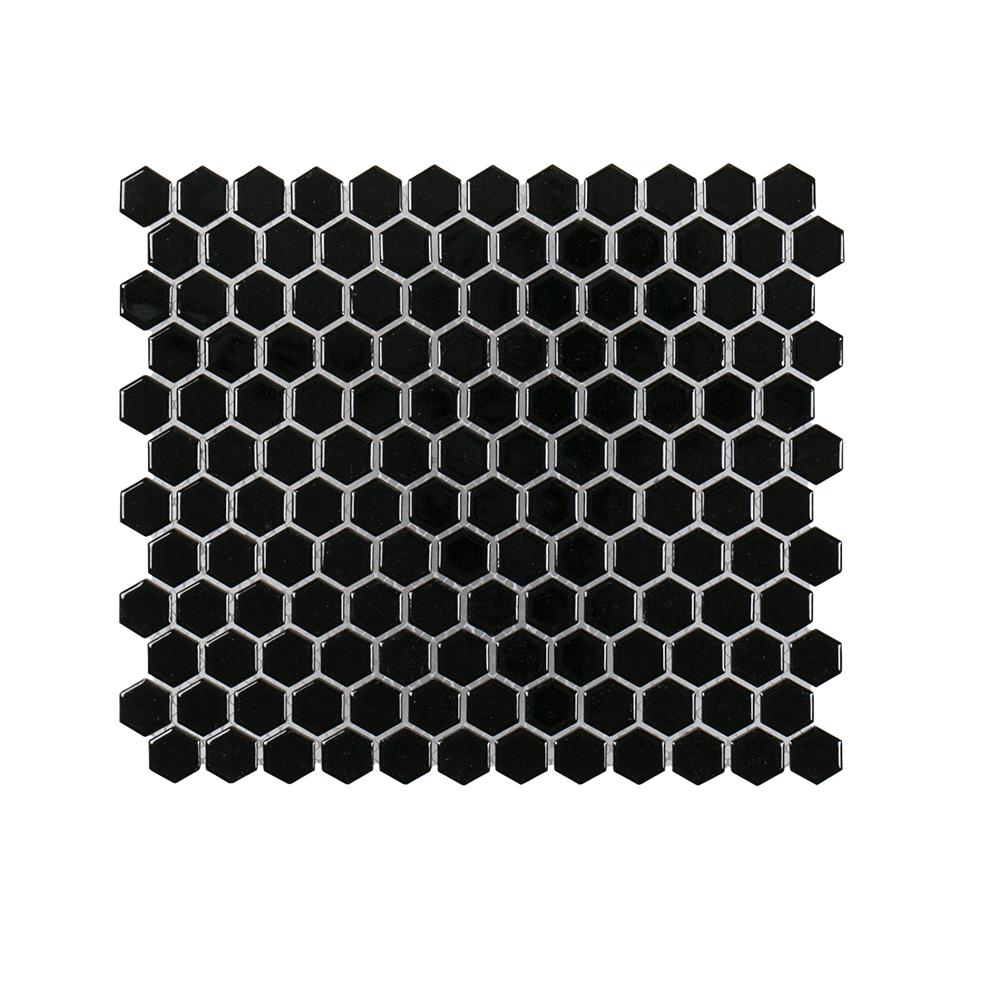
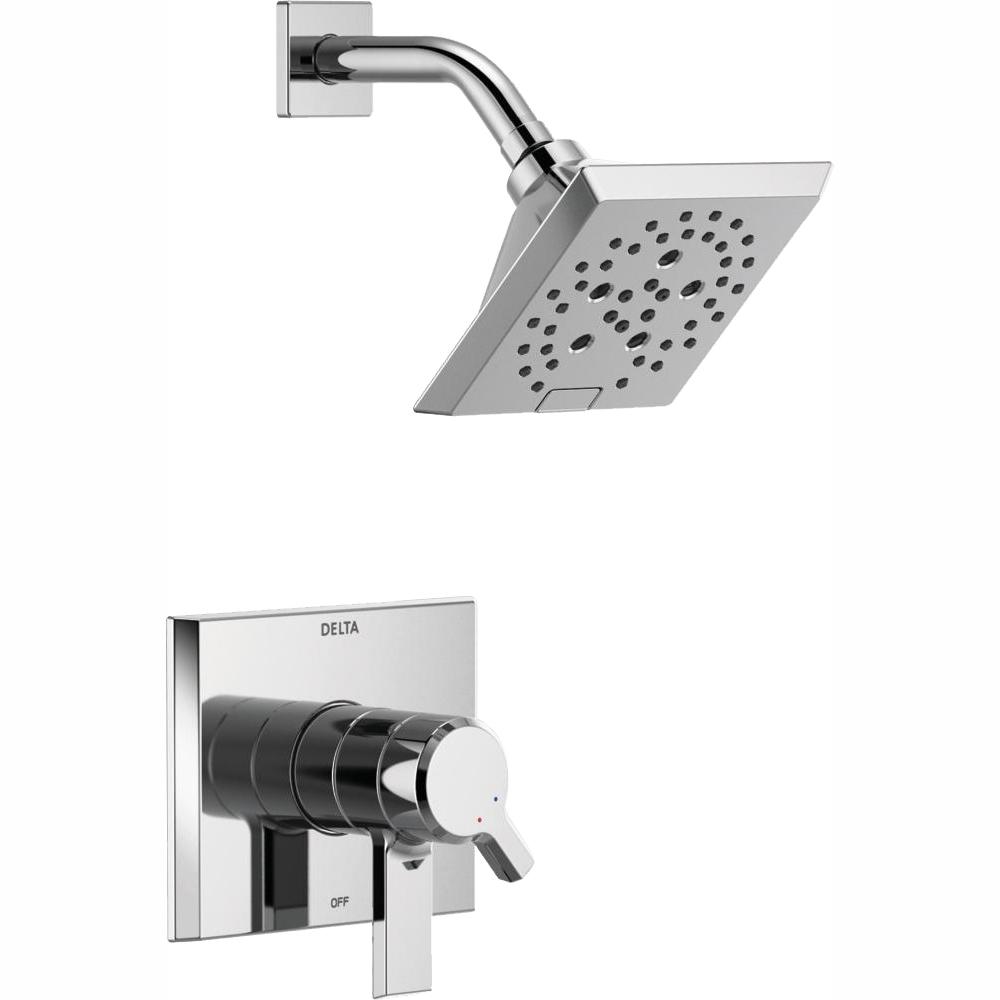
I started by knowing I wanted white walls and marble floors. From there, I included the black mosaic tiles to the shower to balance out all of the white in the space and to add a trendy accent. Choosing the common finish for fixtures in this room was easy for me; chrome is a little tougher to keep clean than a brushed finish, but it looks really sleek and clean. As soon as I saw the profile of the Delta Pivotal Bath and Tub/Shower Faucets, I knew they were the modern, contemporary twist that was sure to turn heads. From there it was about finding other accessories and pieces that complimented the space without overpowering any other piece.
Destroy, Destroy, Destroy
The nice thing about demo’ing a boring, builder-grade home is that there most likely won’t be too many surprises. Plus, because it probably wasn’t built to the highest standard originally, everything in the old bathroom came apart really easily.
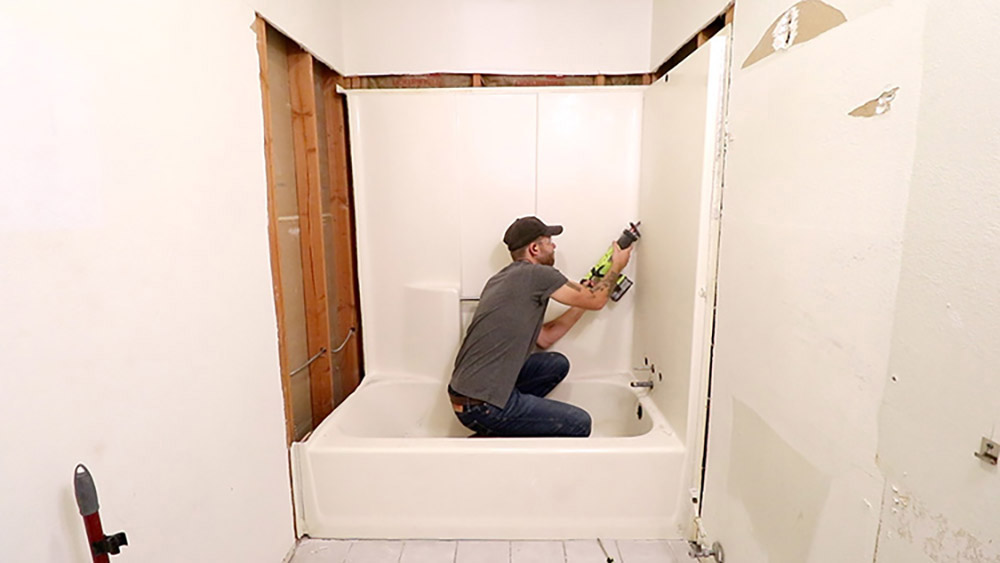
Removing a fiberglass tub is done easily with a reciprocating saw and a short, general purpose blade (to avoid any wiring or plumbing behind the insert). Cutting it into pieces makes it more manageable to remove and allows it to fit through small interior doors.
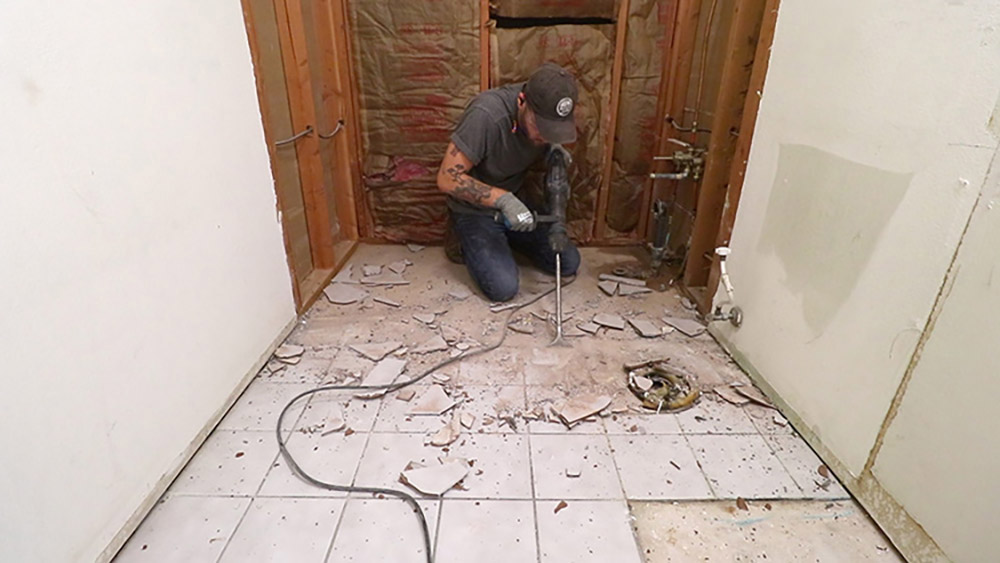
I’ve removed old tiles a few times in the past and have found that they vary in their difficulty to remove. I always rent a demolition hammer and chisel bit from Home Depot to make quick work of whatever tile needs to be removed. These tiles in particular weren’t too challenging to get up, but would’ve been a nightmare to remove by hand with a hammer and cold chisel. The demo hammer and bit can also be used to scrape away any thinset mortar leftover on the concrete subfloor after the tile is removed.
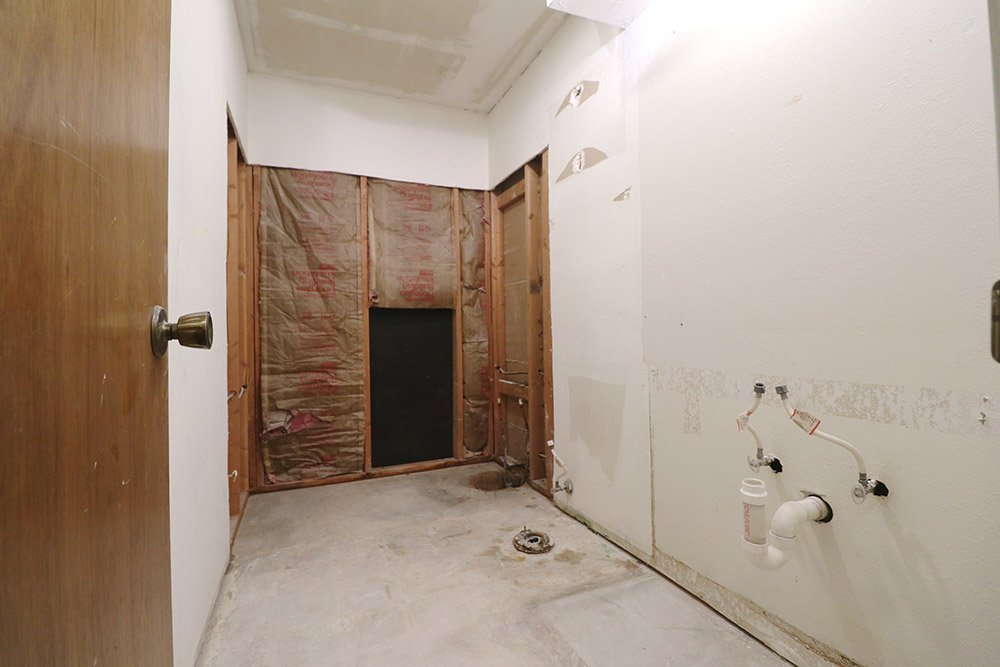
Installing the Delta Upstile Tub and Shower Surround
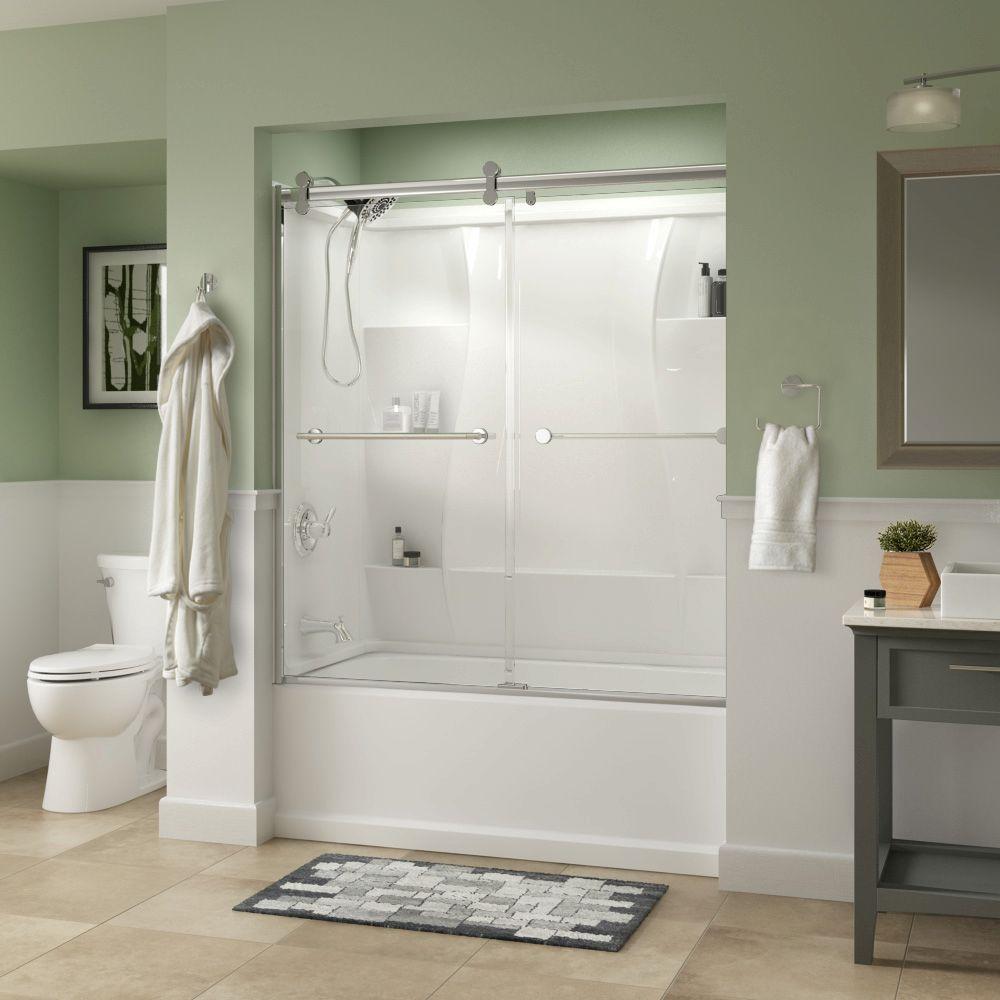
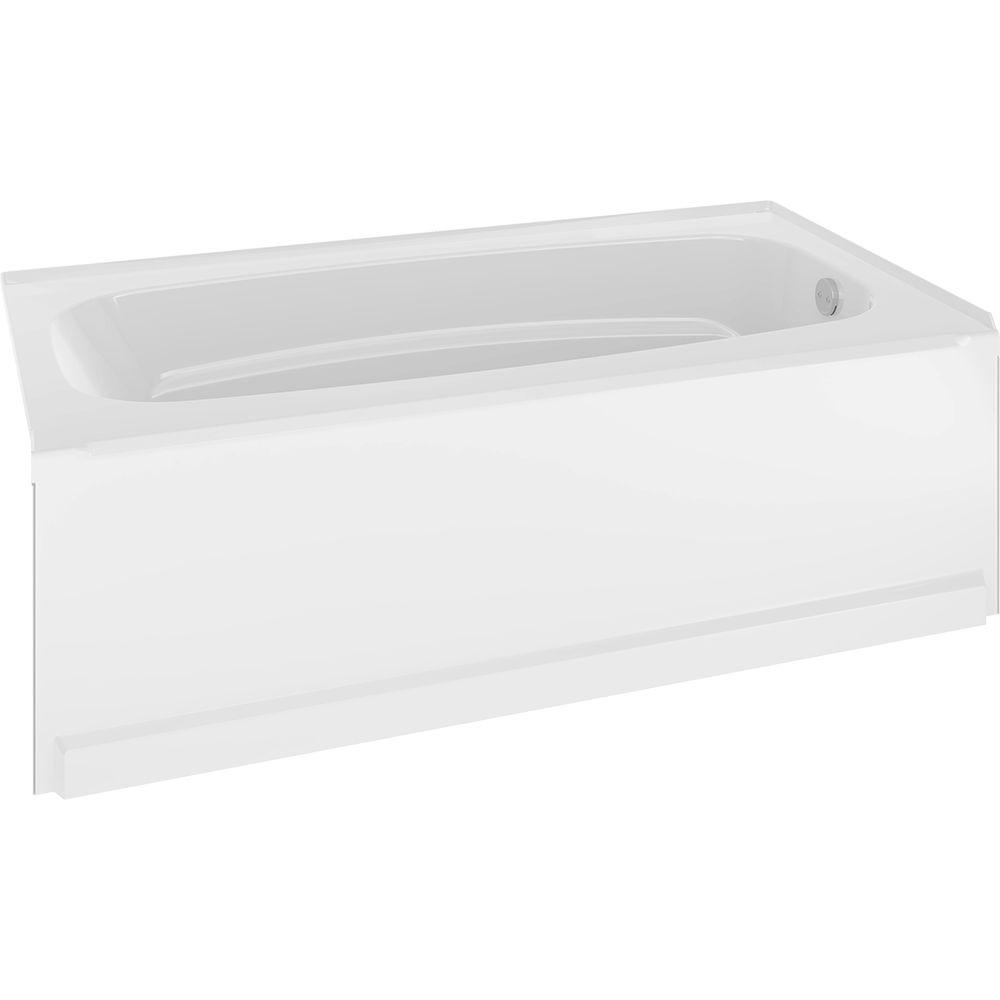
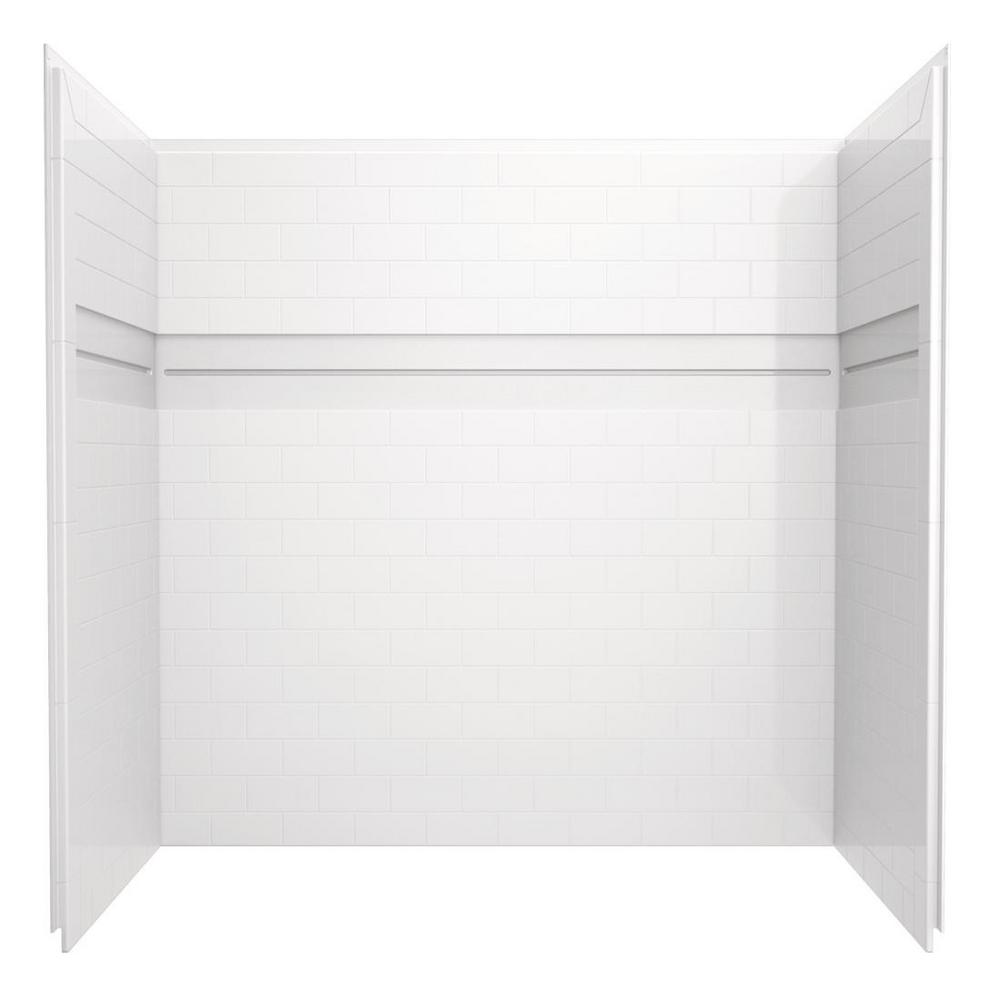
After I floated a new subfloor and let the self-leveling underlayment cure, I moved to putting the bathroom back together. The first step to this was installing a new Delta Up-Stile Tub and Shower Surround. I used this shower insert because it can be customized by adding your choice of accent tiles to create a one-of-a-kind look. The surround is made of molded plastic, unlike the outdated original fiberglass insert, and mimics the look of subway tiles on the rest of the walls for a look way above its price-point.
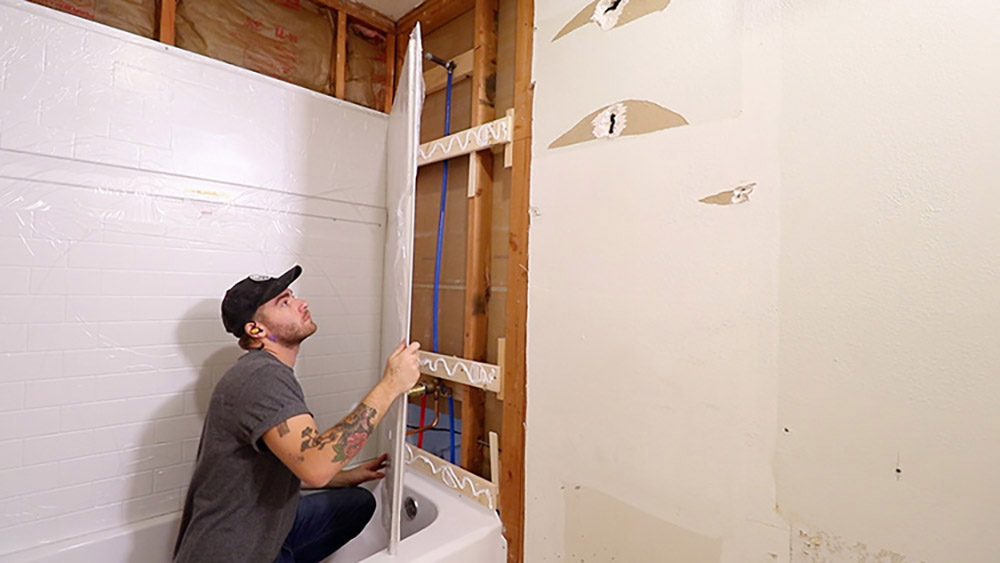
This was my first experience installing mosaic tiles and it came out better than I expected. I rented a high-quality tile saw with a sliding table to make accurate, straight cuts and used ⅛” spacers to maintain a consistent gap along all of my seams. After grouting all of those gaps, I moved to repairing all the damage done to the drywall so that I could paint the room white.
Tiling the Floor
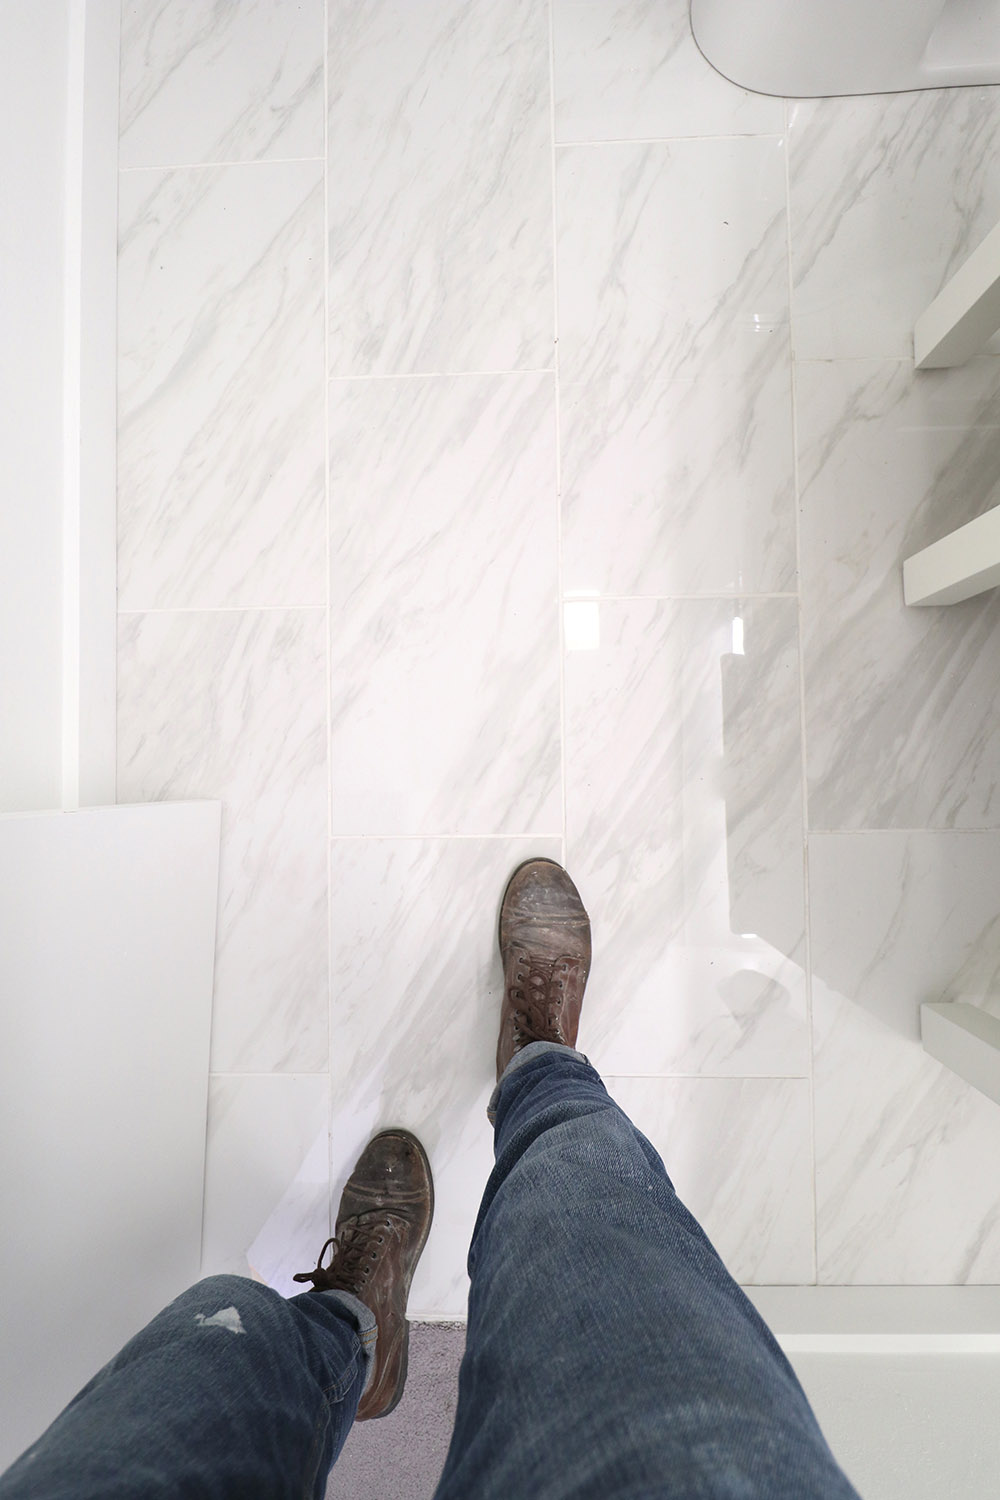
I asked around to some of my friends and family members who had experience tiling floors before tackling this part of the remodel and I was given two pieces of advice from every person I talked to: 1: Make sure your first tile is dead level; and 2: Get plenty of spacers so that you keep a consistent grout line. I took this advice to heart and didn’t rush any aspect of this project.
I learned a lot and gained a lot of confidence from watching a Tiling Tutorial on The Home Depot Youtube Channel. Using large format tiles really highlights any inconsistencies in your work and shows off any tiles that aren’t plumb and level. To make the bathroom feel deeper, I ran my tiles lengthwise along the floor.
Putting It All Together
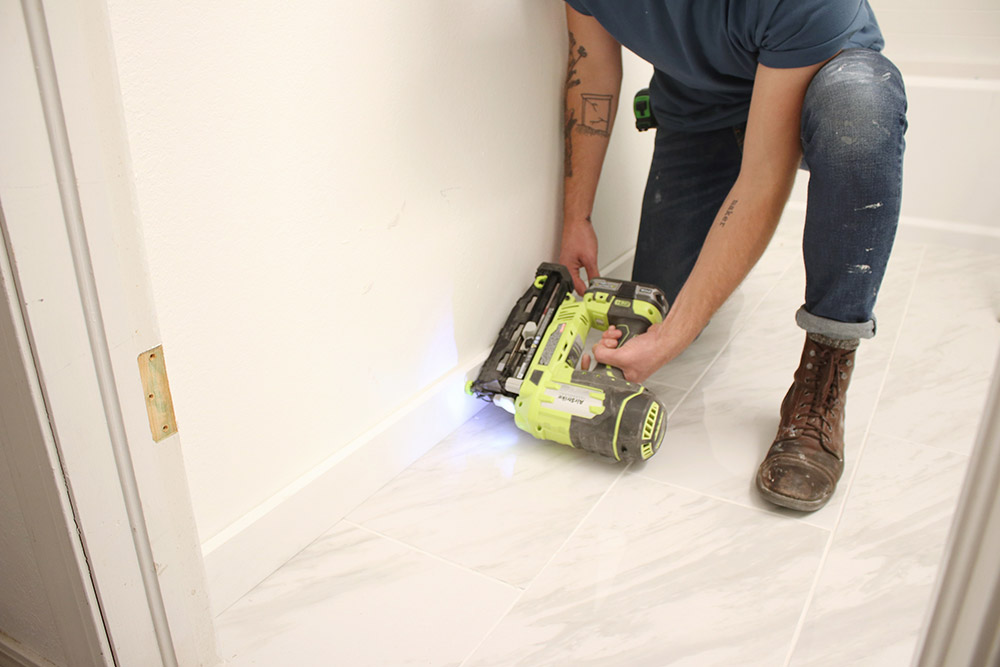
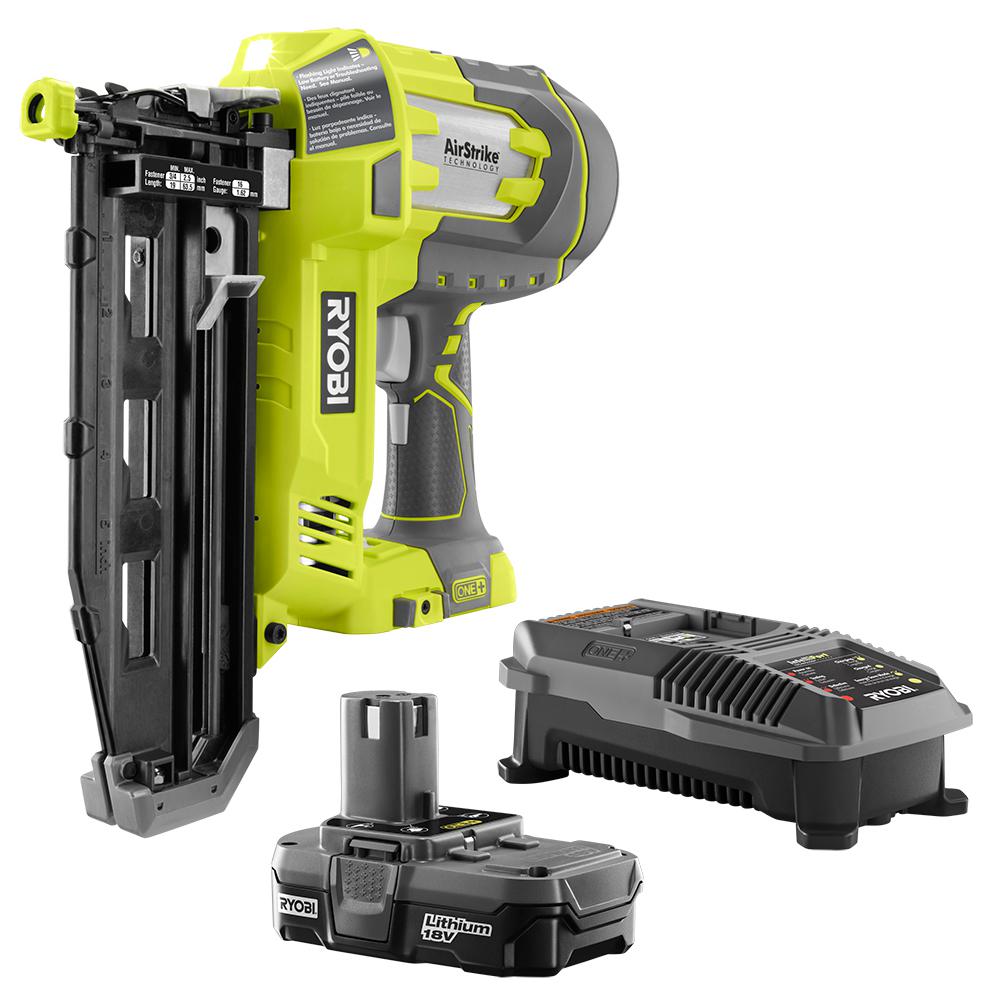
I used my Ryobi 18v Finish Nailer to install square PVC baseboard and trim around the door frame. In the past, I’ve made my own square trim out of ¾” MDF sheets; it’s a super affordable option for clean, modern trim, but it isn’t the best option for a bathroom where there’s a lot of moisture. This PVC trim won’t be affected by any water or humidity, which is great being next to the bathtub.
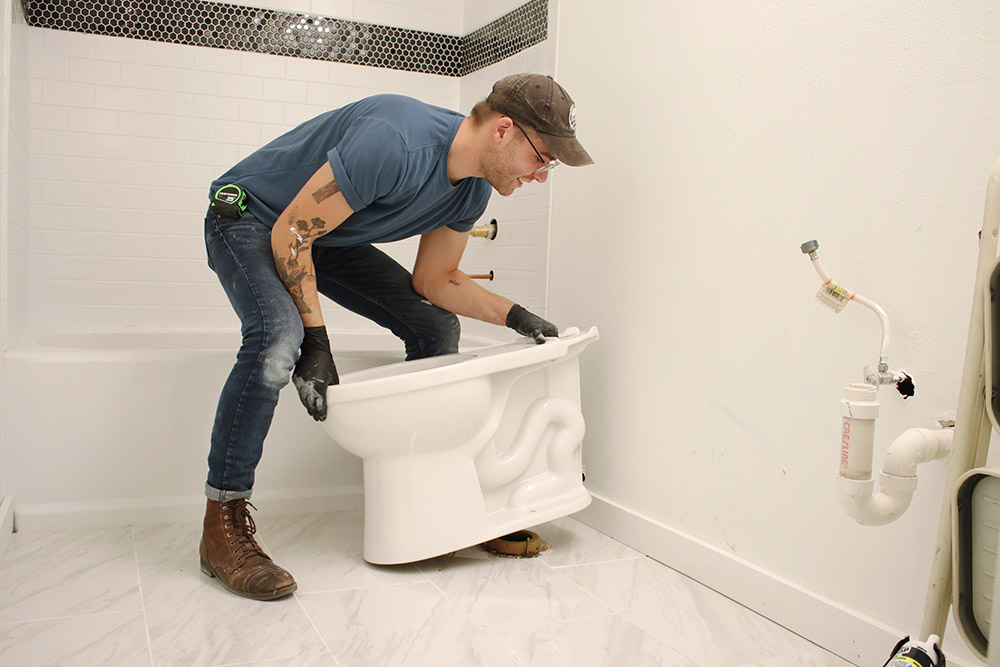
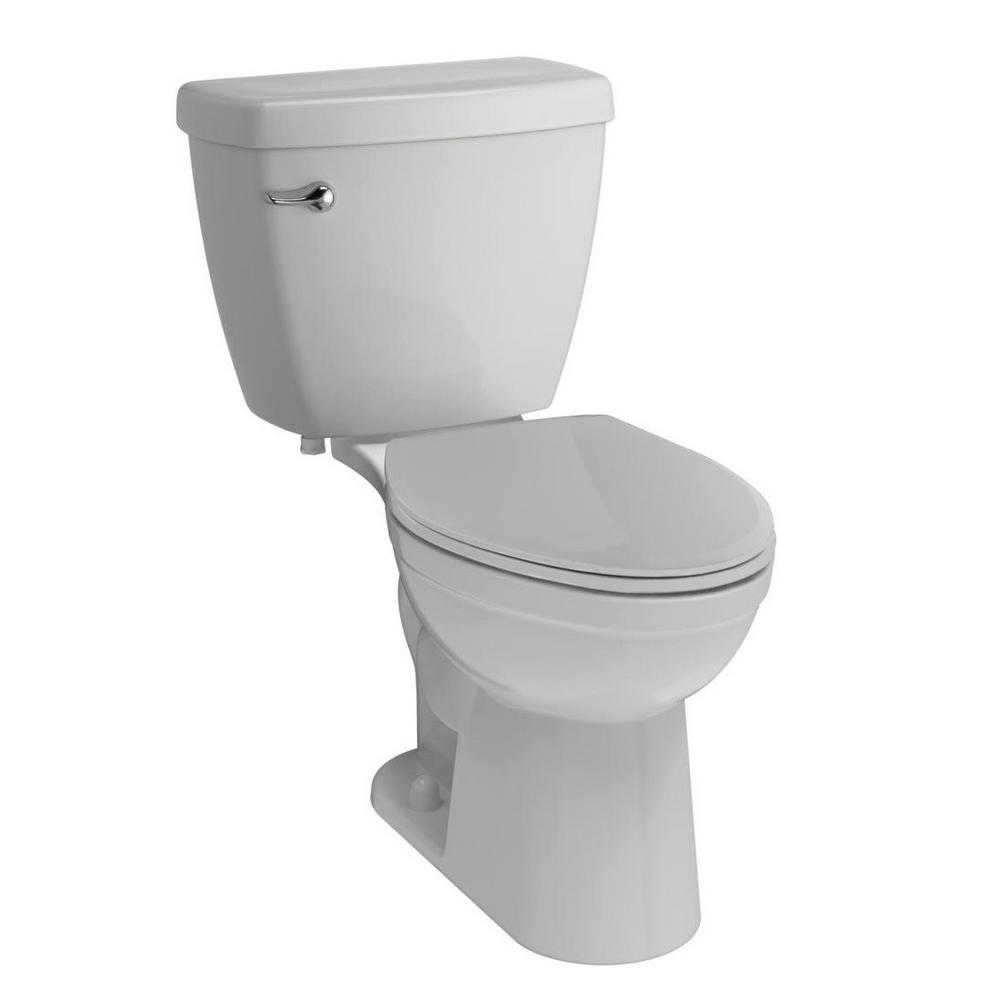
A new toilet goes a long way towards refreshing a space and this Delta Toilet is a great option! I used the existing toilet flange, but installed a new wax seal. After putting the toilet over the wax ring, I pressed down to seal it and made sure it was sitting level before securing it to the flange.
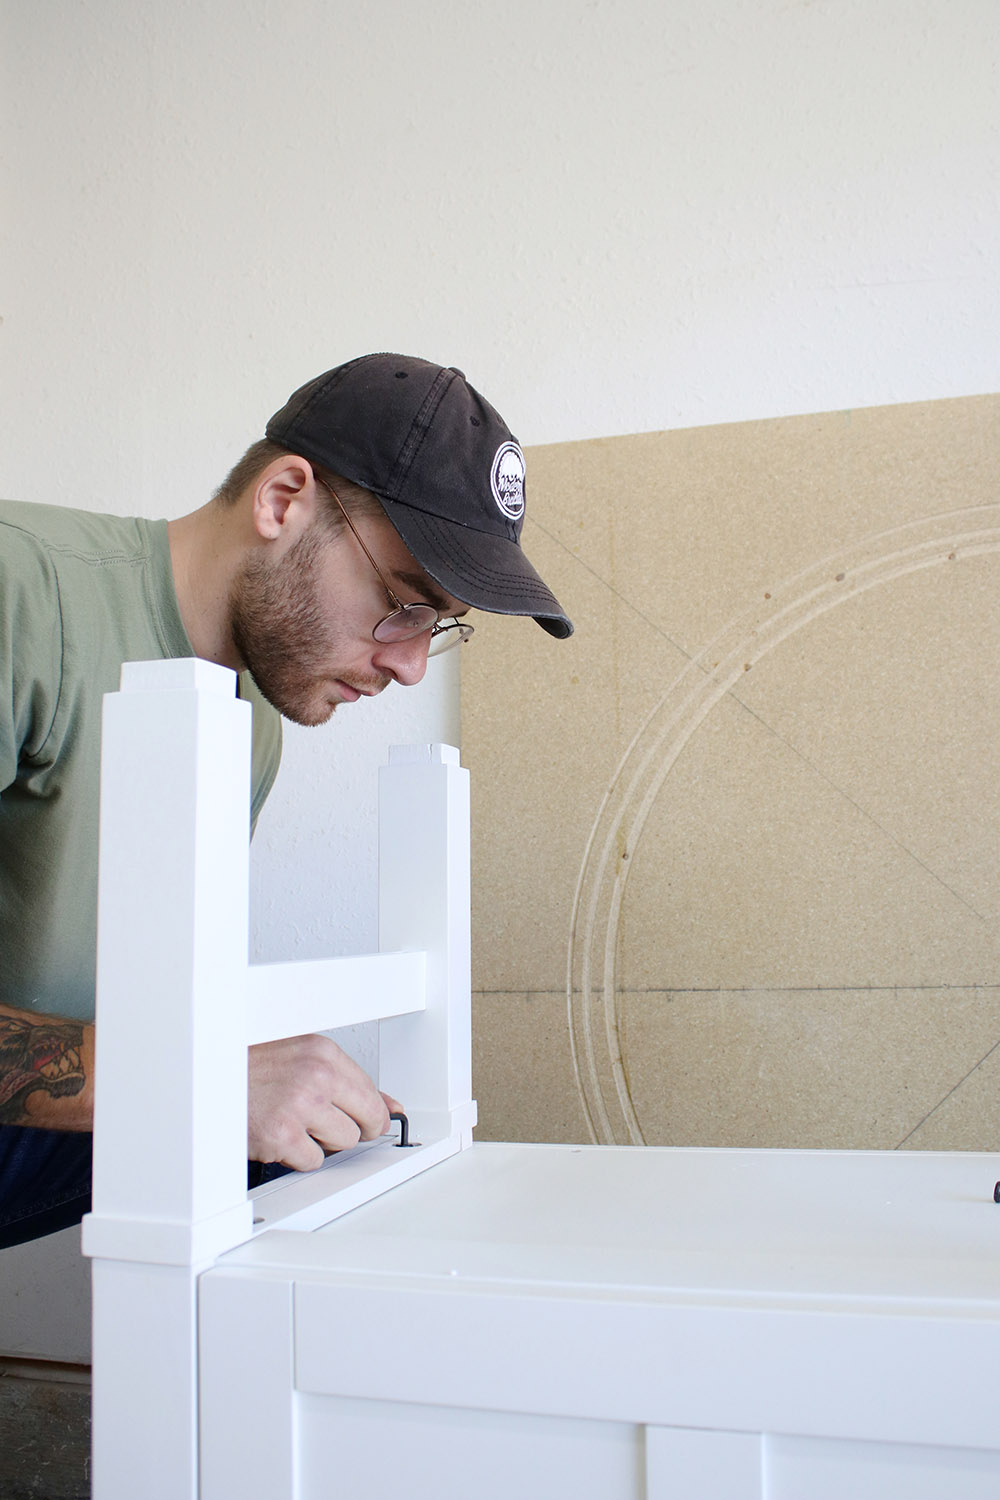
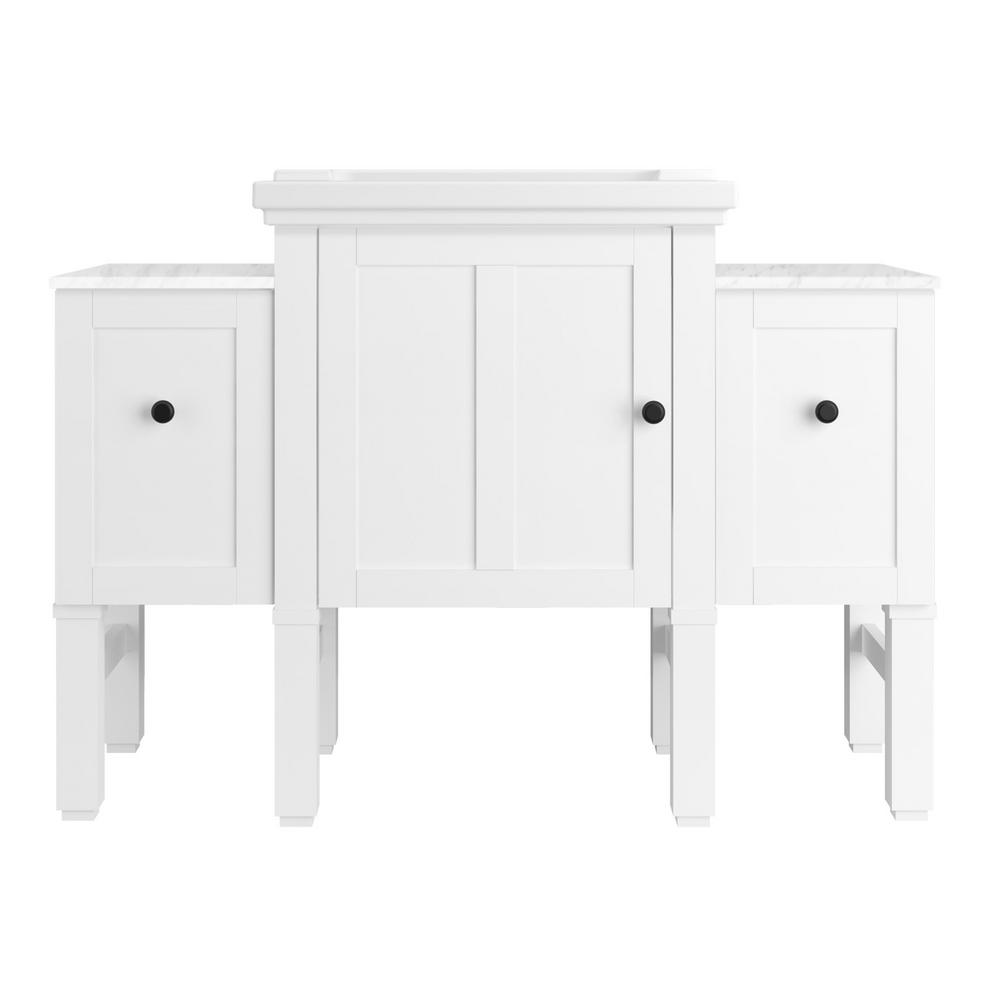
The Kohler Chambly Vanity is a modular system of cabinets and extensions that can be configured in multiple orientations to best suit the space it’s in. First, I assembled and installed the main vanity cabinet ensuring a level surface and secure studs behind the wall. Then I installed a 12” Vanity Bridge to the left side of the vanity to add storage and countertop space. Both the cabinet door and the drawer have soft-close hardware so that nothing ever slams.
In Conclusion
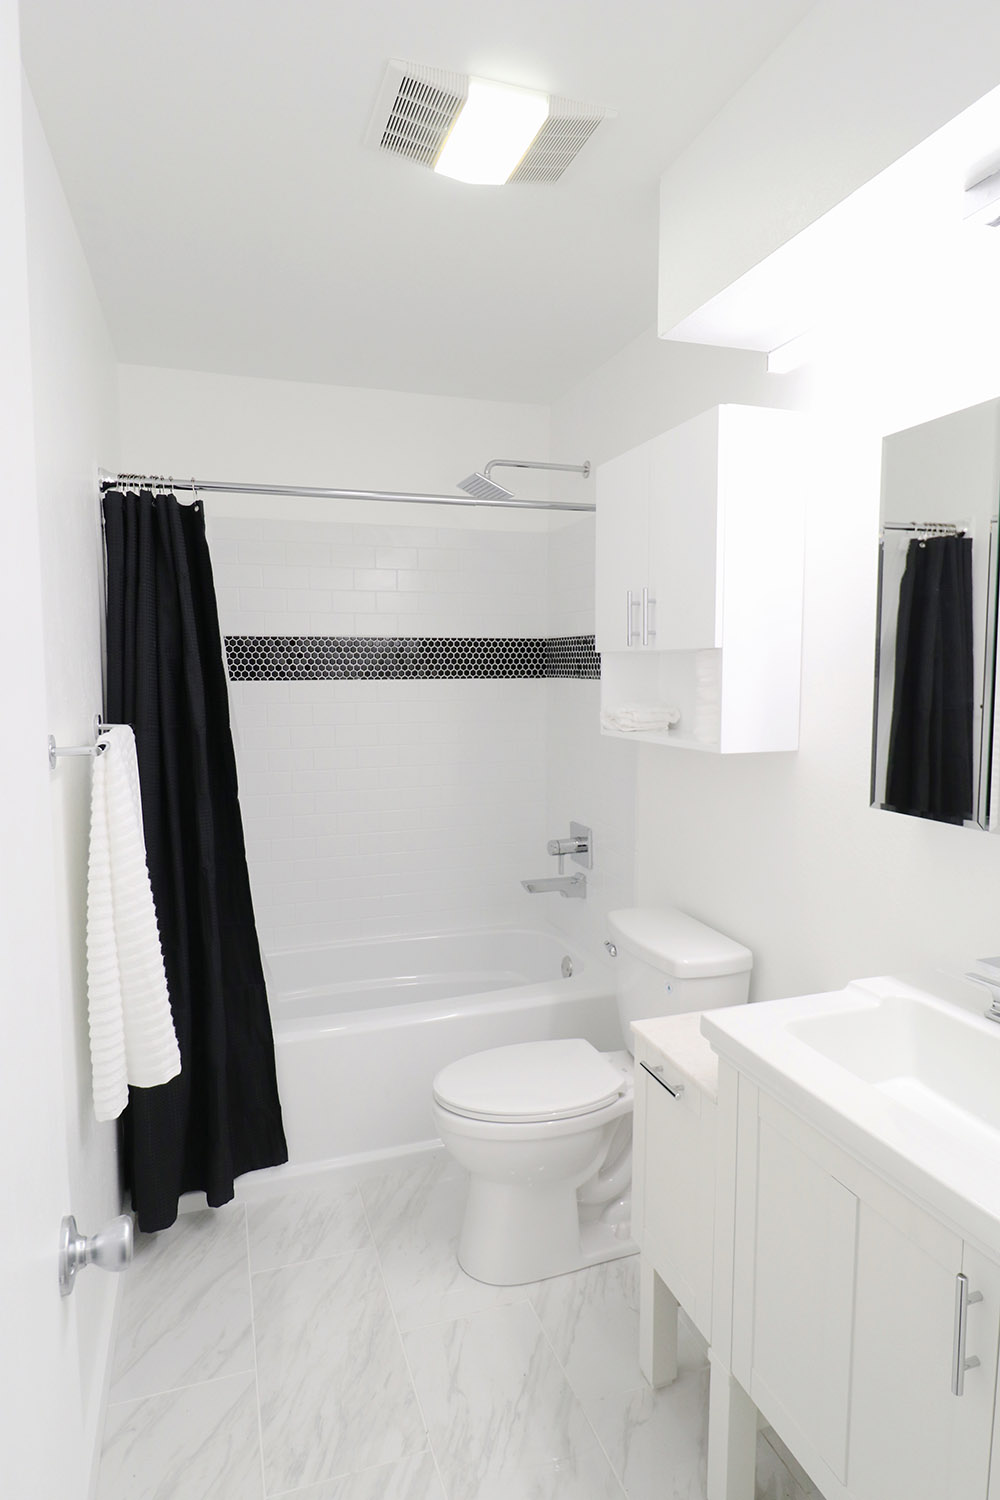
This renovation was challenging at times, but beyond rewarding after seeing how nicely everything came out. There were a lot of firsts for me; my first time tiling anything, doing a considerable amount of drywall work, installing a toilet, etc…. I was able learn a lot and gain confidence from some of the tutorials on Home Depot’s blog and Youtube Channel like the Tile Installation Tutorial I referenced earlier.
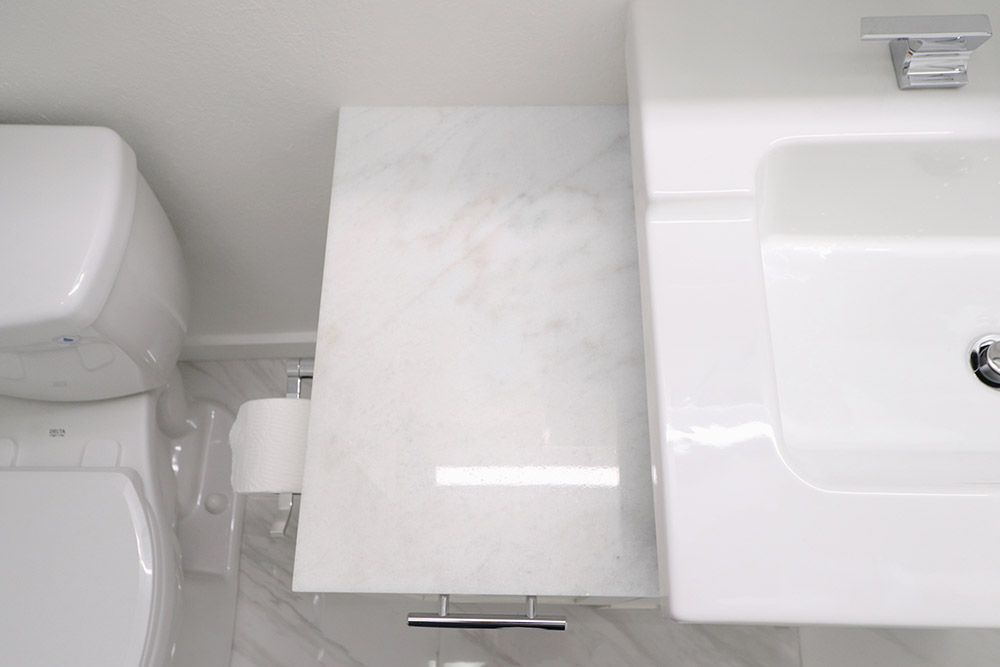
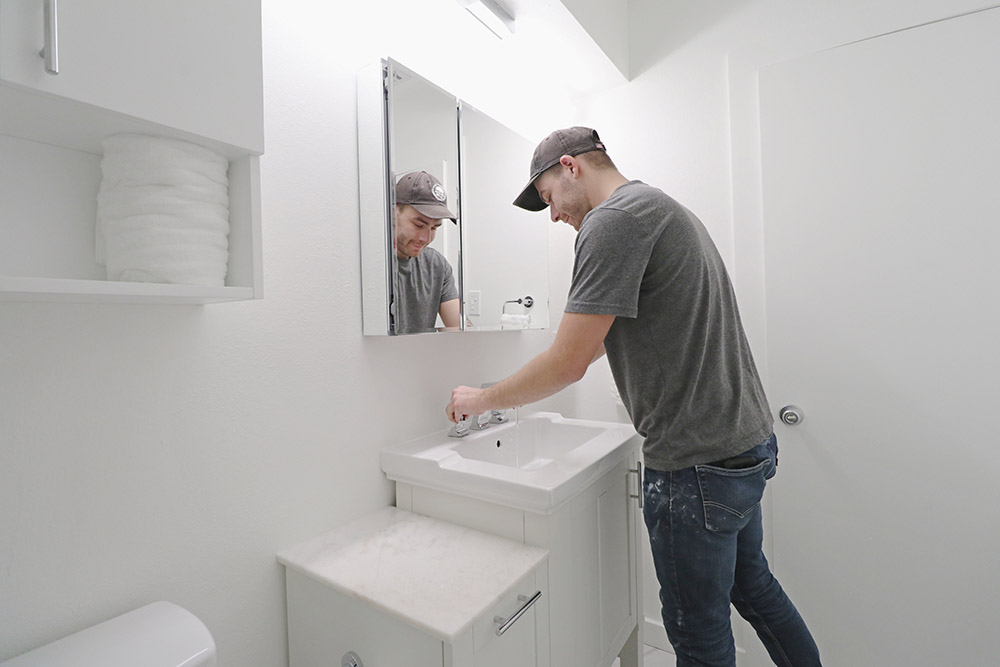
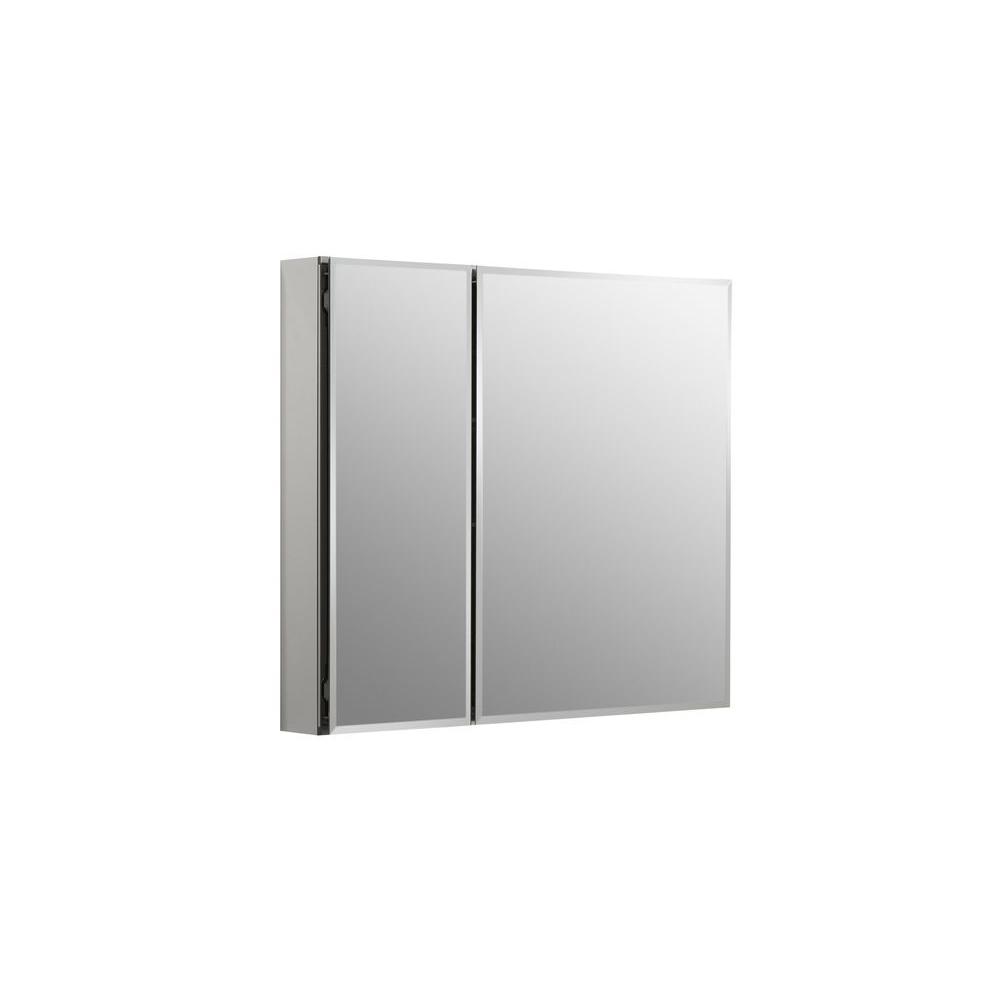
The new sink/vanity area is way more functional now that I’ve reconfigured the storage. Small electronics and appliances like hair dryers/straighteners can be stored in the deep drawer in the vanity extension cabinet. Cleaning supplies and long-term storage can be kept under the sink. Day to day items like hygiene/hair care products can be kept in the beautiful seamless mirror medicine cabinet.
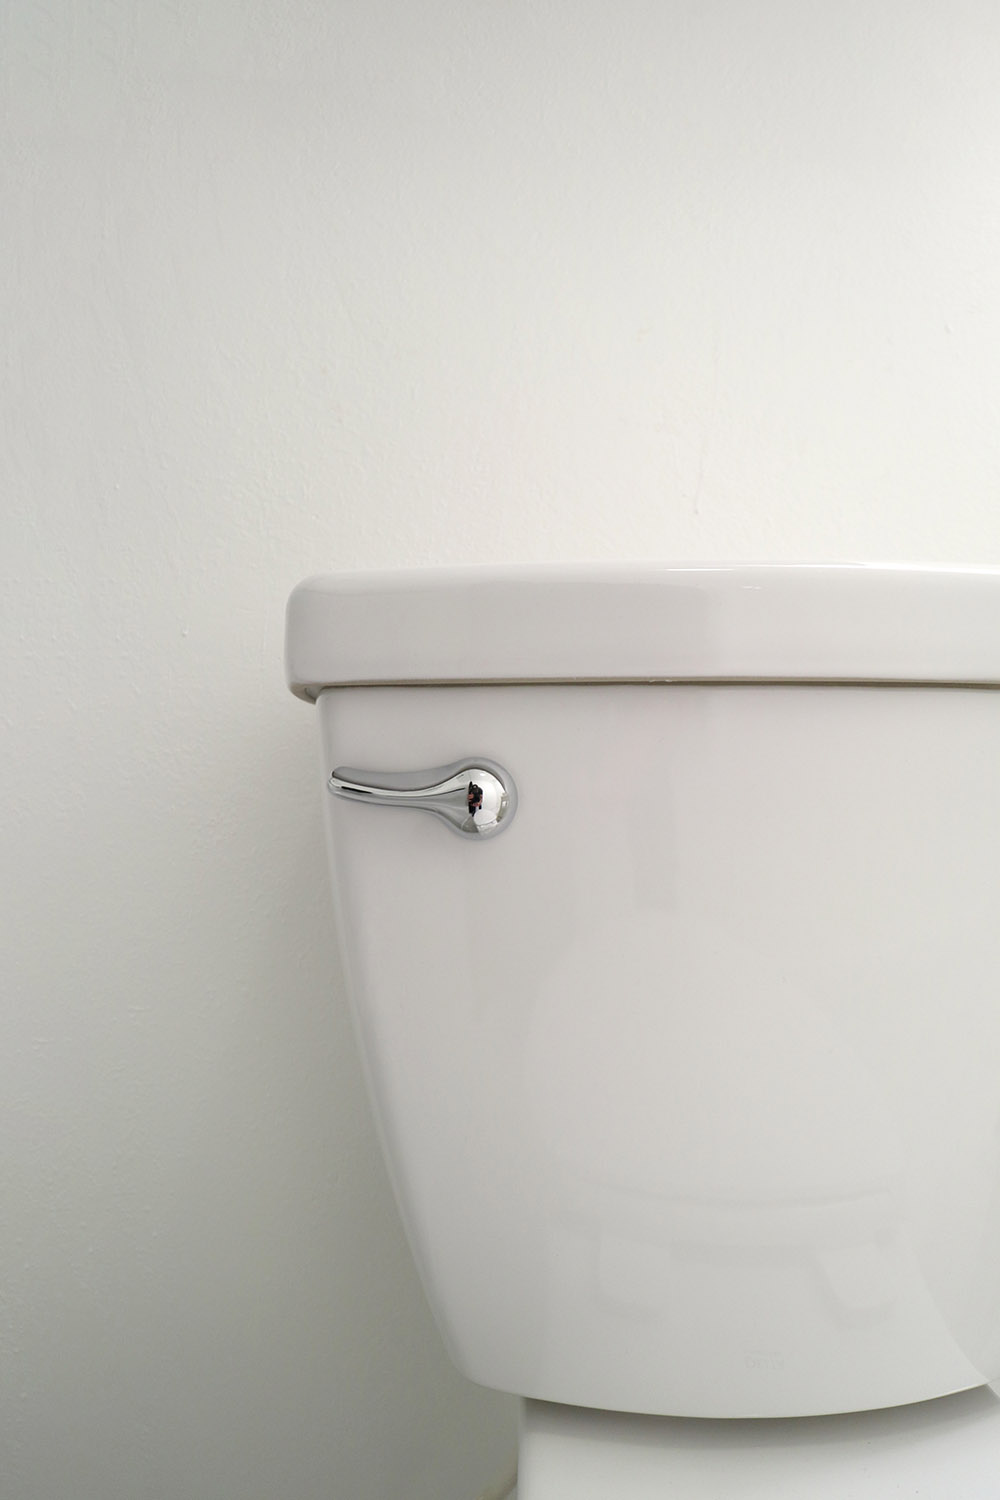
The new Delta Toilet is taller, longer and more water efficient than the previous commode, making for a more comfortable experience for guests. And the new linen cabinet above the toilet provides functional linen storage for everyday use.
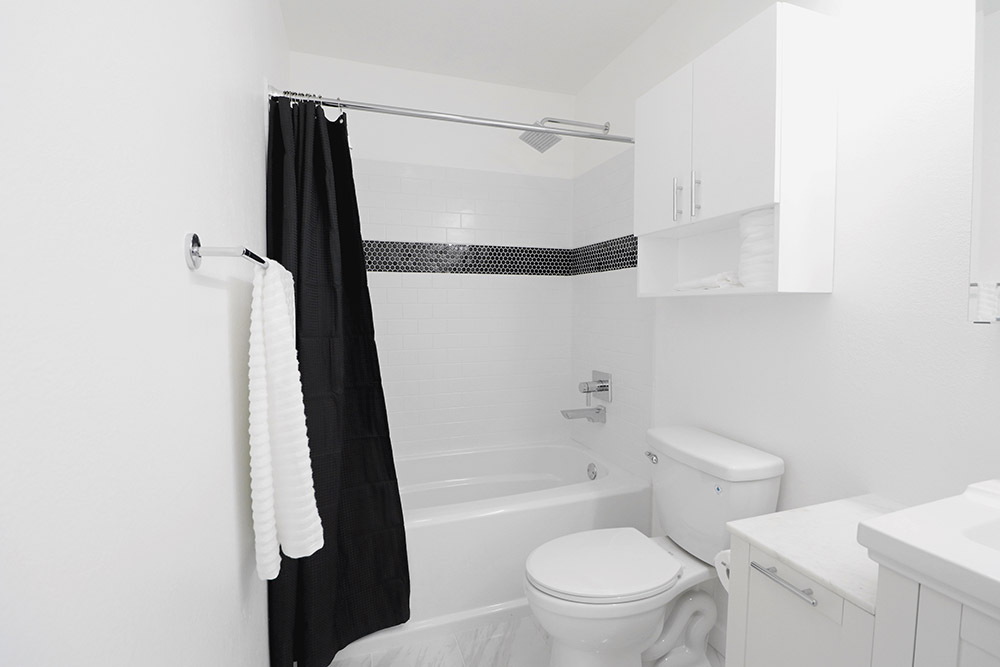
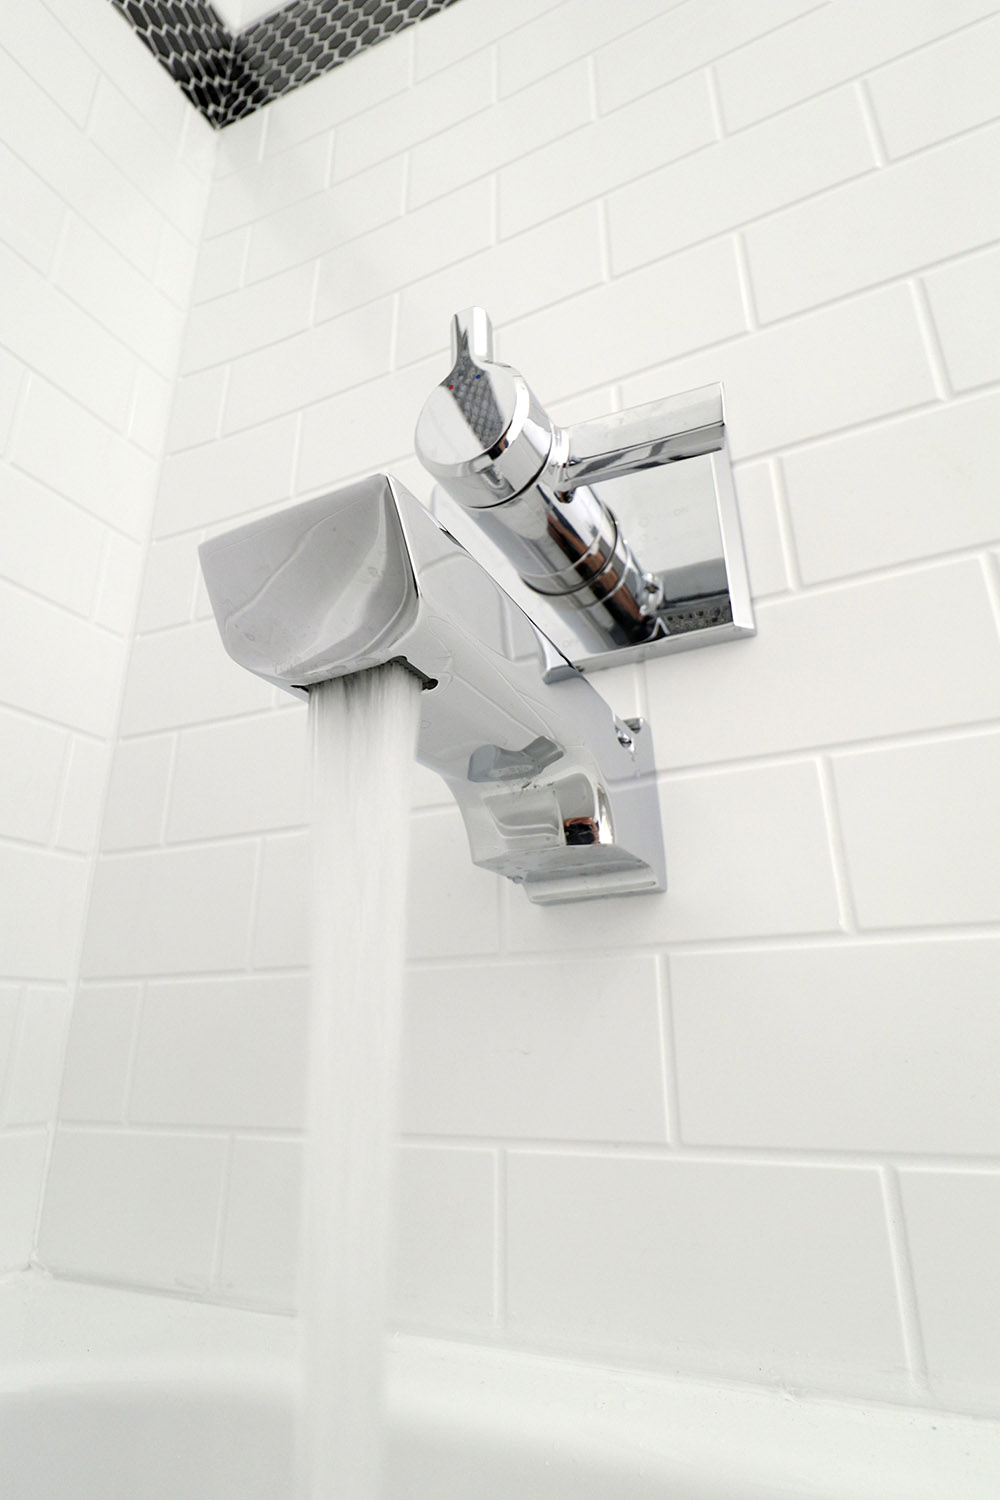
I couldn’t be happier with the new Delta Upstile Tub and Shower Surround. The molded subway tile look elevates the space and makes for a really high-end look. I chose to hang a black shower curtain to complement the black mosaic tiles. I plan on incorporating some more black accessories like toothbrush holders and soap dishes to continue that theme throughout.
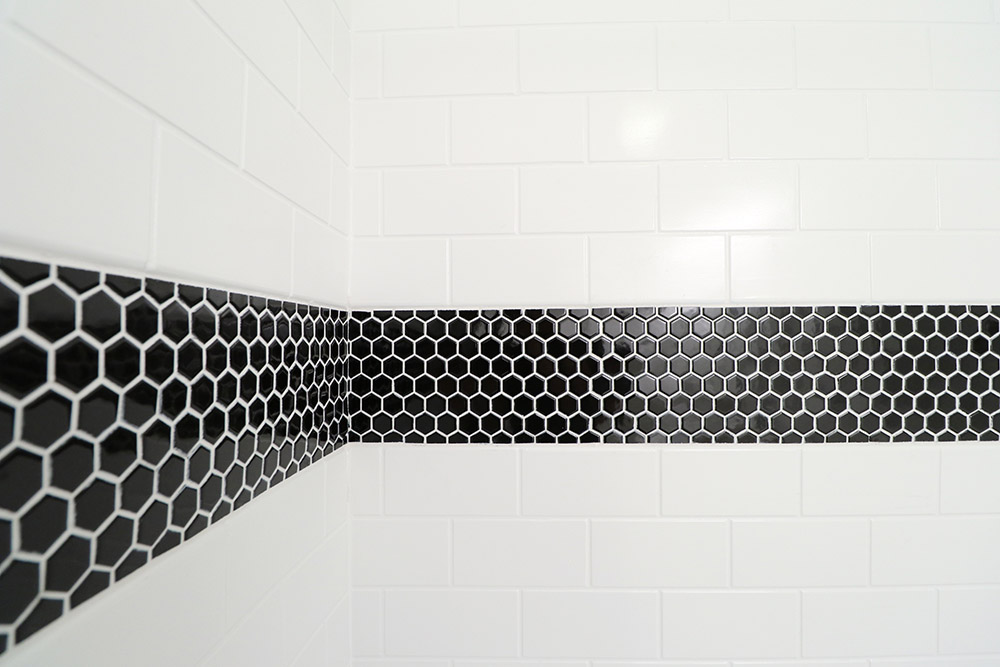
Thanks for allowing me to share this awesome experience with you. I hope this (and my YouTube video) lowers the intimidation factor of doing something similar for yourself. If you have any questions, please feel free to ask and you can always reach me with a DM on my Instagram account @modernbuilds.
This post was created in partnership with The Home Depot. The author may have received compensation for this article and associated images or video, potentially in the form of products and/or services. All expressed opinions and experiences are the author’s own words.
