How to Build a Carport
Last updated September 7, 2023
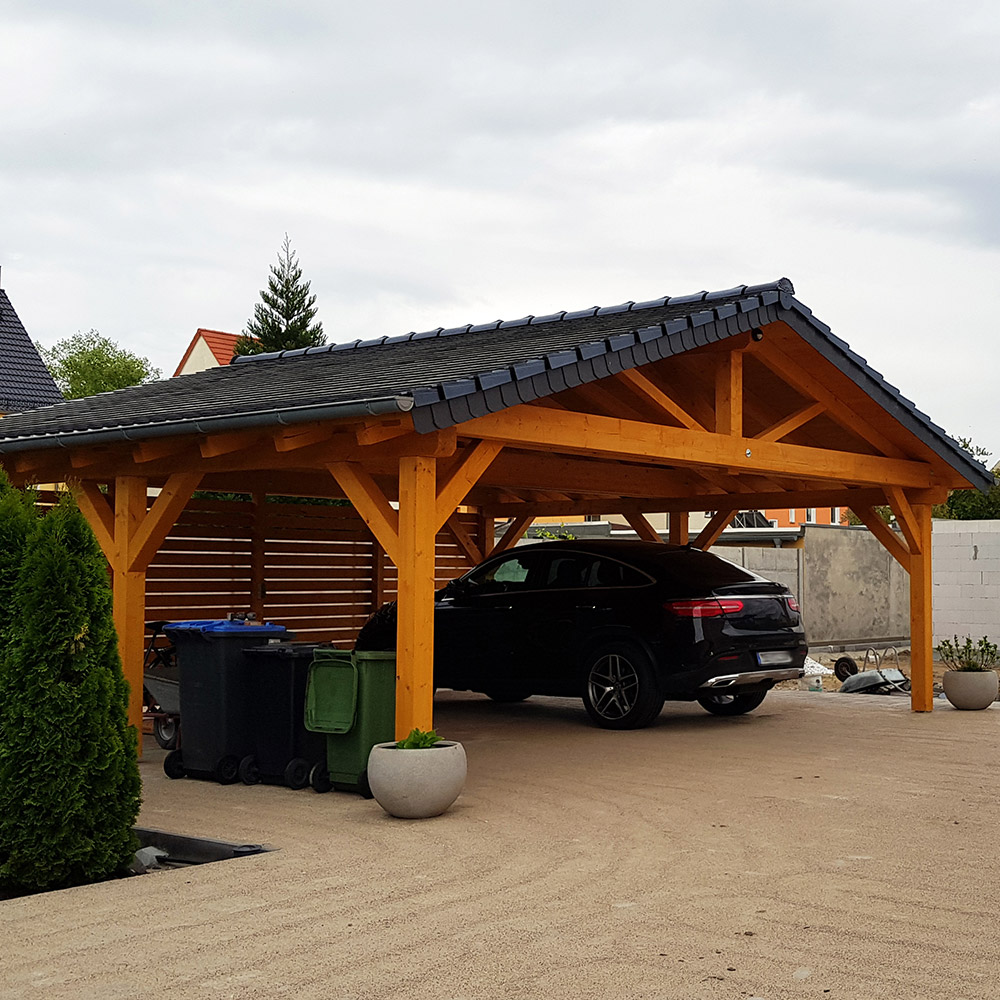
Carports can protect more than cars. The open, roofed structures can shield automobiles, motorcycles, boats and other vehicles from the elements. Whether using lumber or metal, a properly constructed carport can extend the life of your vehicle and even improve your home’s resale value. This guide reviews how to build a carport by covering key steps in the process.
Safety Tip: Wear hearing and eye protection when using power tools and a dust mask when cutting lumber or mixing concrete.
Difficulty:
Intermediate
Duration:
Over 1 day
Table of Contents
Before Building a Carport
Prepare the Ground
Dig Holes for Posts
Pour Concrete and Raise Posts
Attach Beams and Rafters
Attach the Gutter and Roof
Before Building a Carport
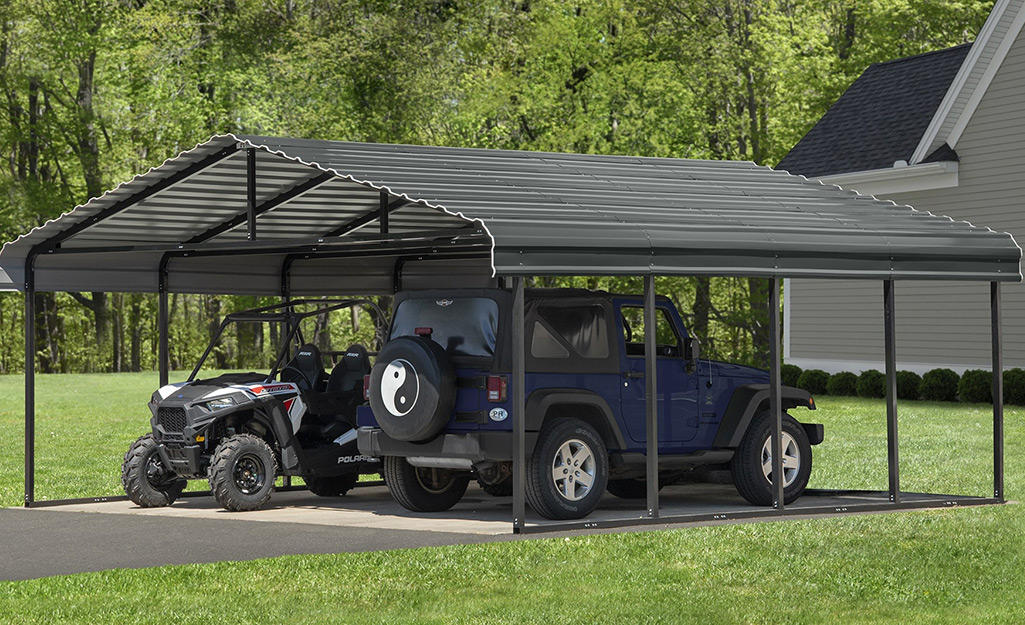
Before you pick up a power tool, carefully plan the project whether you intend to use a carport kit or build one from scratch.
- Determine the type of carport you need. The size and number of vehicles you have – or plan to have – may dictate the carport size.
- Consider the weather in your area to choose a design and materials to ensure the carport is durable and efficient at protection. For example, if your area has frequent snowfalls, construct the roof accordingly.
- Portable carports may be useful if you only need one on a temporary basis.
- Solar panel carports offer both vehicle protection and a source of electricity for your home.
- A carport usually requires a local building permit, so research the requirements and fill out the necessary paperwork. Local building codes may dictate whether or not you can construct a carport attached to your home. Homeowners associations may have restrictions as well.
Tip: Plan your carport to leave a gap at the bottom or the top so that wind can circulate, allowing your car and the inside of the carport to dry off when wet.
Prepare the Ground
- Identify plumbing, gas and power lines to determine where it’s safe to place the carport. Avoid placing the carport under trees if possible.
- Plot out the space for the carport. It should be at least 16 feet long and 9 feet wide for an average size car, and larger for multiple vehicles or a bigger car or truck.
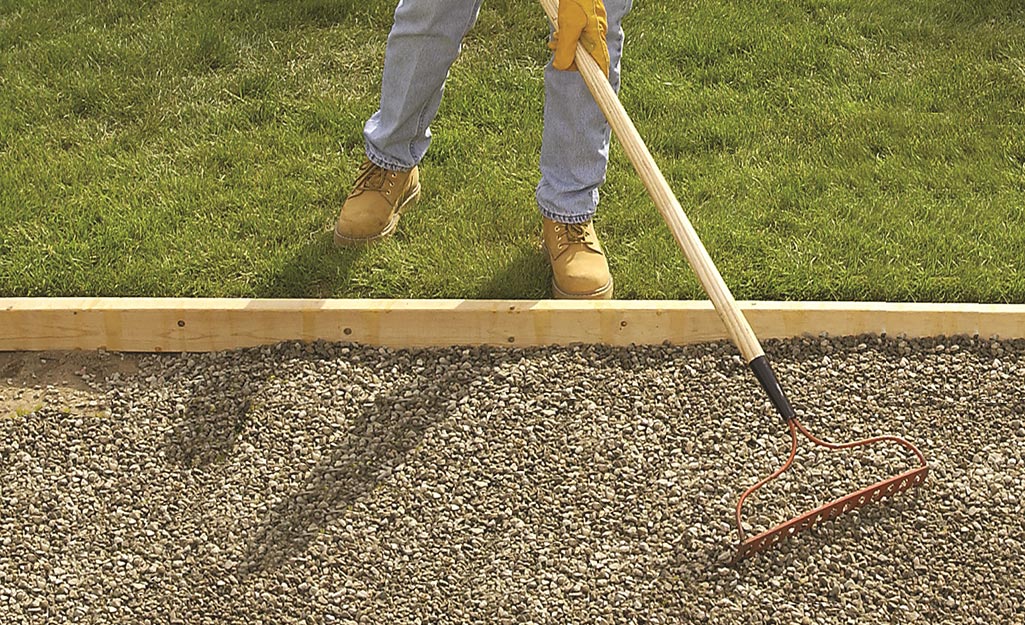
- Clear the ground and make it as level as possible.
- Add fine gravel or another ground cover over a layer of landscaping fabric as needed.
- Mark out the area with mason's string lines, using a level to make sure all sides are even. Measure the corners diagonally and adjust to ensure that they’re square.
Tip: Many of these steps will be unnecessary if you have the option of building your carport on a concrete pad or at the end of a paved driveway.
Dig Holes for Posts
- Plan on at least four posts, one at each corner. Depending on size of carport, you may need to have one additional support post at the halfway mark on both the left and right sides for a total of six.
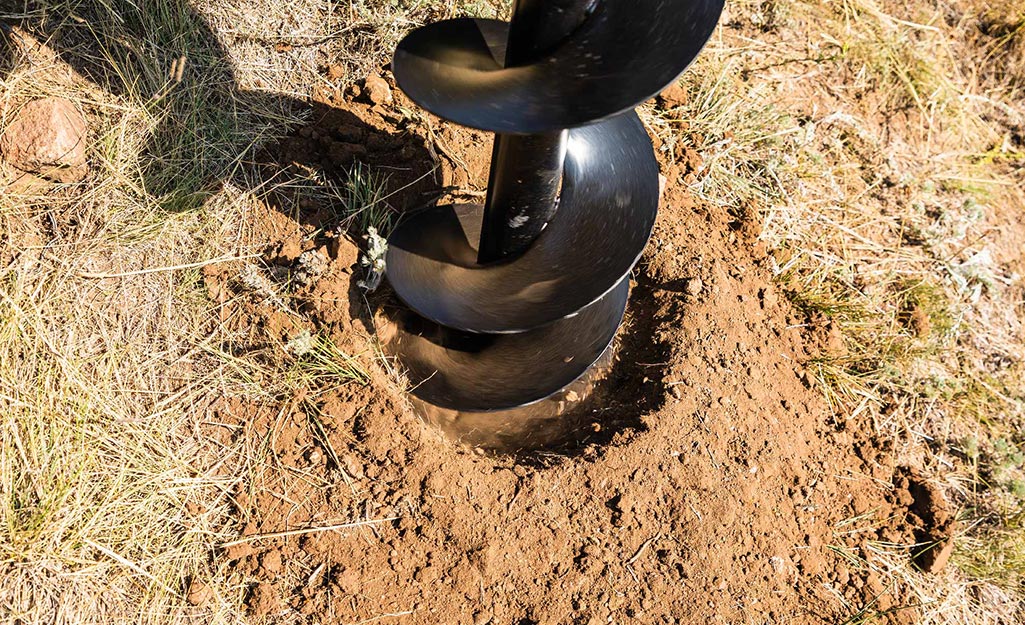
- Use a power auger or post hole digger to dig post holes of about two to four feet deep for the footings.
- Place concrete tubing forms in the holes and level the footings at about 1 inch above ground level.
Pour Concrete and Raise Posts
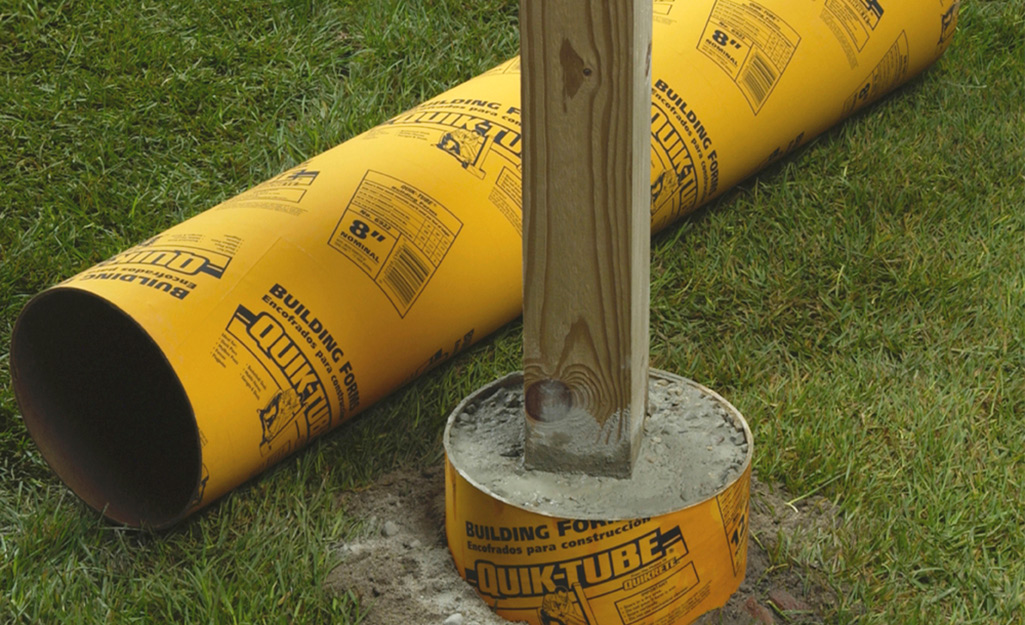
- Prepare concrete mix in a wheelbarrow according to instructions and pour into the footings.
- Place post anchor bolts into the center of each footing before the concrete hardens.
- Backfill the holes with gravel around the tubing forms.
- Align the anchor bolts. Leave enough of the bolt above the footer to connect with the anchor.
- Allow the concrete time to cure according to manufacturer’s directions.
- A carport should be, at a minimum, seven feet from the ground to the lowest rafter, so ensure that the posts have adequate height.
- Attach the posts to the anchors with nails or structural screws and a power drill. Install a shim between posts and anchors if needed.
- Mark the desired height on all posts and confirm that they match. If needed, trim the posts with a power saw to ensure that the heights are equal.
Tip: Instead of a flat roof, cut the posts so the ones closest to the house are two feet taller than the other side and build a roof that slopes away from your house. This can ensure that rainwater will run off the carport away from your home's foundation.
Attach Beams and Rafters
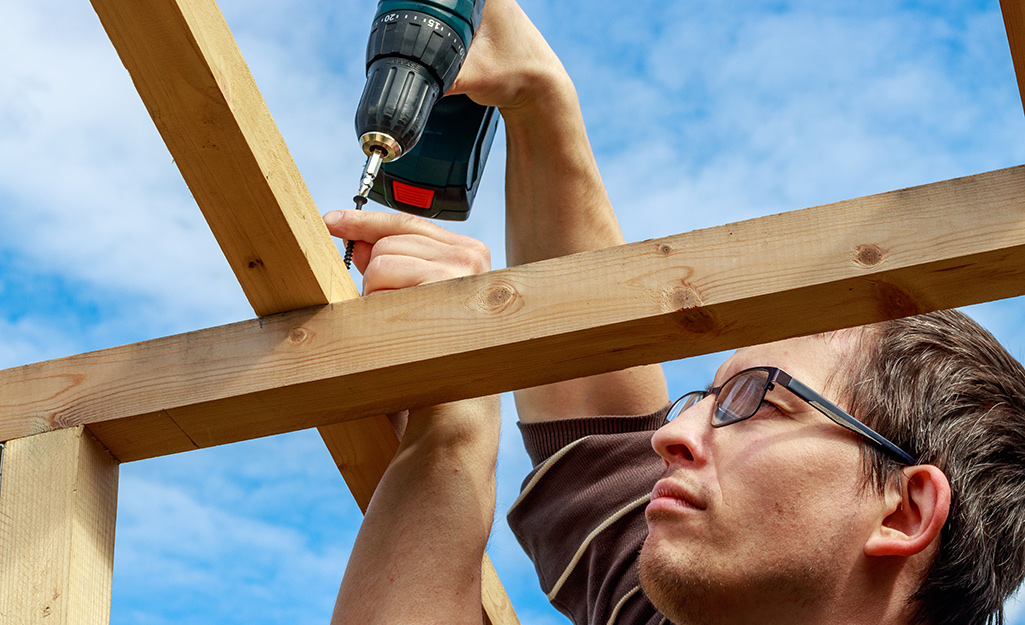
- Cut the side beams and clamp them to the posts, aligned horizontally on the outside of the carport, so the tops of the beams are flush with the tops of the posts. Bolt the beams to the posts.
- Align beams to the front and back of the frame and attach with bolts.
- Cut six rafters and place them at three-foot intervals along the top of the beams.
- Attach the rafters with galvanized joist hangers.
Attach the Gutter and Roof
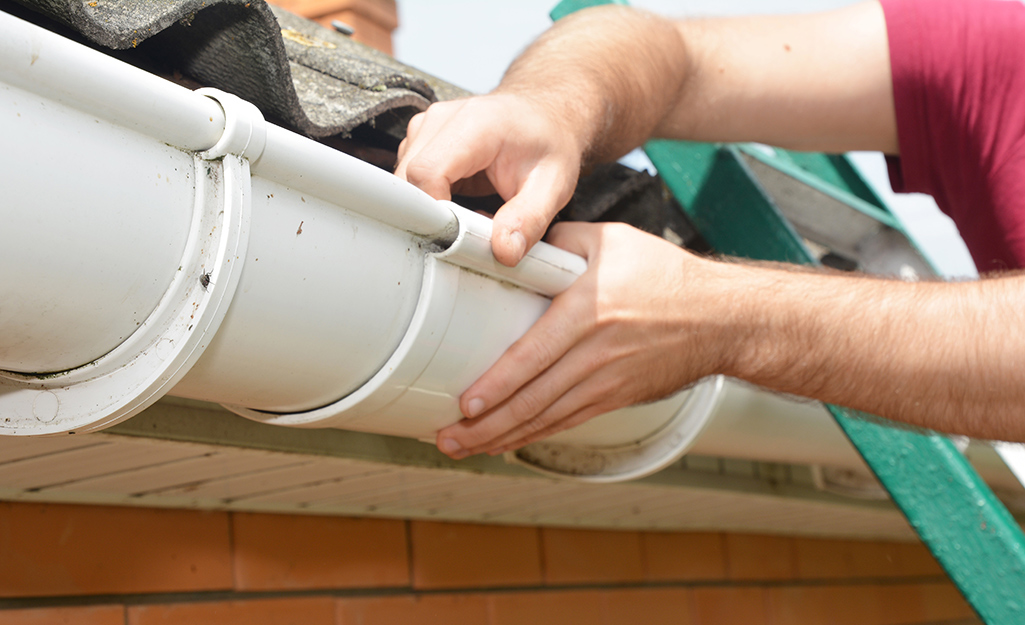
- Measure the gutter to match the length of the lowest side of the carport and attach it to the appropriate beam.
- Connect the downspout so it leads to the nearest stormwater drain.
- Fasten plywood roof boards to the rafters.
- Caulk the plywood to ensure waterproof seals where necessary.
- Attach shingles.
- Stain the wooden components with a paintbrush to protect them from the elements.
Building a Metal Carport
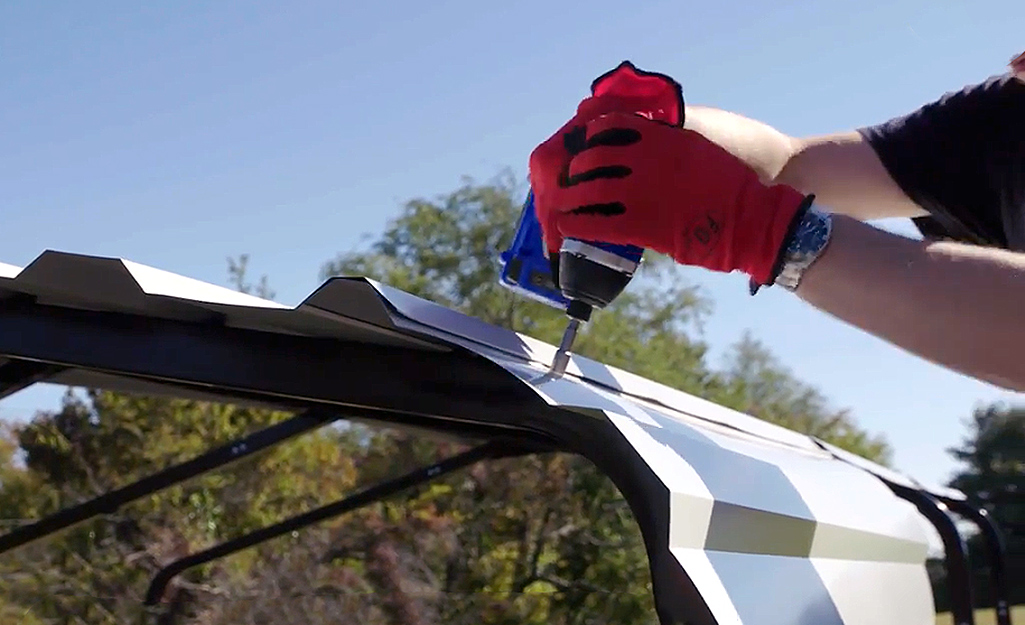
Metal carports can be easier to build and less expensive than ones built from lumber, but may not have as much curb appeal.
- For some portable carports or car canopies made of galvanized steel or other metals, you’ll start not by digging holes and raising posts, but by constructing a metal frame, beginning by attaching the base pipes along the ground.
- Use a power drill to attach the components for the front, middle and back rib assemblies.
- Attach the rib assemblies to the base frame and anchor the frame.
- Assemble and attach the roof panels and edge trim.
Building a carport, whether using a DIY carport kit or assembling the materials yourself, can be a challenging but rewarding construction project that helps you take care of your car.
Ready to start your carport project? Use The Home Depot Mobile App to locate products and check inventory.


