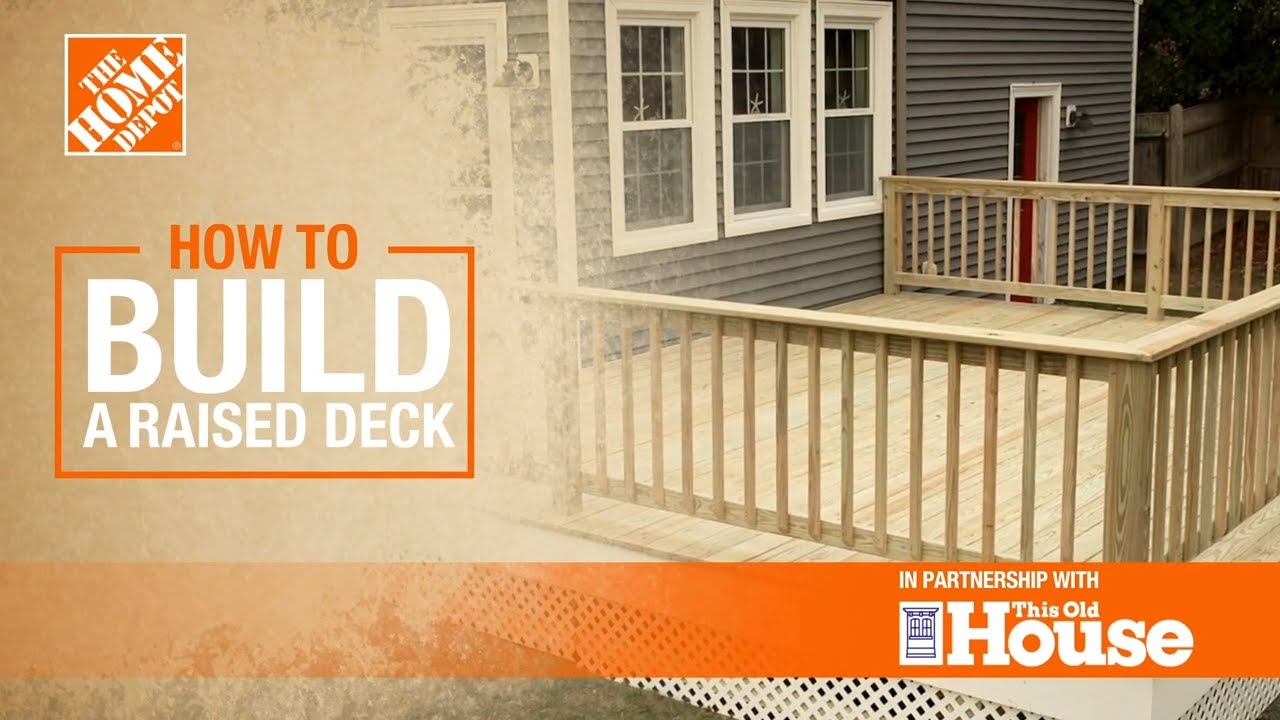
How to Build a Deck

Last updated February 21, 2025
Building a deck in your outdoor space gives you more room to entertain and relax. Installing a deck can take time and good carpentry skills. However, with good planning, building a ground level deck is something you can do yourself. With a ground level deck, there’s no stairs or stair railings to make. Read on for tools, lumber ideas and general instructions on how to build a deck for your home.
Difficulty:
Advanced
Duration:
Over 1 day
Table of Contents
Plan
Gather Tools & Materials
Dig Post Holes
Pour Concrete and Place Post Anchors
Attach Posts or Beams to Post Base
Attach Rim Joists and Angle Brackets
Plan

The first step in installing a deck is to make a plan.
- Choose a location. Think about water drainage, slope, soil and other factors that can affect building your deck.
- A flat level area that’s easy to access works best.
- If you’re working with a sloped area, try grading a level spot at the bottom or building a retaining wall.
- Look for places in your yard where nature provides shade. Trees and shrubs can shade and screen your deck.
- Draw out a rough plan for your deck. Your deck drawings will indicate the size, number and location of deck posts or footings. Ground-level decks are usually 12 inches to 30 inches above the ground. You can use concrete blocks or posts to lift it a step above the ground. This guide uses posts.
Gather Tools & Materials

When determining how to build a deck, consider what type of deck board you’ll want.
- Composite decking boards: Installed with hidden fasteners, they create a clean look and low-maintenance finish.
- Pressure-treated wood decking: A budget-friendly option that can be stained any color you want.
You’ll also need the following materials & tools:
- Posts
- Gravel (optional)
- Batter boards
- Mason's string lines
- Circular saw
- Chalk Line
- Tape Measure
- Level
- Square or T-square
- Power Drill
- Shovel
- Post hole digger
- Sawhorse
- Nail Gun
- Exterior nails
- Orbit Sander
- Tamper
- Mortar hoe
- Concrete mix
- 10D common nails or 3-inch galvanized screws
- Deck hardware
- Self-adhesive flashing tape (optional)
Tip: When building a deck, consider placing gravel under it to help with water drainage.
Dig Post Holes

Begin by using batter boards and mason's string lines to lay out the location of the piers and footings. This will provide the deck’s foundation. Batter boards are temporary frames used to mark the elevation and location of the corners of your deck.
- Lay out the deck perimeter using the batter boards and mason’s line.
- Start by running a mason’s line parallel to the house first. Then run perpendicular lines to complete the perimeter, crossing the mason’s line at the corners.
Square the corners using the 3, 4, 5 method:
- Measure 3 feet from where the lines intersect and make a mark on the string line.
- Measure 4 feet along the line that runs perpendicular to that line and make a mark.
- Measure between the 3-foot and 4-foot marks and adjust the line until the marks are exactly 5 feet apart.
Mark deck pier/footing locations using spray paint based on your drawings in Step 1.
- Use a posthole digger or power auger to dig holes for the piers/footings. Be sure to dig below the frost line, if required by your local code.
- Place concrete tubing forms in the holes and level them so that they stick up about 1-inch above ground level. You can use scrap 1x screwed to each side of each form to help hold it level. The scrap 1x pieces should be long enough to stretch across the hole, suspending the tube in it.
- Use the mason’s lines and a tape measure to center the tubes according to the drawings, adjusting the hole locations as needed. If you want to have all the piers the same height, use a long level. This isn’t usually necessary though, as any inconsistencies can be made up in the post lengths that will be set on top of them.
- Backfill the holes around the tubing forms.
- Tamp the soil down every so often as you go.
Pour Concrete and Place Post Anchors

- Mix ready-mix concrete bags in a wheelbarrow using a shovel or mortar hoe. Follow manufacturer’s instructions.
- Pour the mixed concrete into the tubing form.
- Place a post anchor bolt into the center of each footer before the cement begins to harden. Leave enough of the bolt above the footing to connect to the post base.
- Allow time for concrete to cure according to manufacturer’s instructions.
- Once the concrete has cured, set post bases over each anchor bolt.
- Align them according to layout indicated in your drawings.
- Don’t tighten the wood post base down all the way. Leave the nut loose enough so that the base can be tapped in either direction later. Once posts are set, tighten the bolts.
Tip: Use a mason’s string line stretched across the tubing forms to align the anchor bolts.
Attach Posts or Beams to Post Base

- Cut your posts a few inches above the finished height of the deck framing. You can cut them flush later.
- Set the posts in the post base and attach with appropriate post-base hardware nails or screws.
- Some decks use a flush beam or beam set within the same plane as the deck’s framing. If your plans call for this, set the beam directly onto the post bases.
- Use metal strapping hardware or composite shims to fine-tune the beam level. Don’t use wood shims as they will compress over time.
- Attach the beam to the post bases using post-base hardware nails or screws.
- Check beam alignment and adjust as needed to make sure beams are square.
Attach Rim Joists and Angle Brackets

With the posts or beams in place, it’s time to build the deck frame. This deck consists of rim joists that make up the deck’s perimeter filled in with joists that support the decking.
When building a low-level deck that is connected to posts set within the framing, attach the rim joist to the posts using galvanized 10D common nails or 3-inch galvanized screws.
- Use one fastener per post as these are just temporary. Use a long level and a helper to ensure the rim joist is level.
- Install the remaining rim joists in the same manner to create the perimeter of the deck.
- Secure the rim joist to the posts using the appropriate hardware indicated by the drawings and your local building code. In most cases, specially designed structural screws may be used, galvanized through-bolts or galvanized lag bolts.
- Cut the posts flush to the top of the rim joist so that the decking can sit freely over it later.
- If the beams represent the ends of the deck, finish the sides by installing a rim joist on either side. The perimeter of the deck is now comprised of a beam on either end and a rim joist on either side.
- Add any additional hardware required by code, such as angle brackets.
Tip: Most framing lumber has a slight bow in it along its edge. This is called a “crown.” Install the rim joists and all framing materials so that the “crown” is up.
Attach Inner Joists to Beam Faces

With the deck’s rim joist complete, it’s time to install the joists. Start by laying out the joist spacing on opposing rim joists.
- Measure across the rim joist with a tape measure.
- Mark the joist location. Usually this will be every 12, 16 or 24 inches. If you’re building a deck with two beams, pull your measurements along the beams and mark the beams.
- Repeat this process across the rim joist (or beam) parallel or opposite the one you just marked. Be sure to pull your layout from the same side of the rim joist as you did in the previous step.
- Go back and use a square to mark a line down the inside face of the rim joist or beam. Place an X on the side of the line that is opposite from where you pulled your measurement. If you pulled your measurement from the left, place the X on the right of the line. If you pulled your measurement from the right, place the X on the left side of the line. These lines indicate the side of the joists and the X is where the ends of the joist will go.
It’s typically easier to install joist hangers now, but you will need to make sure that they are placed at the proper height. If you’re installing the joists between the beams, you’ll have to install the joist hangers first. To install joist hangers, make a simple template using a cut end of the joist material that’s about 3 to 4 inches long. Nail a scrap piece of lumber on top of the cut joist piece so that it hangs over the end about 1 to 2 inches.
- Set the template so that the top registers on the rim joist. The cut end of the joist piece should sit where the joist will go.
- Holding the joist hanger to the template, nail each hanger in place. Hold the sides of the joist hanger slightly loose so that you can slide the joist in place later.
- Repeat this process until all hangers are installed.
- Measure the joist length using the area closest to the ends.
- Cut all the joists to length.
- Set and nail the joists into the joist hangers.
If installing joists between two rim joists instead of a beam:
- Install the joists first and the joist hangers later.
- Cut the joists to length, then nail them on the layout from the outside of the rim joist.
- With the joists in place, go back and nail them into the joist hangers. Remember to crown the joists before you install them.
- Add self-adhesive flashing tape across the tops of the joists to help prolong the life of them.
Install Boards and Add Fasteners to Joists

For a ground-level deck, the boards will run parallel to the house or parallel to the deck framing itself.
Lay out your boards. If you end with a full-sized board, start against the house and move outward. If not, start with the board farthest from the house and move toward the house.
Next, build the deck:
- Align the edge of the first deck board so that it is parallel to the house. Let the ends run long on either side.
- Run the fasteners in.
- Continue running boards. If face-screwing pressure-treated wood decking, maintain about a 1/8 to 3/16-inch spacing between boards for drainage and airflow.
- Install the decking boards perpendicular to the joists.
- Drive two fasteners through each board into the center of each joist. Position each fastener 3/4 to 1 inch from the edge of the board.
- Measure the distance at each corner as you move to the end of the deck. This will make sure you are moving in a straight line and end parallel to the rim joist or house.
- Repeat the process.
If running deck boards on a deck that is not near the house:
- Start by snapping a line that is equidistant at each corner This allows for 1-inch to 1 1/2-inch overhang along the length of the first board.
- Install the first board as above.
- Repeat the process.
Tip: For the best appearance, stagger the seams between adjacent rows of decking. Seams should look random, so keep them two or more joists away from one another.
Trim Decking Boards in a Straight Line

Here’s how to trim the deck boards:
- Start by pulling a measurement of 1 inch or 1 1/2 inches at each corner.
- Snap a chalk line across the decking ends to connect the two.
- Repeat the process on the opposite edge.
- Cut along the line using a circular saw. For a precise cut, screw or clamp a temporary guide on the saw.
- Run a router equipped with a bottom-bearing 1/4-inch round-over bit to smooth the cut edge. Or use an orbit sander equipped with 120-grit sandpaper.
Deck Tips

- Moisture is a deck’s worst enemy. Protect your new deck with an exterior wood stain, weather sealer or combination of the two. Always allow your deck to dry for 24 to 48 hours after staining or sealing for best results.
- Consider adding an umbrella or overhead to shade a large deck.
- Add lattice screens or fence panels to reduce wind and add privacy.
Be prepared when building a deck:
- Ground-level decks may or may not require a permit. Check your local code requirements.
- Call 811 before you dig. Your utility company will locate and mark any water, gas and power lines in your yard. Avoid digging near any marked lines. Don’t dig within 18 to 24 inches of a marked utility.
- Wear hearing and eye protection when using power tools.
- Wear eye protection when using striking tools.
- Wear a dust mask when cutting lumber and mixing concrete.
- Do not wear gloves when operating power saws.
- Use GFCI-protected power cords when operating corded power tools outdoors.
- Use manufacturer-approved hardware and fasteners for all wood products.
Learning how to build a deck requires a command of basic carpentry and a commitment of time and resources. A deck adds value to your home and helps you enjoy the outdoors in greater comfort.
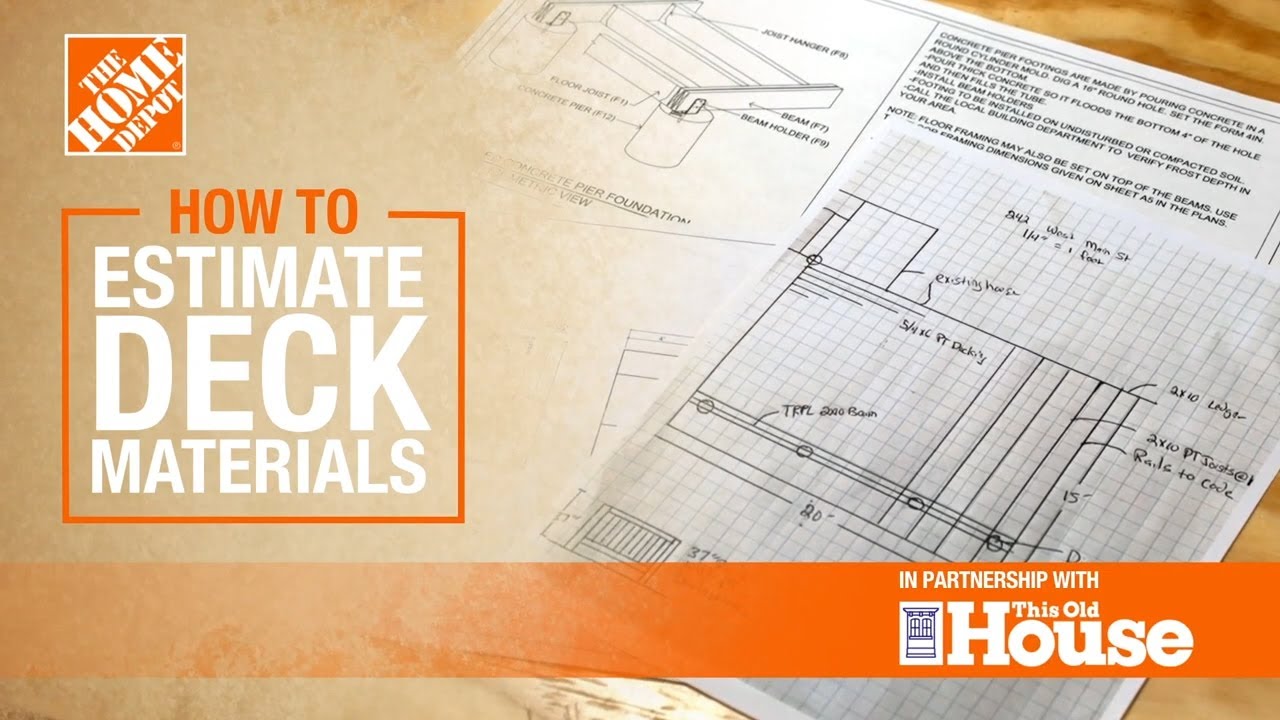
Once you have a general drawing of what you want, bring your ideas to your local Home Depot for a more detailed drawing. You can use this drawing to estimate deck materials and decide what deck parts and accessories you'll need. When determining how much lumber you need, don’t guesstimate. Calculate. Know exactly how much you need with our project calculators.
Instead of taking on complex DIY projects yourself, prioritize efficiency and safety by seeking help from a pro. Our experts possess the experience and tools necessary to complete your project on time, while ensuring all precautions are followed. Ready to have a deck built? Get peace of mind from start to finish with a Pro Referral. Click here: Pro Referral